How to Manage Products via Merchant Web?
This article explains how merchants can add, edit, duplicate, and delete products by following the steps provided.
How to Add a Product?
Step 1
Login to "Applova Merchant Web".
Step 2
Go to "Products" and click on "Add New Product".
Step 3
Fill in the required fields.
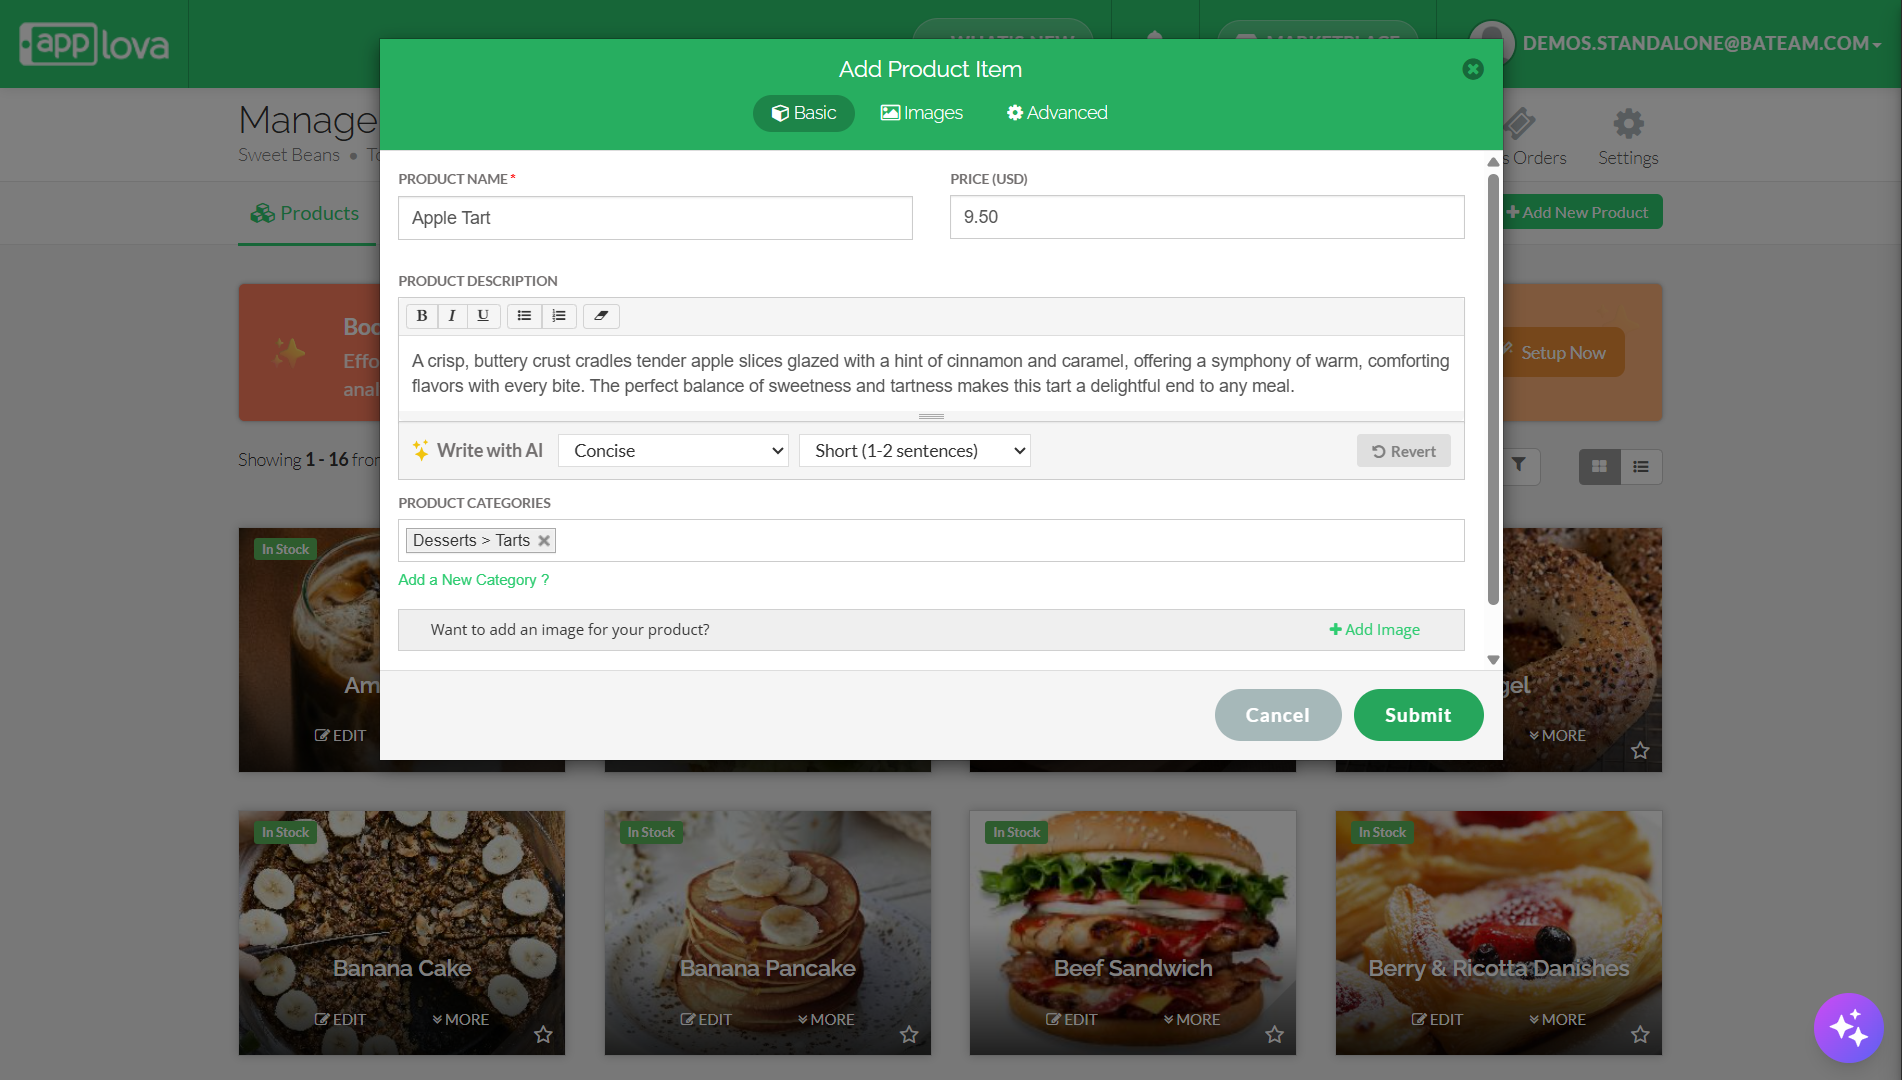
Step 4
Click "Add Image" button or go to "Image" tab to add an image to the product.
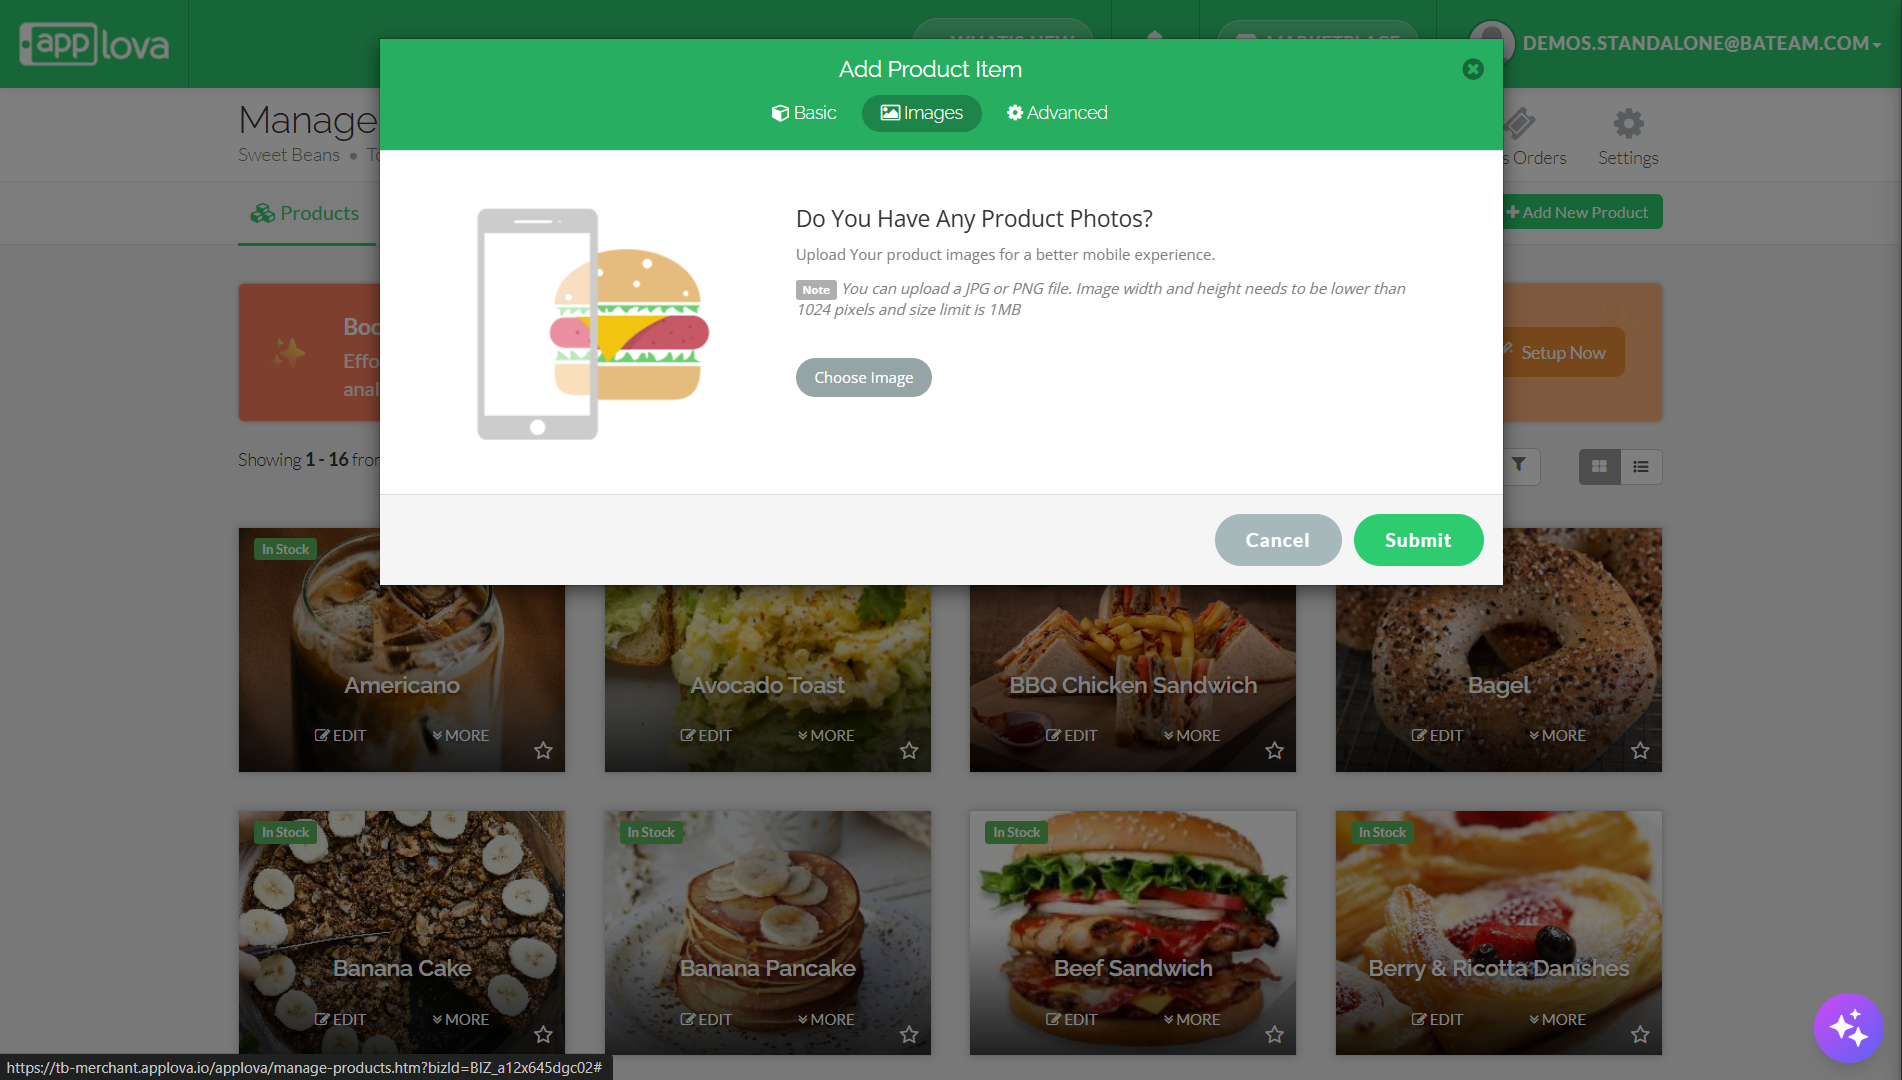
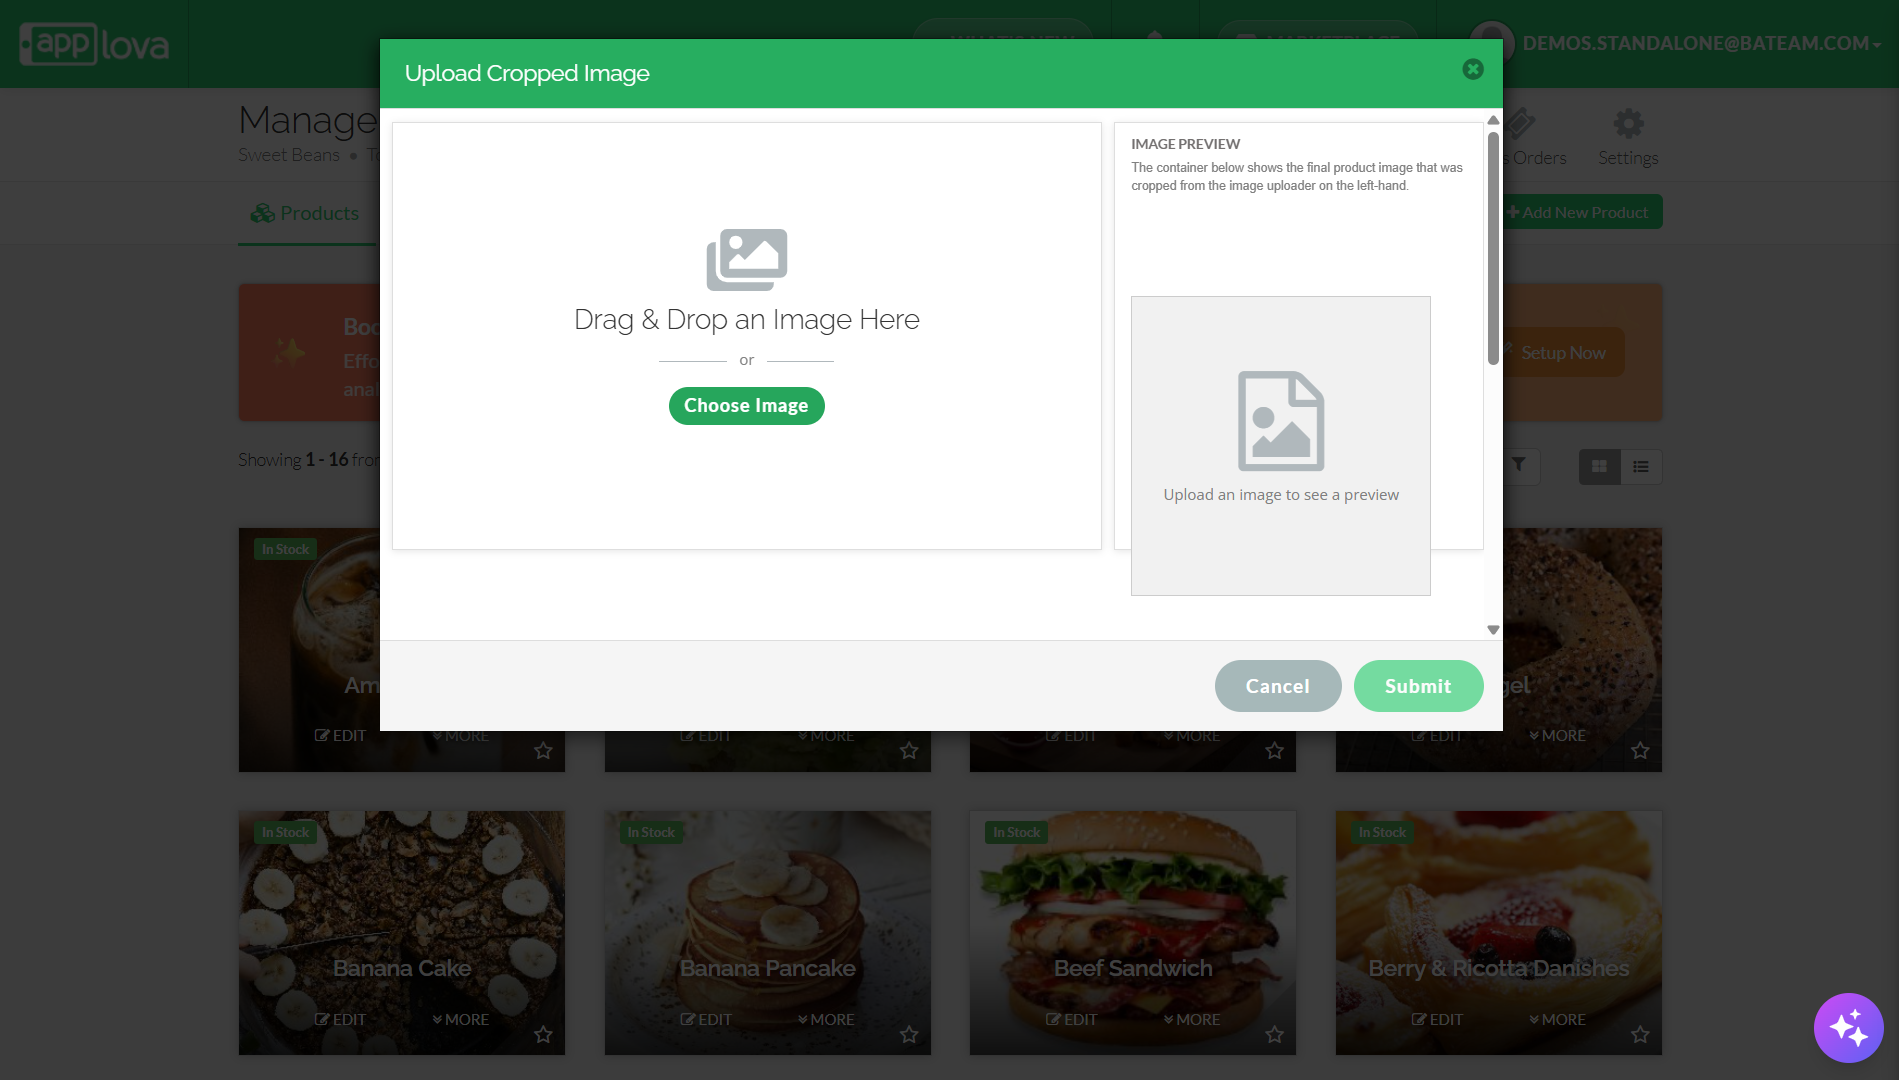
Drag and drop the image or click "Choose Image" to select the preferred image and click "Submit".
How to Edit a Product?
Step 1
Login to "Applova Merchant Web".
Step 2
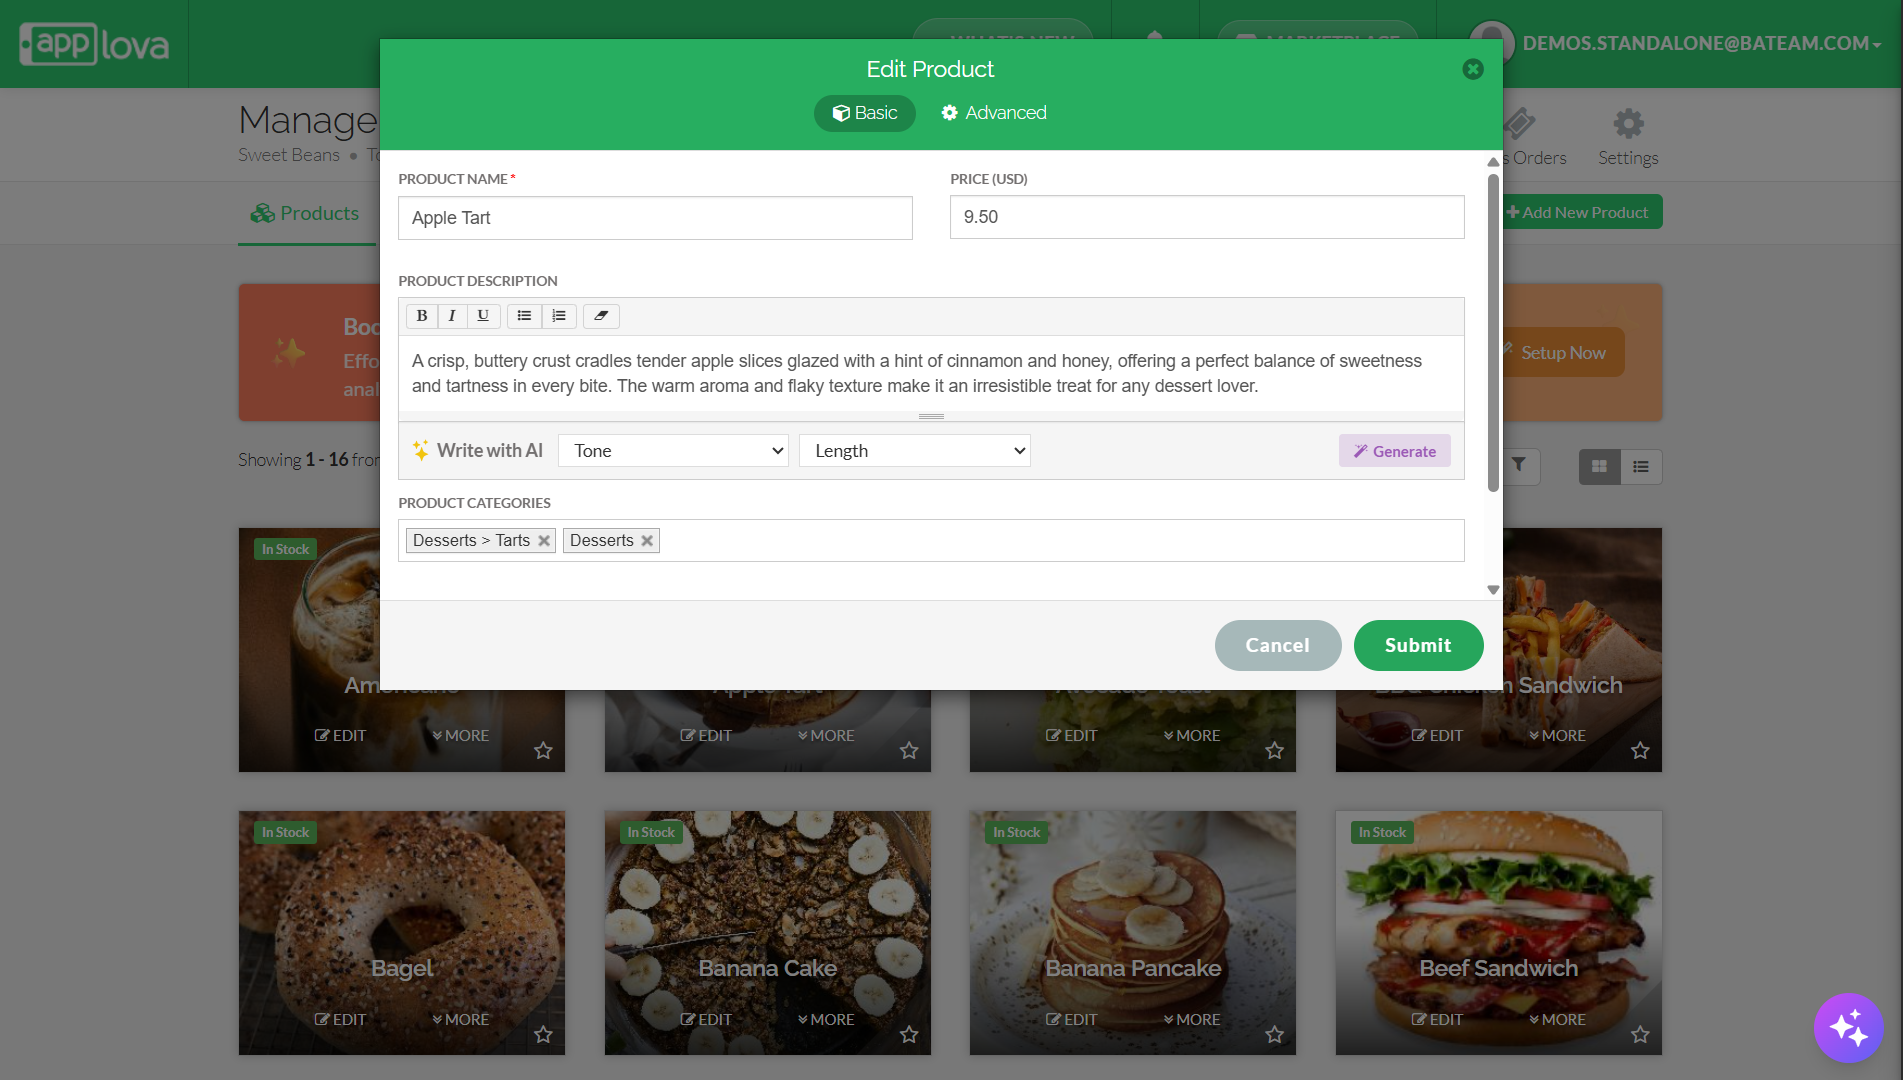
Go to "Products" and click "Edit" on the product you want.
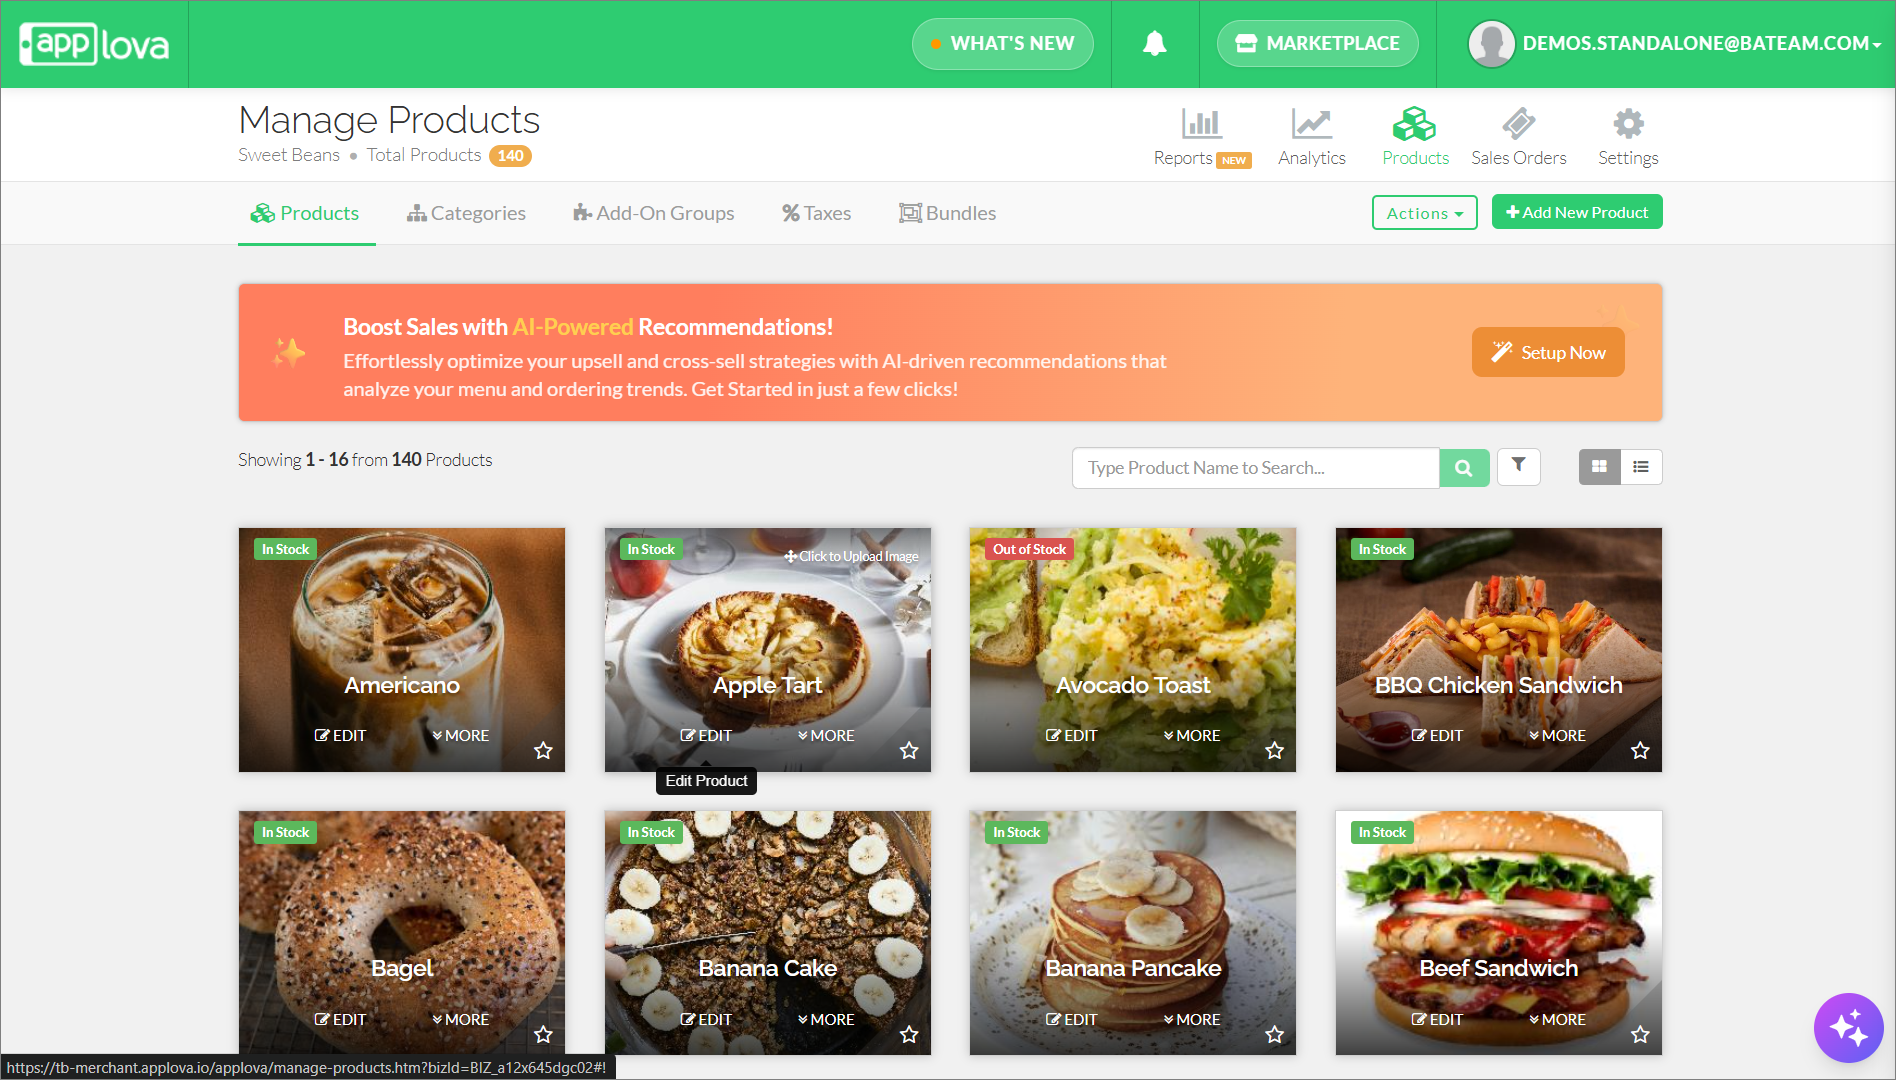
Step 3
Edit the required fields and click "Submit".
How to Duplicate a Product?
Step 1
Login to "Applova Merchant Web".
Step 2
Go to "Products".
Step 3
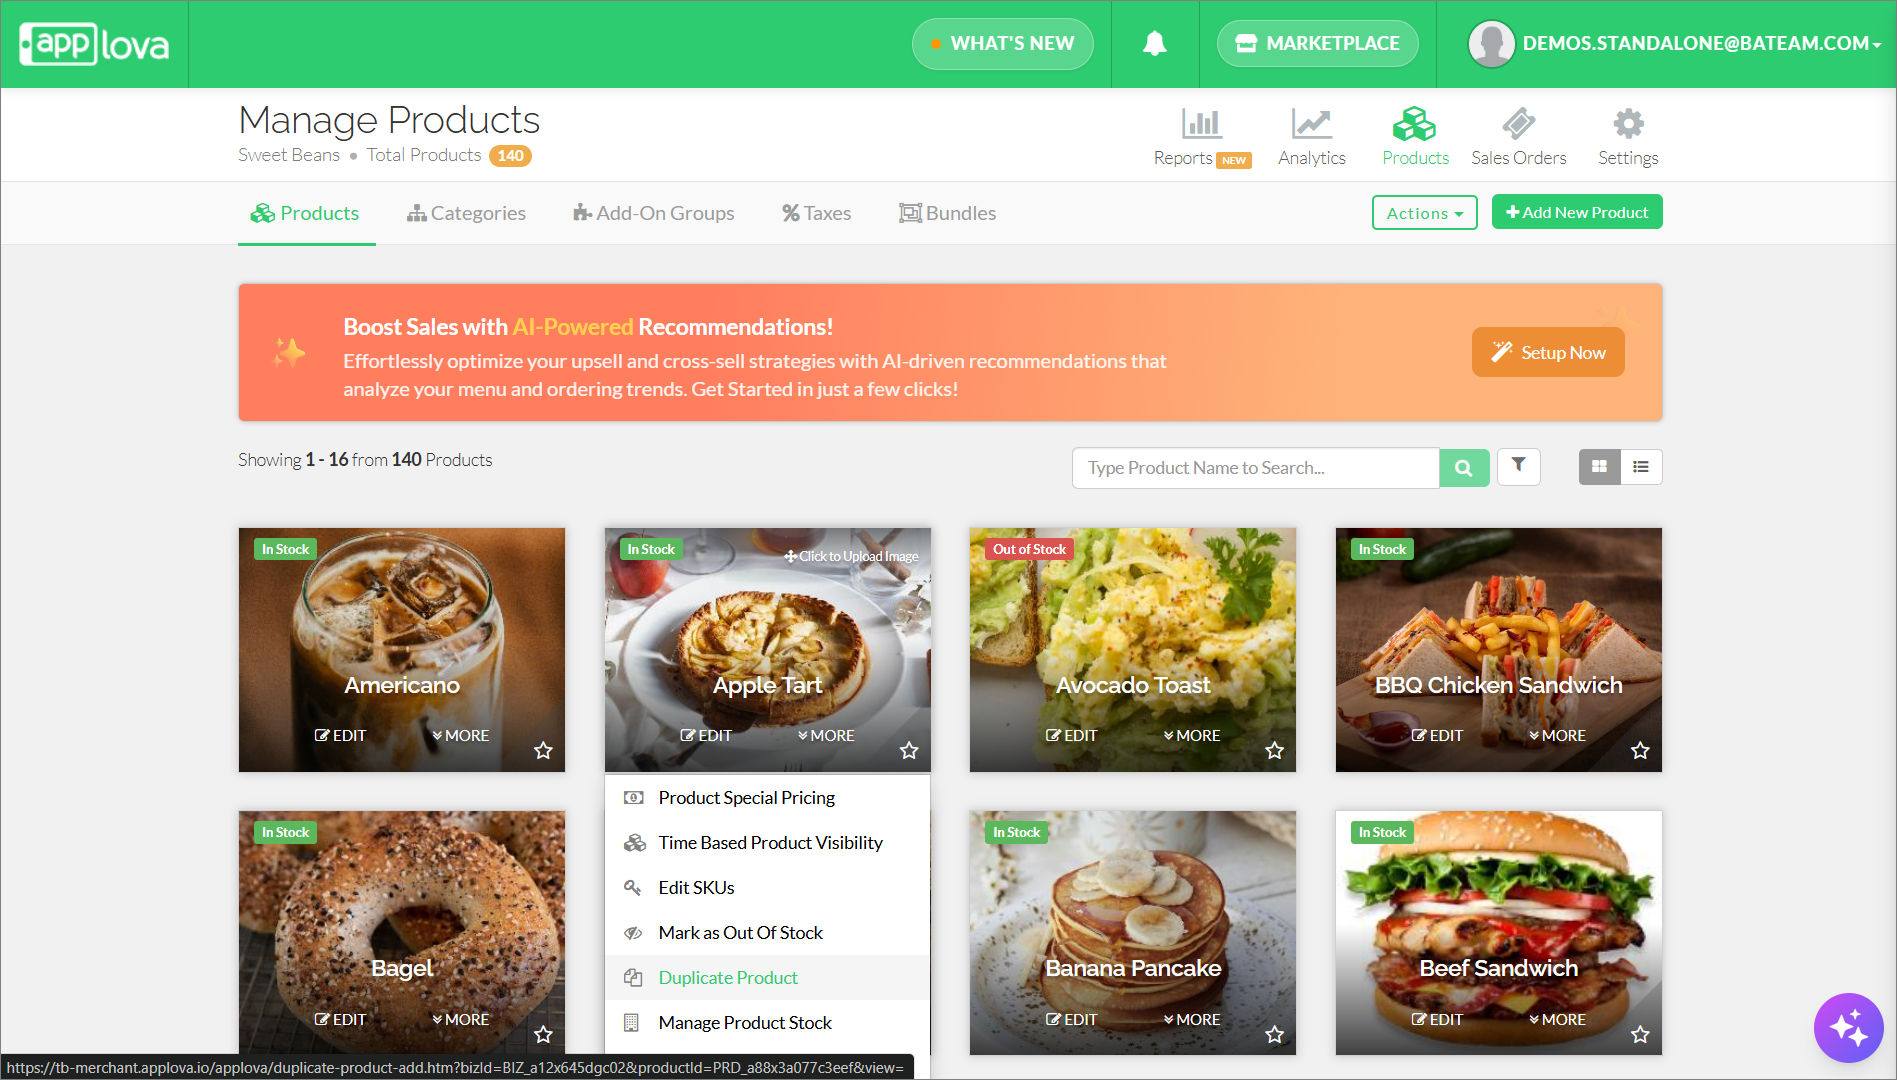
Click "More" on the product you want to duplicate and select "Duplicate Product".
How to Delete a Product?
Step 1
Login to "Applova Merchant Web".
Step 2
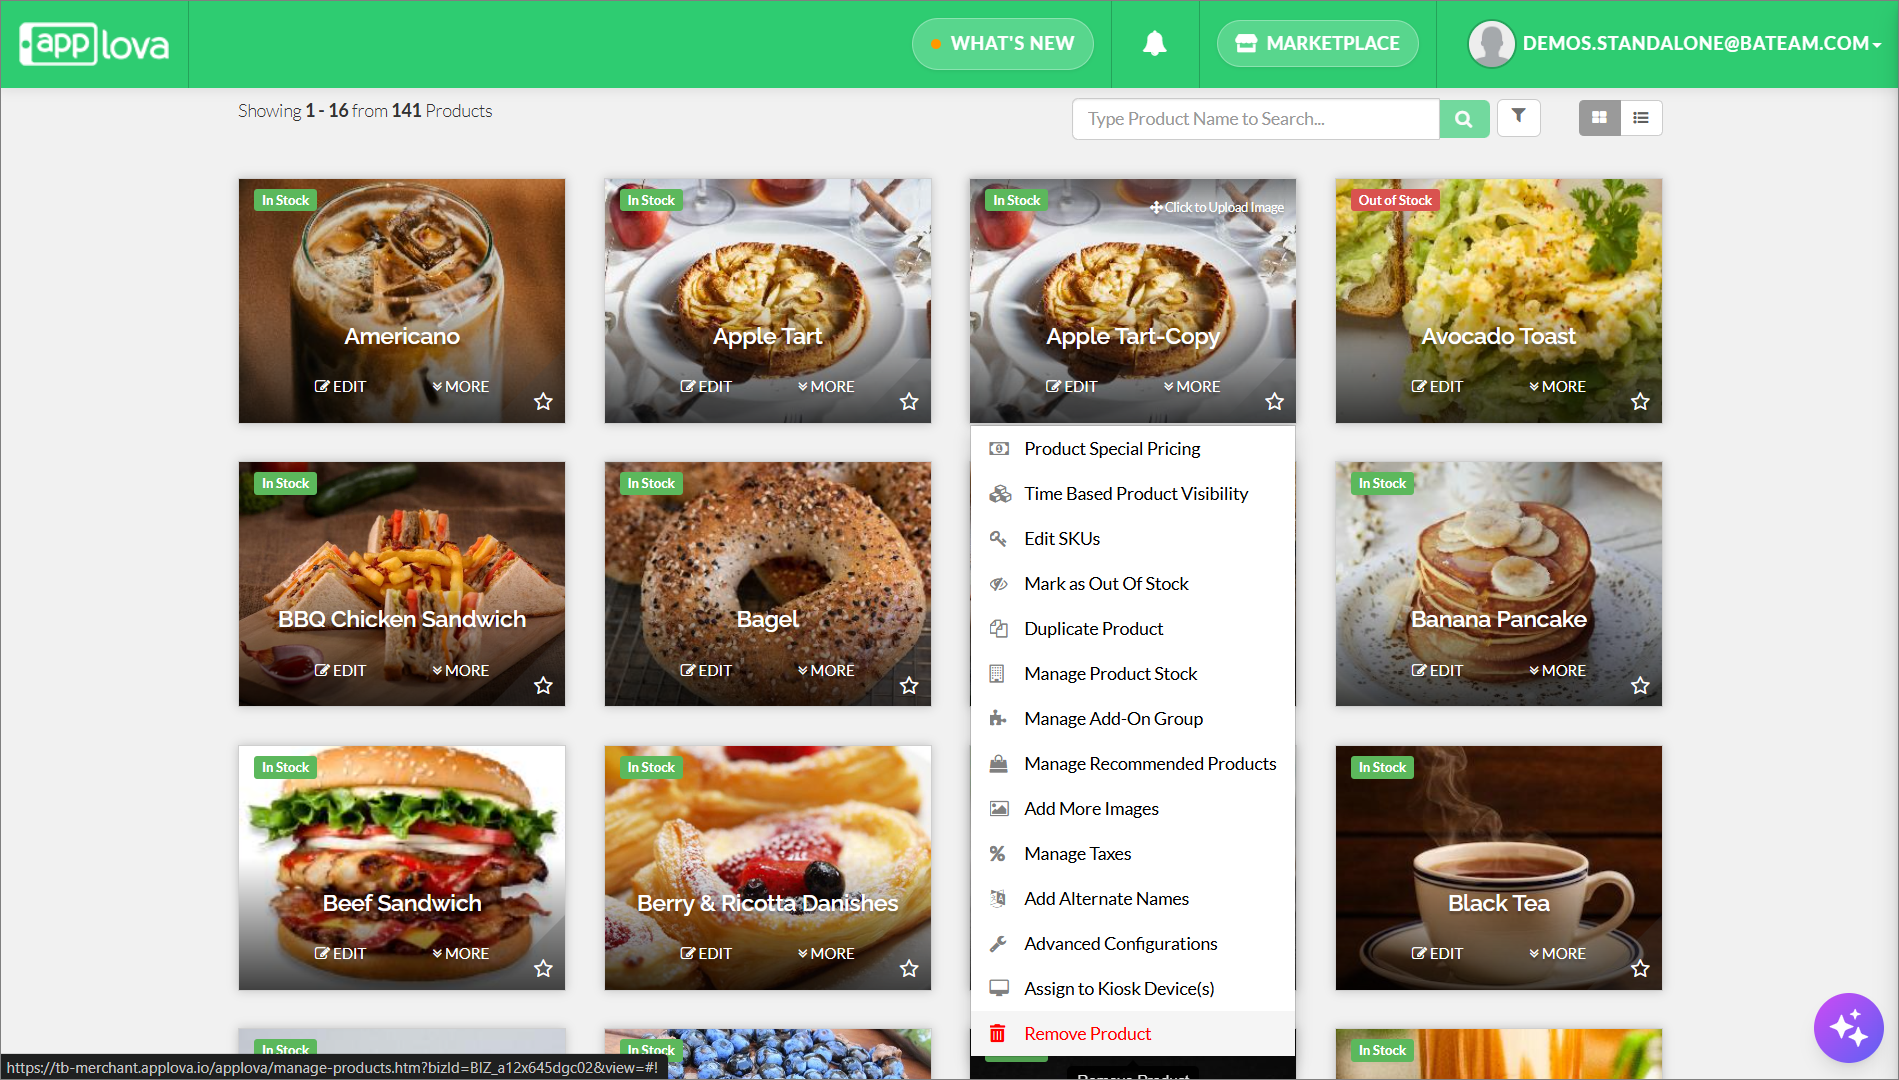
Go to "Products" and click "More" on the product you want to delete.
Step 3
Click "Remove Product".
Step 4
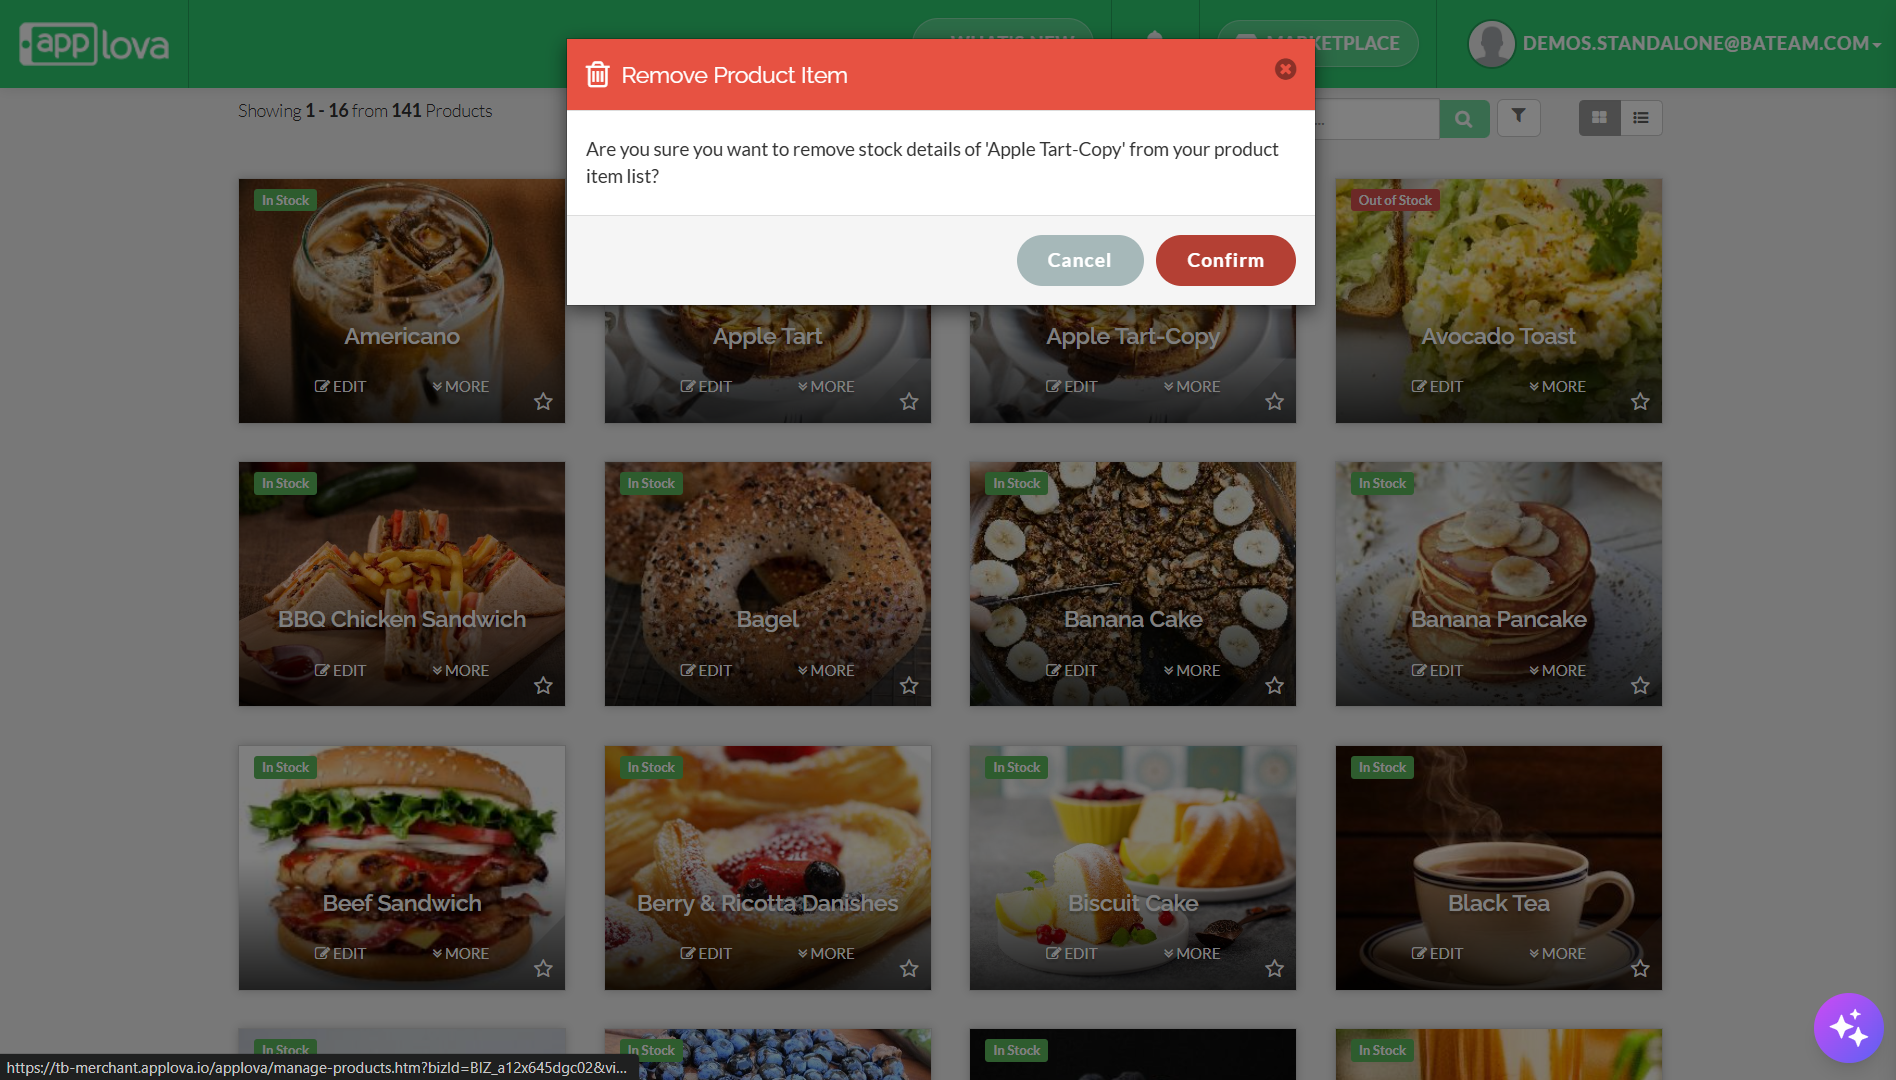
Click "Confirm".
How to Add Product Specific Taxes?
Step 1
Login to "Applova Merchant Portal".
Step 2
Click on "Products" once you login.
Step 3
If you are adding taxes for a new product, click "Add New Product".
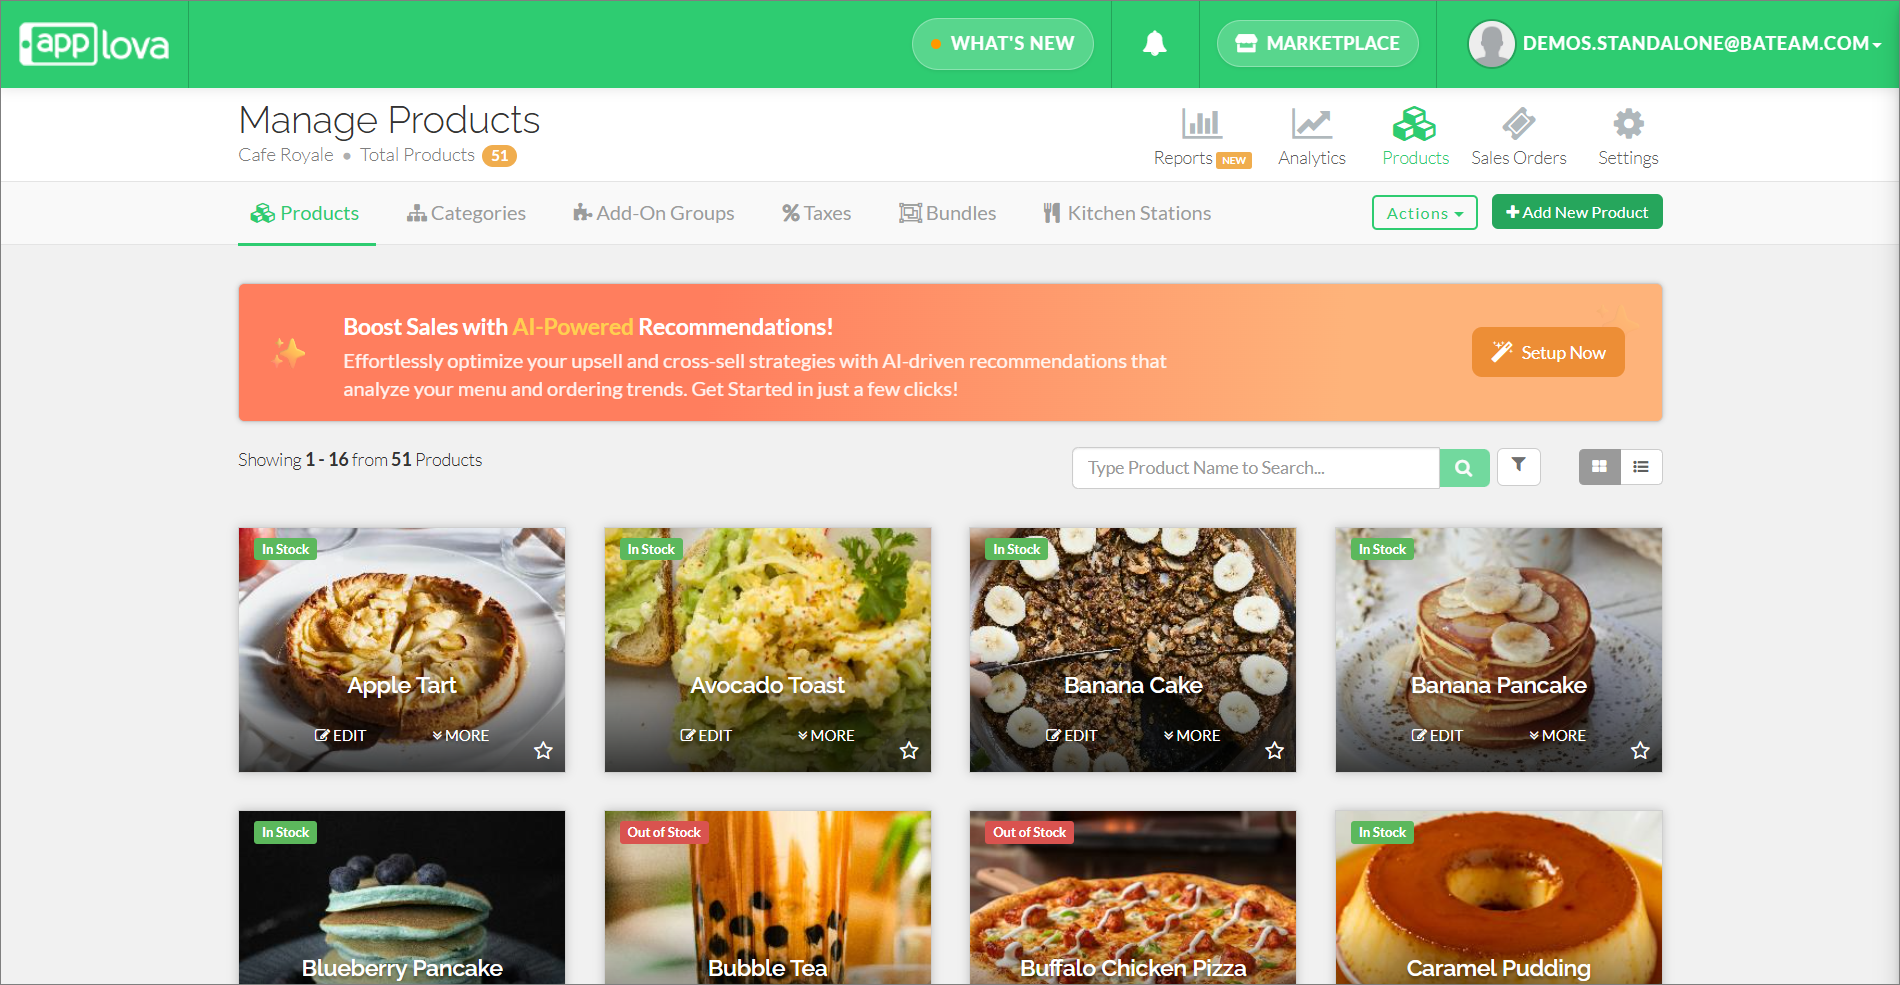
If you are adding taxes for an existing product, click "Edit" on the desired food type.
Step 4
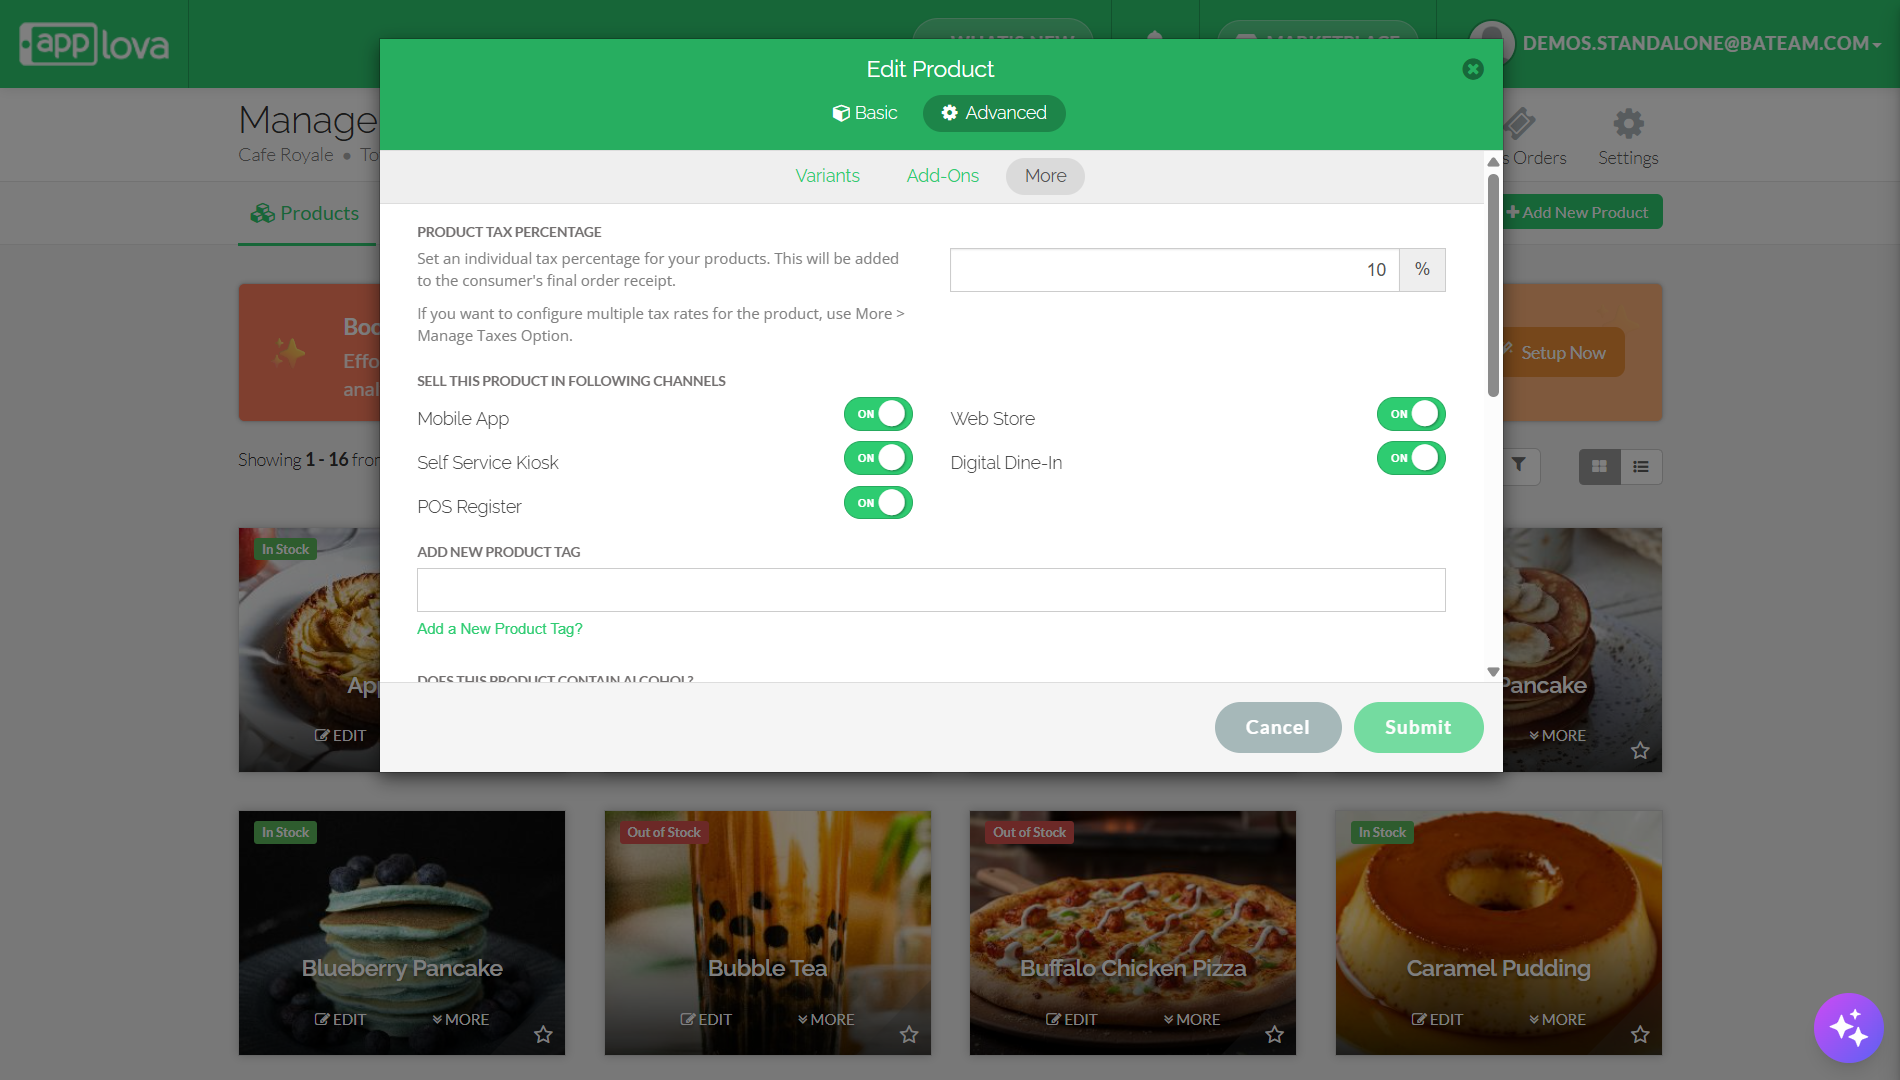
Click "Advanced" option and then further click "More" option.
Step 5
Under "Product Tax Percentage" enter the desired tax percentage and click "Submit".
How to Import Products?
This feature allows the merchant to import the menu without having to add products individually.
Step 1
Log on to "Applova Merchant Web".
Step 2
Click on "Products".
Step 3
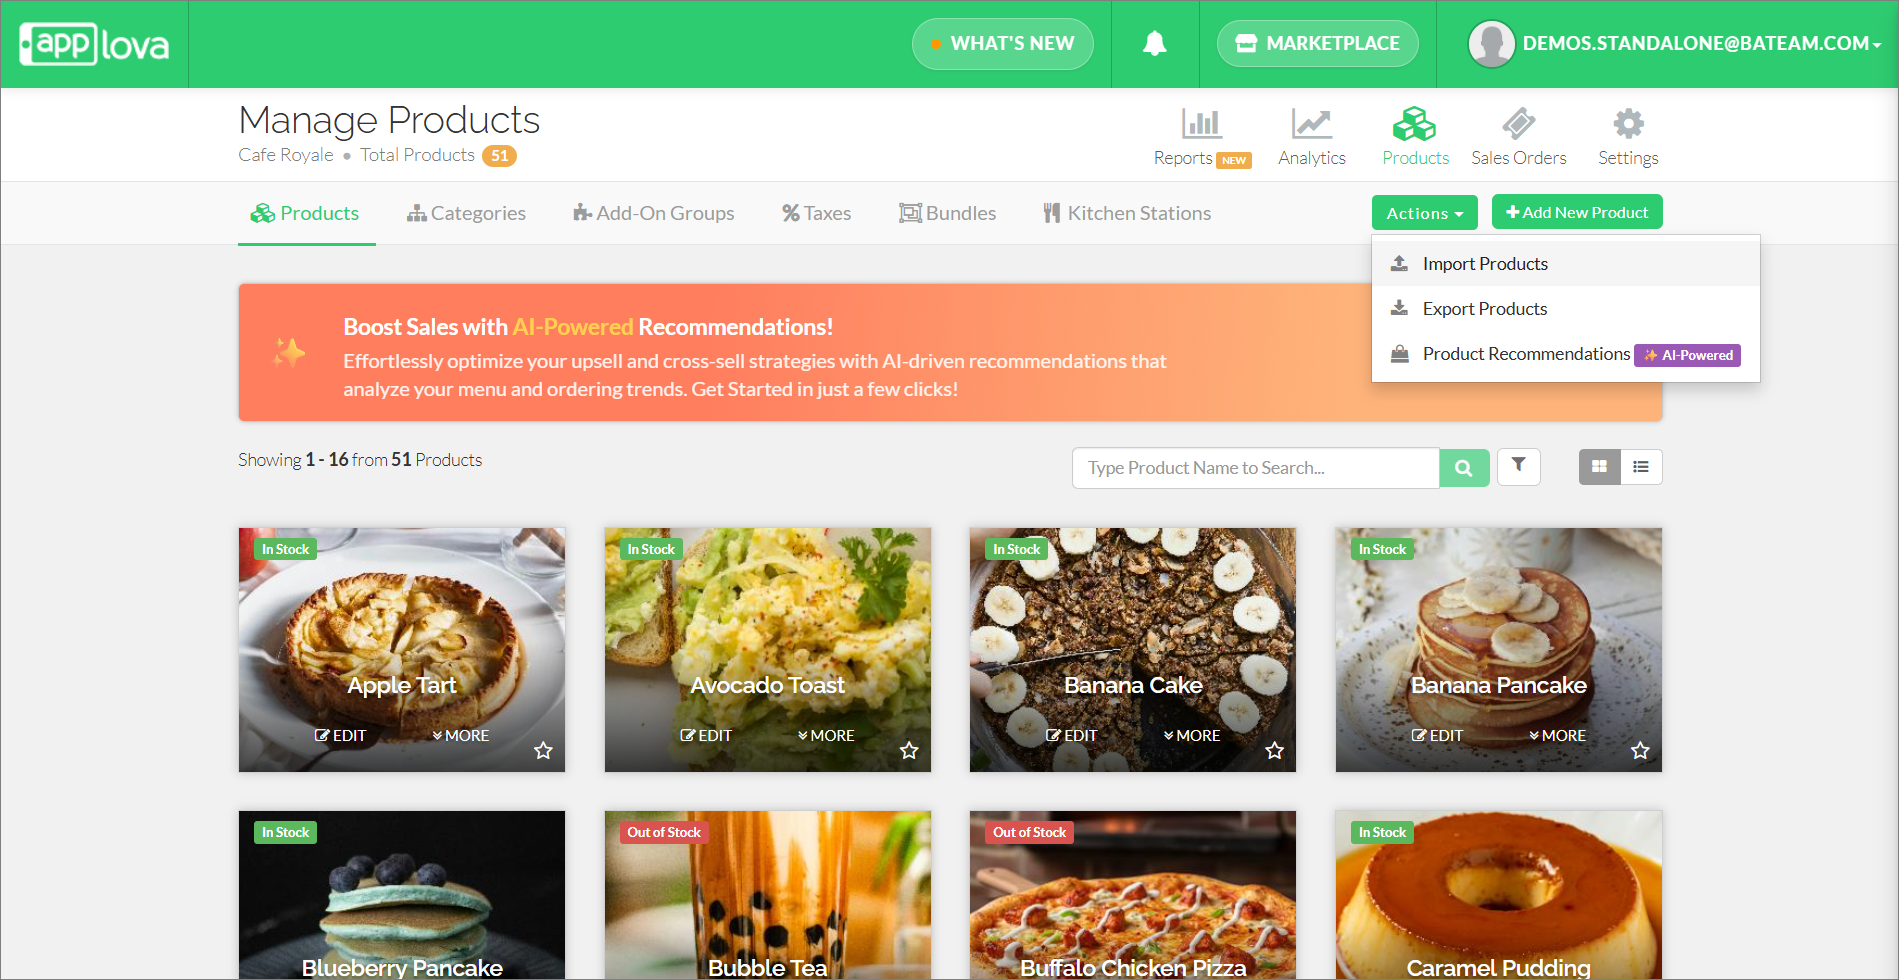
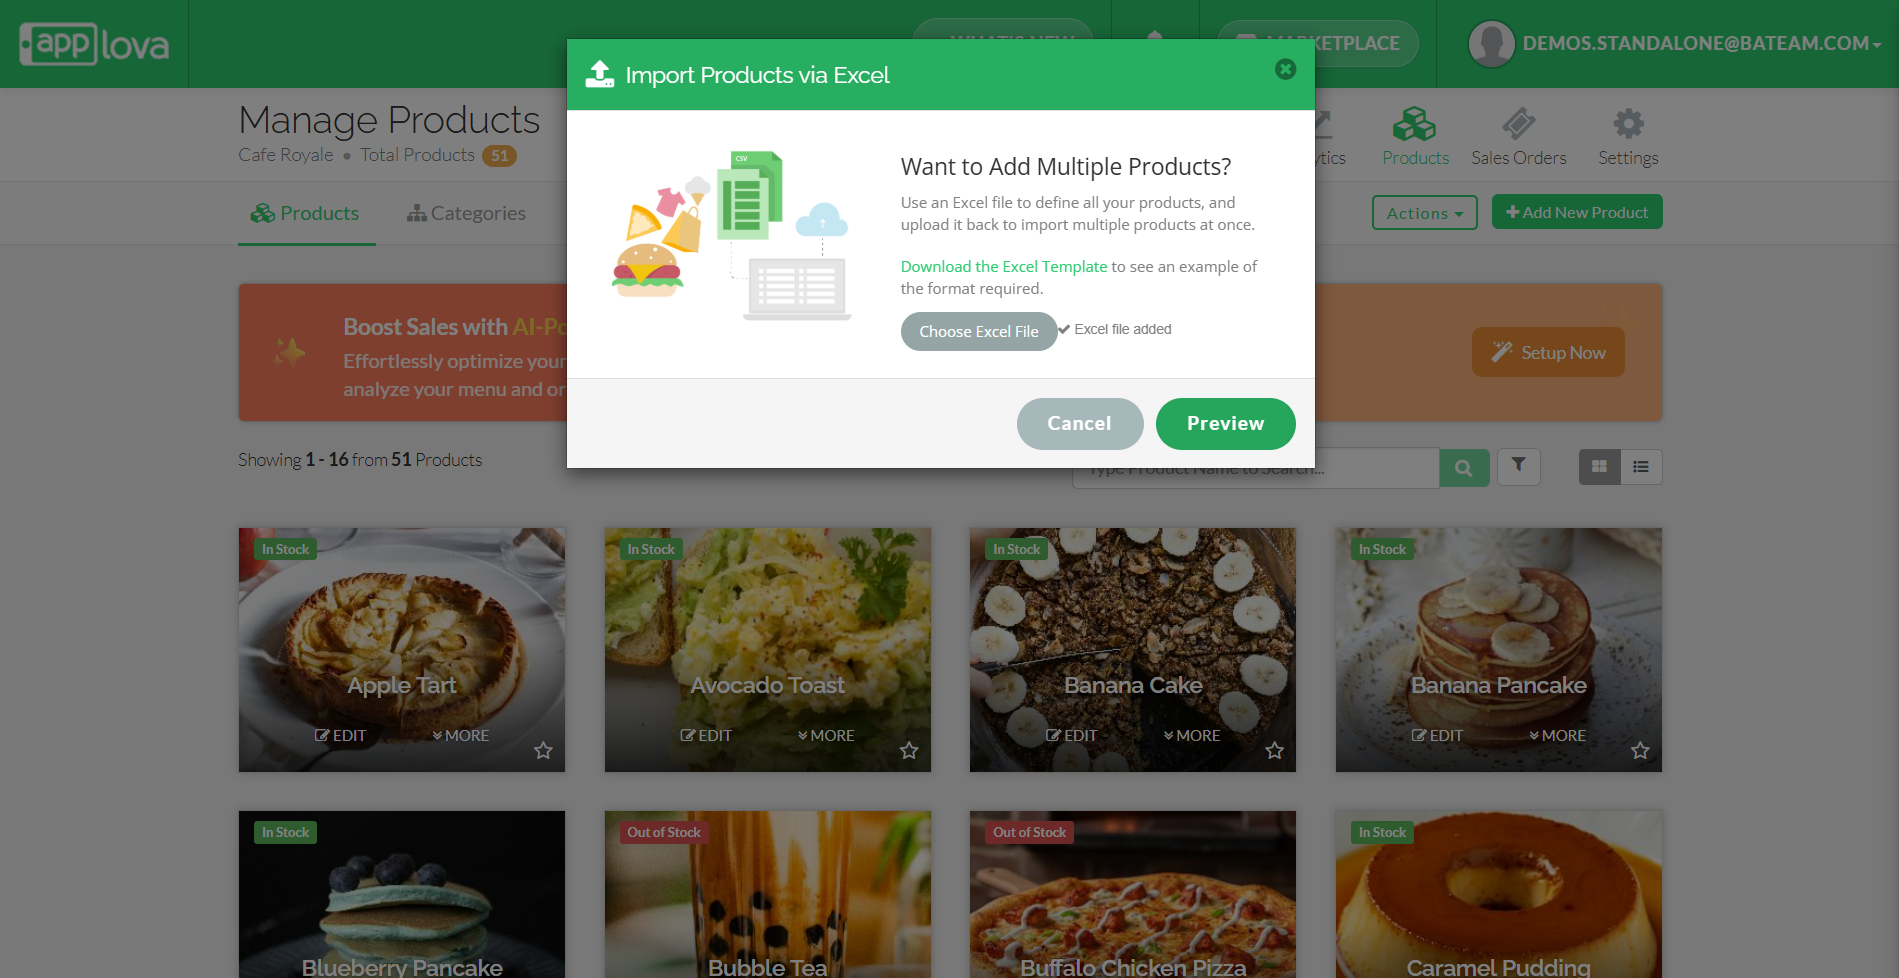
Click on the "Actions" button and then click on "Import Products" to upload multiple products.
Step 4
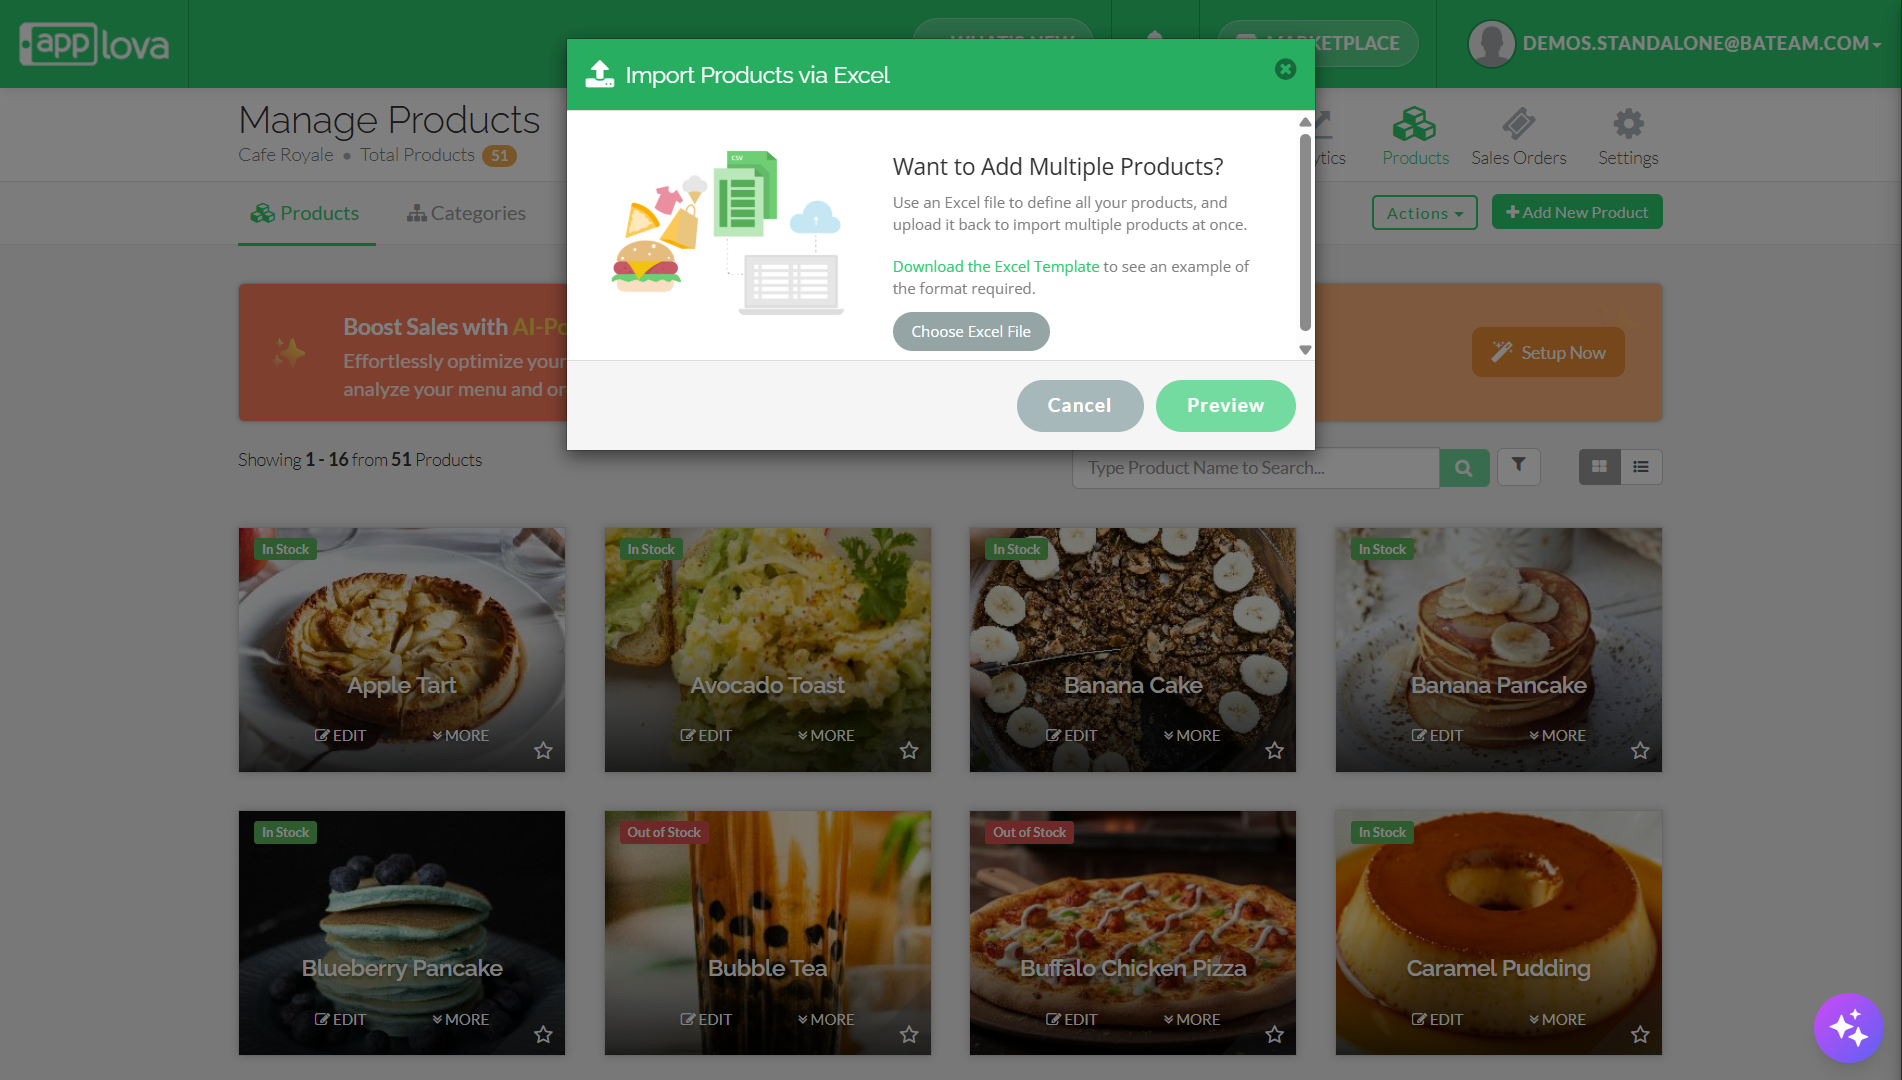
Click "Download the Excel Template" to download the CSV Template designed by Applova.
Step 5
Click "Choose Excel File" and upload the Excel file.
Step 6
If the Excel file is added successfully a tick and a message will be shown next to the button. Click "Preview" to preview the products before uploaded.

Feature in Action (Watch Video):
Related Articles
Feature in Action (Watch Video):
Related Articles
How to Manage Product Image via Merchant Web?
This feature allows merchants to manage product images through the Merchant Portal. Merchants can use this feature to add, update, or remove product images, helping keep their online menu visually accurate and appealing to customers. How to Add ...Altering Business Details via Merchant Portal
This guide explains how to update your business information and manage the terms and conditions displayed to customers through Applova Merchant Portal. How to Update Business Details? Step 1 Login to "Applova Merchant Web". Step 2 Click "Settings" ...How to Manage Customers via Merchant Portal
This feature allows merchants to quickly search for specific customers, filter customer records by a selected date range and delete inactive, duplicate, or invalid customer records from their Customer List. How to Search for a Customer? Step 1 ...How to Manage Product Specific Add-Ons as a Stock Controller User on Merchant Web?
The Stock Controller User, a merchant role with limited privileges solely for stock management, now has the capability to enable or disable the display of product add-ons via the Merchant Web. Step 1 Login to the "Merchant Web Portal" and click on ...How to Manage Product Variants?
What is a Product Variant? Product Variants are different options of your product such as varying sizes e.g. small, medium and large with the corresponding prices. The customer can only select one variant out of the listed options such as ...