How to Manage Product Image via Merchant Web?
This feature allows merchants to manage product images through the Merchant Portal. Merchants can use this feature to add, update, or remove product images, helping keep their online menu visually accurate and appealing to customers.
How to Add Product Images?
Follow the steps given below to add a product image for the first time.
Step 1
Login to "Applova Merchant Portal".
Step 2
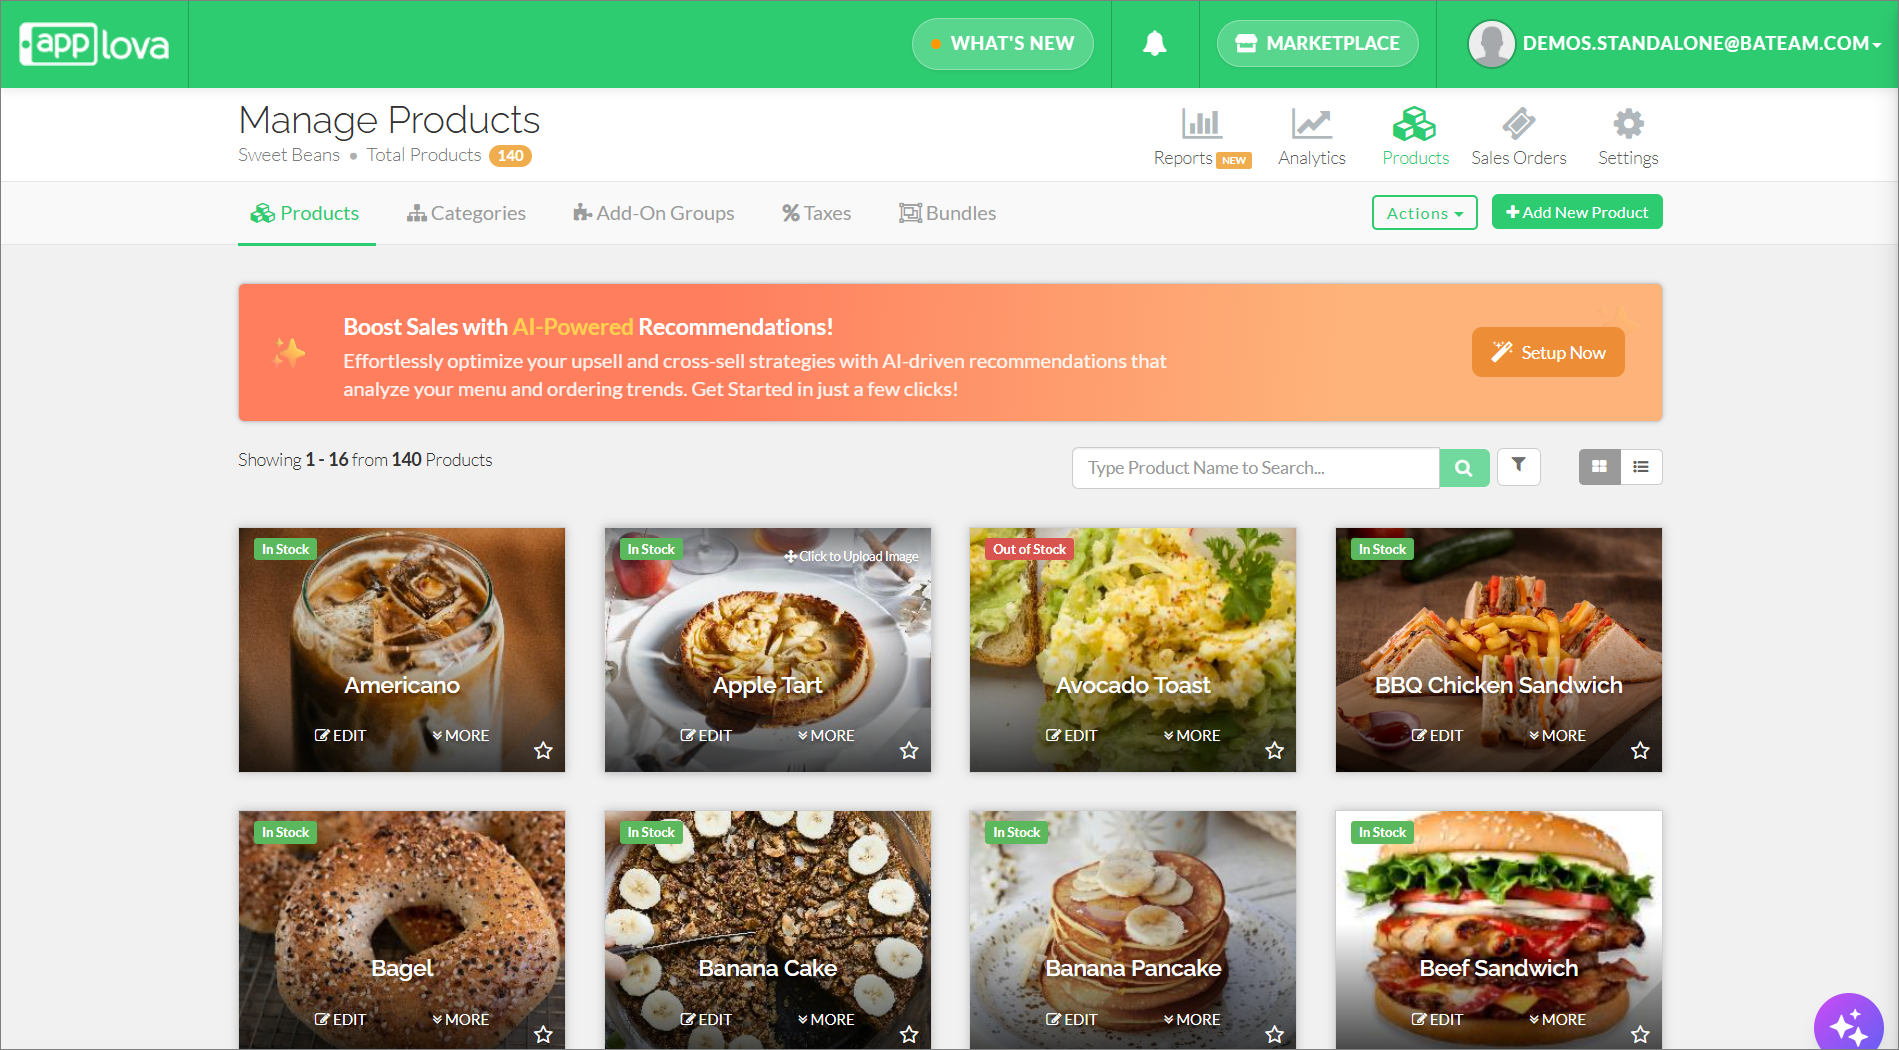
Go to "Products" and then click "Click to Upload Image" at the top right corner of the product.
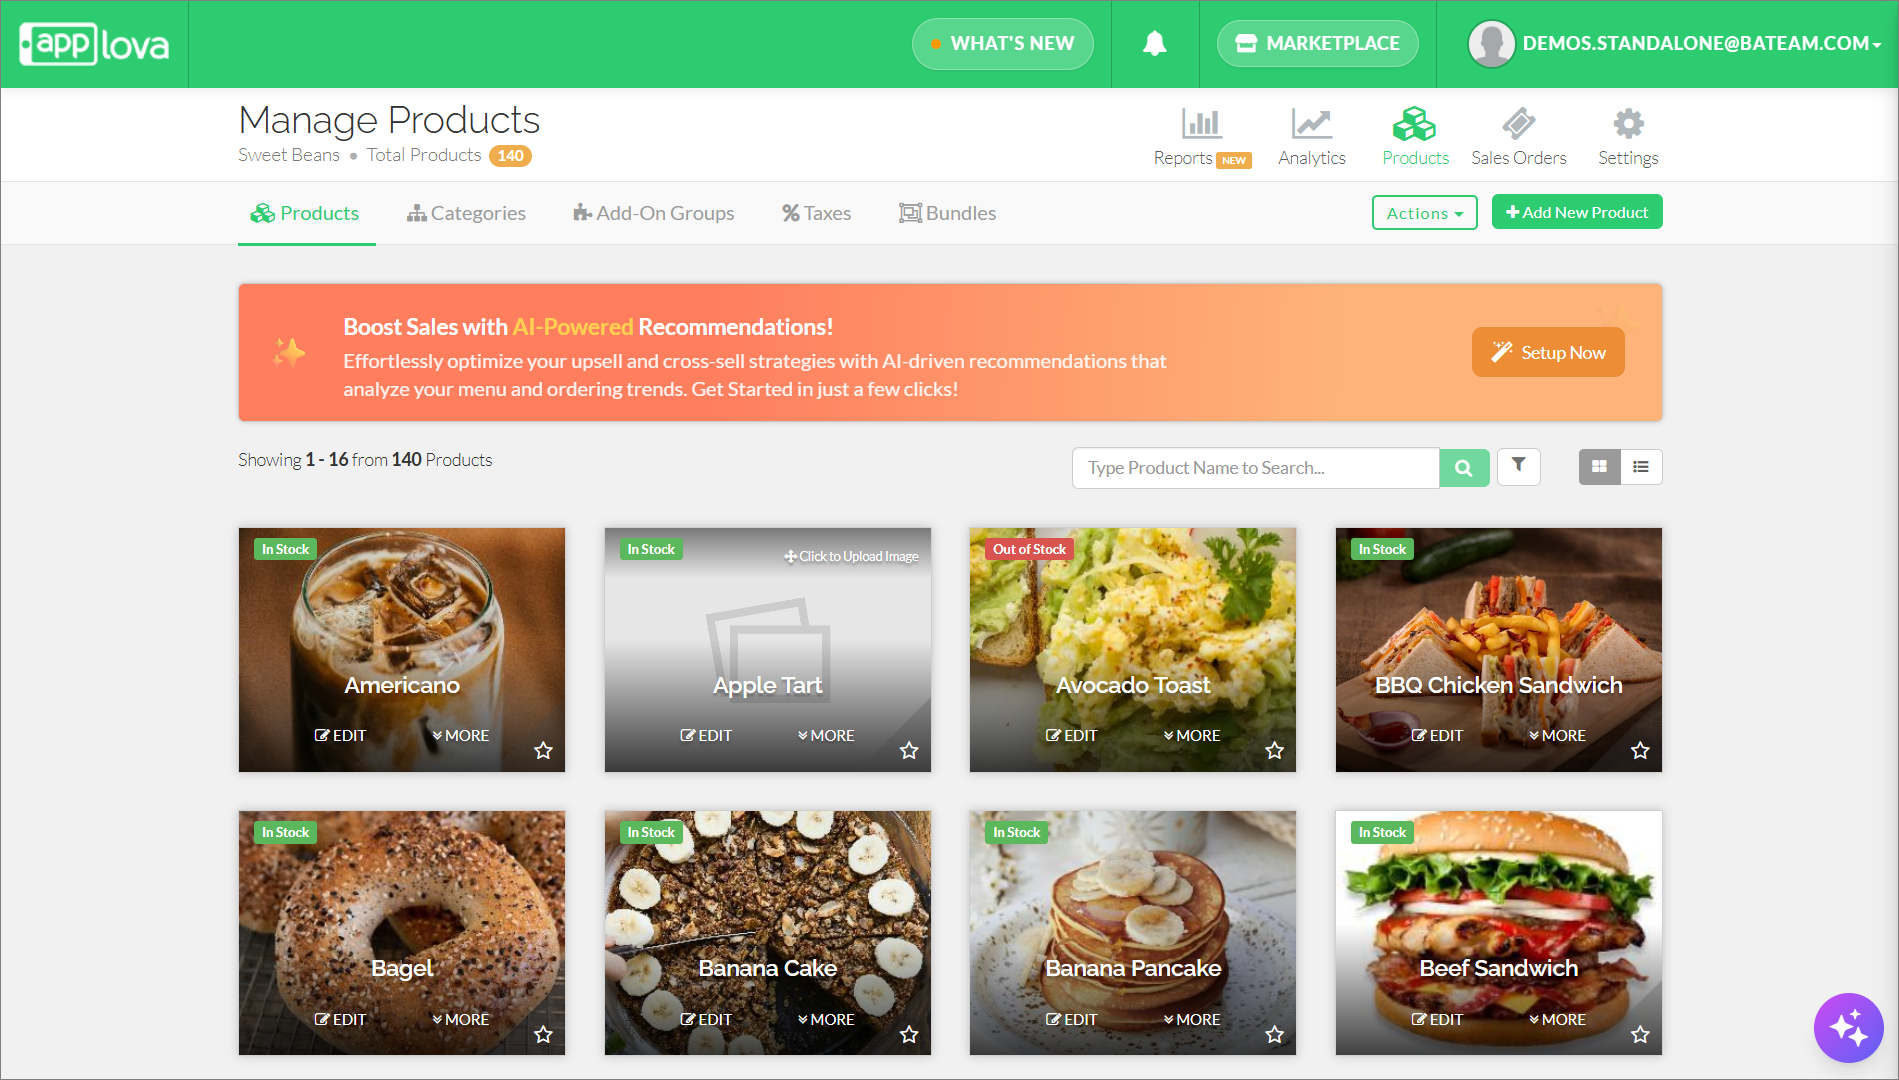
Step 3
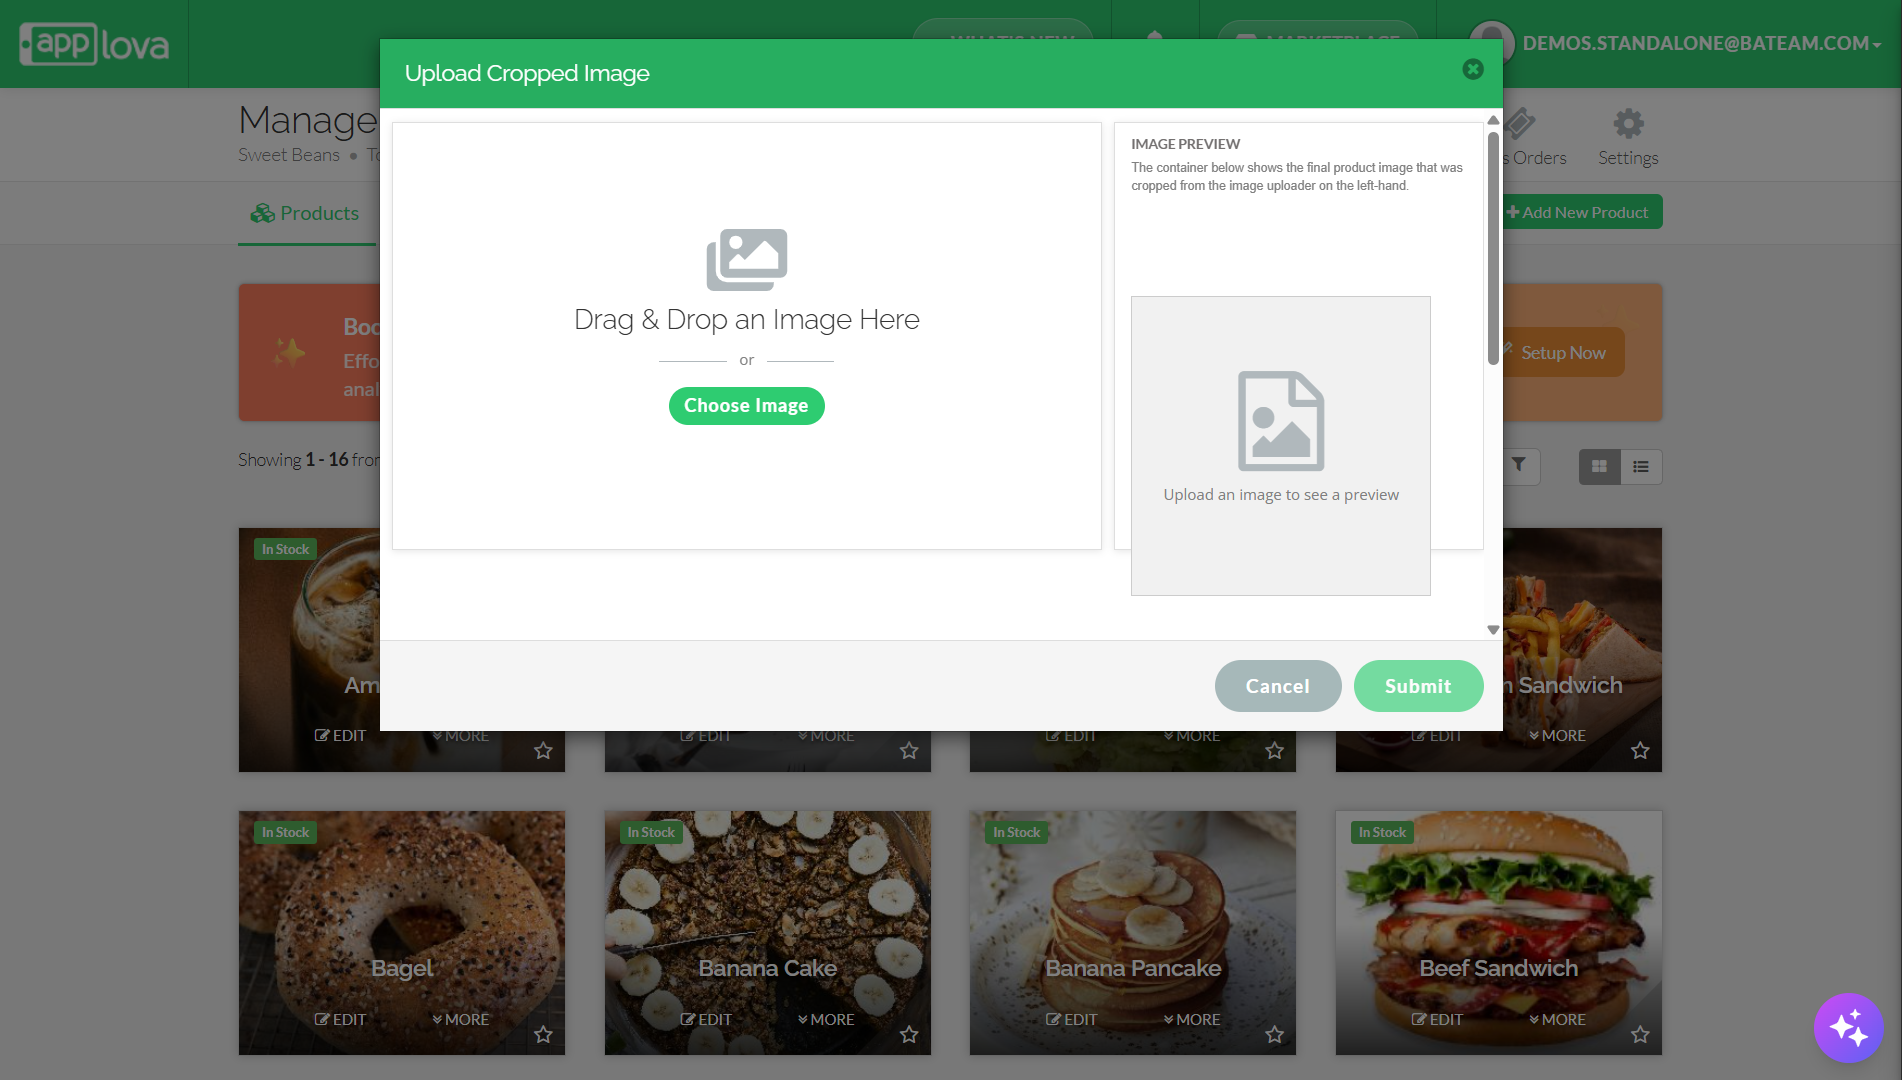
Add the image of your choice.
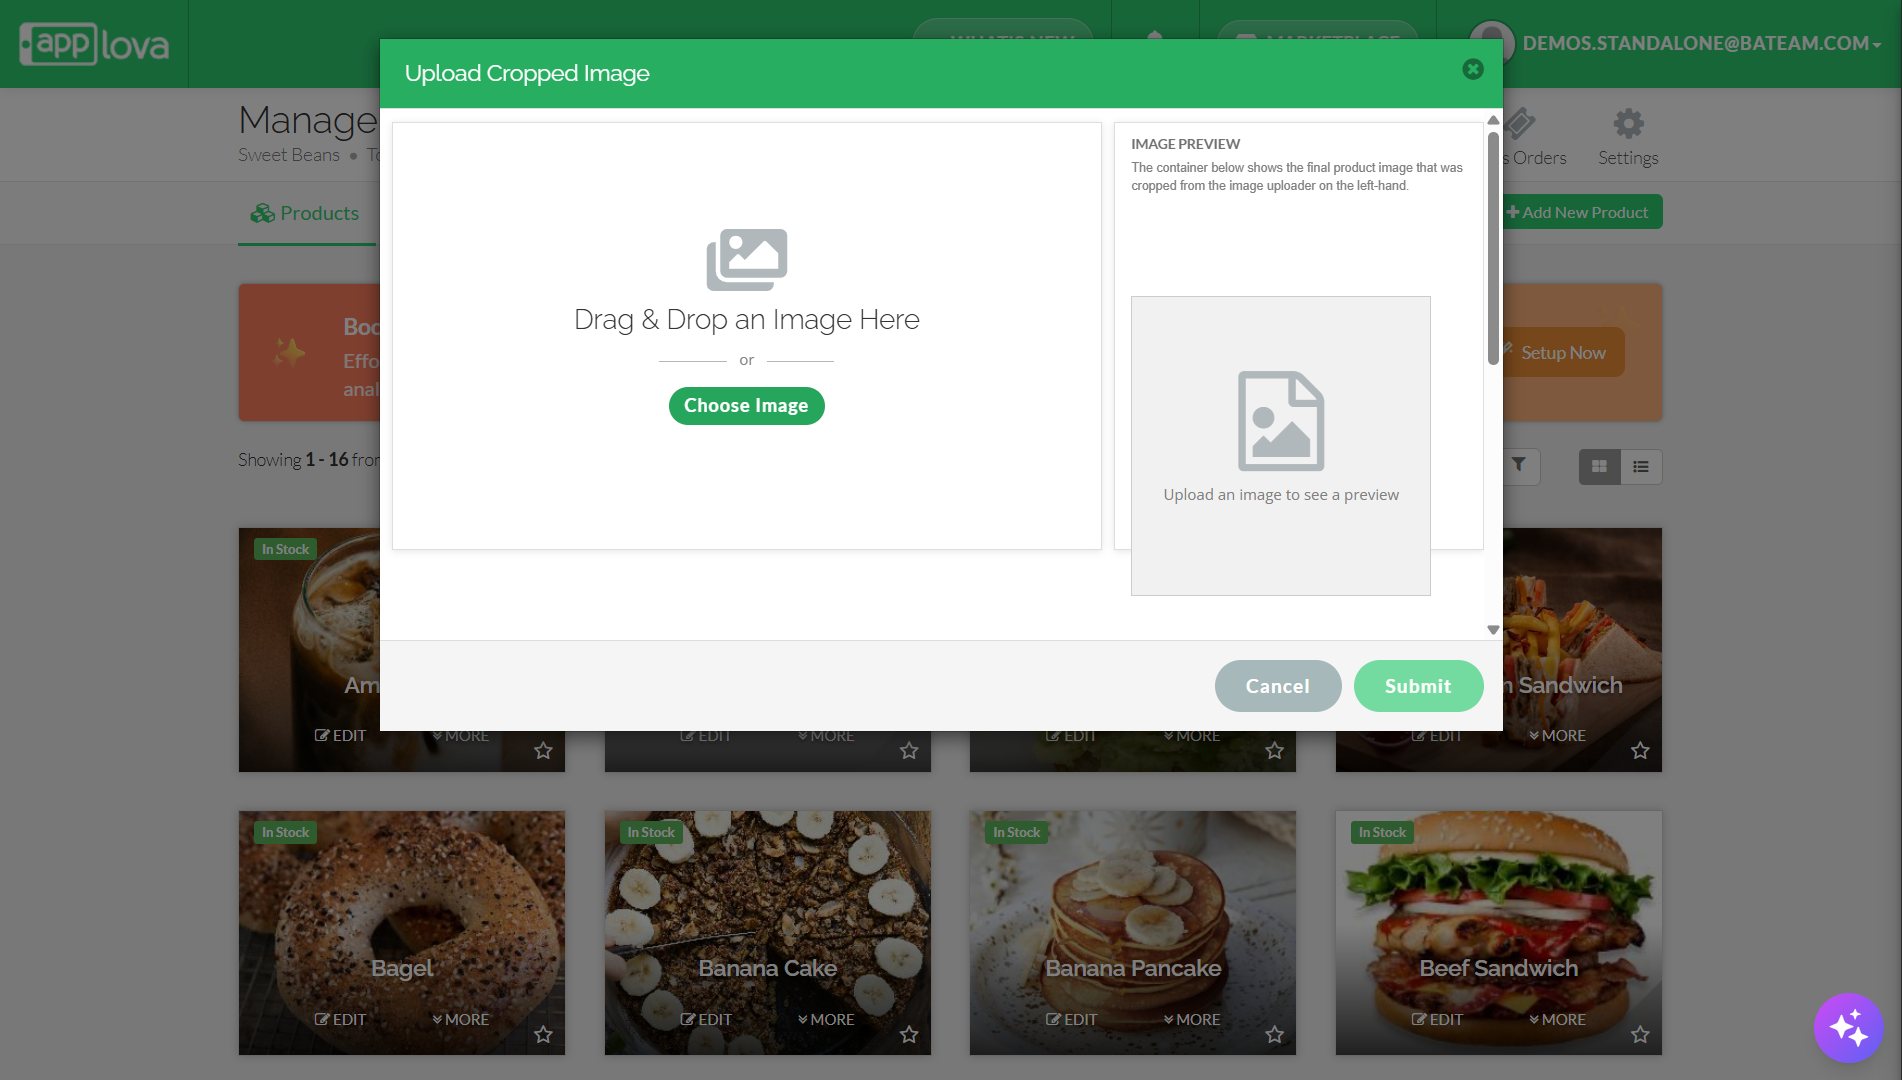
Step 4

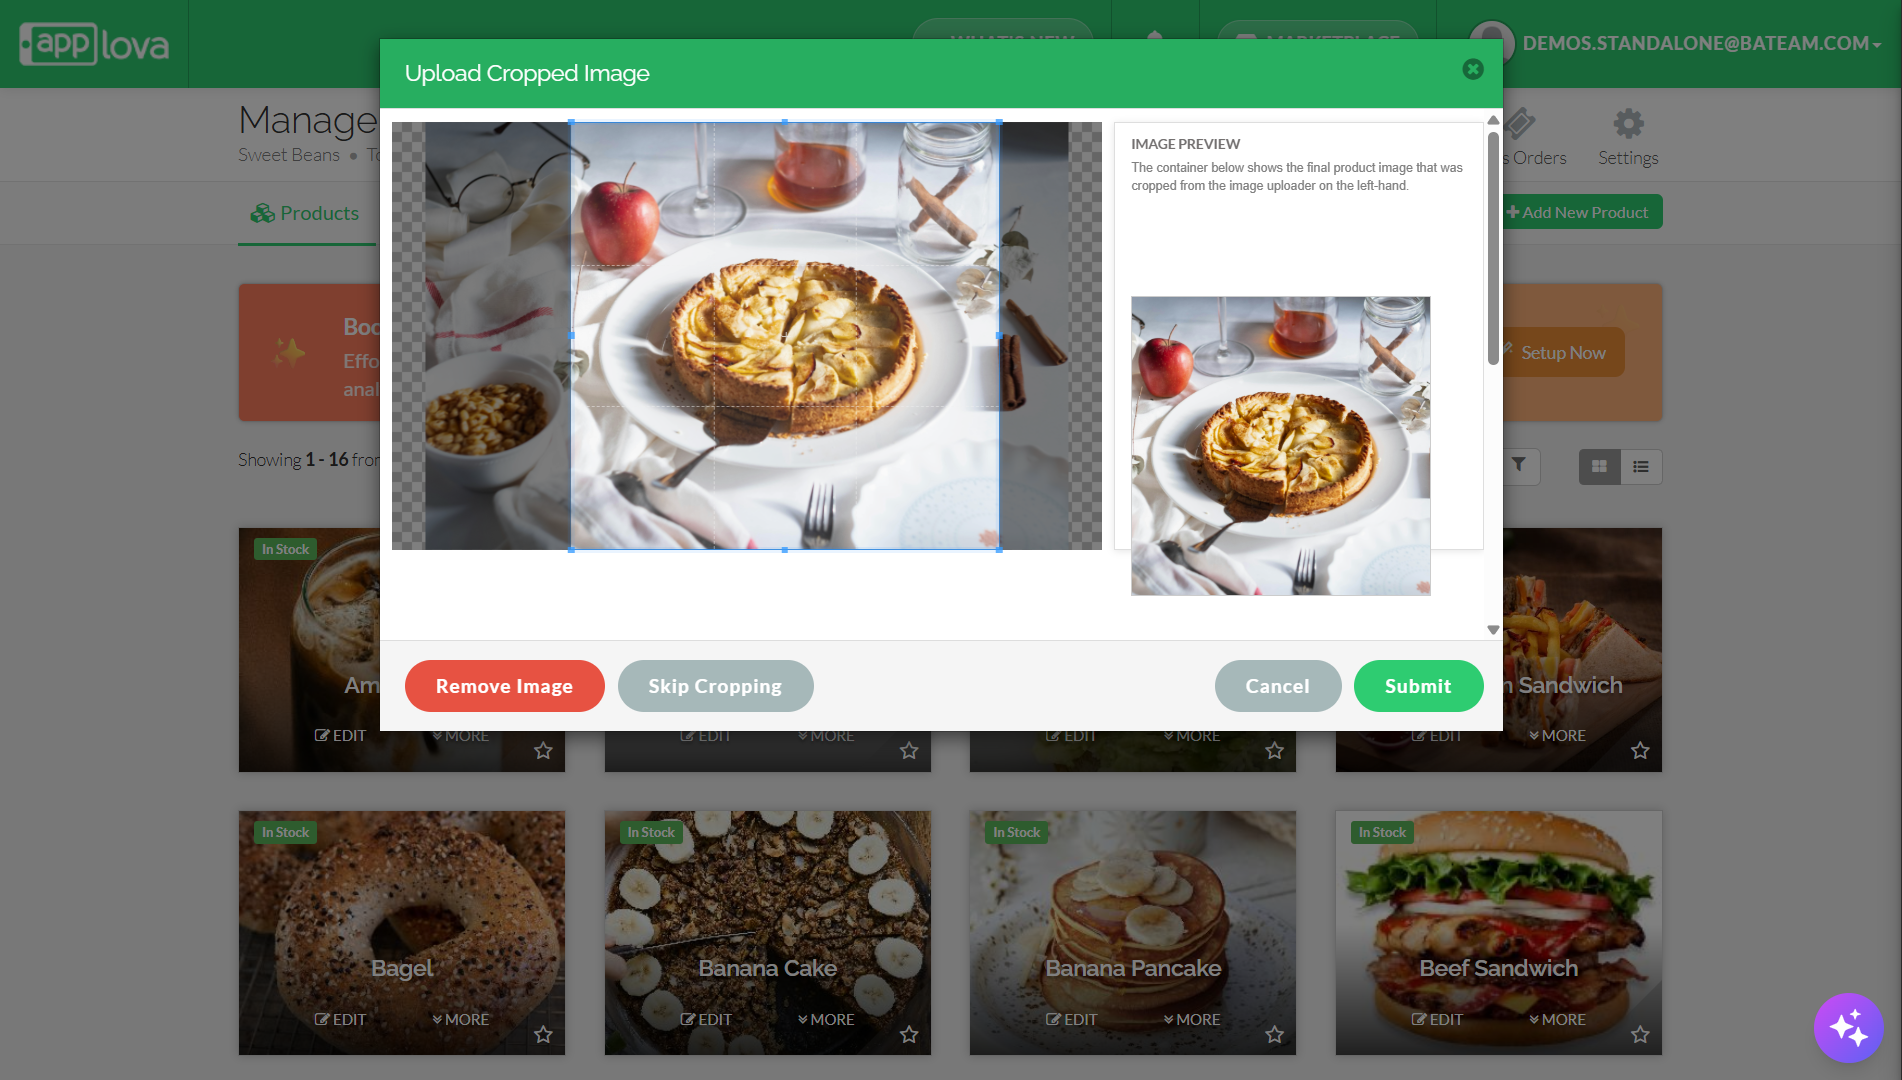
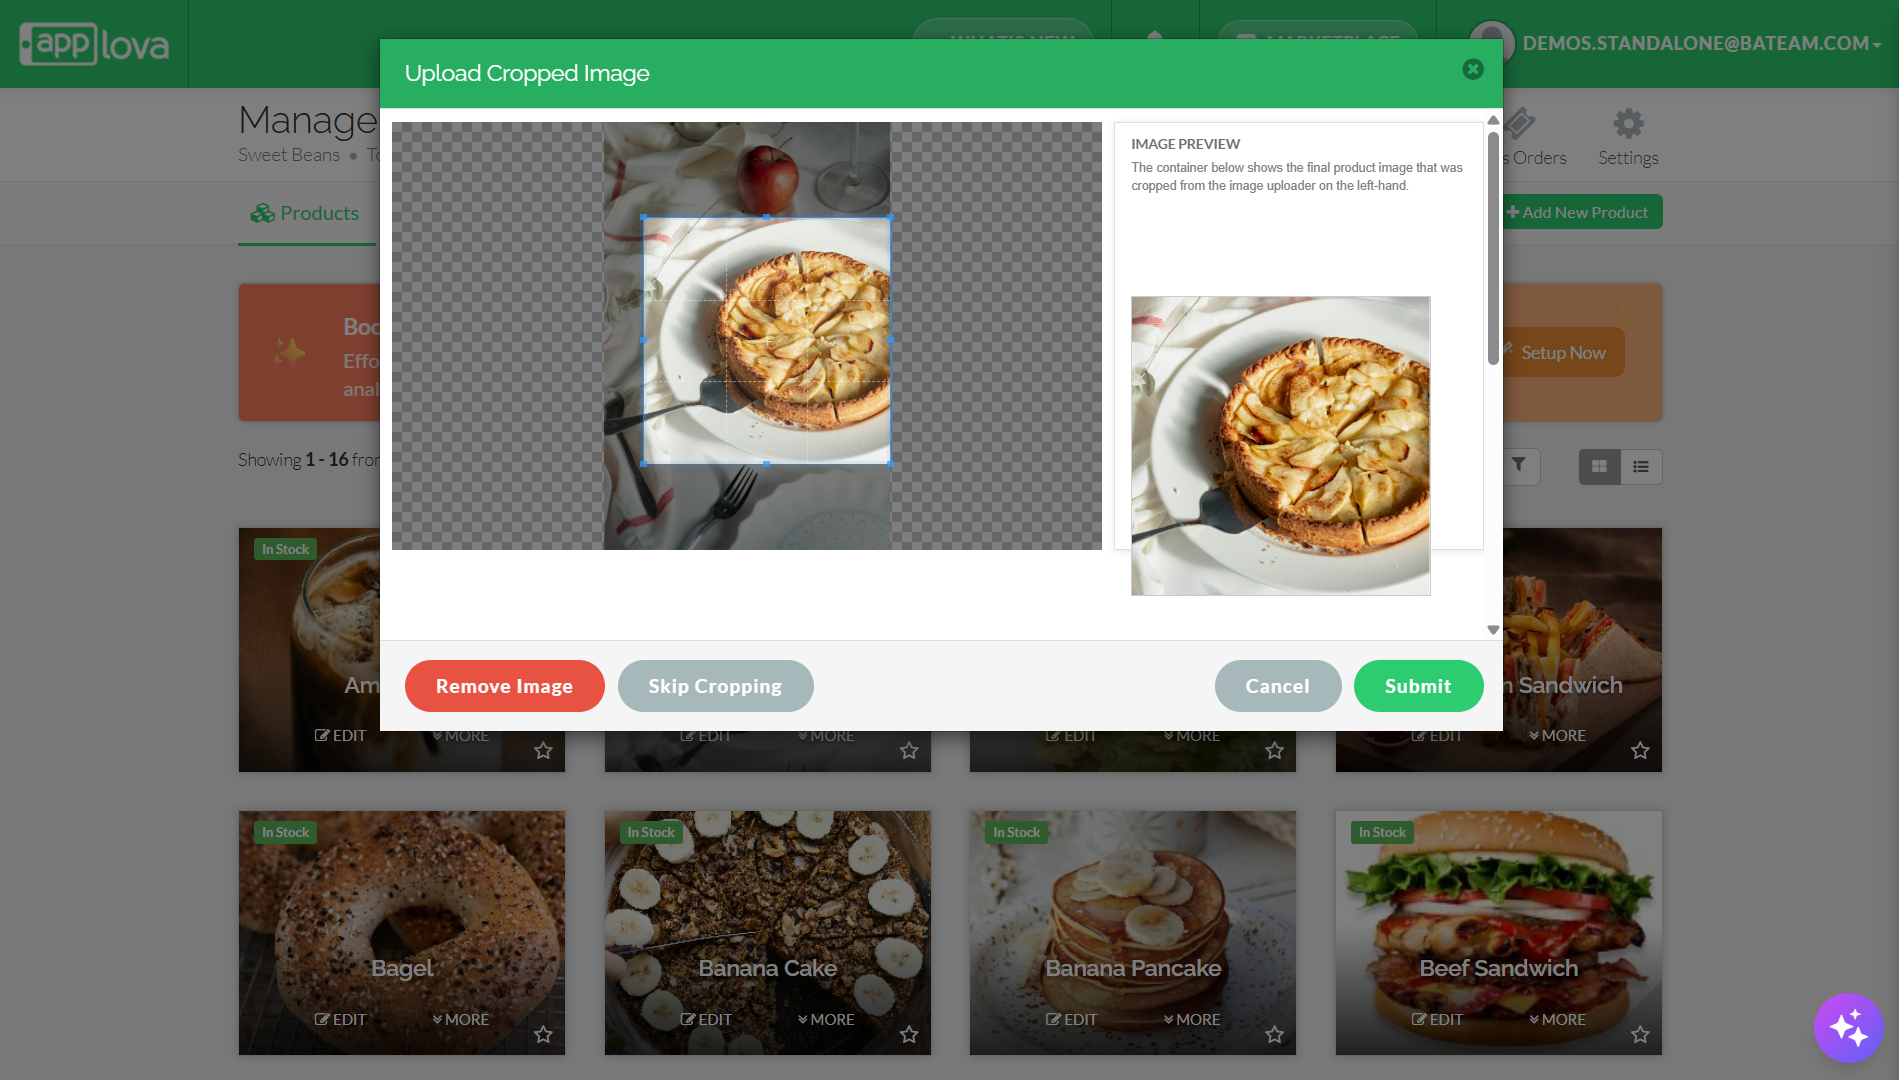
Image can be cropped as required.
Click "Submit" to save the image.
How to Edit Product Images?
Follow the steps given below to replace the existing product image.
Step 1
Login to "Applova Merchant Web".
Step 2
Go to "Products" and then click "Click to Upload Image" at the top right corner of the product.
Step 3
Add the image you prefer.
Step 4
Click "Submit" to save the image.
How to Add Multiple Product Images?
This feature allows the merchant to add more than one image to a product.
Step 1
Login to "Applova Merchant Web".
Step 2
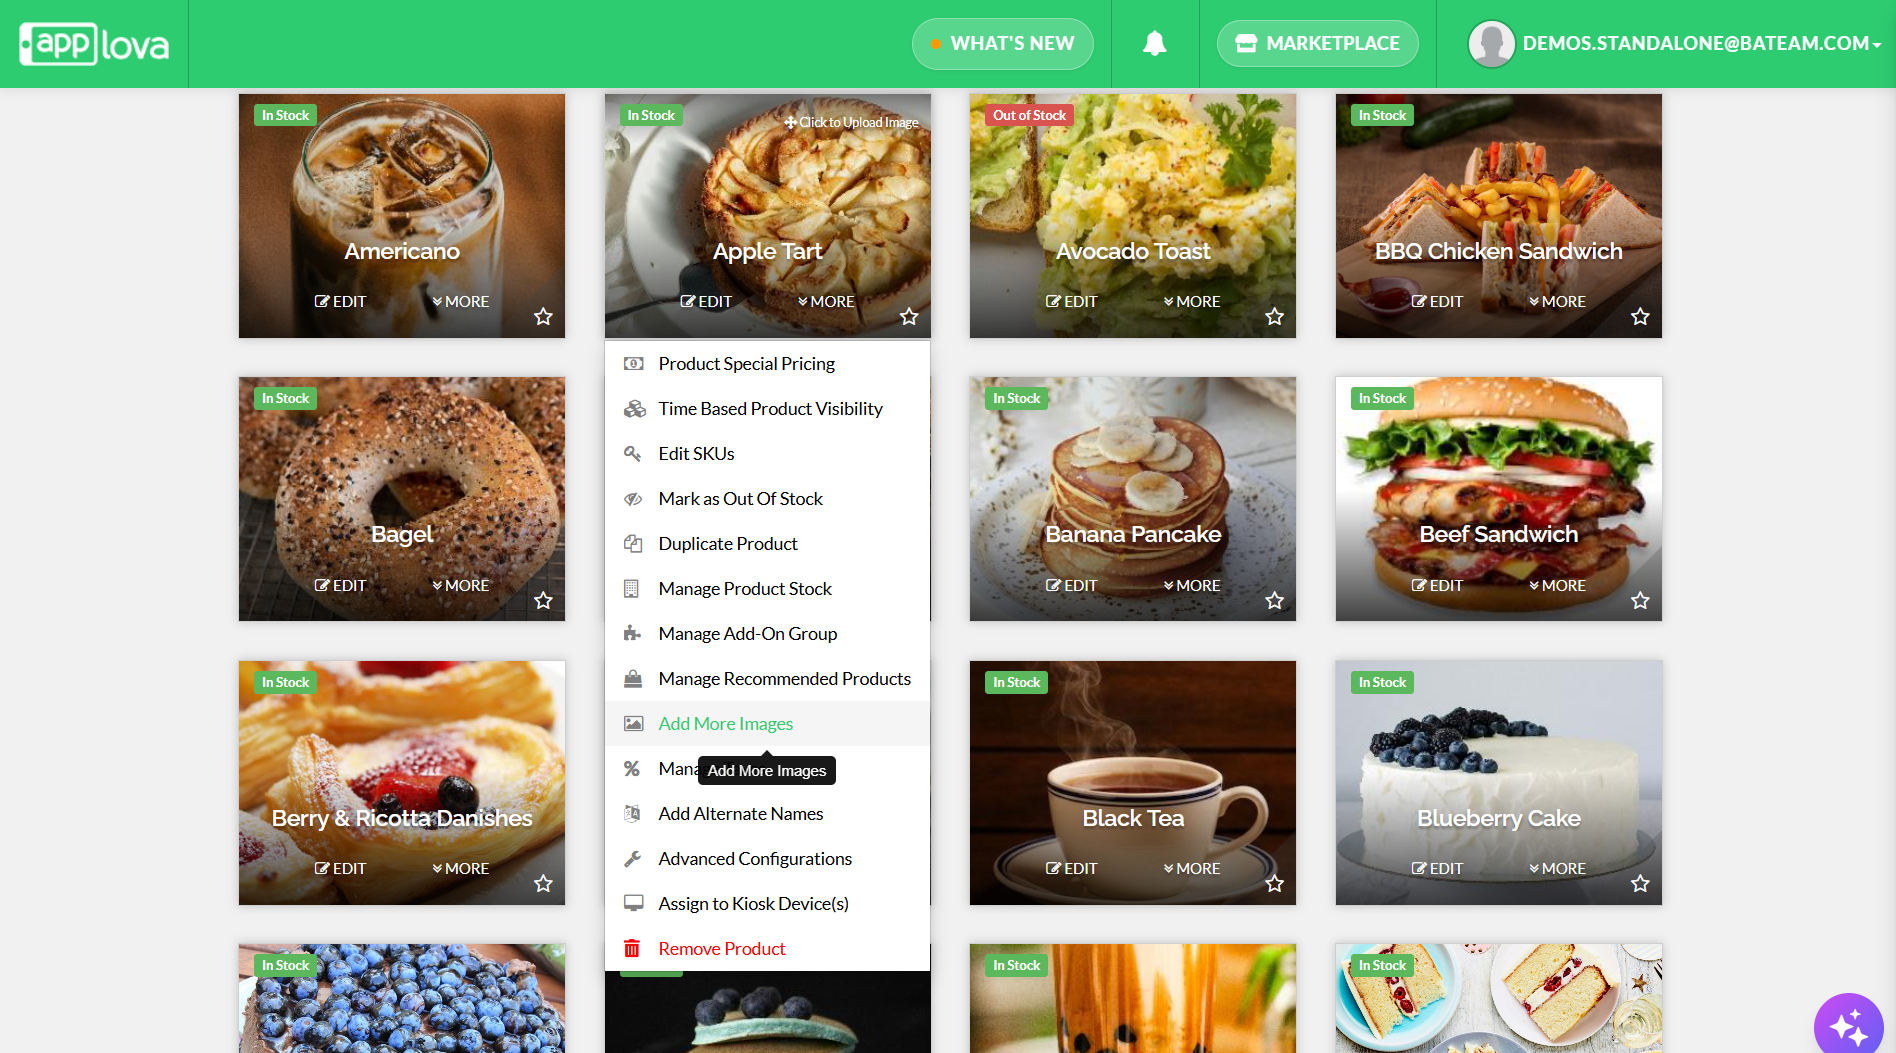
Under the "Products" tab click "More" on the product you wish to add more images.
Step 3
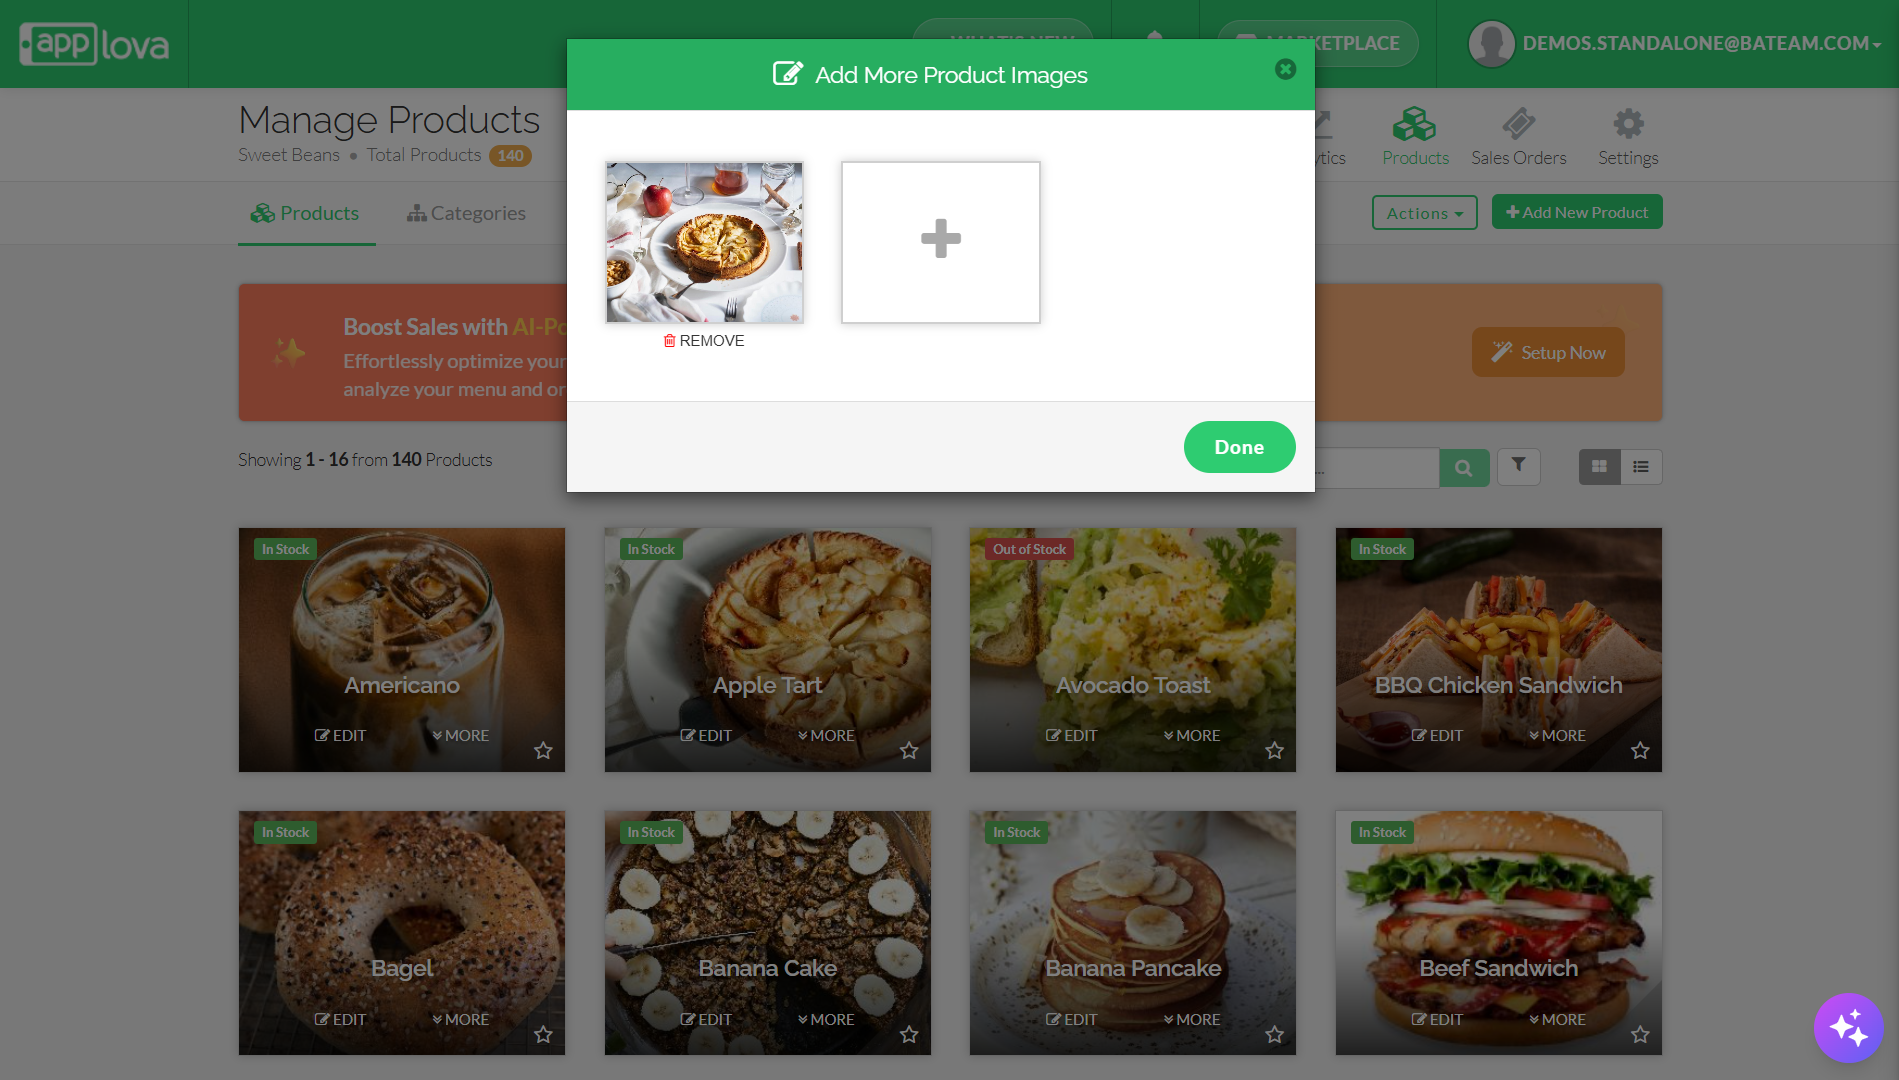
Click "Add More Images".
Step 4
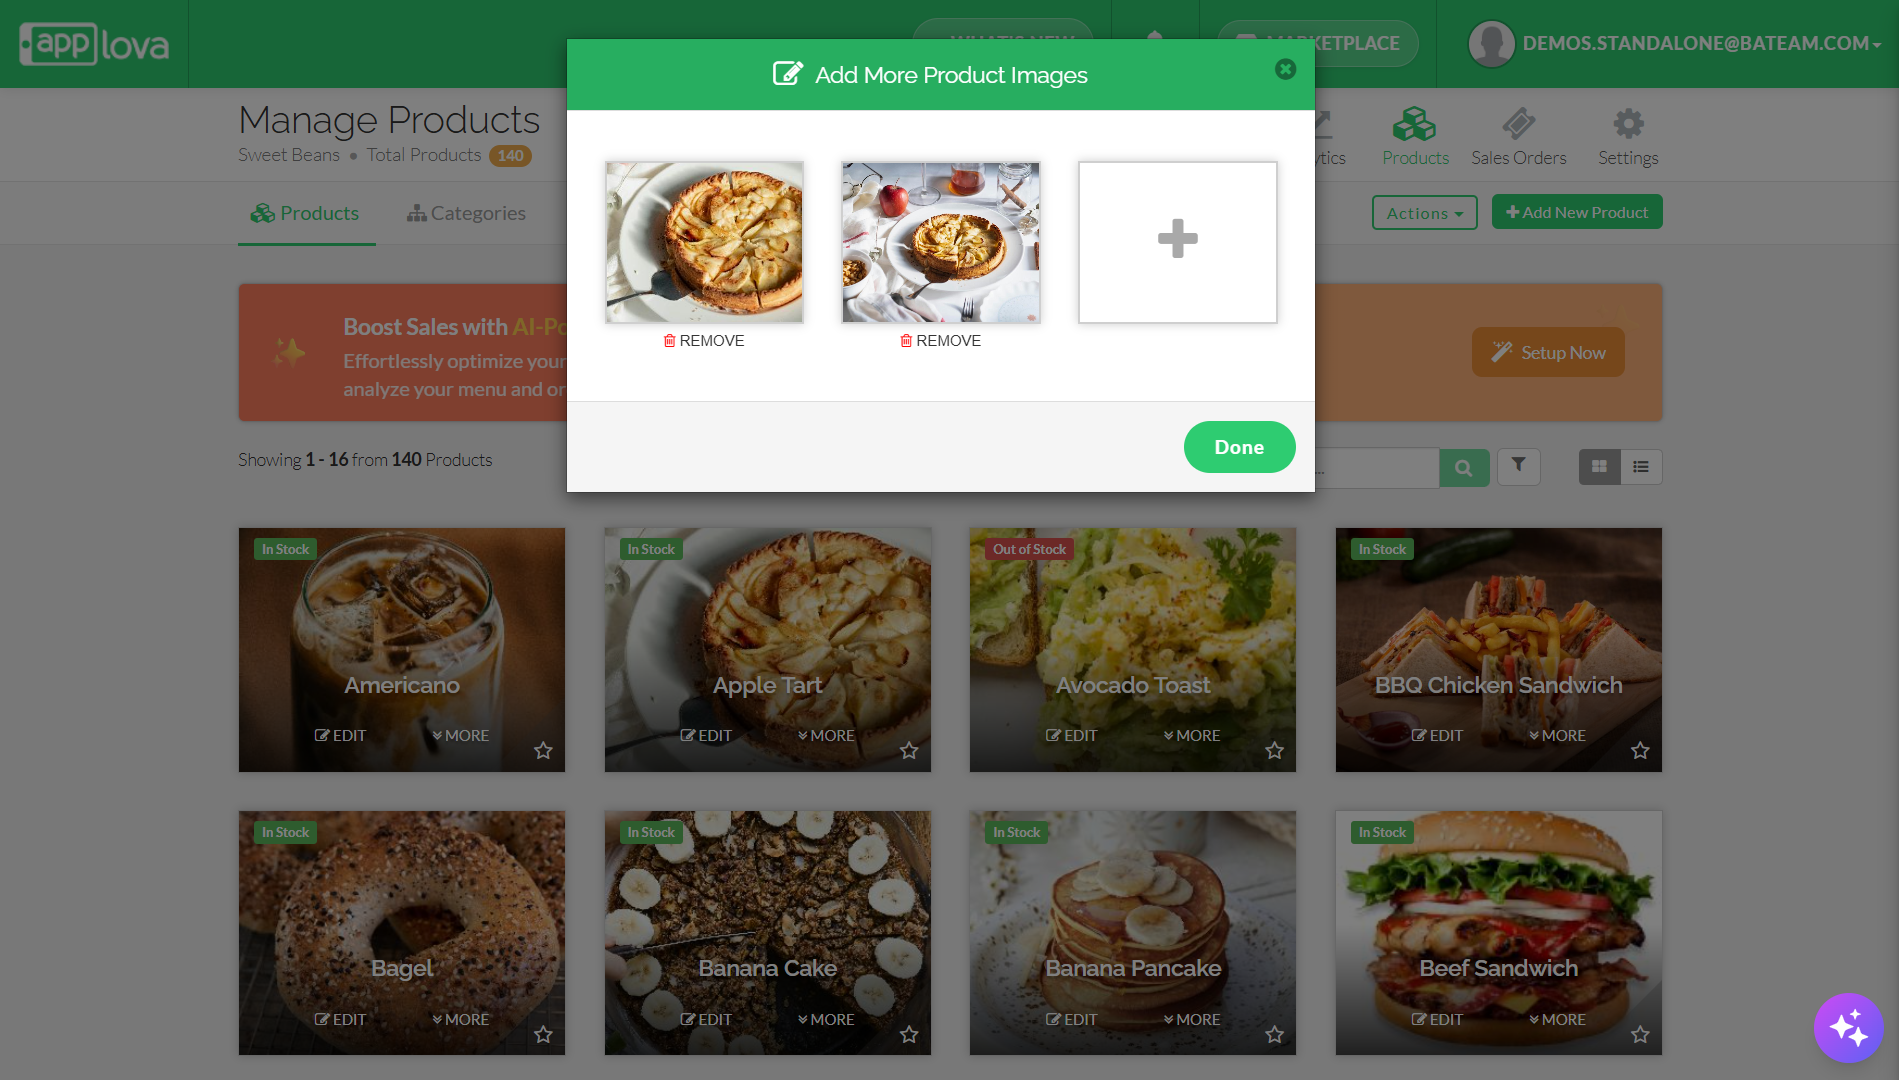
Click on the "+" mark to add images, and then click "Done".
How to Delete Product Images?
This will allow the merchant to remove the existing image.
Step 1
Login to "Applova Merchant Web".
Step 2
Under the "Products" tab click "More" on the product you wish to add more images.
Step 3
Click "Add More Images".