How to Manage Customer Segments?
Customer Segmentation helps merchants organize their customer base into meaningful groups based on purchasing behavior, engagement levels, and activity trends. By creating these segments, merchants can better understand their audience, deliver tailored promotions, and improve overall marketing efficiency.
This guide shows how to view, create, export, remove and use customer segments in the Applova Merchant Portal to support more targeted and data-driven customer engagement.

 Use Case Scenario
Sunrise Café, a cozy neighborhood breakfast spot, serves hundreds of customers weekly across dine-in, pickup, and online channels. The owner, Jasmine, wants to better understand her customers’ purchasing behavior—especially who returns often, who hasn’t ordered in a while, and who tends to spend more. Instead of manually exporting and sorting spreadsheets, Jasmine uses Customer Segmentation in the Merchant Portal.
By using this feature, Sunrise Café is able to:
Quickly build targeted customer groups using predefined segmentation templates, allowing Jasmine to focus on loyal regulars, newly joined customers, high-value spenders, or those who need an incentive to return.
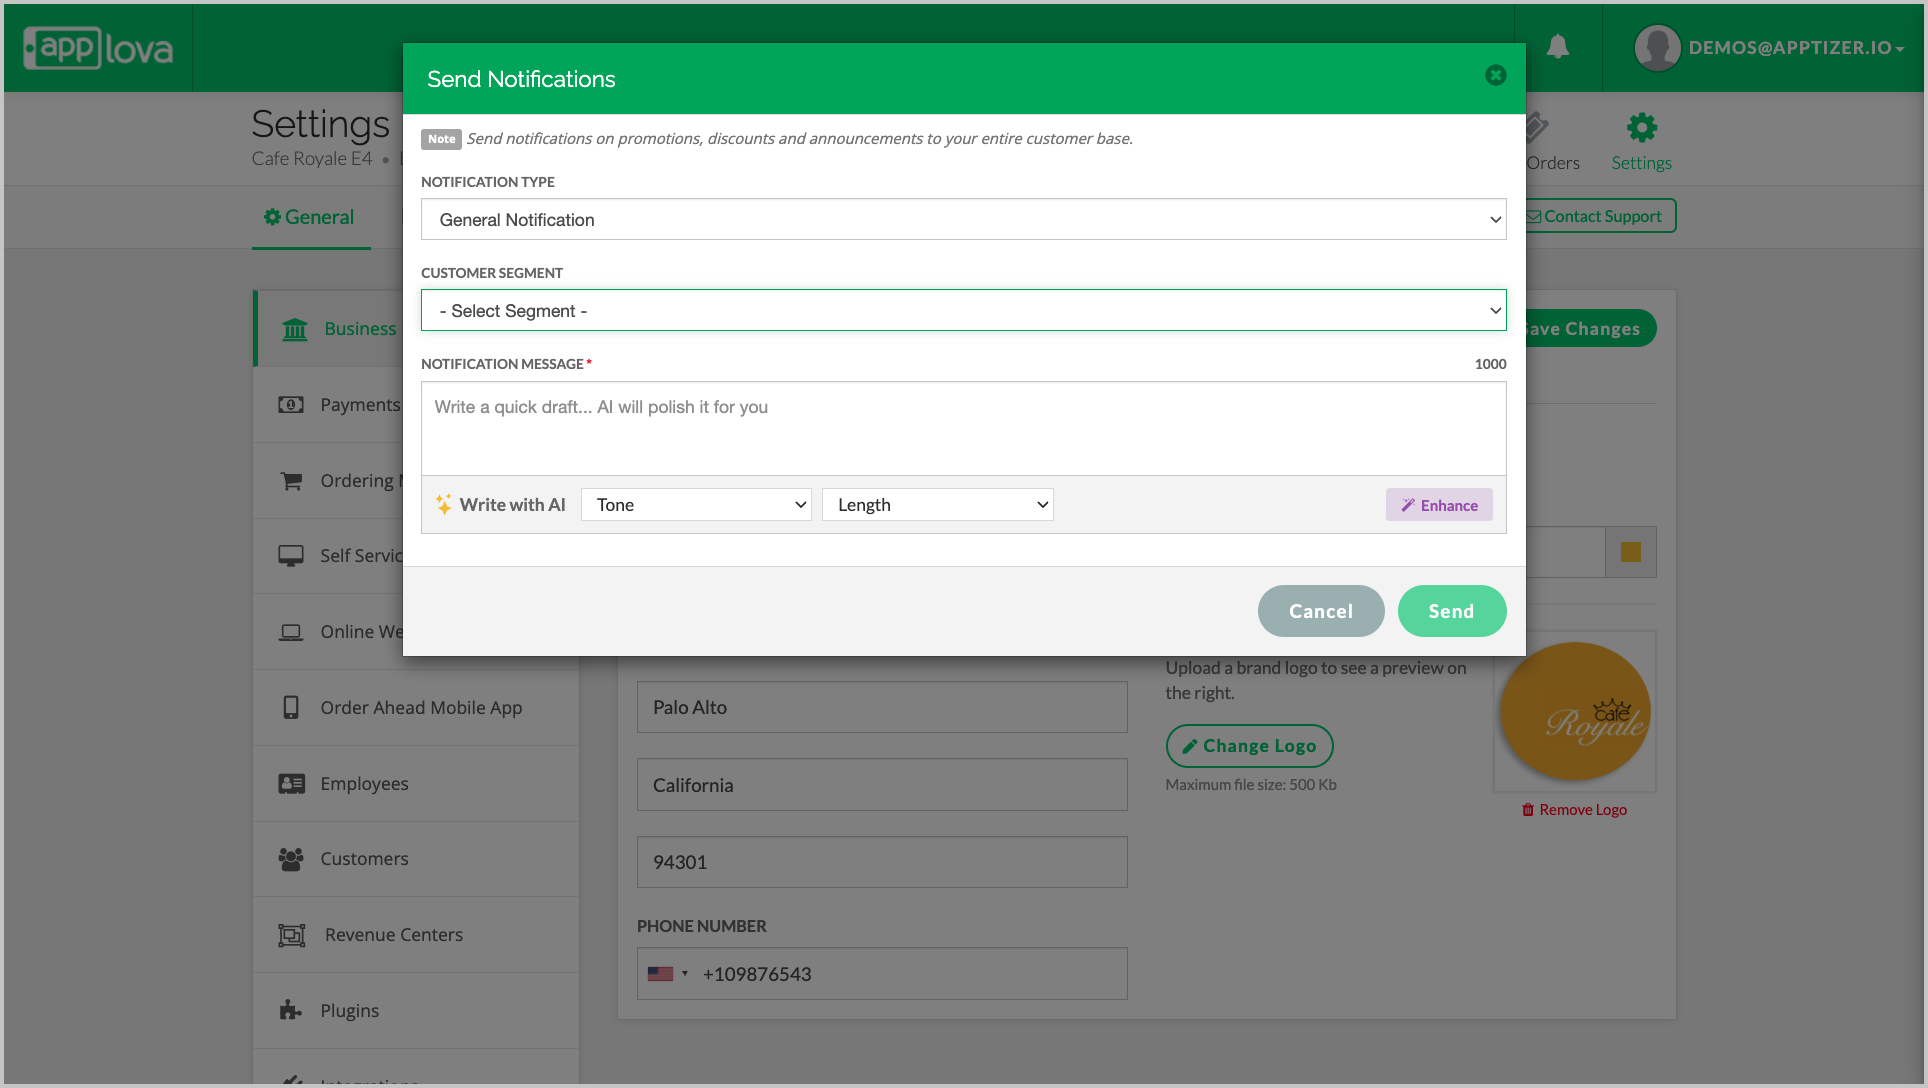
Send tailored Push Notifications—such as a “We miss you!” message to customers who haven’t ordered recently, or a reward message to those who frequently visit.
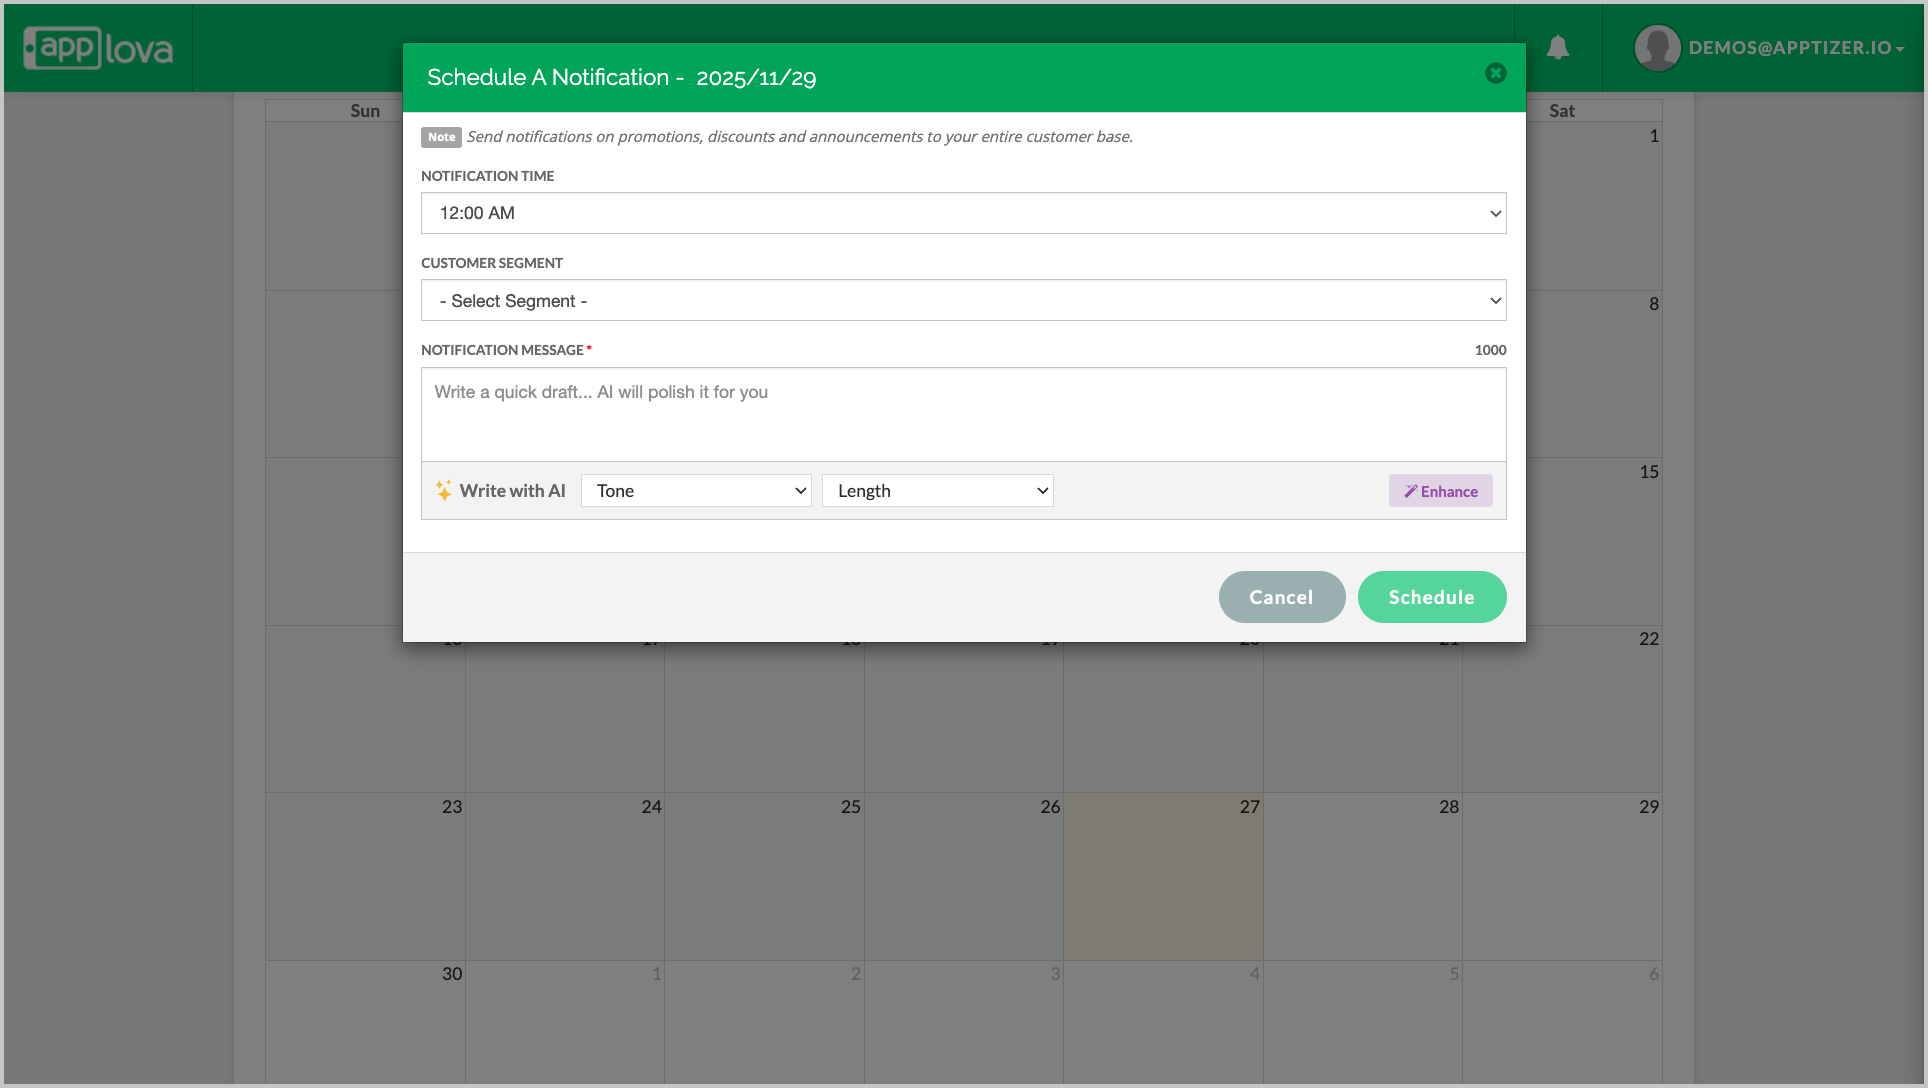
Automate recurring promotions by using segments inside Scheduled Notifications, helping the café deliver timely offers to the right audience every week.
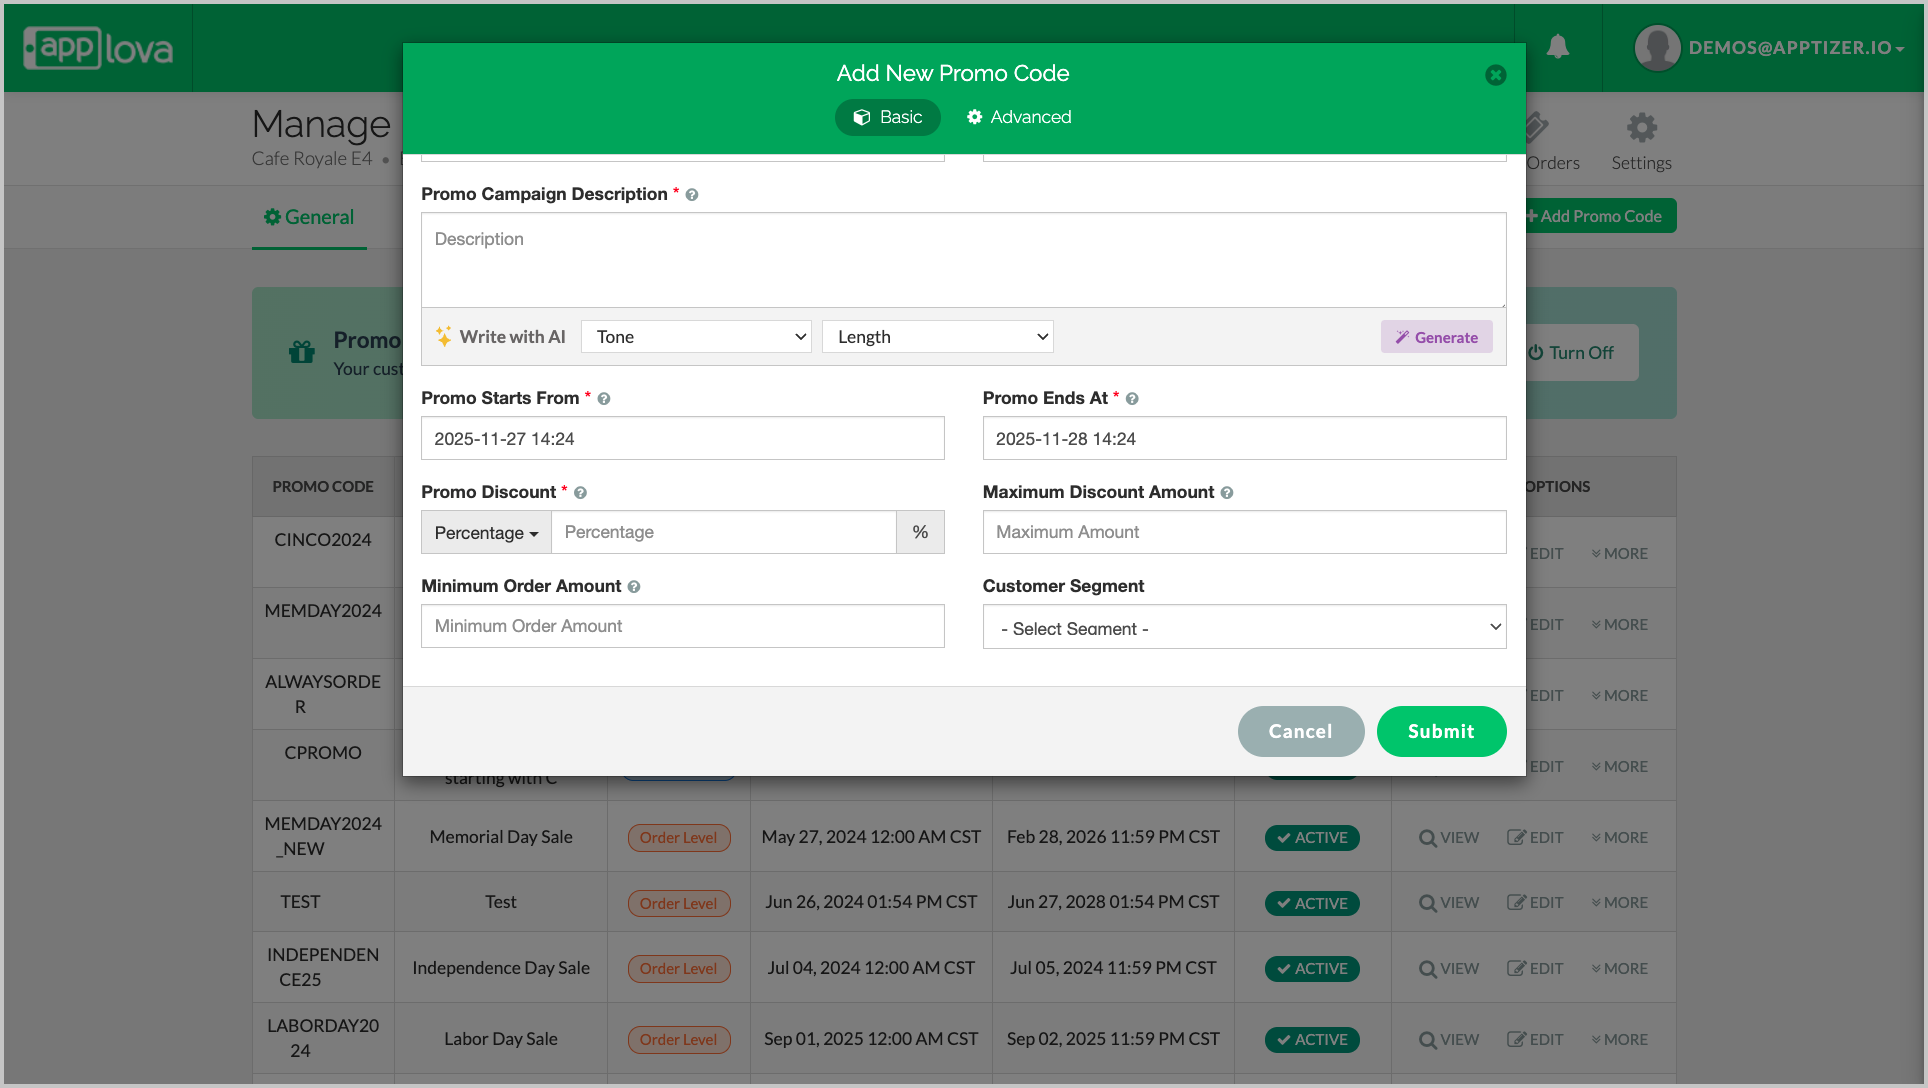
Attach segments to Promo Codes, ensuring discounts are redeemed only by the intended customer groups, like special perks for returning customers or appreciation rewards for top spenders.
Export segment lists whenever deeper analysis or external marketing is required.
With Customer Segmentation, Sunrise Café can personalize communication, reduce marketing waste, and strengthen customer loyalty—without any manual work or technical expertise.
How to Manage Customer Segments?
Follow these steps to access and view your defined customer segments.
Login to the Applova Merchant Portal.
Step 2
Navigate to Settings and then click on "Customers" section.
Step 3
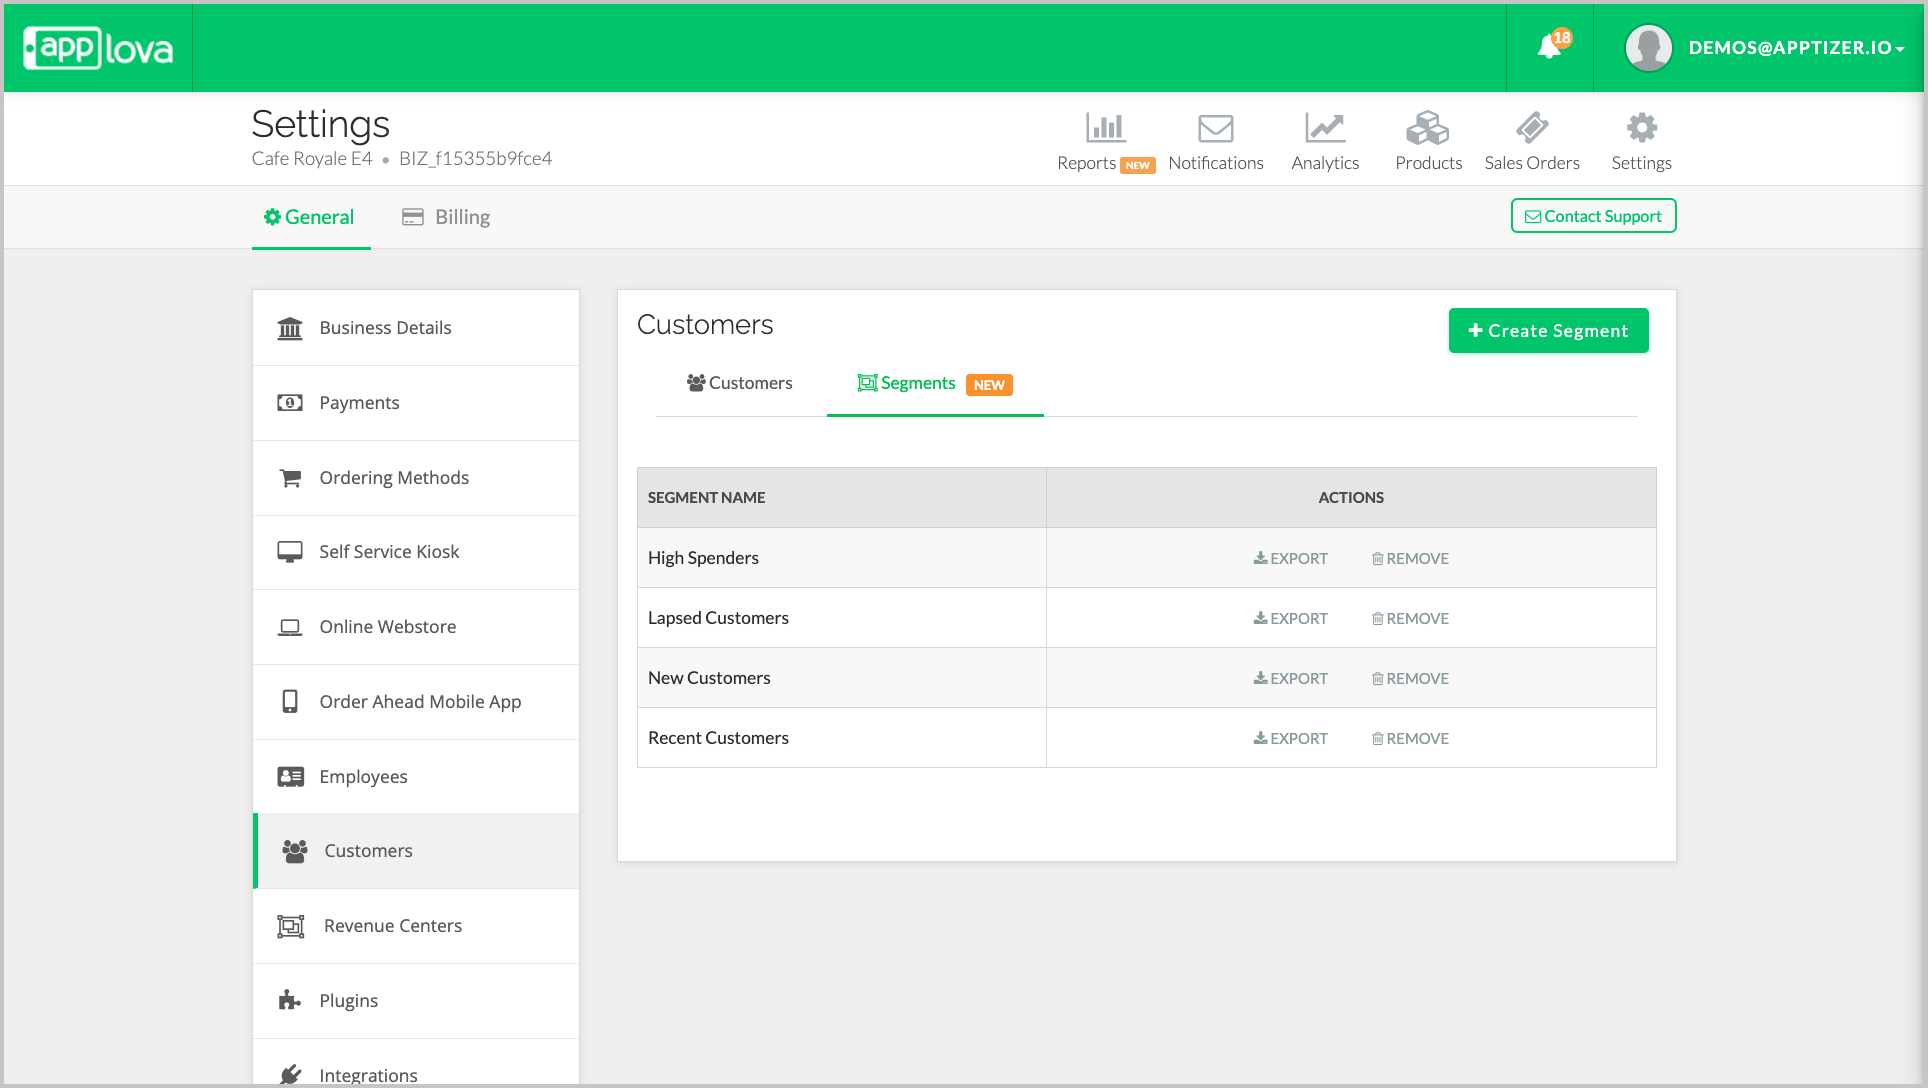
Click on the "Segments" tab.

Each segment shows:
Segment Name
Report Button
- Remove Button

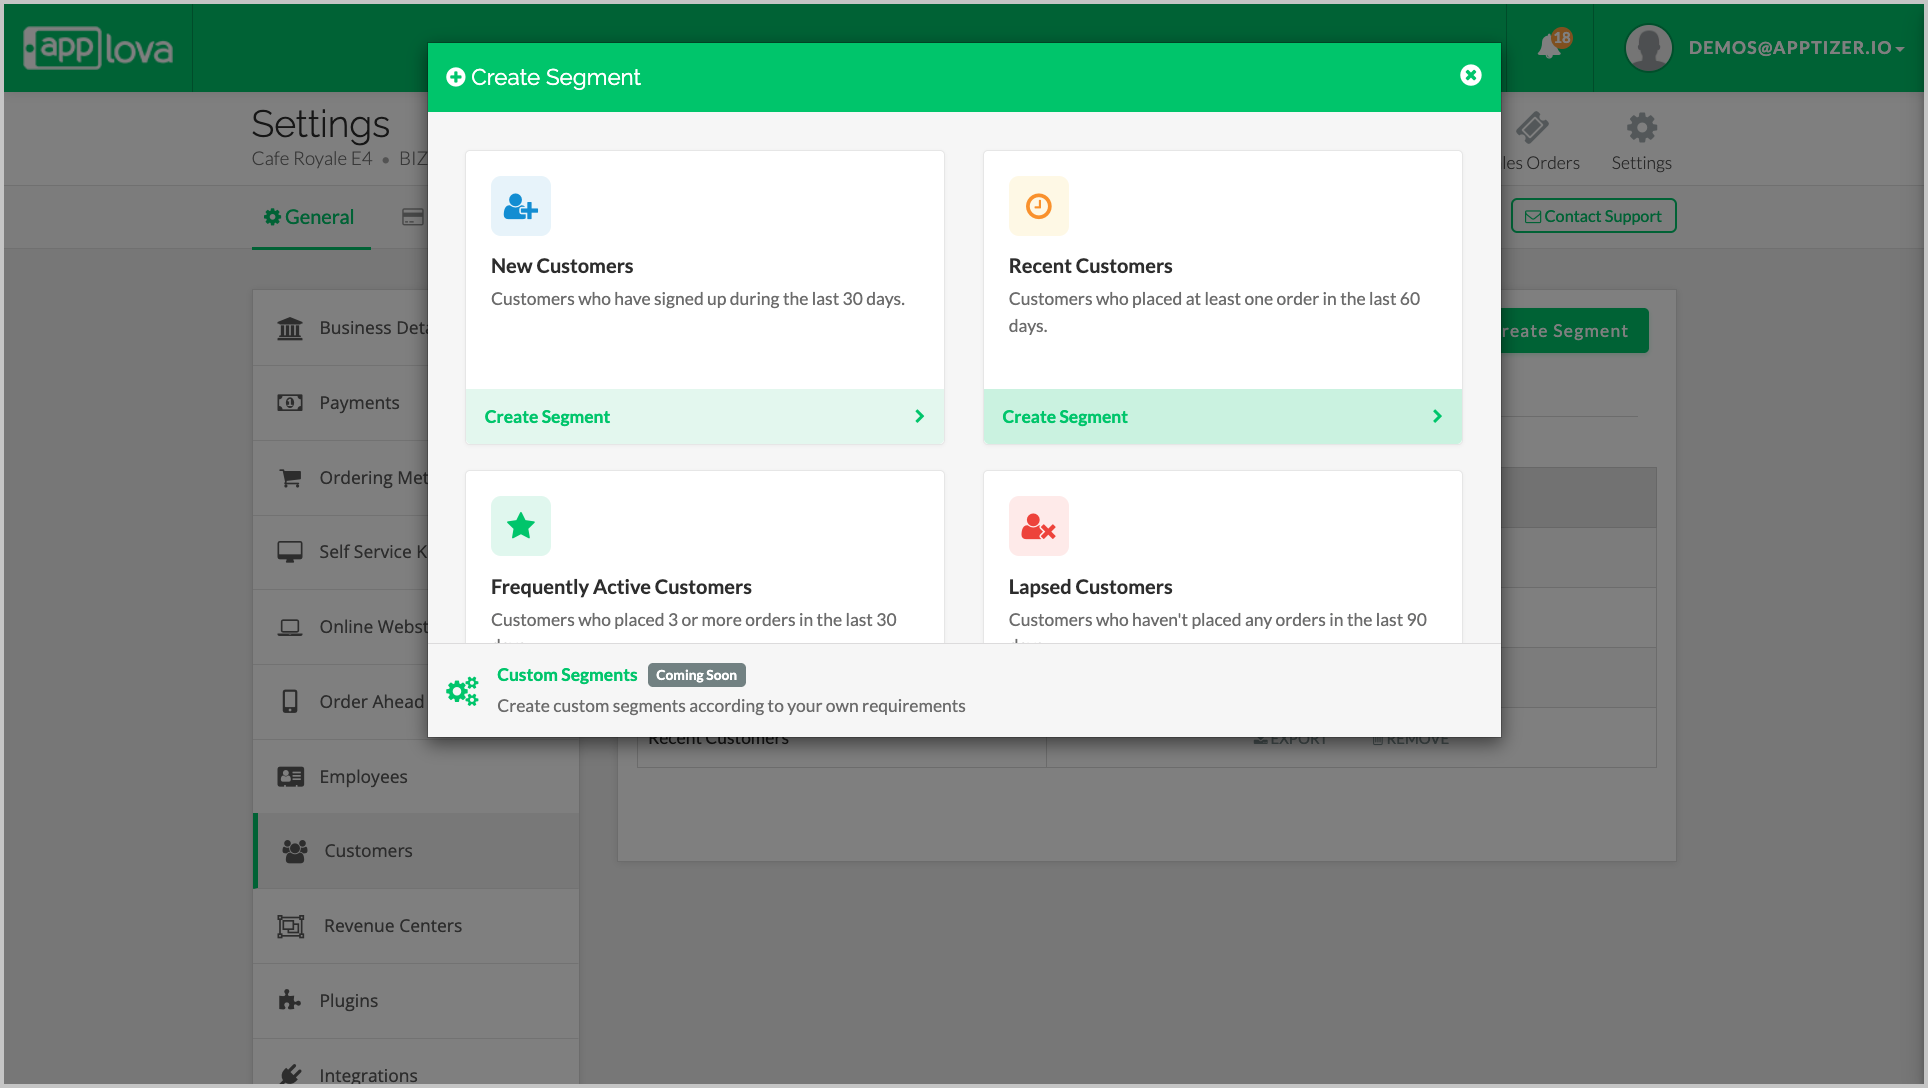
These condition values can be adjusted in the Confirm Segment popup before the segment is created.
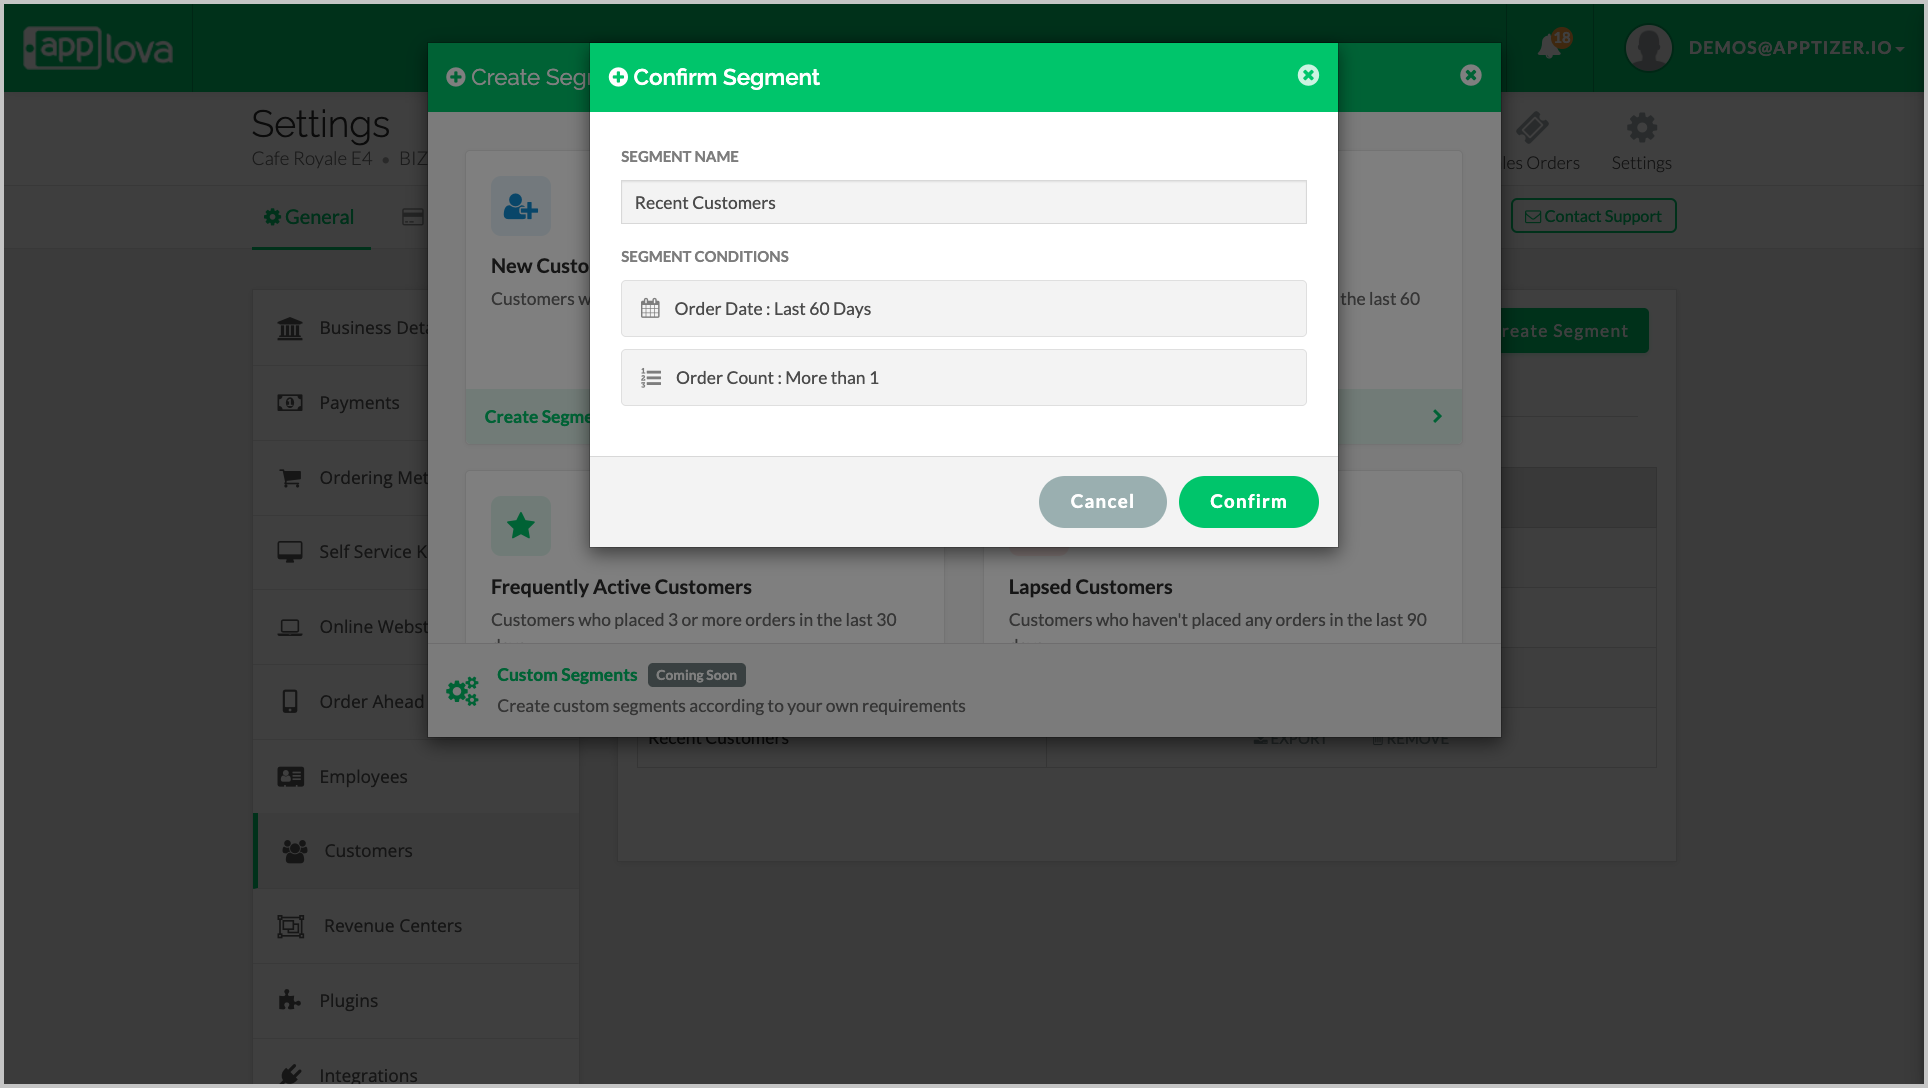
The new segment will appear in the segments tab.

Step 1 Navigate to Settings, choose Customers, and then click on the “Segments” tab.
Step 2
Click the “Edit” button next to the customer segment you want to update.

Image Link
Step 3
Update the required values for the segment conditions.
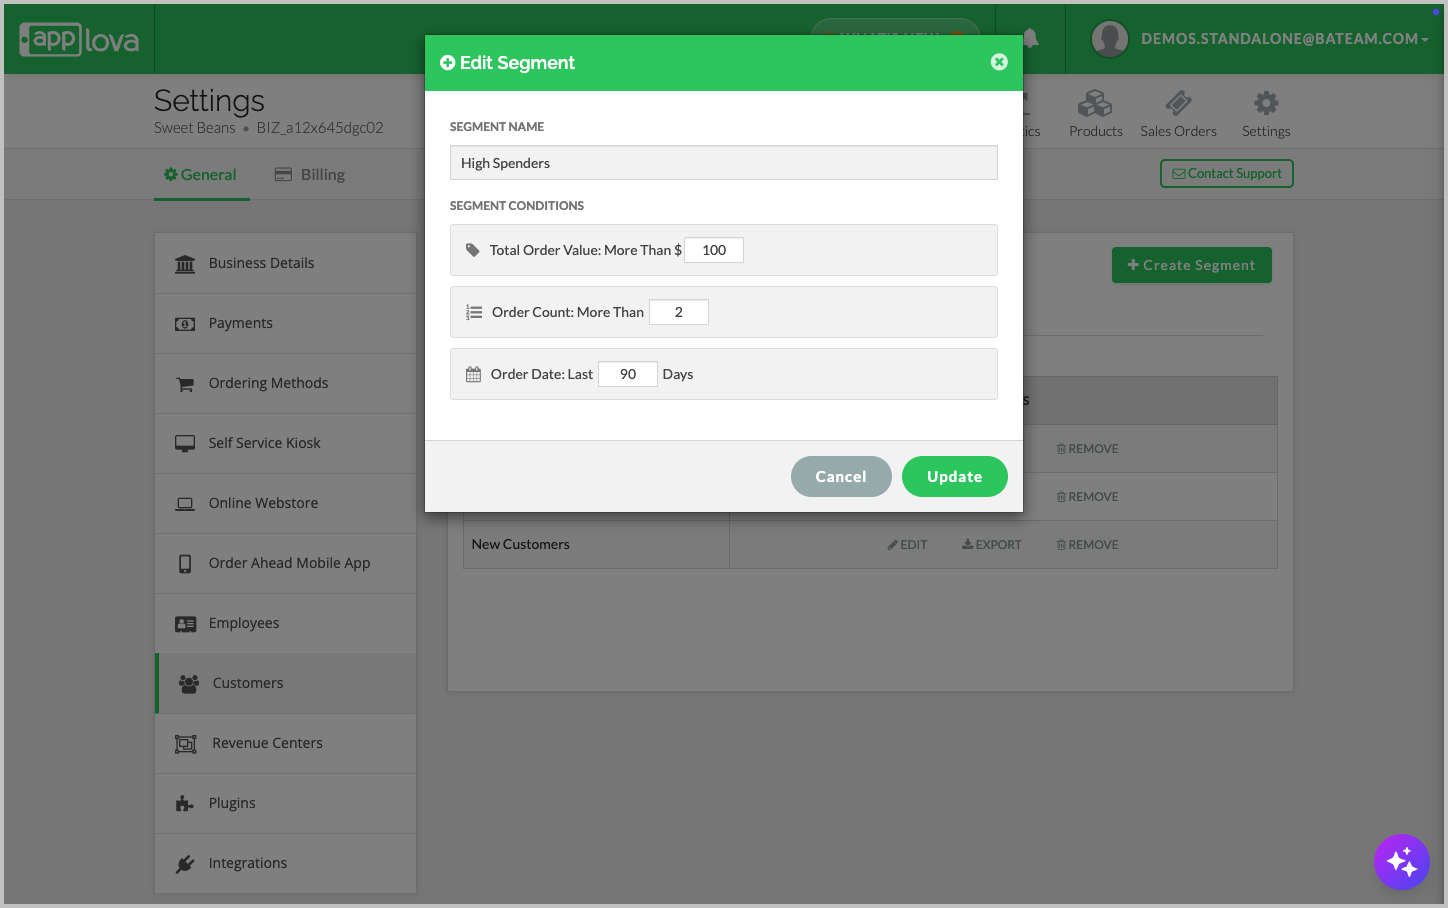
Image Link
Step 4 Click “Confirm” to save the changes.

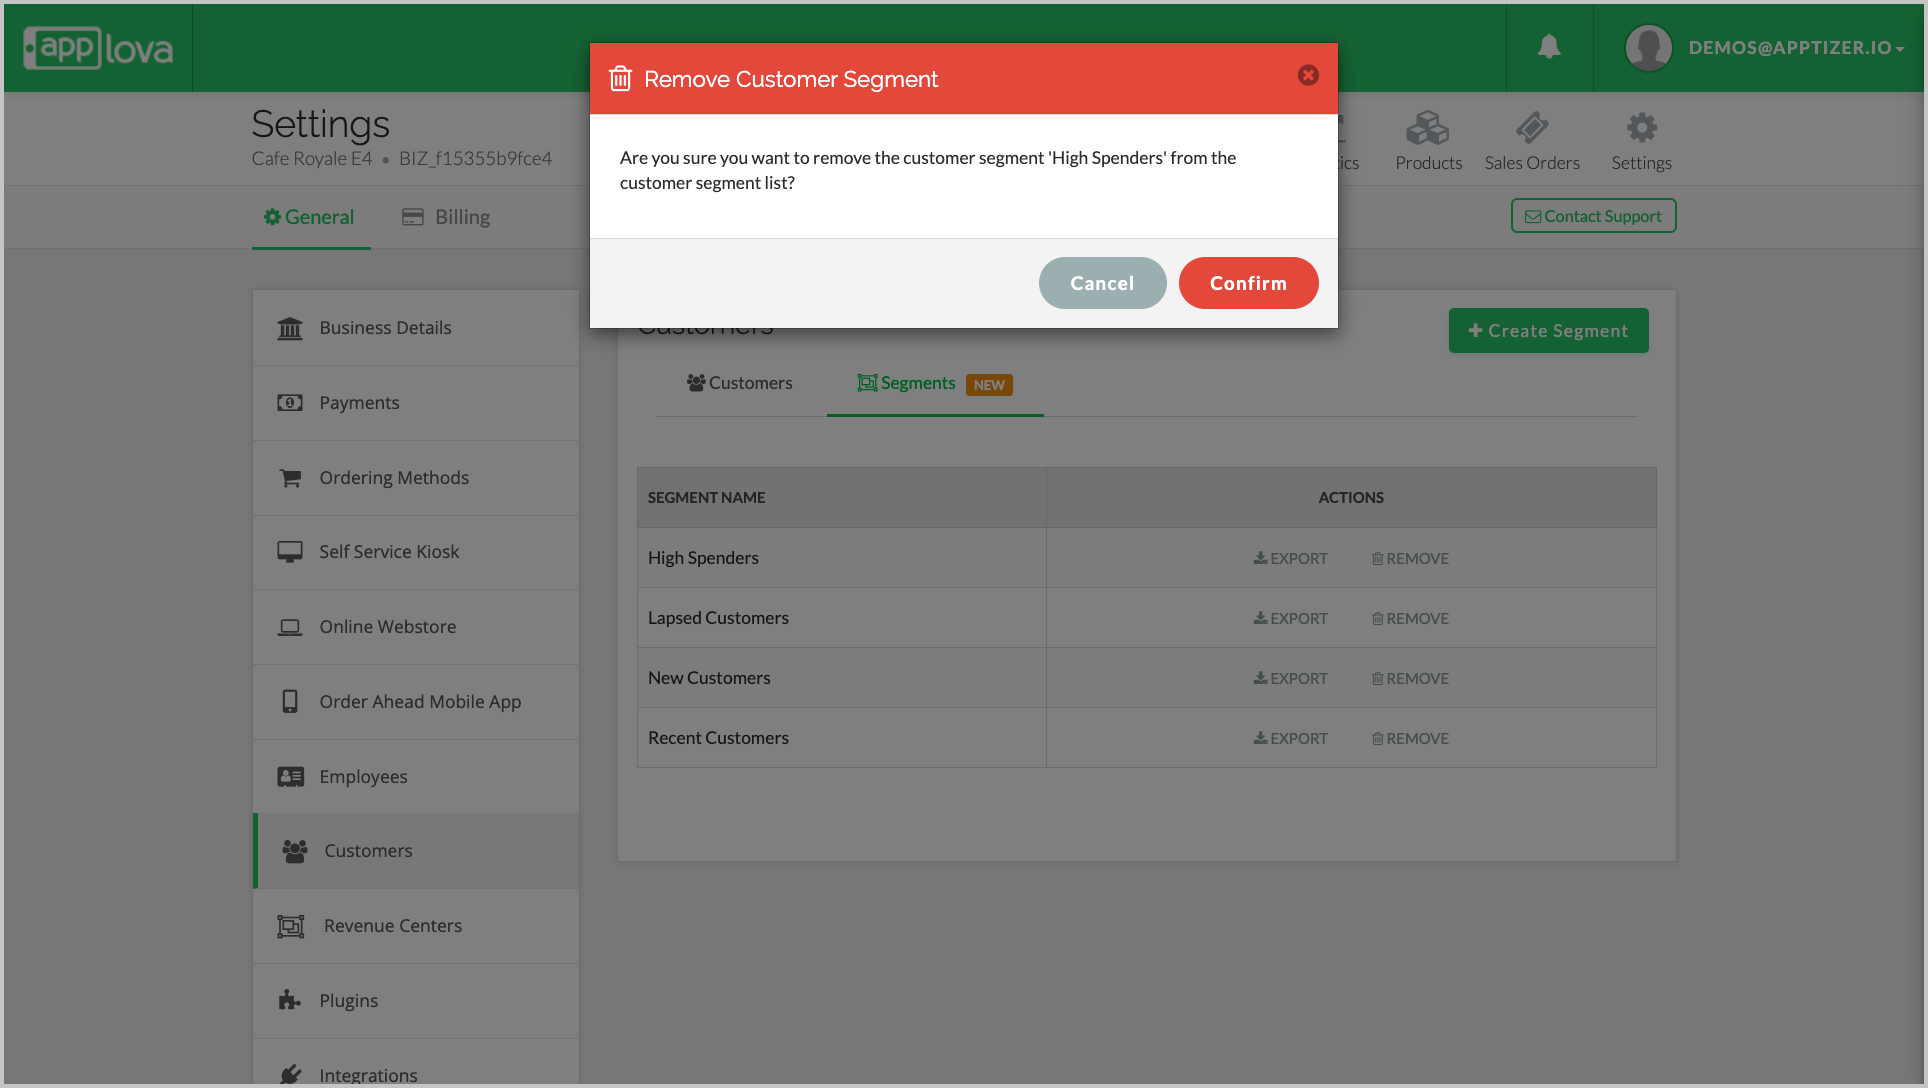
Step 3
In the Segments table, click the Remove button next to the segment you want to delete.
Step 3
Click "Confirm" to delete the segment.
How to Use Customer Segments?
Customer segments can be applied across multiple features in the Merchant Portal, including Push Notifications, Scheduled Notifications, and Promo Codes. Using segments in these areas allows you to deliver more targeted communication and personalized offers to the right customers. The sections below explain how segments are used within each feature.
Related Articles
Related Articles
How to Manage Allowed Time Ranges for Promo Codes?
This feature will allow the merchant to enable the promotion within the specified time ranges. There are 2 promocode time range types to select from. They are, Specific Day Range - allows to select a specific day in the week along with the time ...Migrating Customer and Rewards Data from Third-Party Loyalty Platforms to Applova Rewards
Follow the instructions given below to import customer profiles and loyalty points from a previous or third-party rewards platform into Applova Rewards. Step 1 Export data from the current or previous third-party loyalty platform in CSV or Excel ...How to Manage Applova Rewards on Merchant Web Portal?
This feature is available by default Applova Rewards helps you build customer loyalty by encouraging repeat visits and higher spend. By offering points-based rewards, such as free items or discounts, you can give customers a reason to keep coming ...Restricting Promo Codes to Specific Customer Email Addresses
This feature allows merchants to restrict a promotion so that only selected email addresses are eligible to receive the discount. By specifying exact email addresses, merchants can prevent unauthorized users from redeeming the promotion. Usecase ...How to Manage Purchasing Availability for Mobile App and Webstore?
This feature allows merchants to enable or disable online ordering directly from Merchant Web for both the mobile app and webstore. When online ordering is disabled, customers will not be able to place new orders, and a store-closed message will be ...