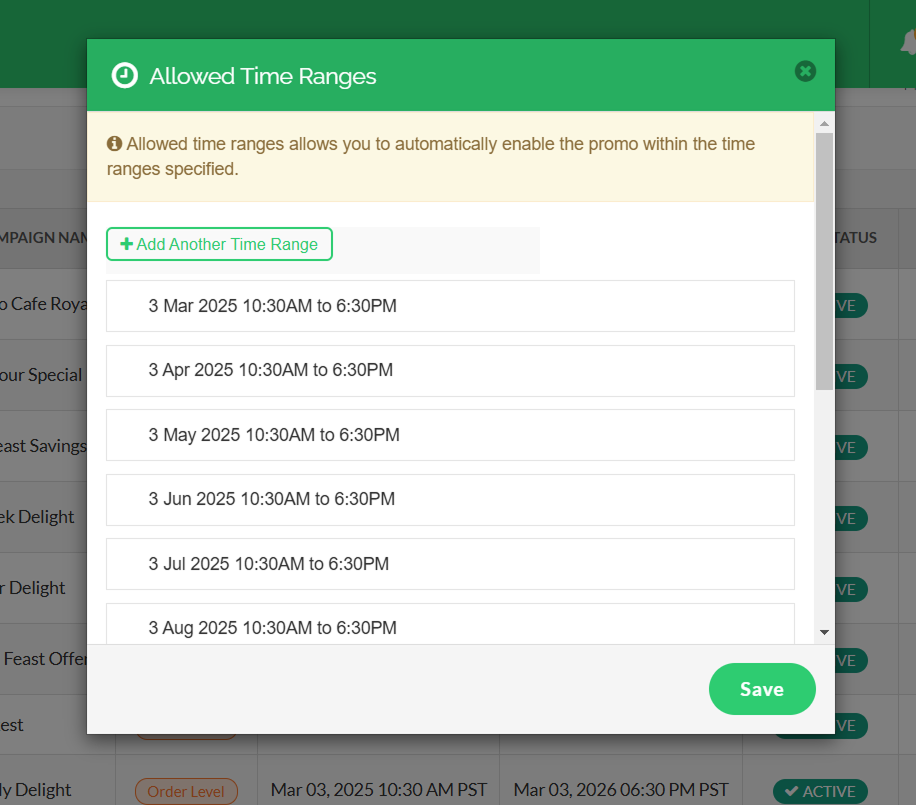
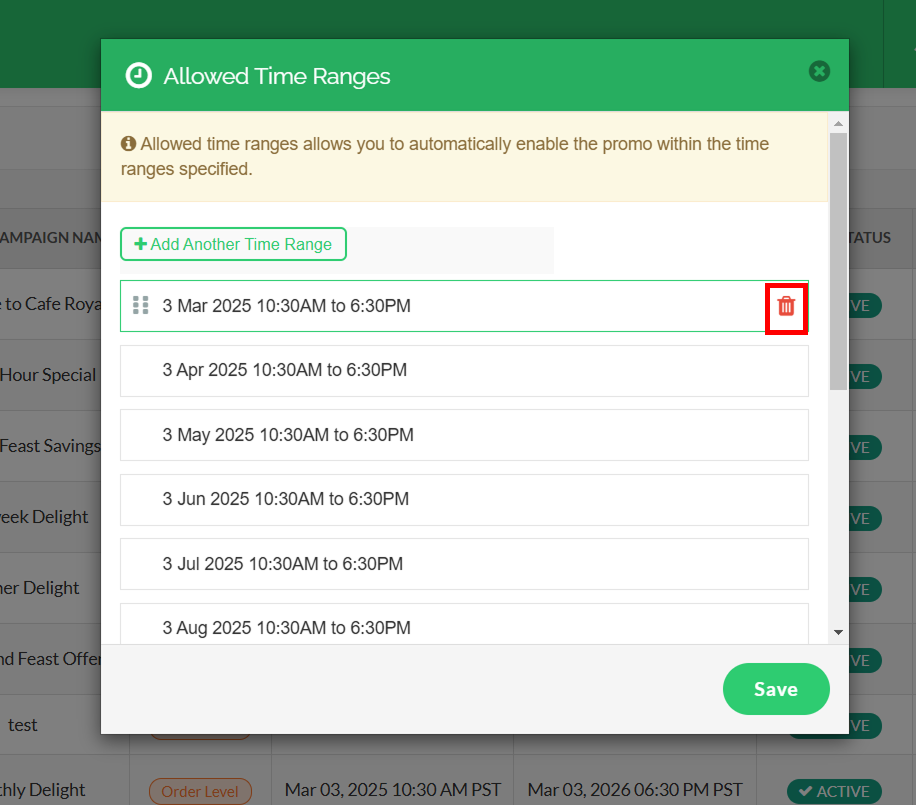
How to Manage Allowed Time Ranges for Promo Codes?
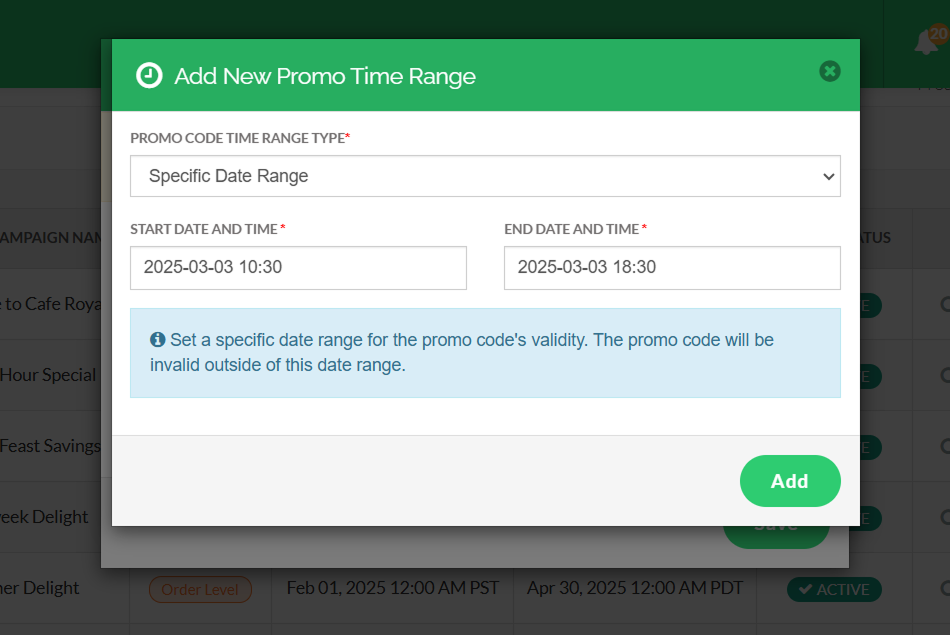
- Specific Day Range - allows to select a specific day in the week along with the time
- Specific Date Range - allows to set a date range along with the time
 Use Case Scenario
Sunset Bar, a neighborhood bar, wants to increase foot traffic during late afternoons by offering a daily Happy Hour promotion on drinks and small bites.
To automate this promotion and ensure a seamless customer experience, Sunset Bar uses the Allowed Time Ranges feature along with the Auto Apply on Checkout option via the Merchant Portal.
By using these features, Sunset Bar is able to:
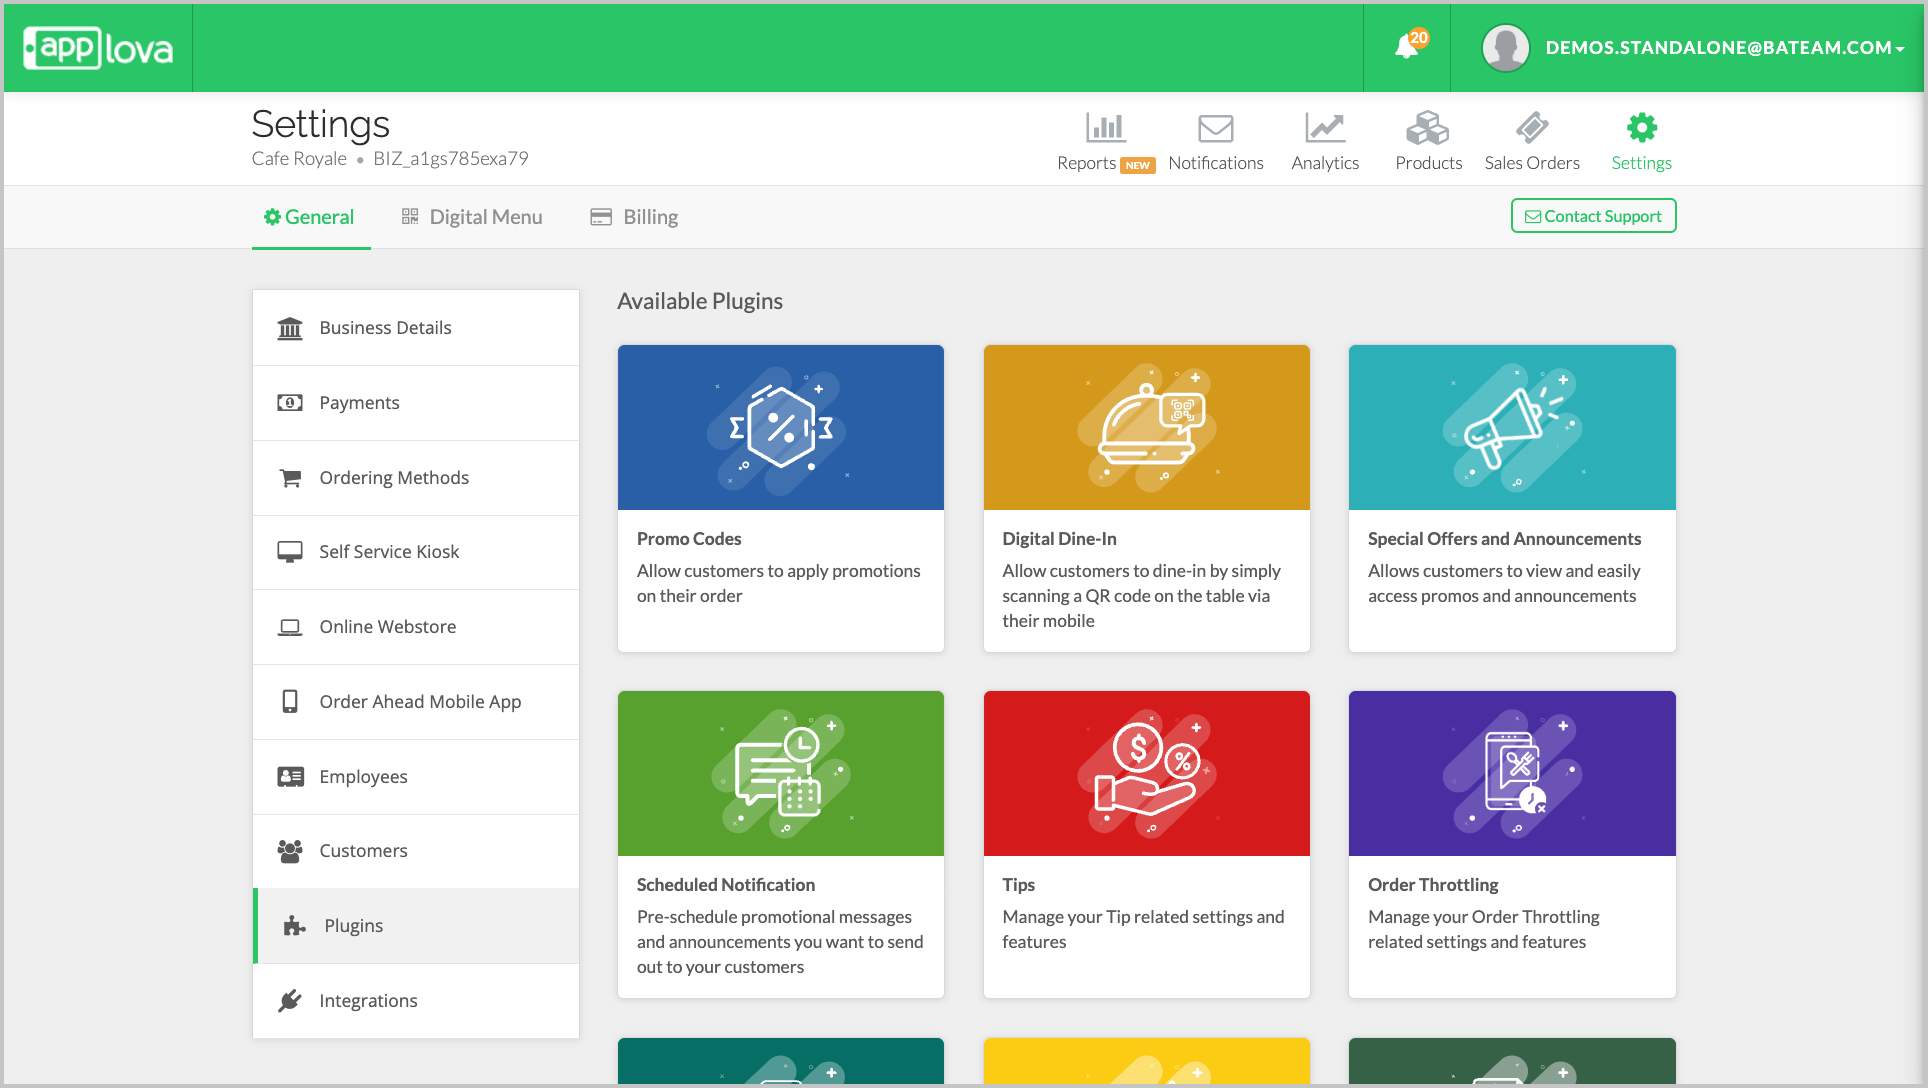
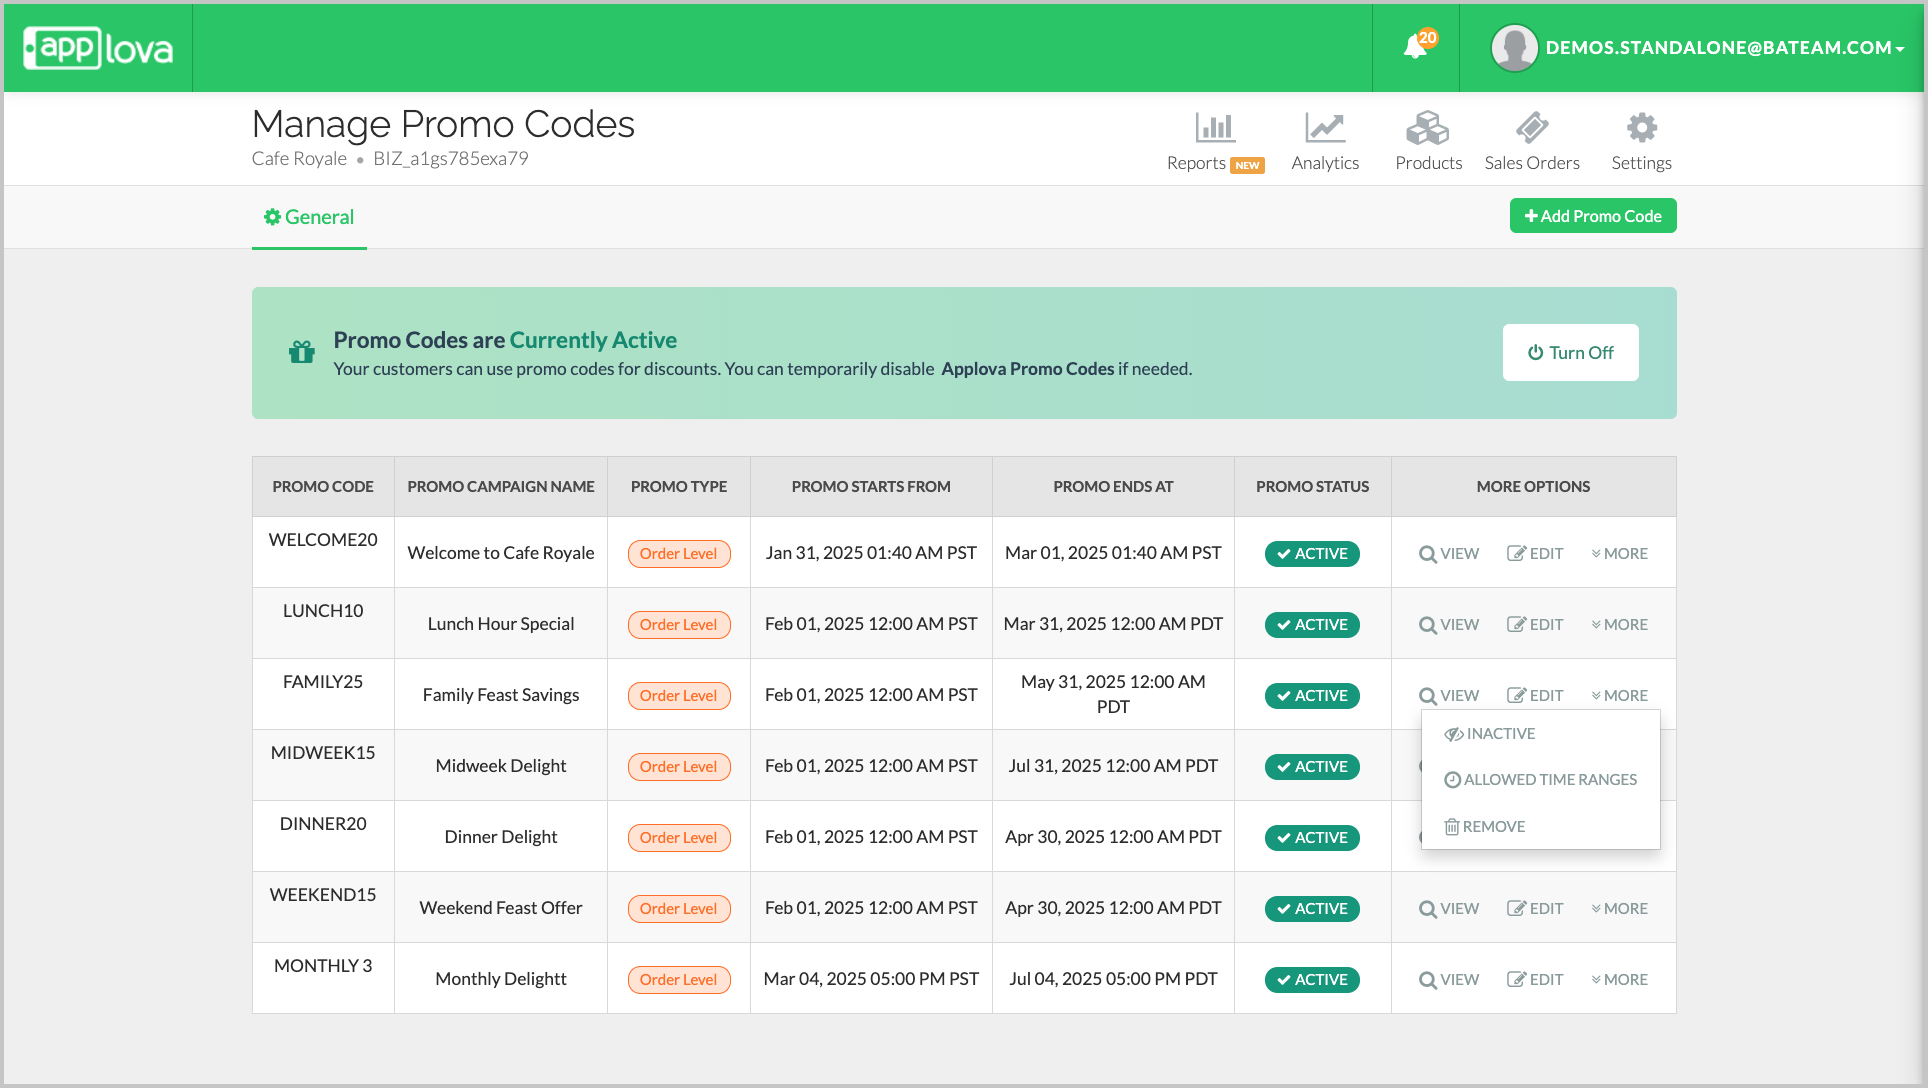
Create a promo campaign (e.g., “HAPPYHOUR”) and configure it to automatically apply at checkout without requiring customers to enter a code.
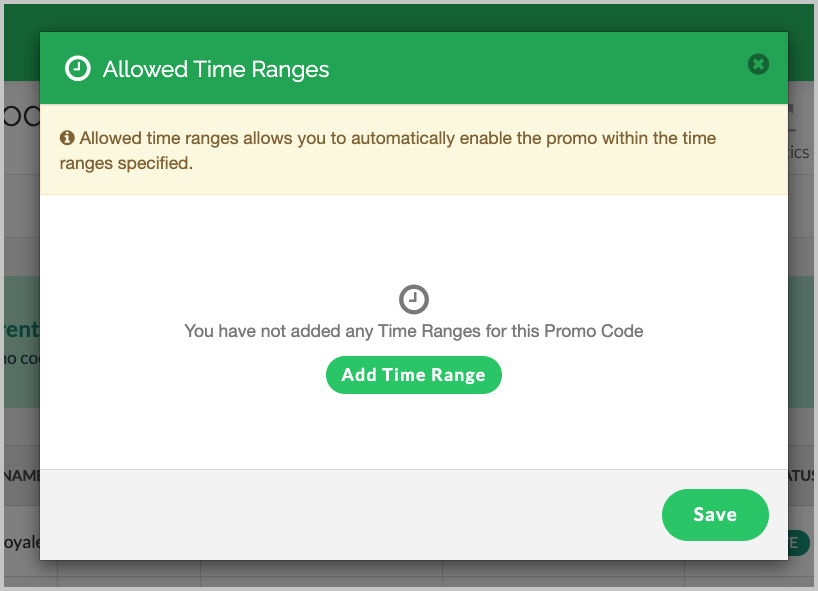
Set a Specific Day Range for weekdays with defined time slots (e.g., 4:00 PM – 7:00 PM), ensuring the promotion runs only during Happy Hour.
Ultimately, this allows Sunset Bar to run automated, time-based promotions, improve customer convenience, and consistently drive traffic during targeted hours.
Step 1

Related Articles
Related Articles
Managing Order Level Promo Codes
This feature allows the merchant to add a promo discount for the whole order. A promotion can be added as a percentage and a flat amount as well. Promo code feature is enabled by default Note:Promo Codes can also be activated through the Applova ...How to Show Promo Codes in the Webstore Promo List View
The promo list view feature on the Webstore checkout page allows customers to browse and apply available promotions without needing to manually enter promo codes. This improves the ordering experience by making discounts more visible and accessible. ...How to Set a Total Usage Limit for a Promo Code?
This feature allows merchants to control the distribution of promotional offers by limiting how many customers can redeem a promo code. Use Case Scenario The owner of Sunny Side Café wants to reward new customers with a welcome offer but also needs ...How to Add a Promo Code Via Applova POS?
Supported Domains: Standalone Businesses Using this feature, promo codes can be created and managed via Applova POS. Step 1 Sign into "Applova POS" with the credentials of your business. Step 2 Then go to "Promo Code" to access the promo code ...Managing Product Level Promo Codes
This feature allows the merchant to add promo discount for a selected product. Promo code feature is enabled by default Note: Promo Codes can also be activated through the Applova Marketplace aswell. Once activated, Promo Codes will be enabled as a ...