How to Schedule Push Notifications via Merchant Portal?
 Use Case Scenario
Martella’s Pizza wants to promote its weekend dinner deals to customers at the right time. The manager wants to plan these messages in advance instead of manually sending them during busy restaurant hours.
To manage this, Martella’s Pizza uses the Scheduled Notification feature via the Merchant Portal.
By using this feature, Martella’s Pizza is able to:
Schedule promotional messages for a specific date and time.
Select the preferred customer base, such as all locations, current location, or selected locations.
Use “Write with AI” to quickly generate or enhance the notification message.
Ultimately, this allows Martella’s Pizza to plan customer communication in advance, send timely promotions, and reduce the manual effort required to create marketing messages.
How to Create a Scheduled Push Notification via Merchant Portal?
Step 1
Navigate to settings and click on "Plugins" section in the Merchant Portal.
Step 2
Click on "Scheduled Notifications" Card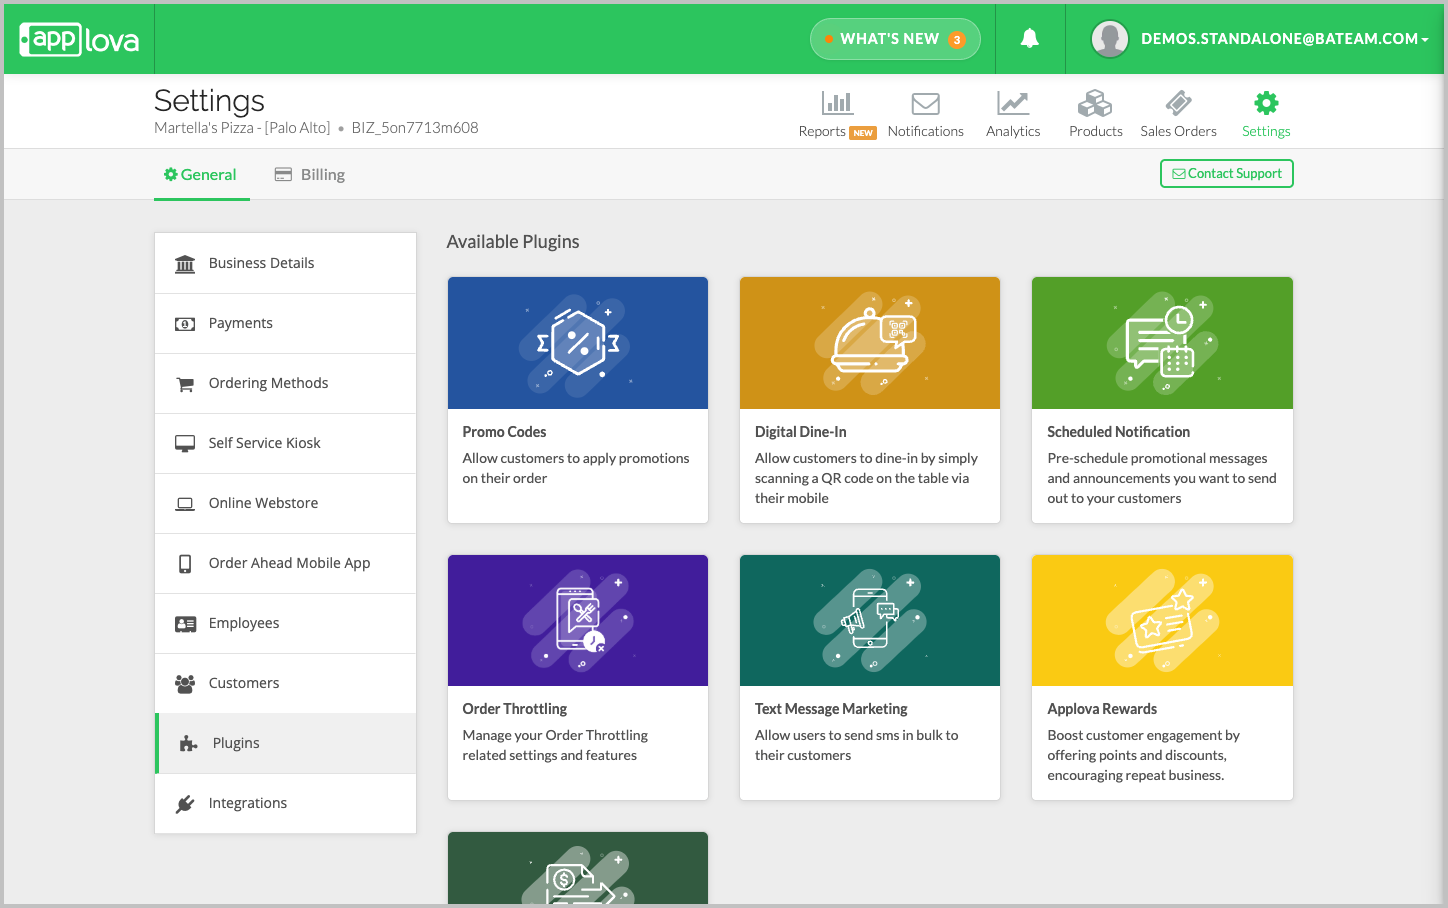
Image Link
Step 3
Select the date on which the notification should be sent.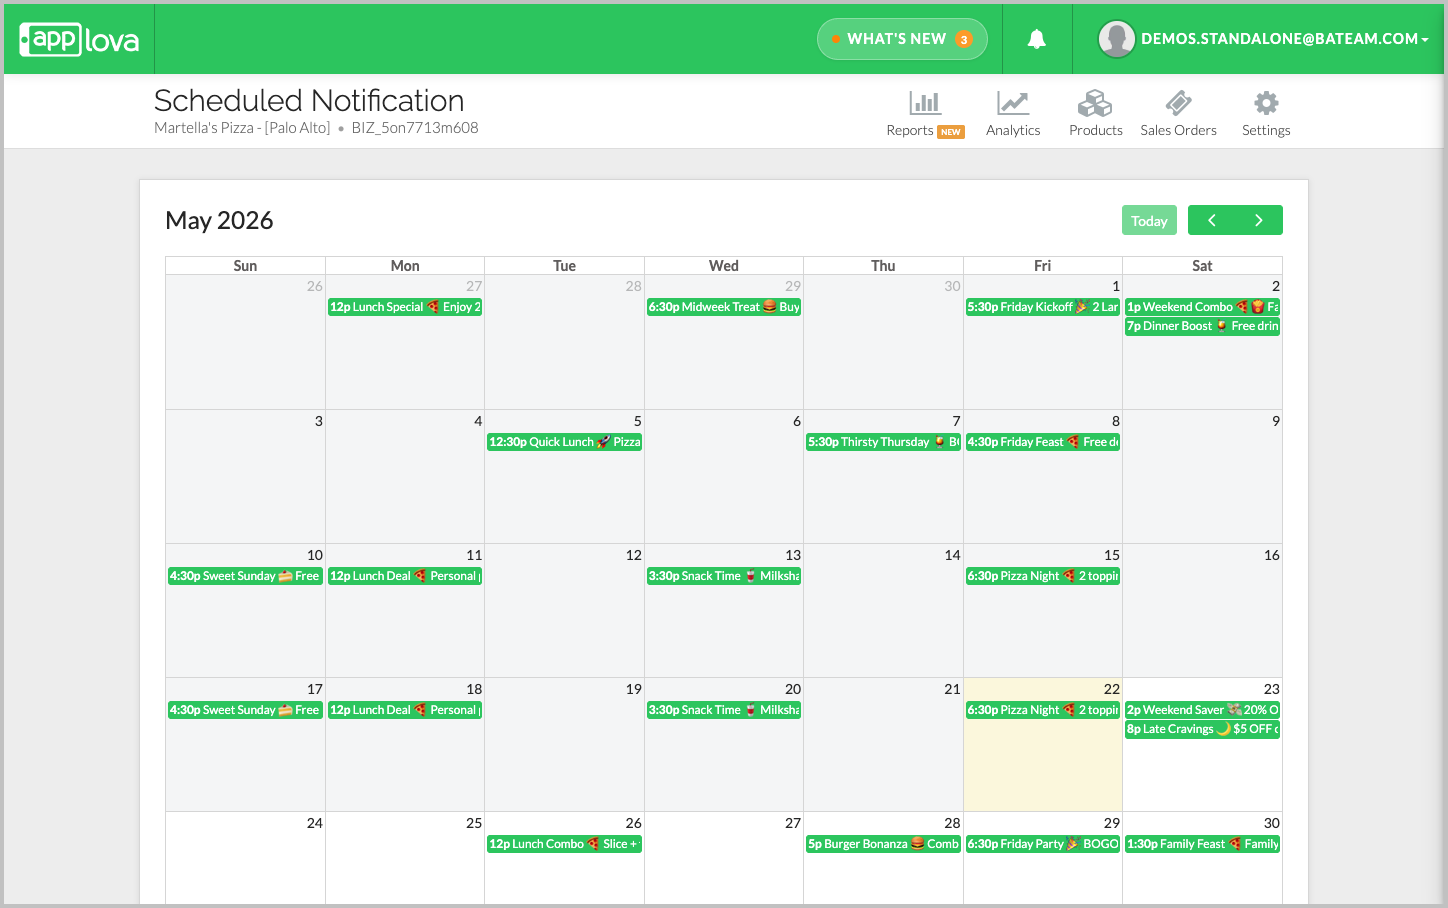
Step 4
Enter the notification details and click “ schedule” to schedule the notification.
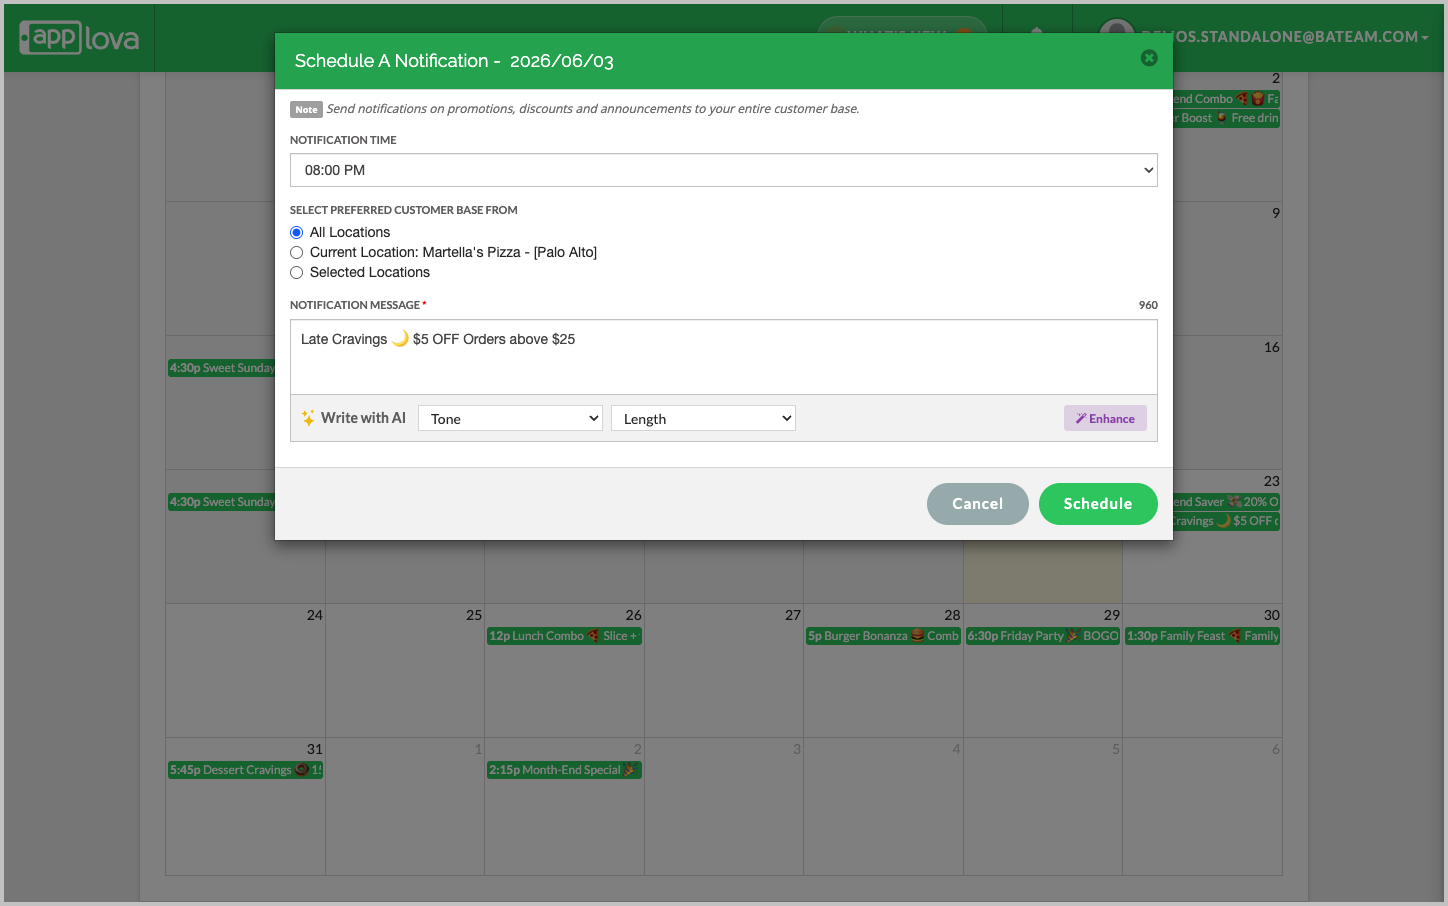
Image Link
In the notification details window, merchants can configure the following:- Notification Time: Select the time the notification should be sent.
- Preferred Customer Base: Choose whether the notification should be sent to “All Locations”, “Current Location”, or “Selected Locations”. (Only applicable for multiple store businesses)
- Customer Segment: Select the predefined customer segment that should receive the notification, such as New Customers, Lapsed Customers, or other available customer groups. (Only applicable for single store businesses)
- Notification Message: Enter the promotional message, discount, or announcement that should be sent to customers.
- Write with AI: Use the “Tone” and “Length” options to quickly generate or enhance the notification message.
Step 5
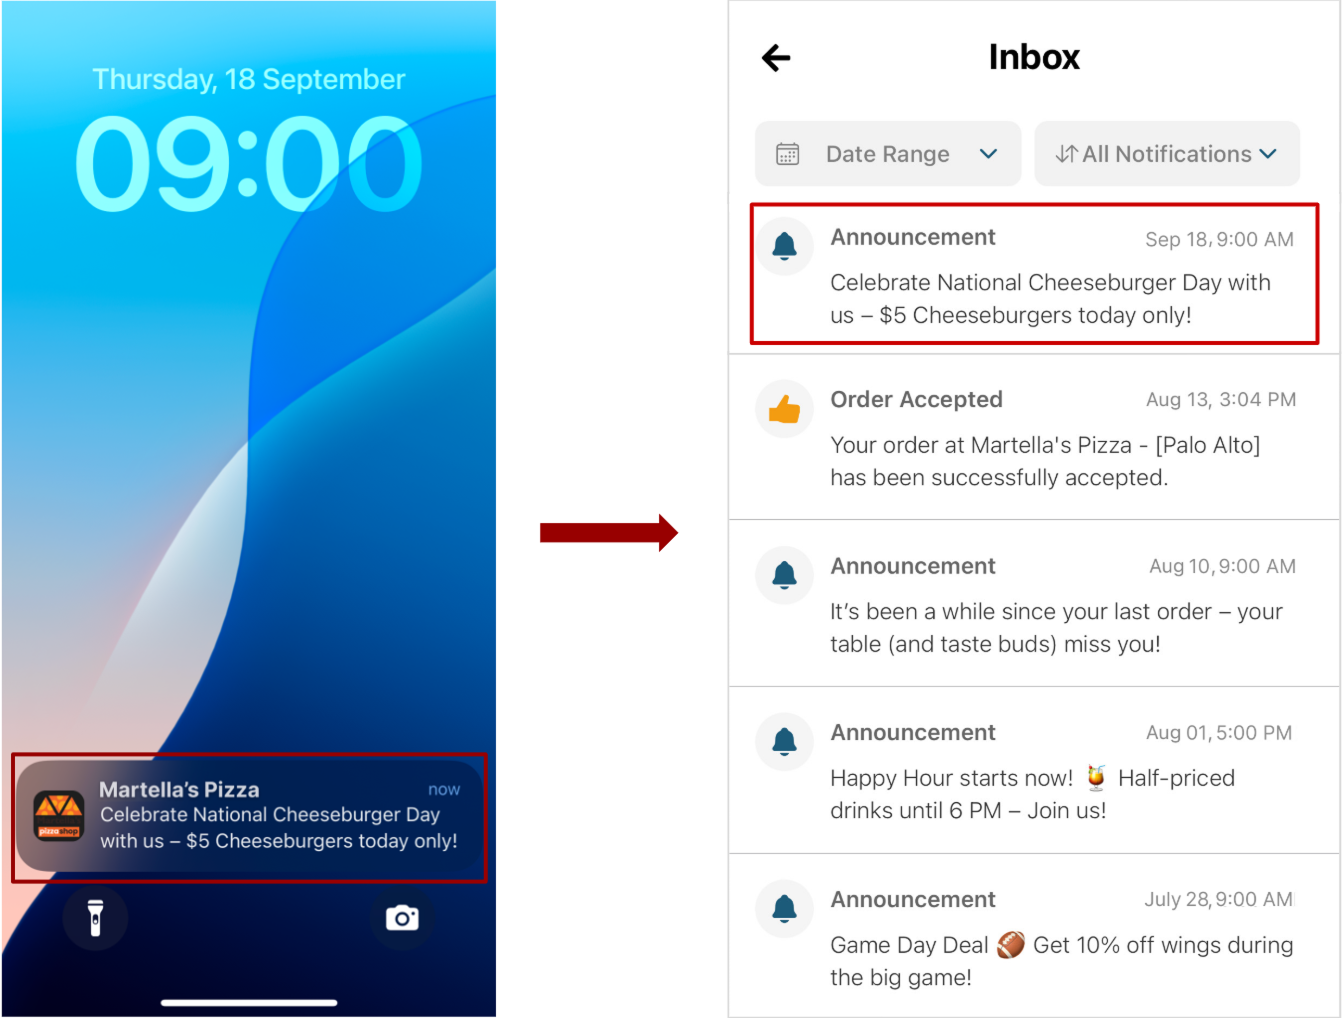
Once the notification is updated, it will be scheduled for the selected date and time.
How it Reflects
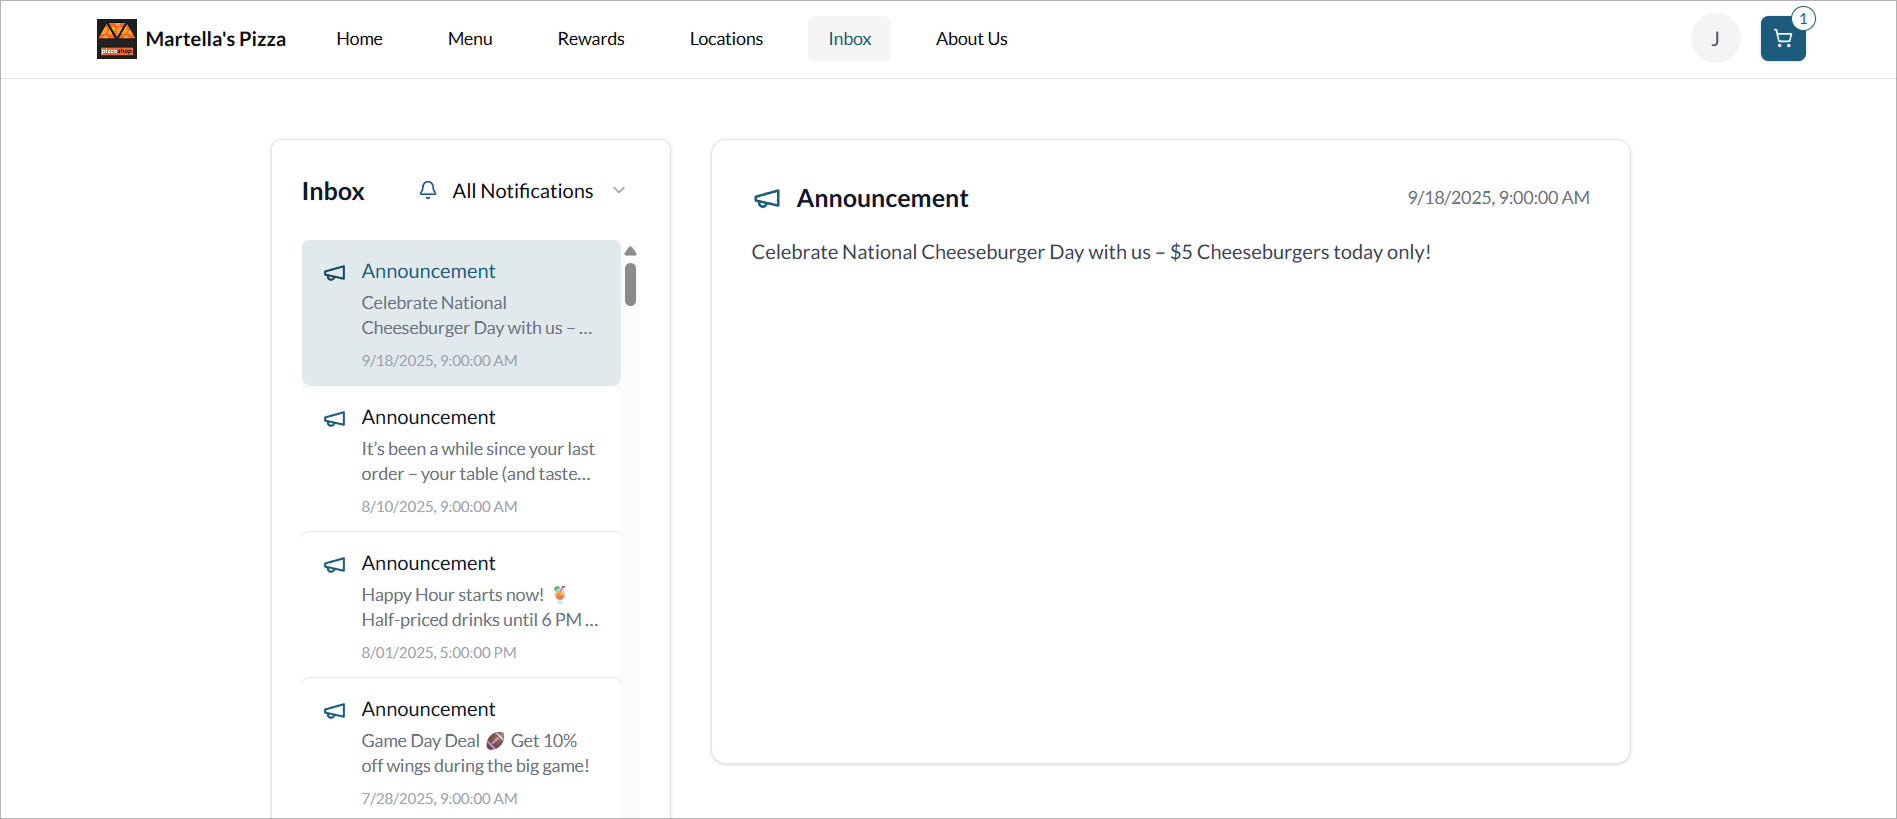
Order Ahead App
Webstore
Related Articles
Onboarding to Text Message Marketing via the Merchant Portal
The Text Message Marketing feature allows restaurant owners and managers to quickly and easily send marketing SMS campaigns to their customer base. Merchants can schedule announcements, promote offers, or instantly notify customers of important ...How to Manage Applova Rewards on Merchant Web Portal?
This feature is available by default Applova Rewards helps you build customer loyalty by encouraging repeat visits and higher spend. By offering points-based rewards, such as free items or discounts, you can give customers a reason to keep coming ...How to Configure Promo Codes for Specific Channels via Merchant Portal?
This feature allows merchants to control which sales channels (POS/ Kiosk/ Webstore/ Mobile App/ Digital Dining) accept specific promo codes. By enabling or disabling channels, merchants can tailor promotions to the platforms that best fit their ...Order Throttling on the Merchant Portal?
Order throttling allows merchants to manage online order volume by setting limits on the maximum number of online orders accepted during specific days, hours, or recurring peak times. Usecase Scenario Bella Bistro receives a large volume of online ...How to Auto-Apply Promo Codes on the Merchant Portal
Normally, customers must enter a promo code during checkout to receive a discount, but now with the auto-apply feature, eligible promotions are now applied automatically when the order meets the configured conditions, removing the need for manual ...