How to Enable or Disable Website Pages in the Website Builder?

- Home
- About Us
- Menu
- Inbox
- Catering
- Hiring

Use Case Scenario 1: Catering
Beverly Sweets already uses its website to accept online orders and also wants to promote its catering services, group meals, and special-event offerings. To keep this information separate from the regular online ordering experience, the merchant enables the Catering page and customizes it with catering-related content.
Once published, customers can access the Catering page directly from the website navigation.
Use Case Scenario 2: Hiring
Beverly Sweets also wants to advertise available job opportunities through its website. To provide potential applicants with a dedicated place to learn about open positions, the merchant enables the Hiring page and adds the relevant recruitment information.
Once published, applicants can access the Hiring page directly from the website navigation.
How to Enable or Disable Website Pages?
Step 1
Open the Website Builder.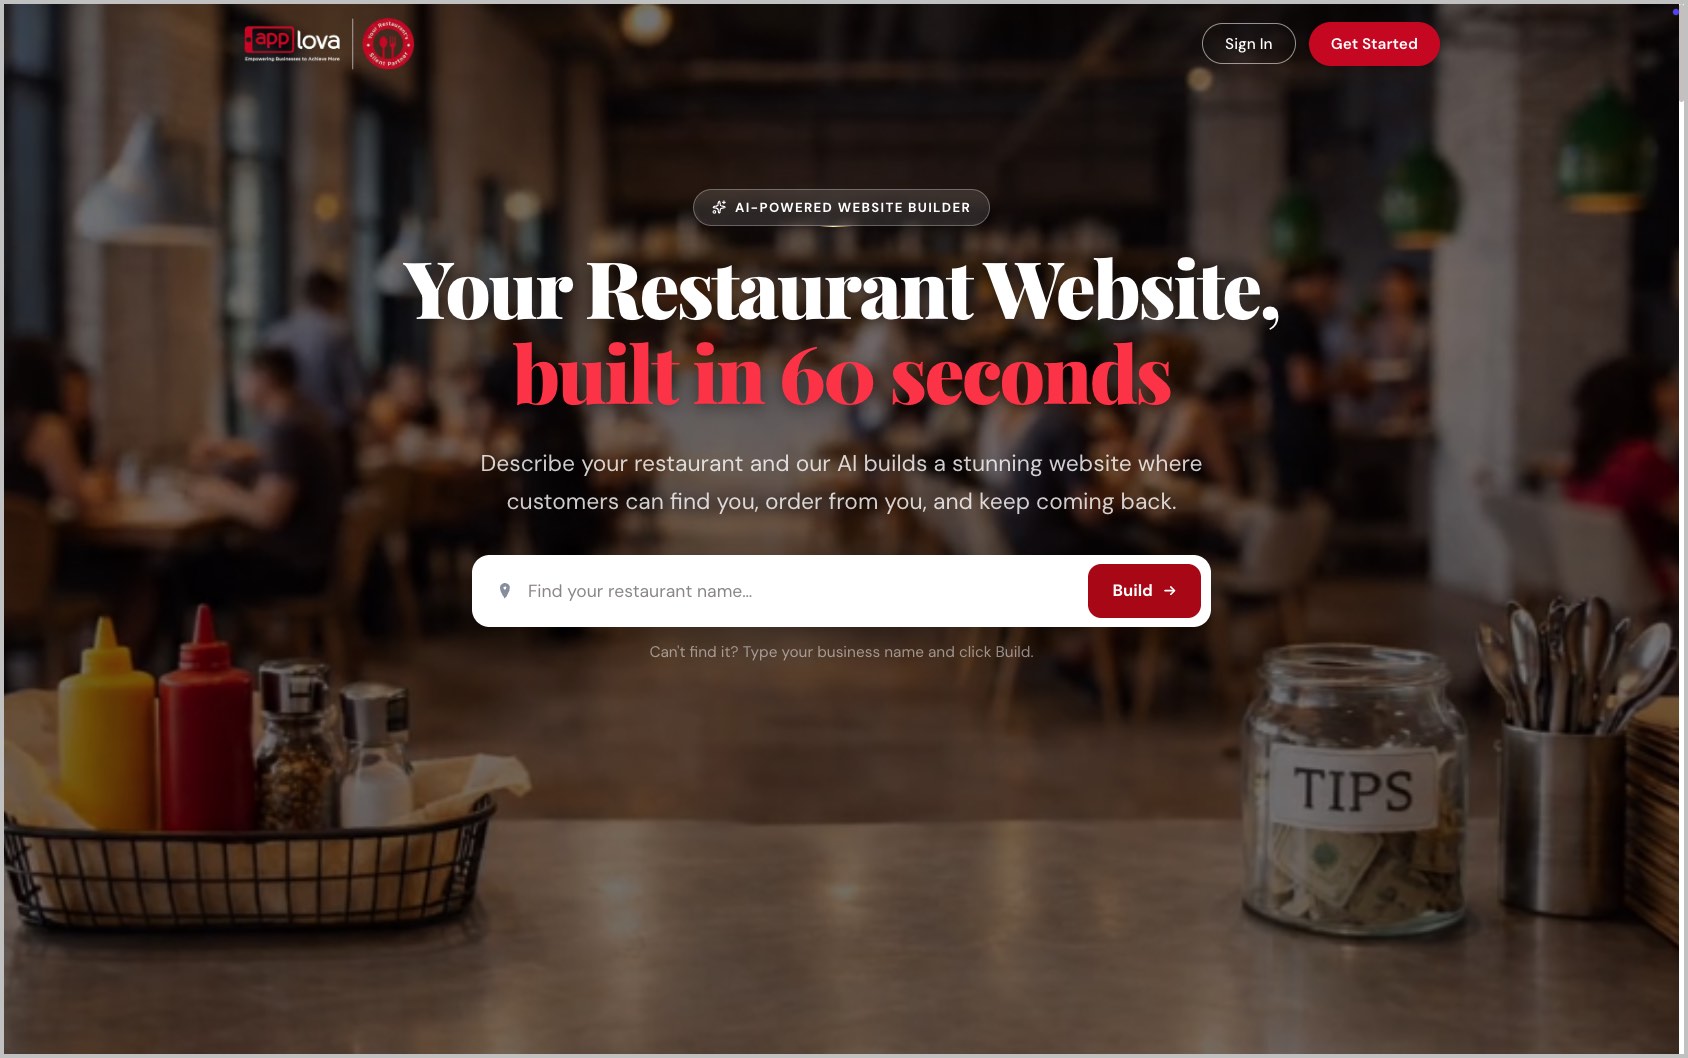
Image Link
Step 2
Click "Sign In" and enter your account credentials.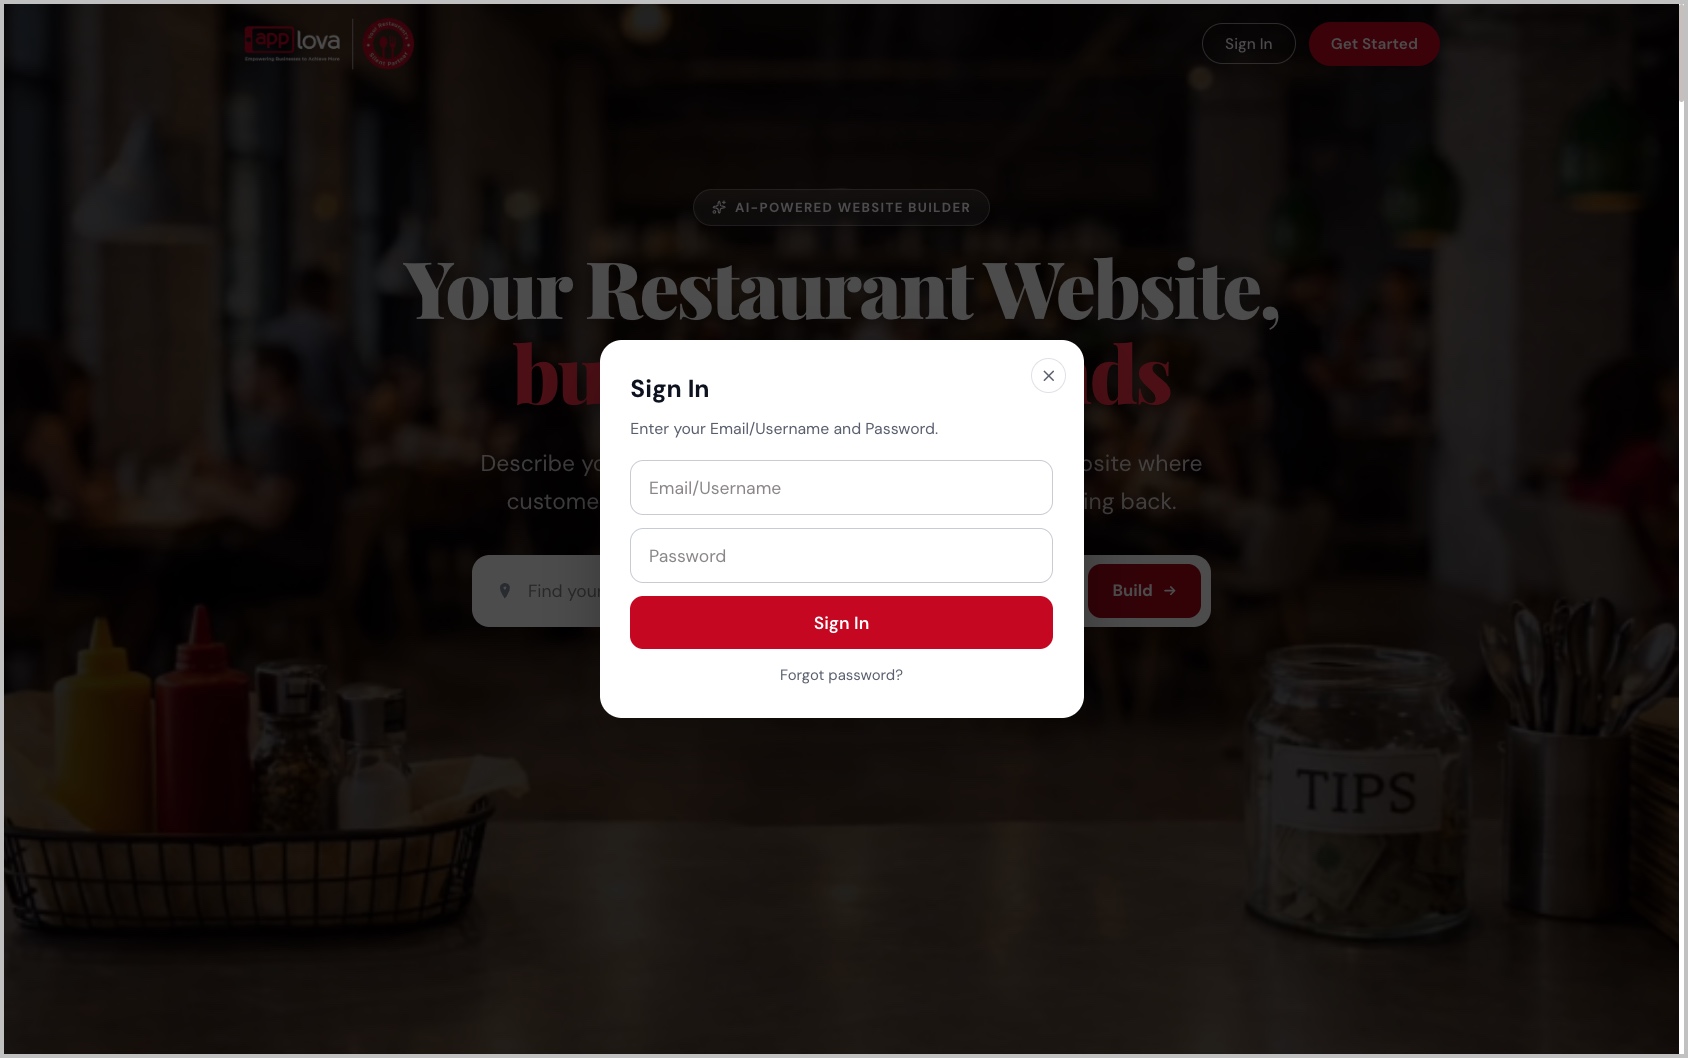
Image Link
Step 3
Click "Settings" on the top bar.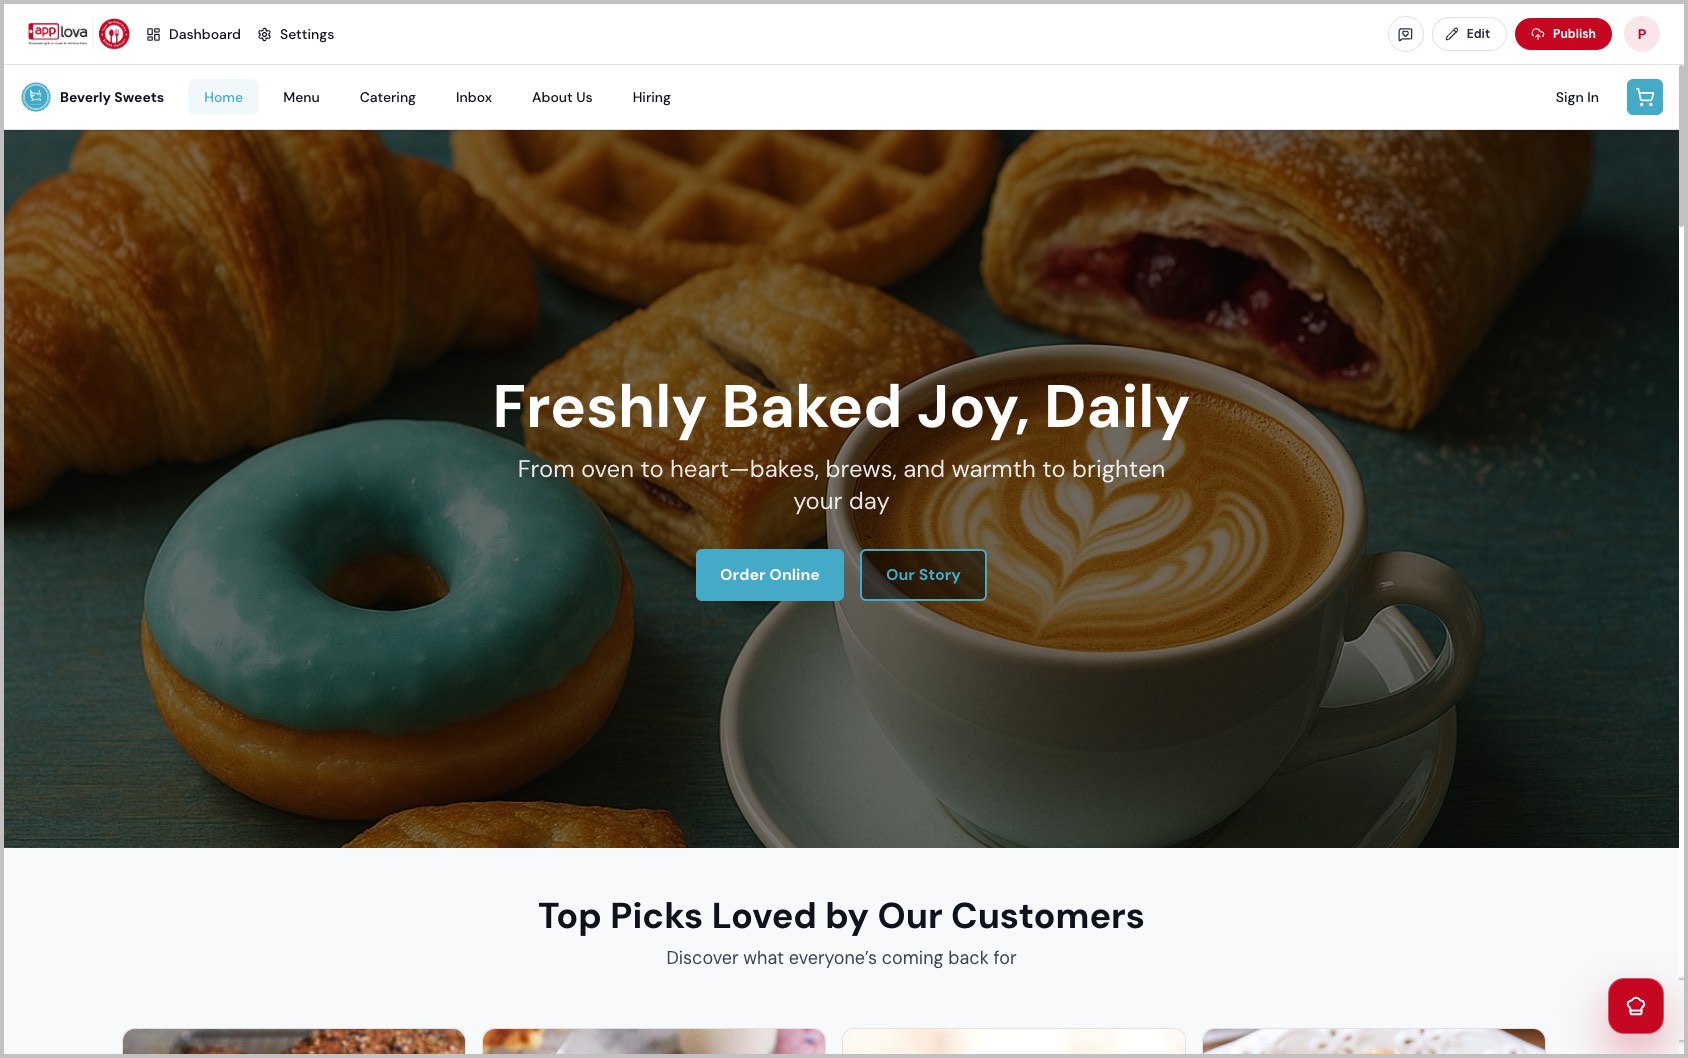
Image Link
Step 4
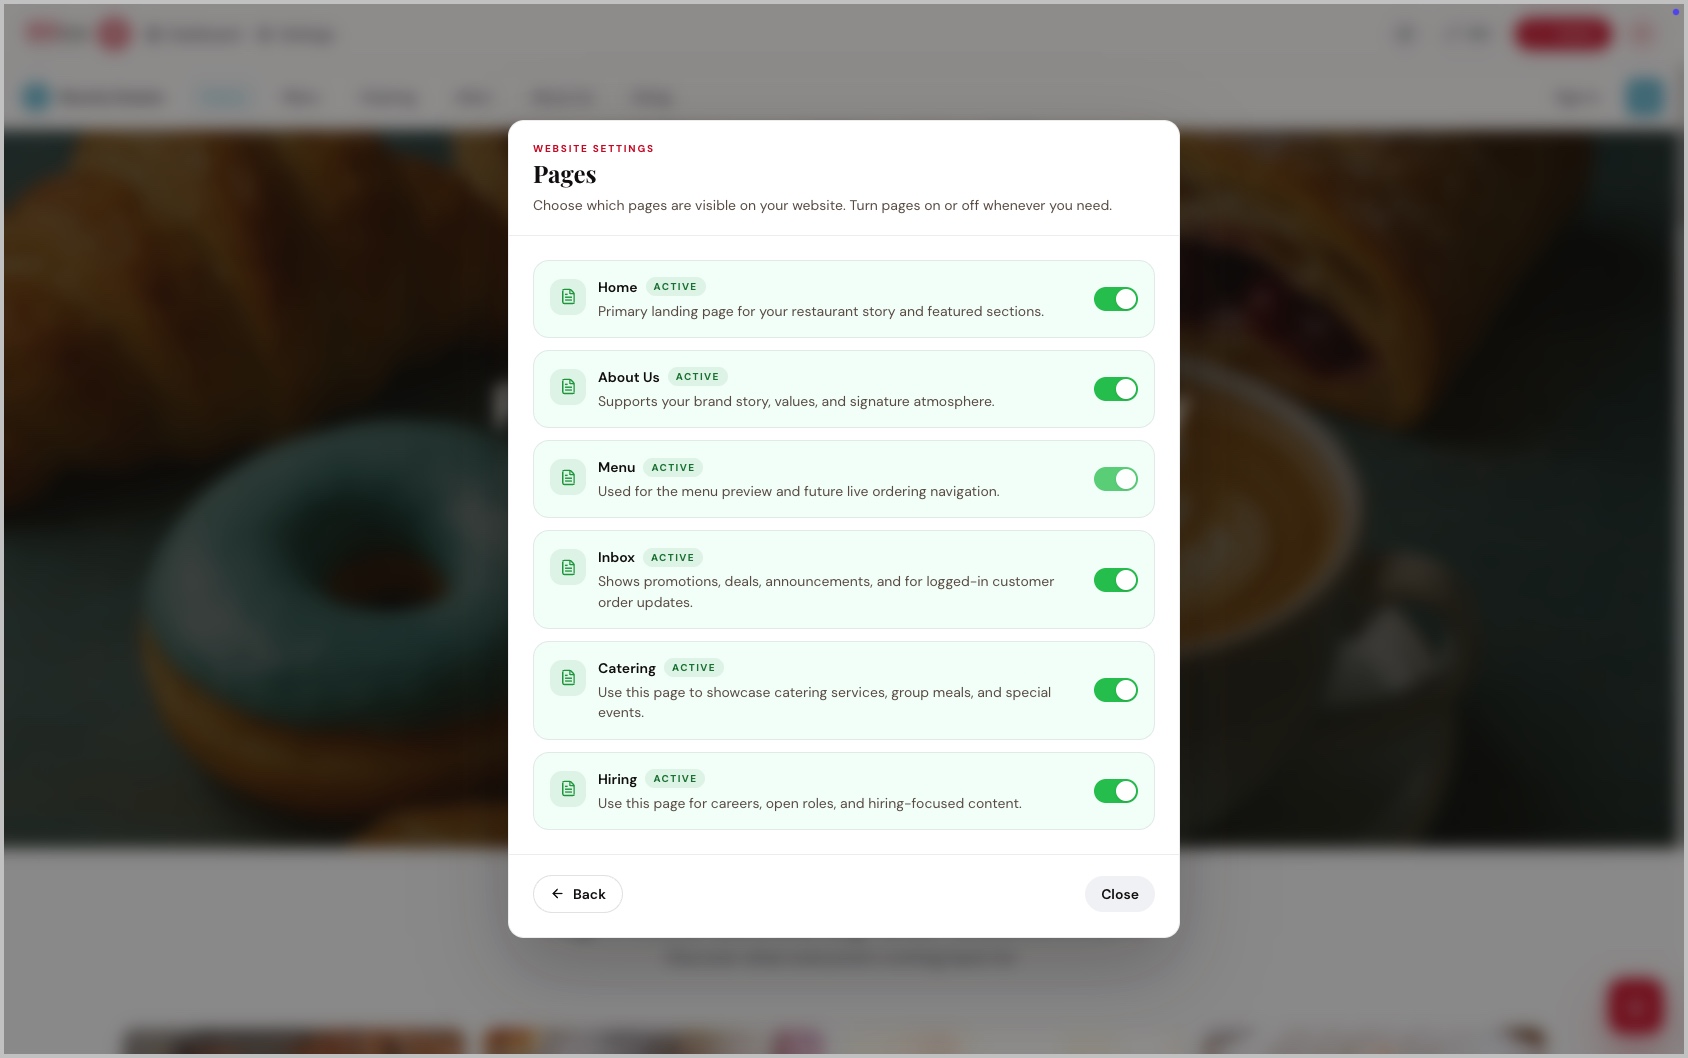
Under Website Settings, select "Pages".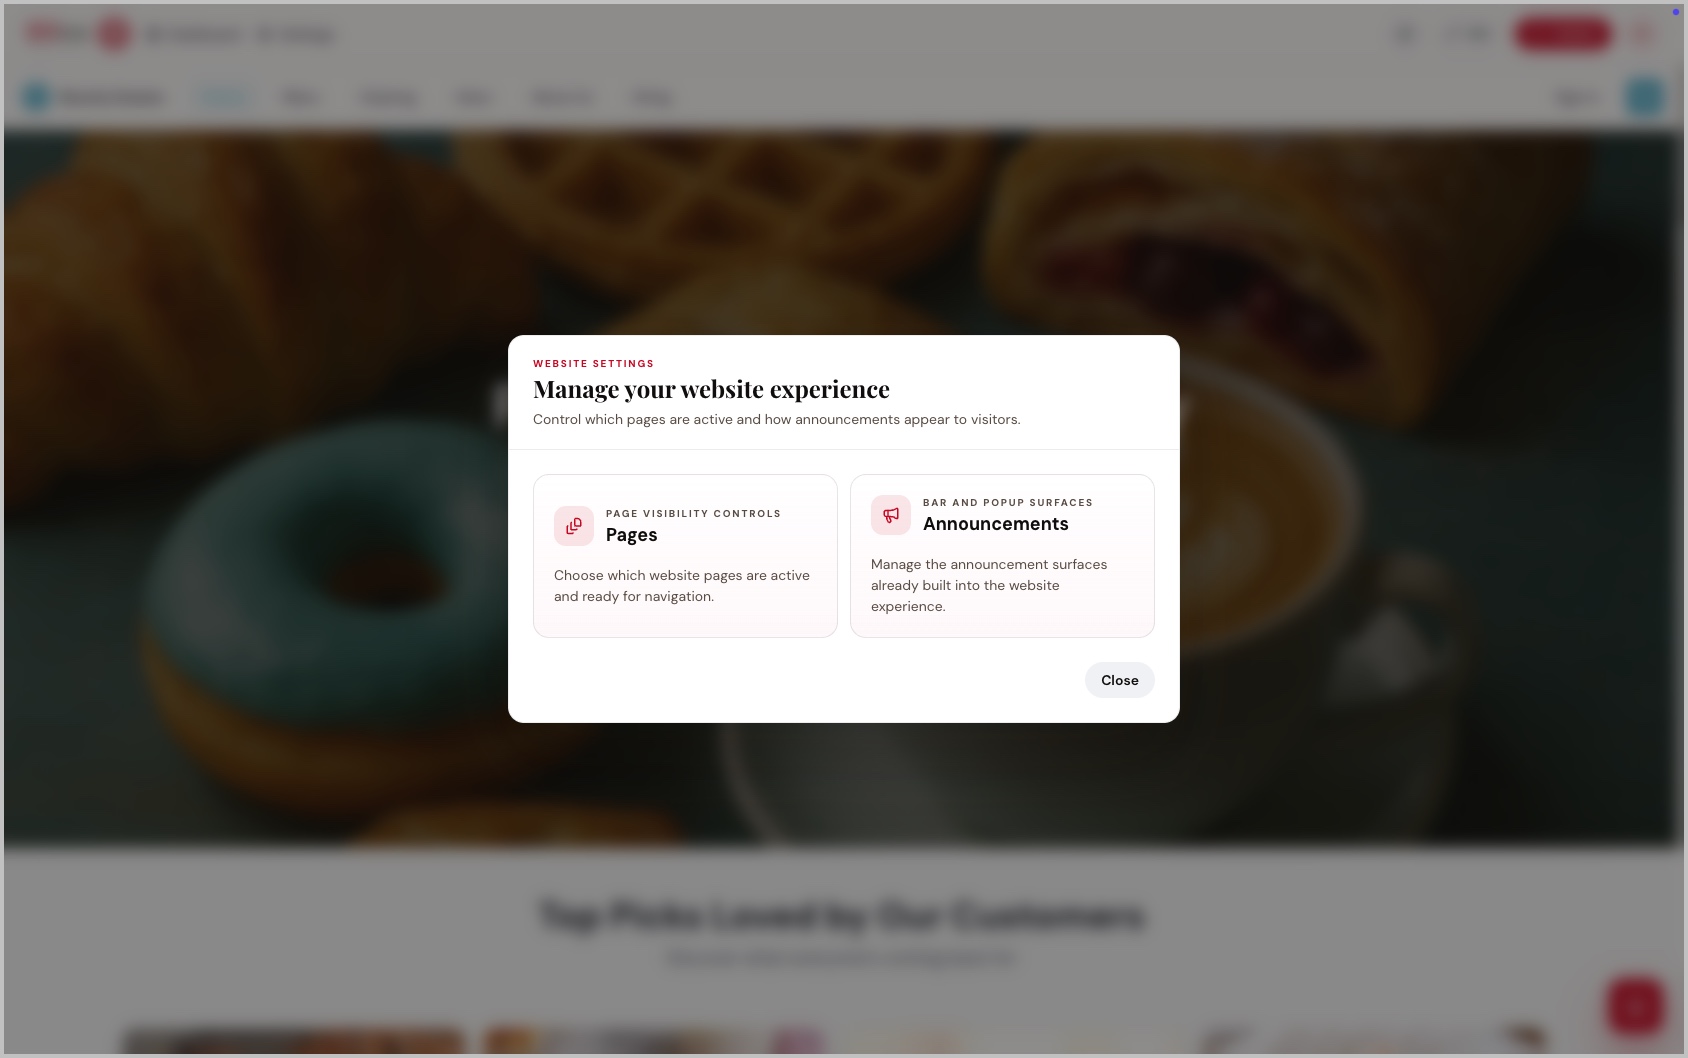
Image Link
Step 5
Use the toggle next to the required page to enable or disable it.
- Turn the toggle on to display the page on the website.
- Turn the toggle off to remove the page from the website navigation.
Step 6
Click "Close" after making the required changes.
Step 7
Select the newly enabled page from the website navigation.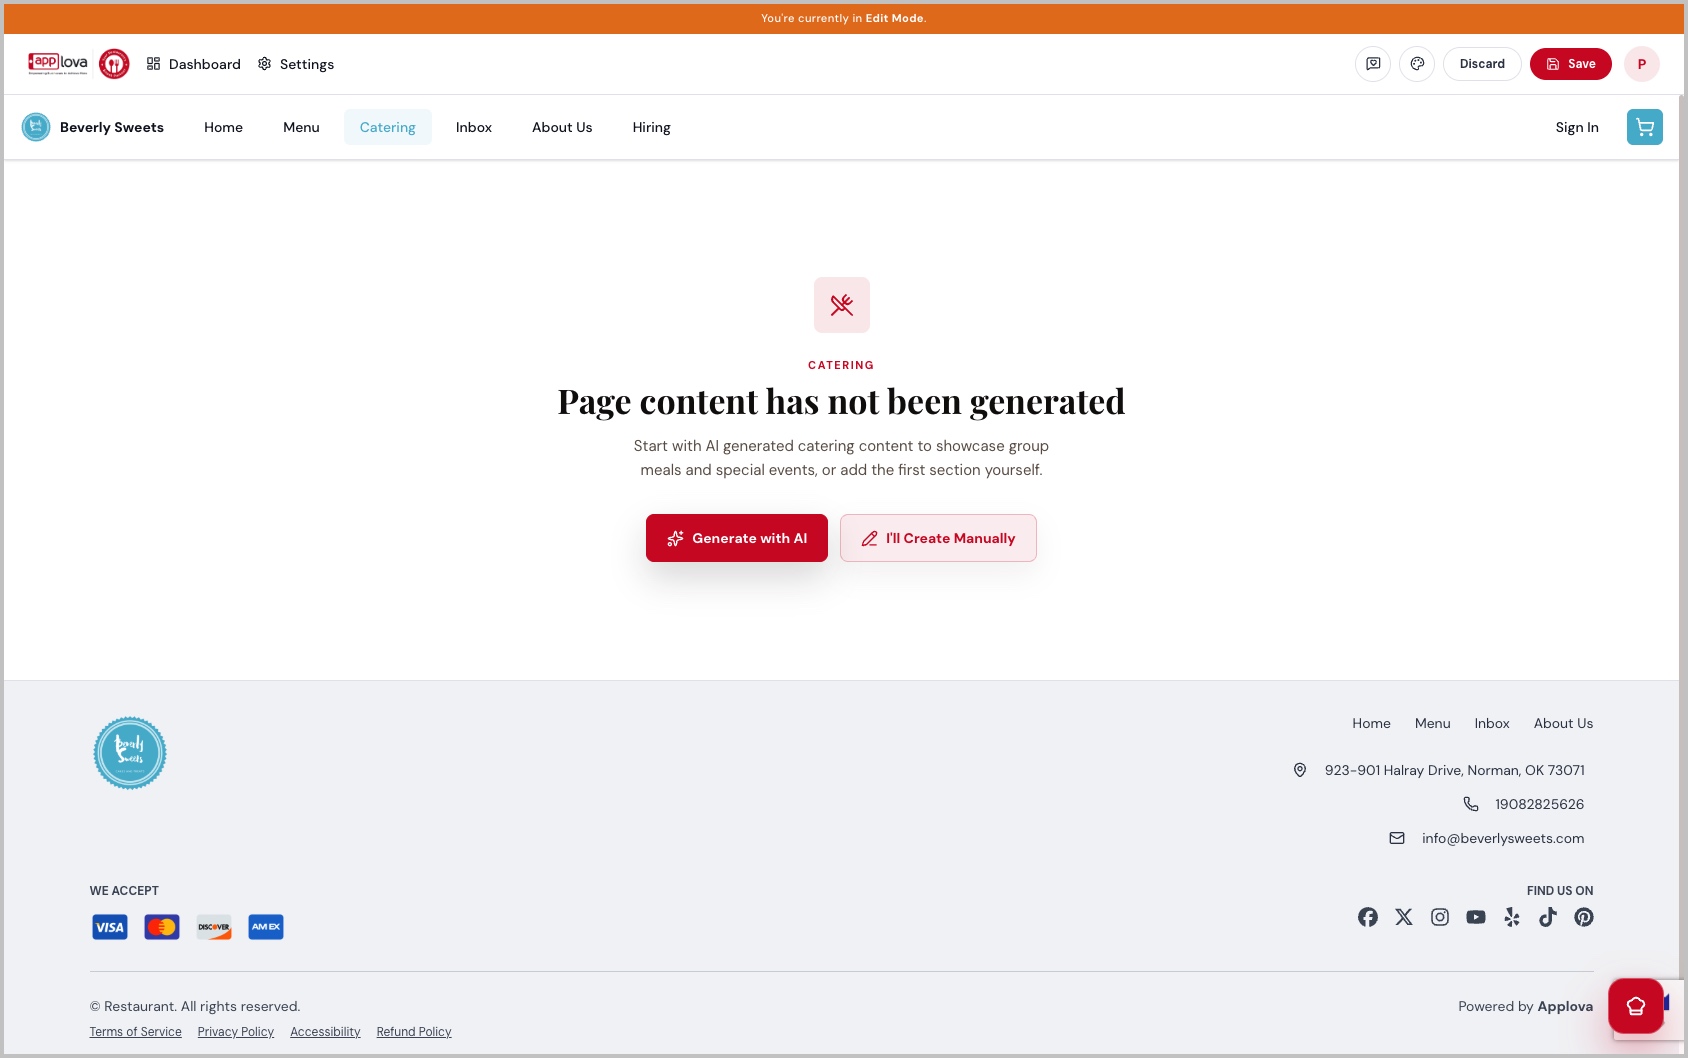
Image Link
Step 8
If content has not yet been added to the page, select one of the following options:
- Generate with AI – Automatically generate content for the selected page.
- I'll Create Manually – Add and customize the page sections manually.
Step 9
Review and customize the page content, then click "Save" to save your changes.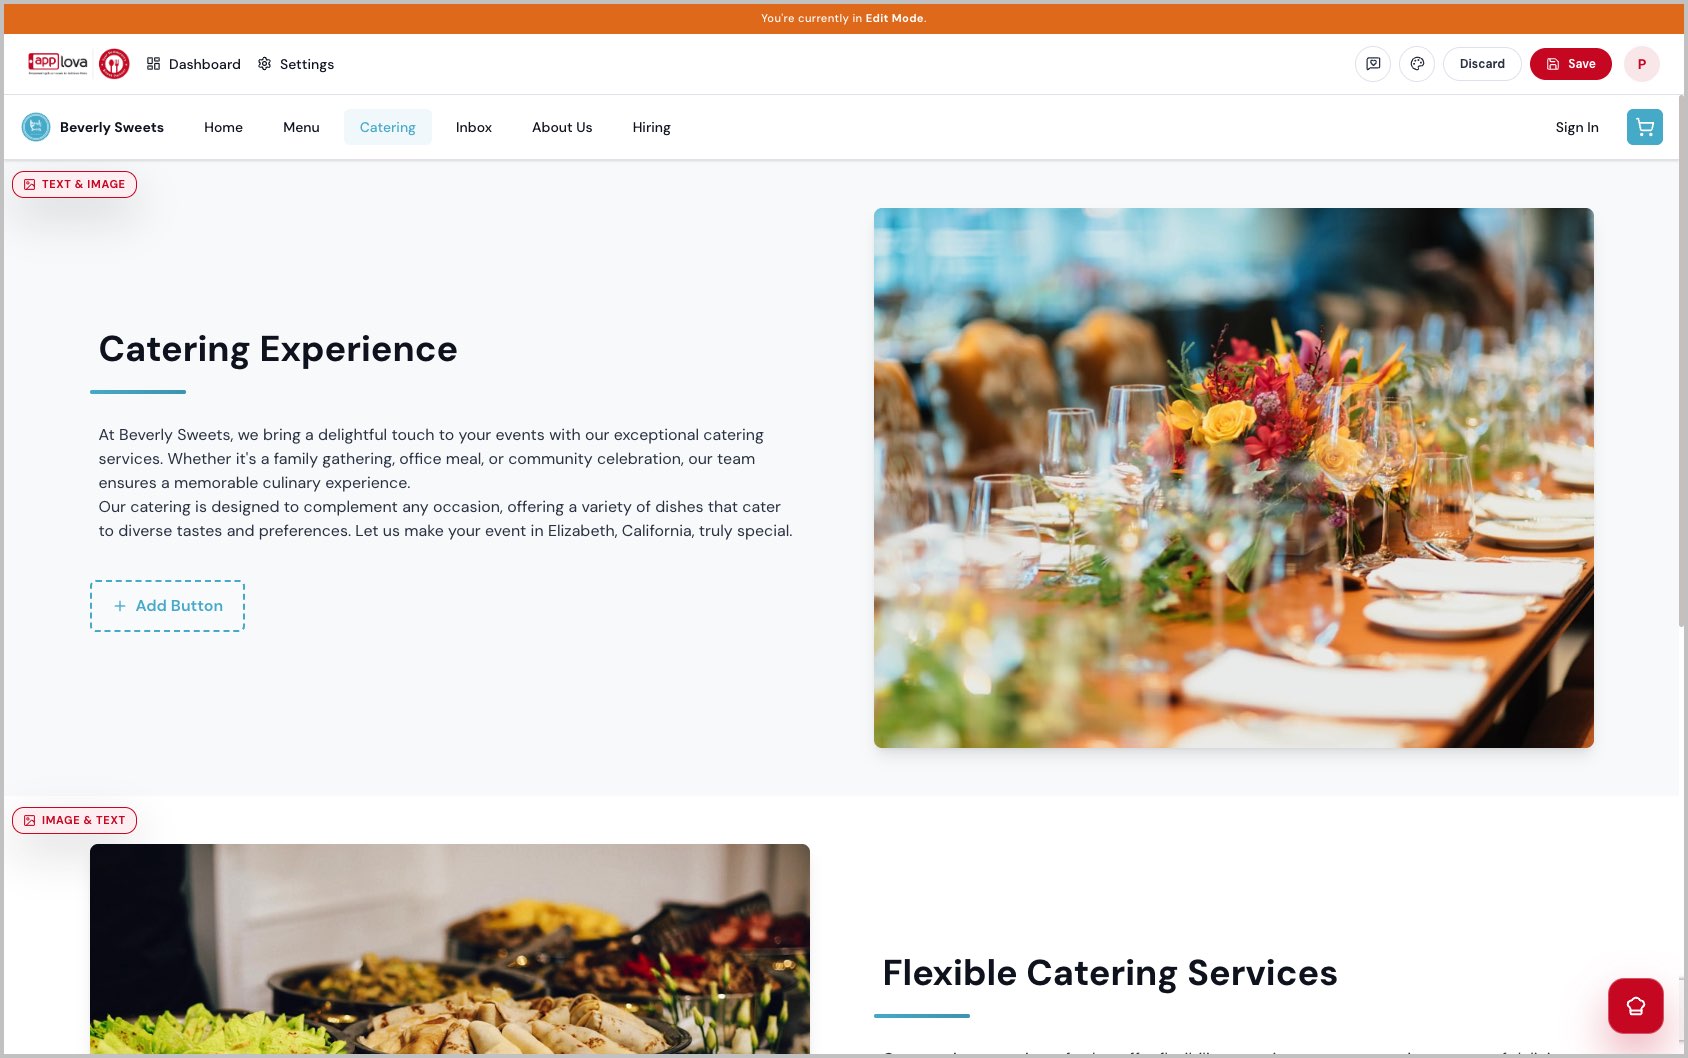
Image Link
Step 10
Click "Publish" to make the page and its content available on the live website.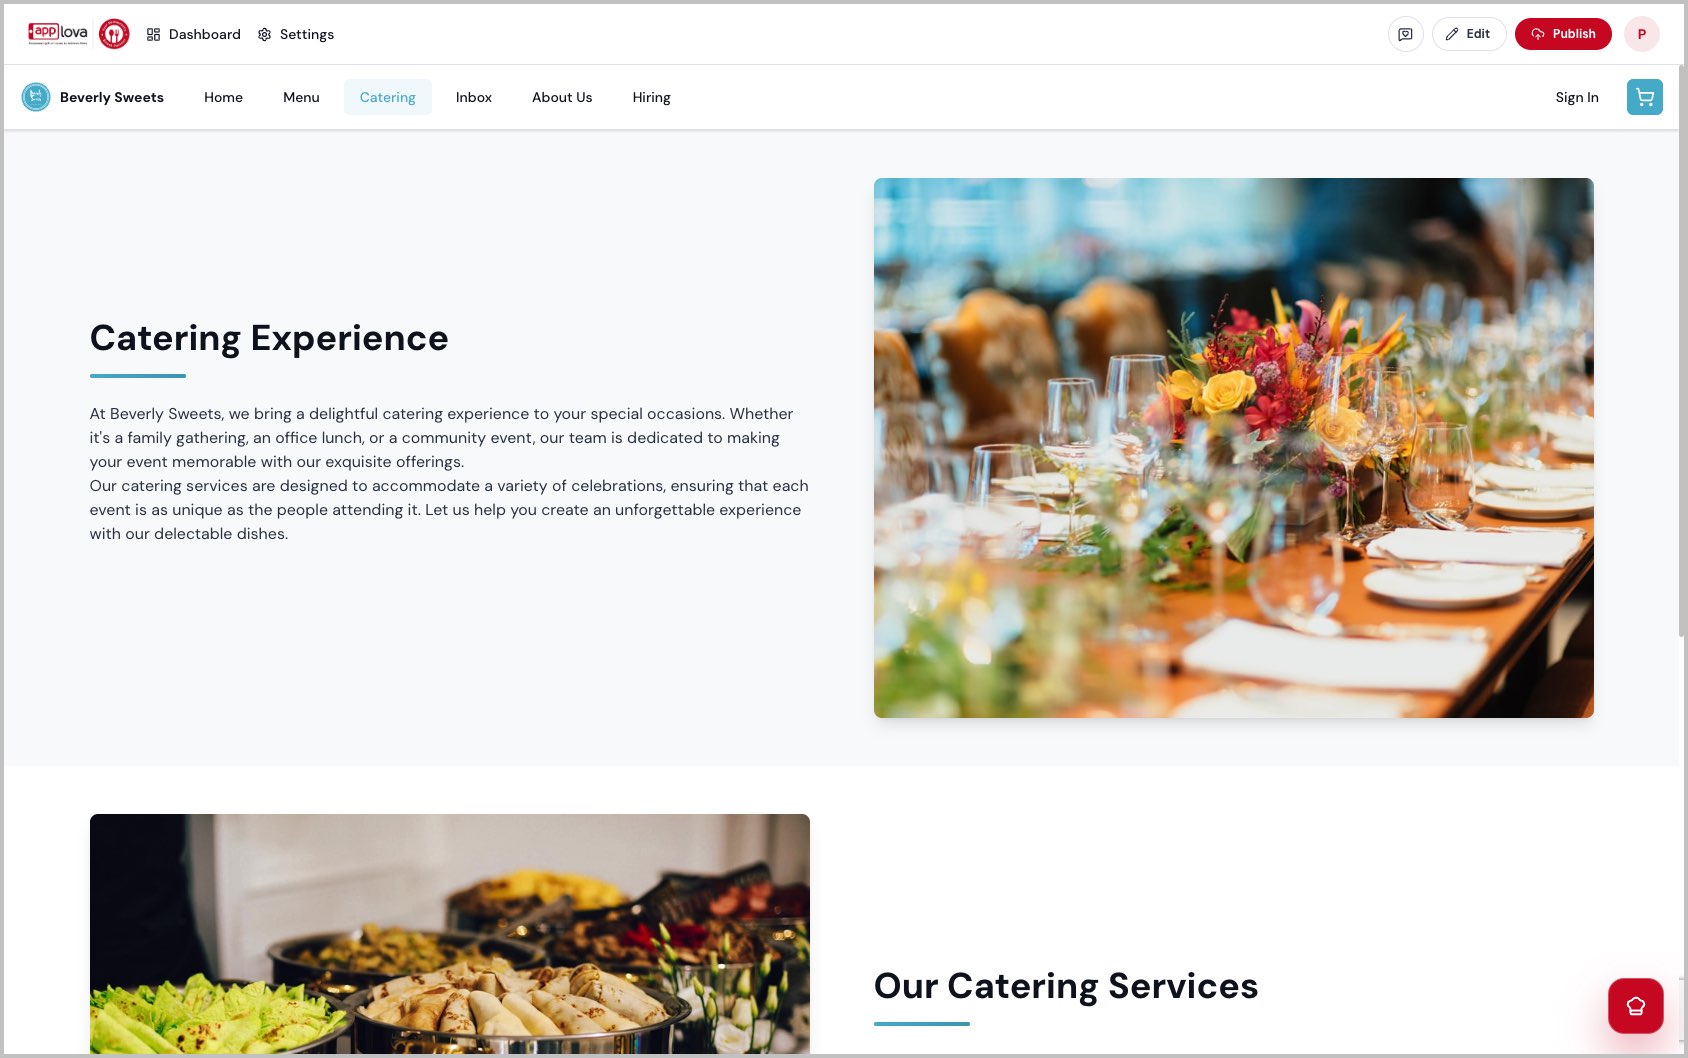
Image Link
- Pages can be enabled or disabled whenever required.
- Changes will not appear on the live website until they are published.
- Review the content of a newly enabled page before publishing it.
Related Articles
Getting Started with the Website Builder
Supported Domains: Standalone, Clover, Square, RPower, GoDaddy Applova’s Website Builder allows merchants to create and publish a website with online ordering support using a guided setup experience. The builder uses business details, branding, ...How to Create Your Website Using the Website Builder?
Supported Domains: Standalone, Clover, Square, RPower, GoDaddy The Applova Website Builder makes it easy to create a professional website, whether you're opening a new restaurant, already have an existing business, or are an existing Applova ...How to Customize a Website Using the Website Builder?
Supported Domains: Standalone, Clover, Square, RPower, GoDaddy The Applova Website Builder allows merchants to personalize their generated website using simple editing tools. Merchants can update the website content, images, colors, menu showcase, ...How to add a button with an External Link to Your Website Page Content?
Supported Domains: Standalone, Clover, Square, RPower, GoDaddy The Website Builder allows merchants to add a button to an Image and Text section and direct customers to an external webpage or form. This can be used for actions such as submitting a ...How to Disable the Promo List View on Webstore V3
Do not share this guide with merchants Supported On: Webstore V3 This feature allows support to disable the "View Available Promotions" option on the webstore v3 checkout page when a merchant does not want customers to view available promotions. How ...