How to Customize a Website Using the Website Builder?

This article provides a quick overview of the main customization options available in the builder.
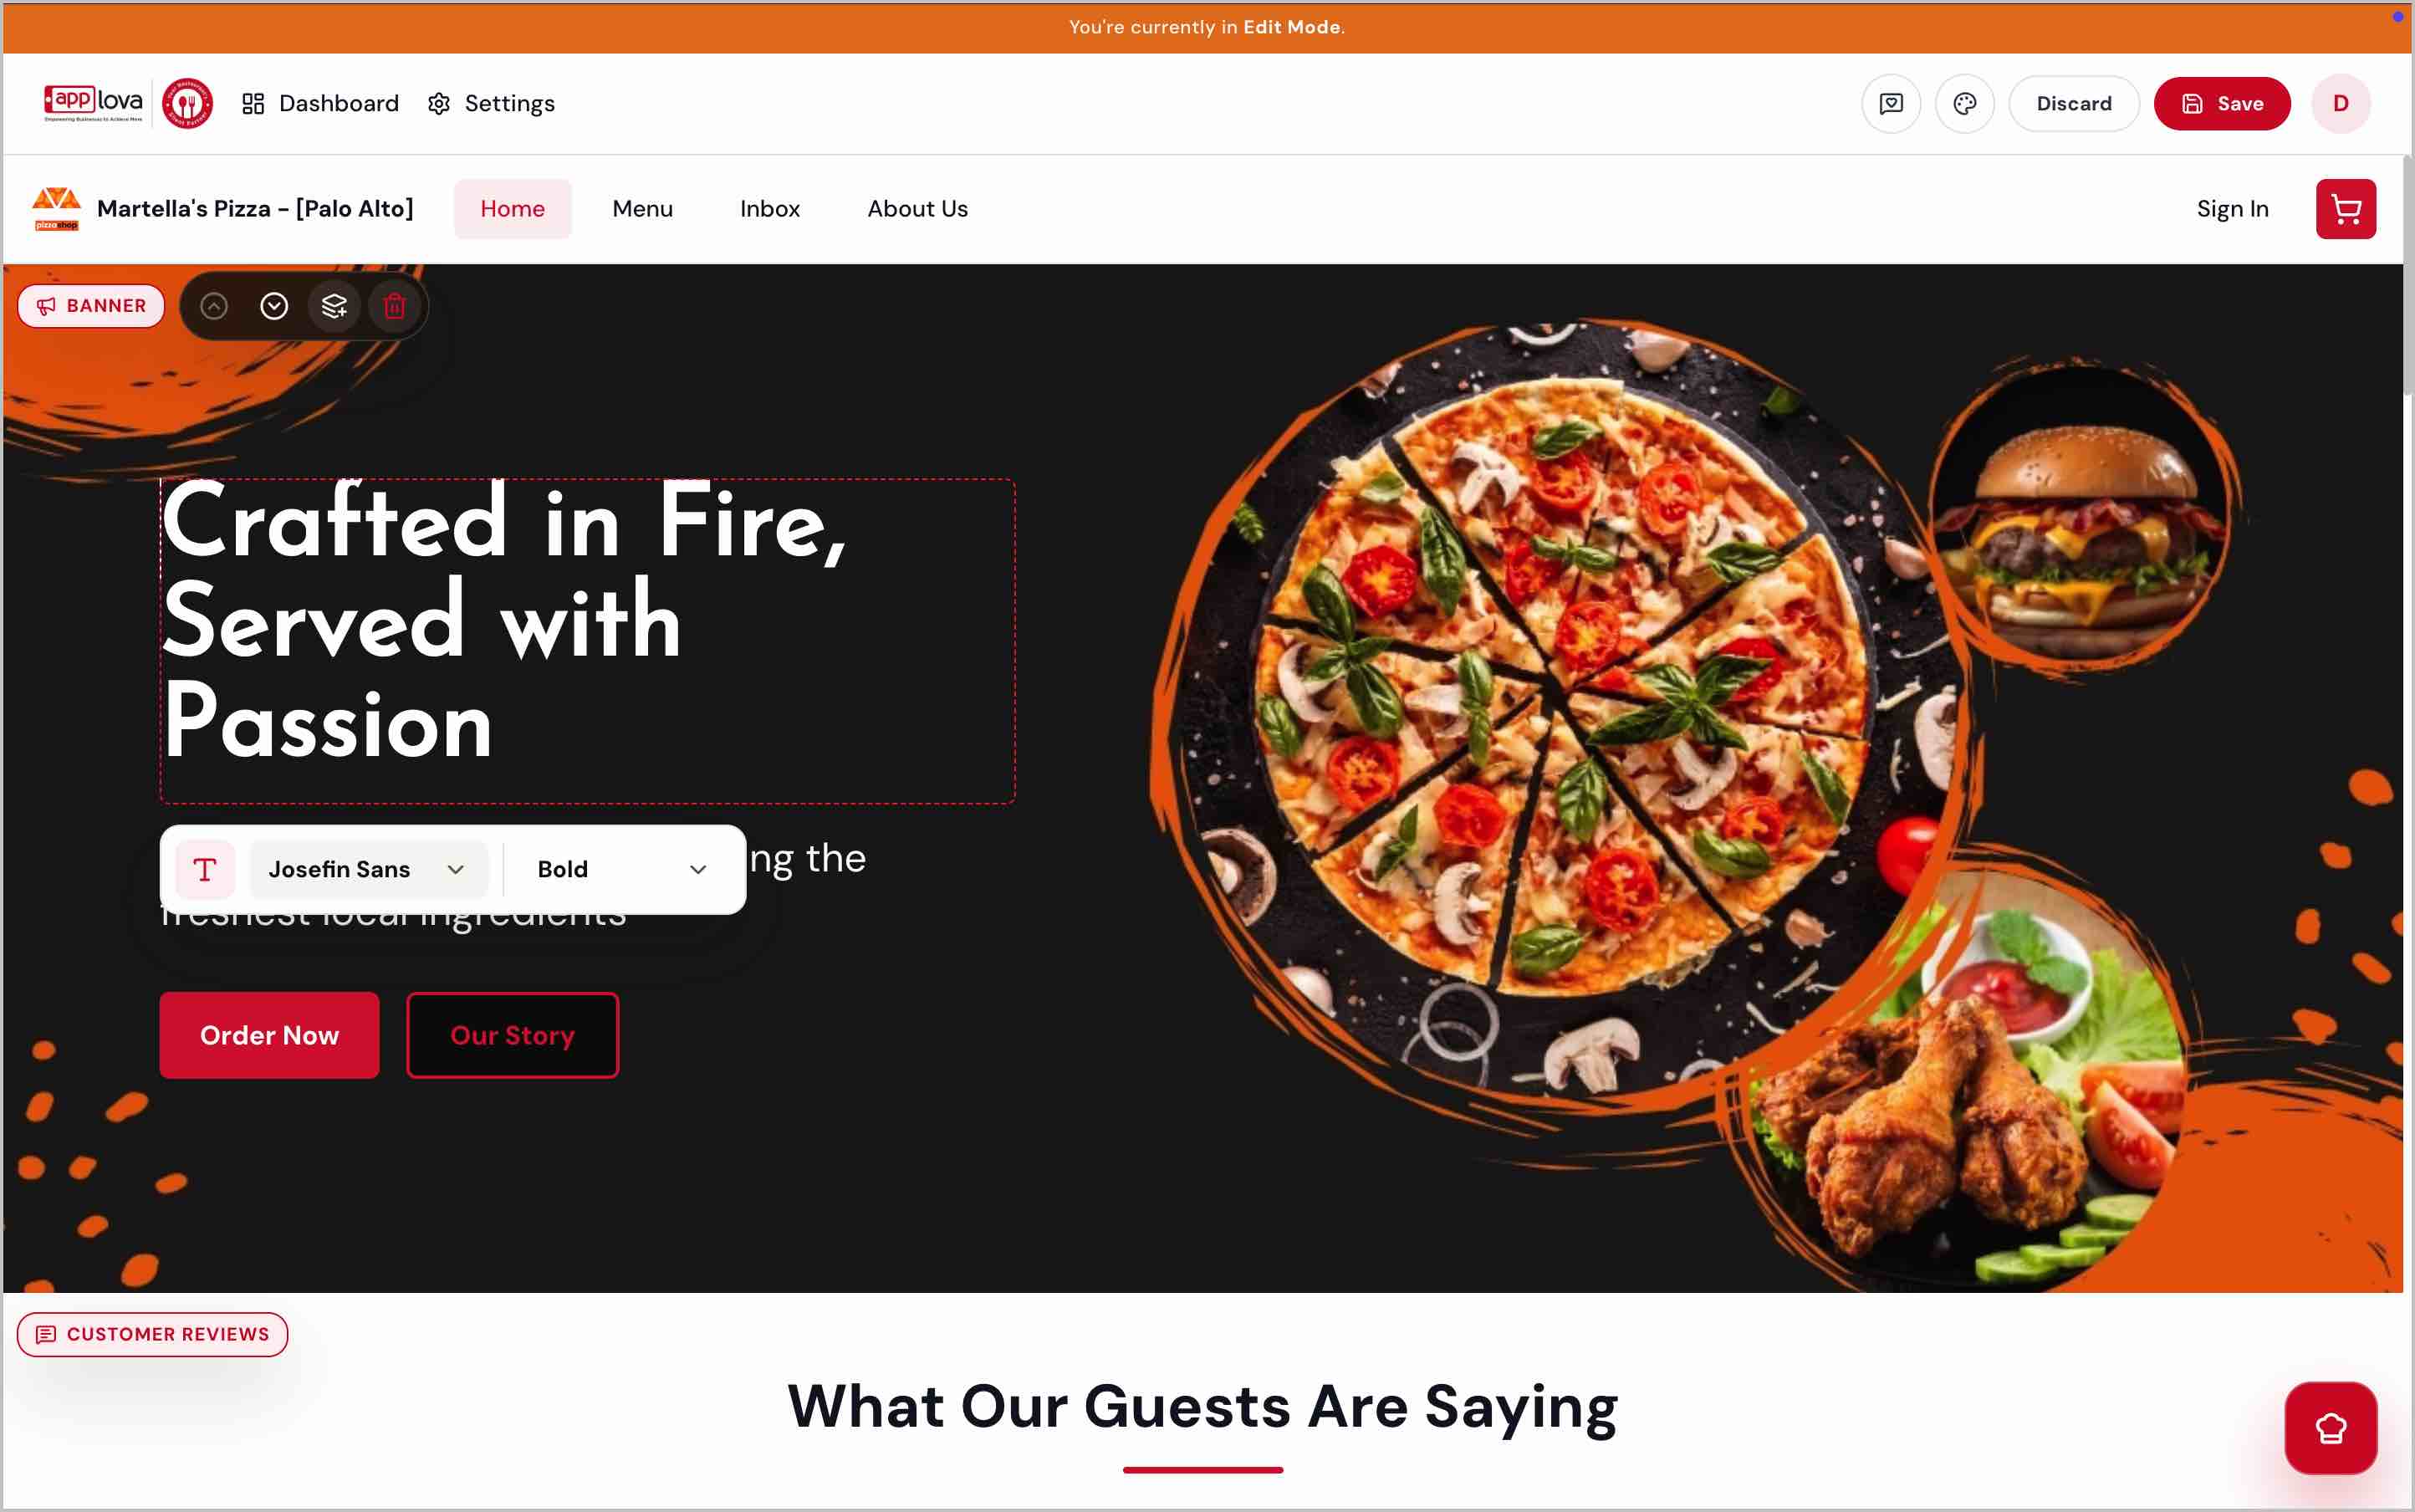
In this section, you can:
- Change the banner image – Hover over the image, click Replace, then choose an existing image or upload a new one.
- Edit the title and description – Hover over the text, then click it to edit the content directly.
- Update the primary and secondary buttons – Hover over the button, click the Edit (pencil) icon, then make the required changes.
- Choose whether links open on the same page or a new tab
Branding options may include:
- Change the website colors – Click the color palette icon on the top bar, then select a preset color or choose a custom color that matches your brand.
- Change the font style – Click the text you want to update, then select your preferred font from the Font dropdown in the settings panel.
- Update the logo – Hover over the logo, click "Replace Logo", then choose an existing image or upload a new one.
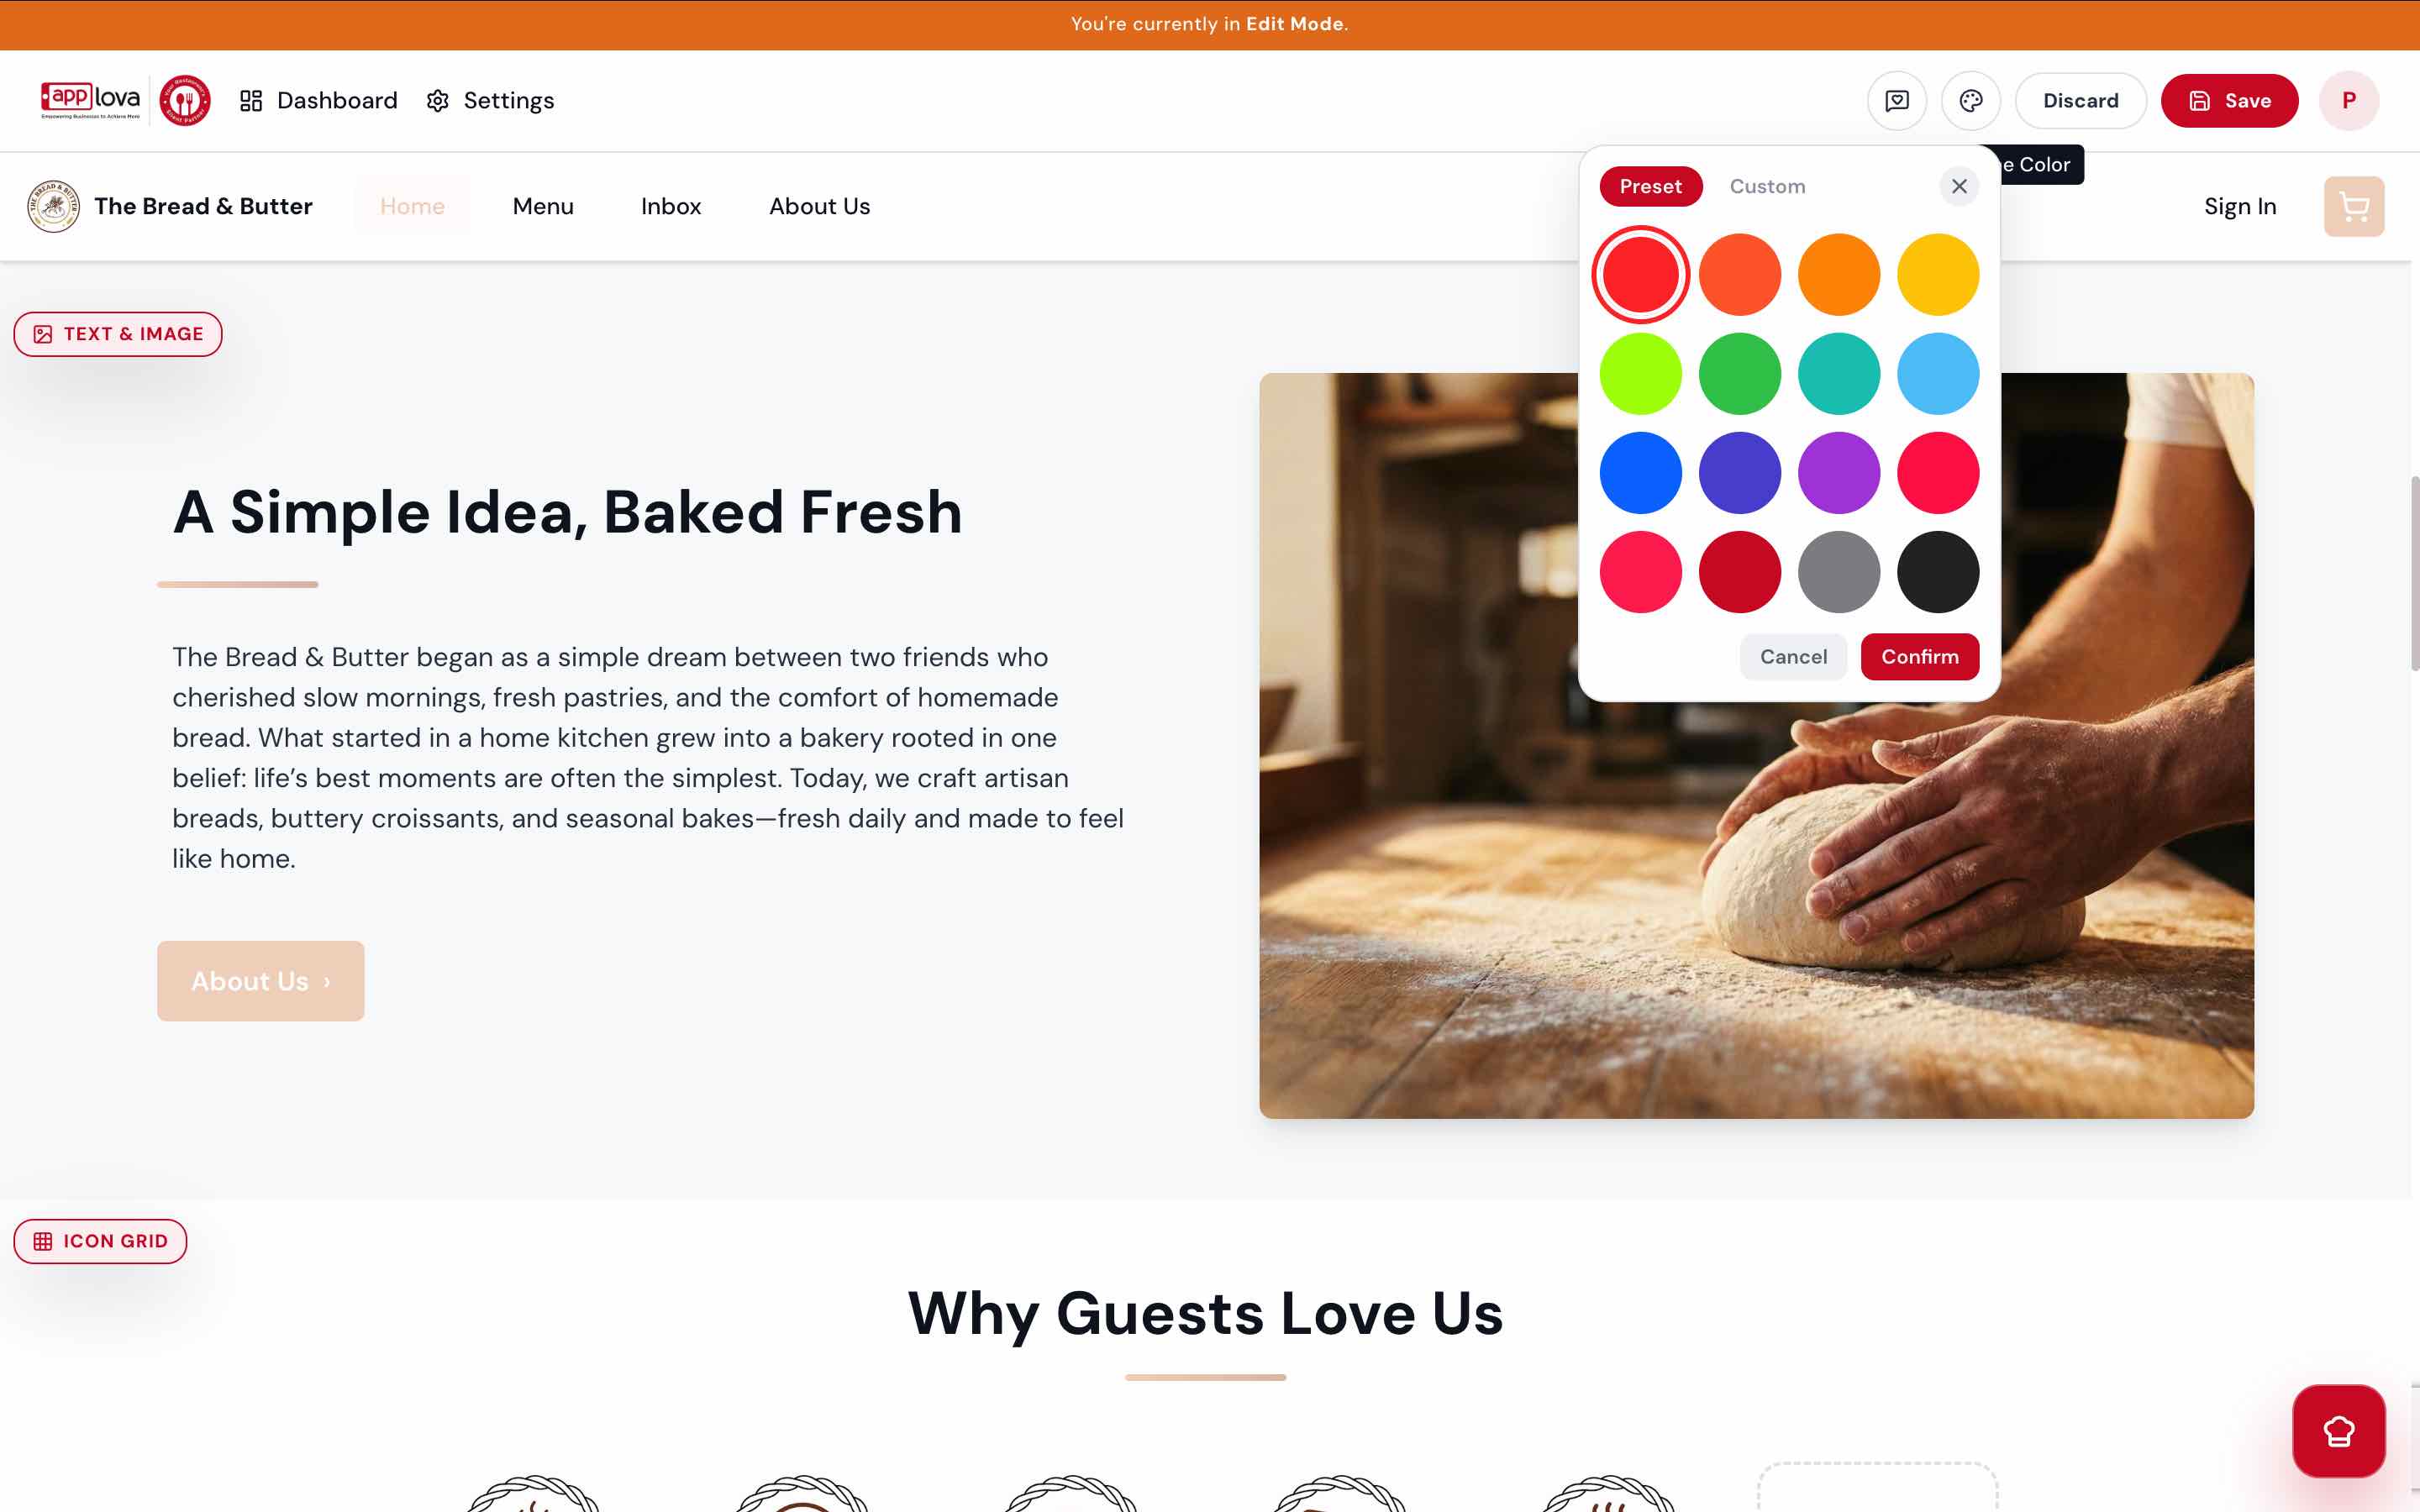
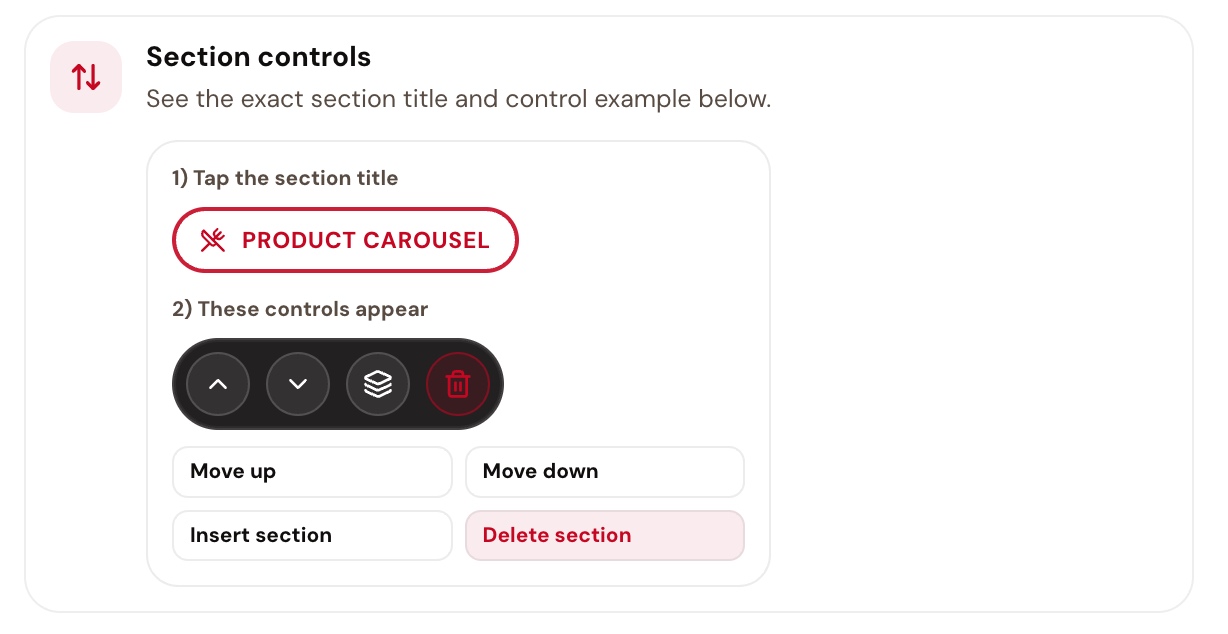
Image Link
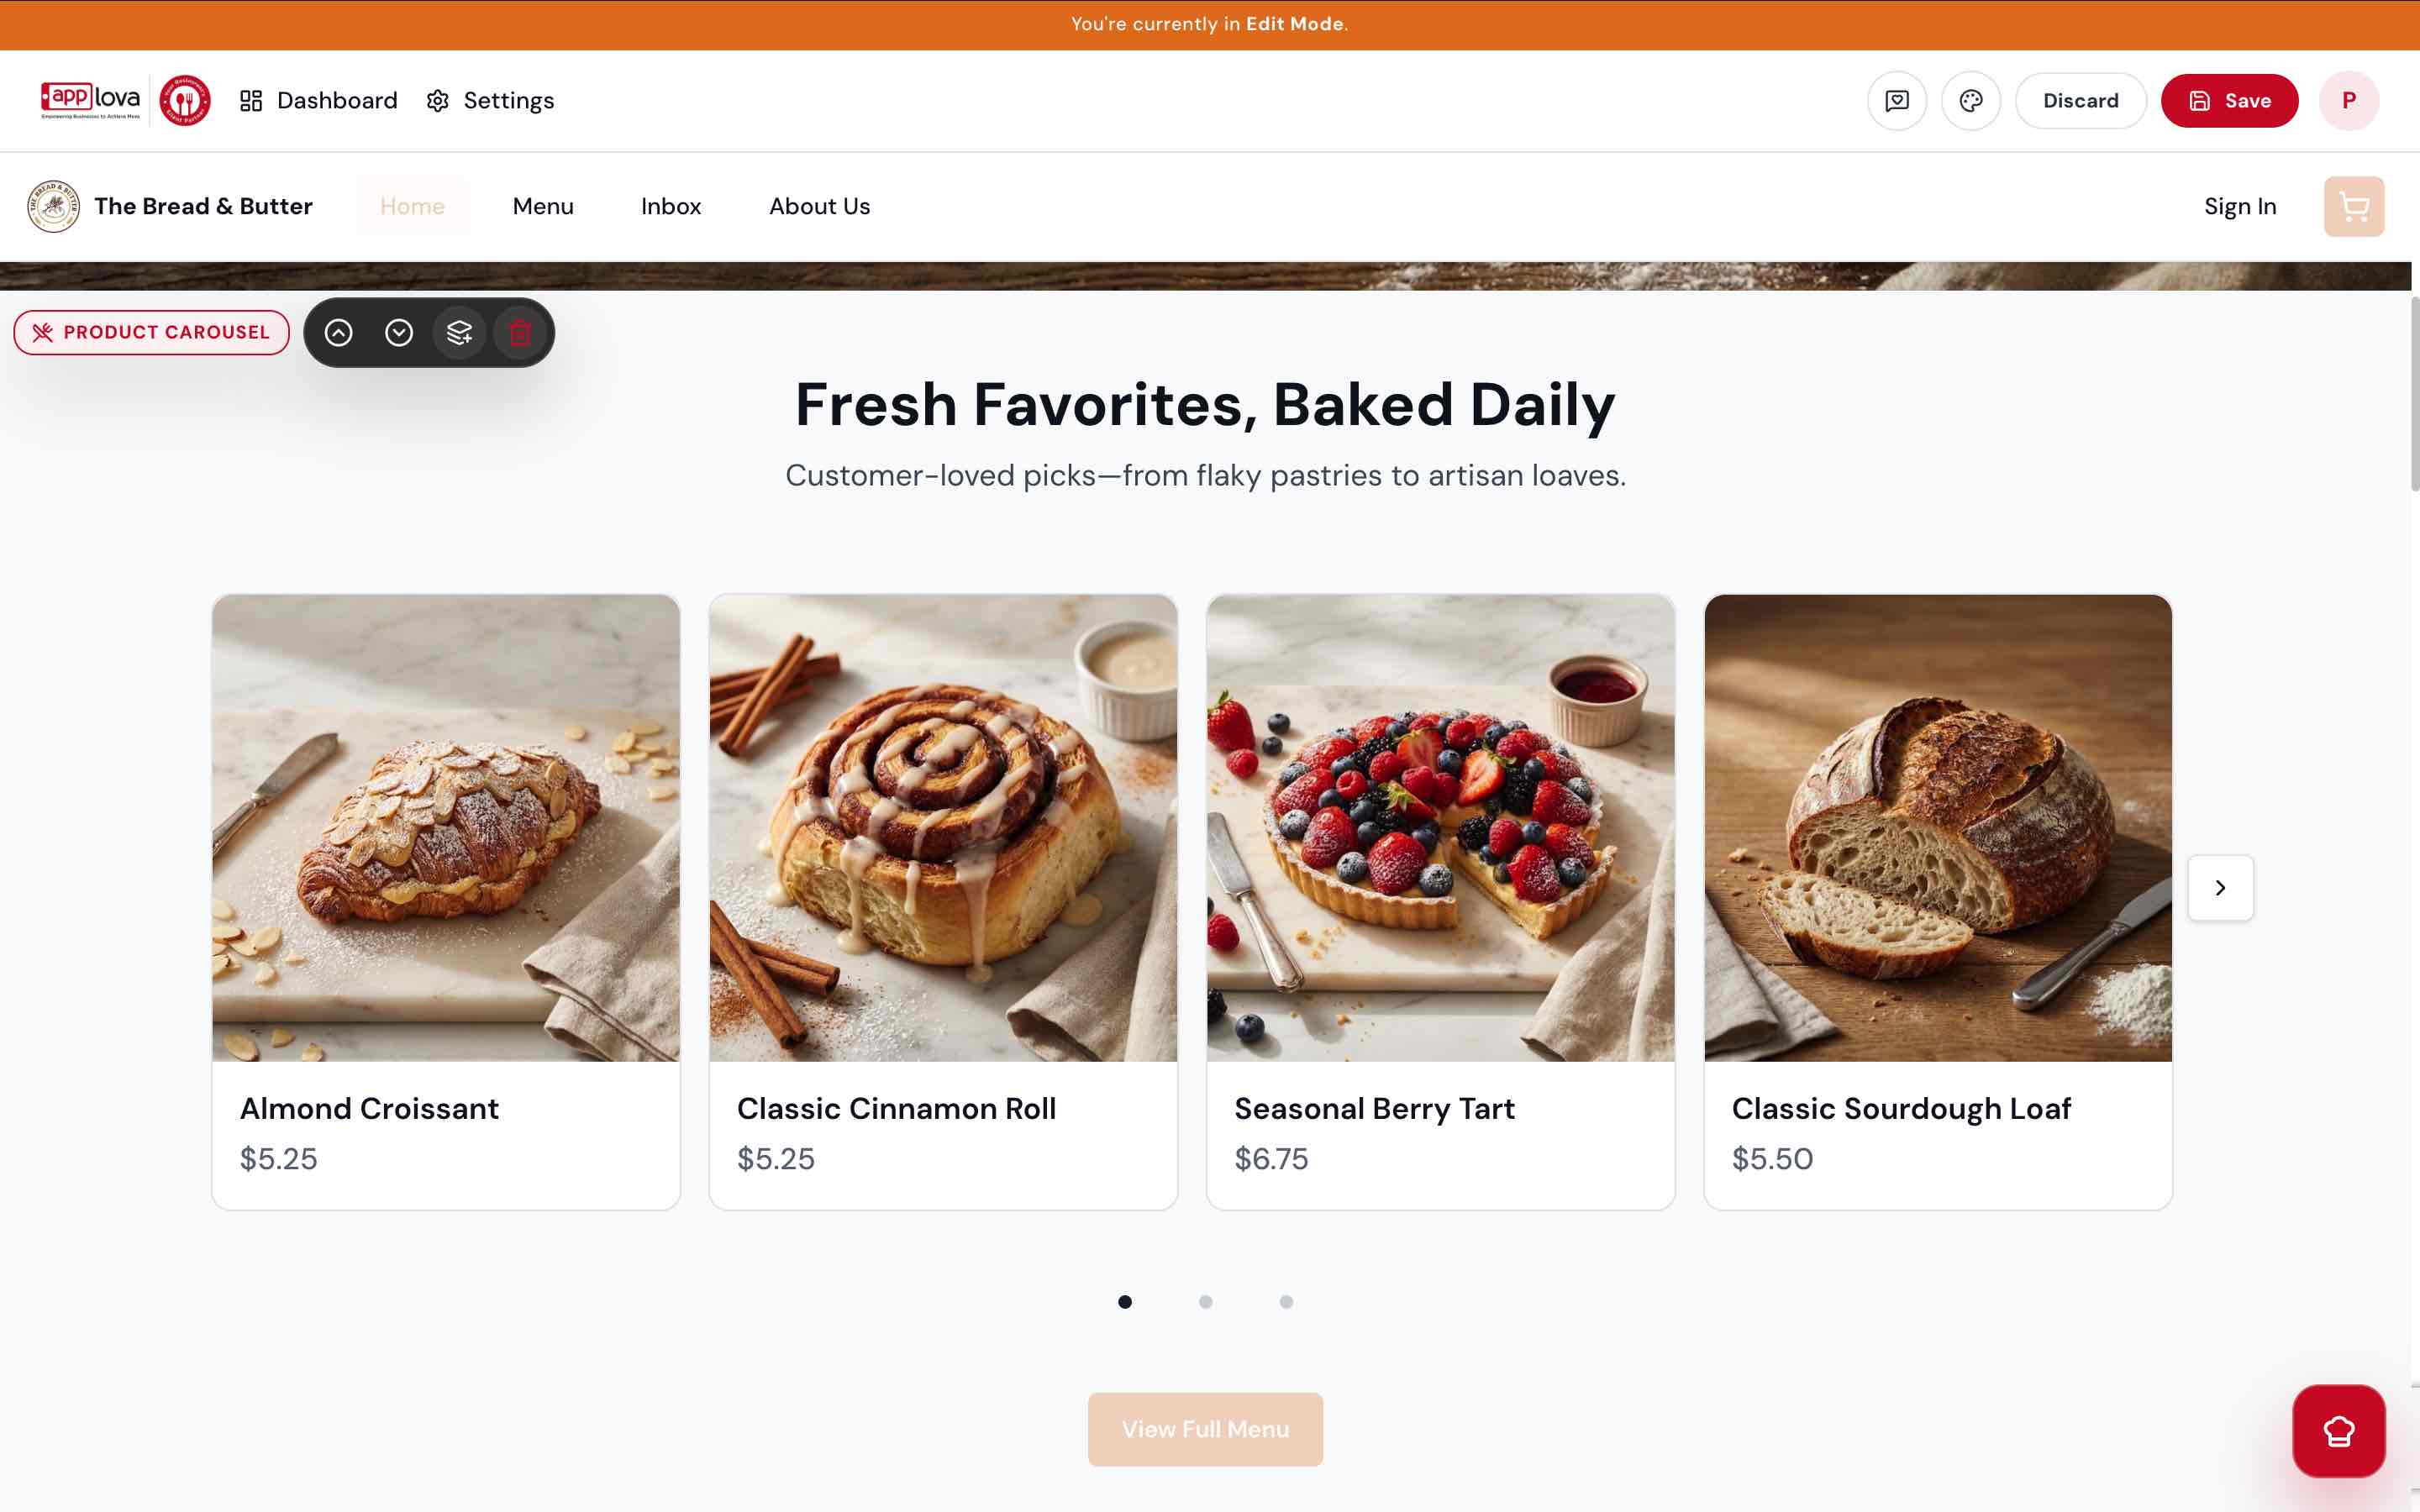
From this section, merchants can:
- Reorder menu items – Hover over a menu item, then click and drag the drag handle to move it to the preferred position.
- Remove a menu item – Hover over the menu item, then click the Delete icon.
- Add a menu item – Click Add Menu Item, then search for and select the item you want to display.
- Replace a product image – Hover over the product image, click Replace, then choose an existing image or upload a new one.
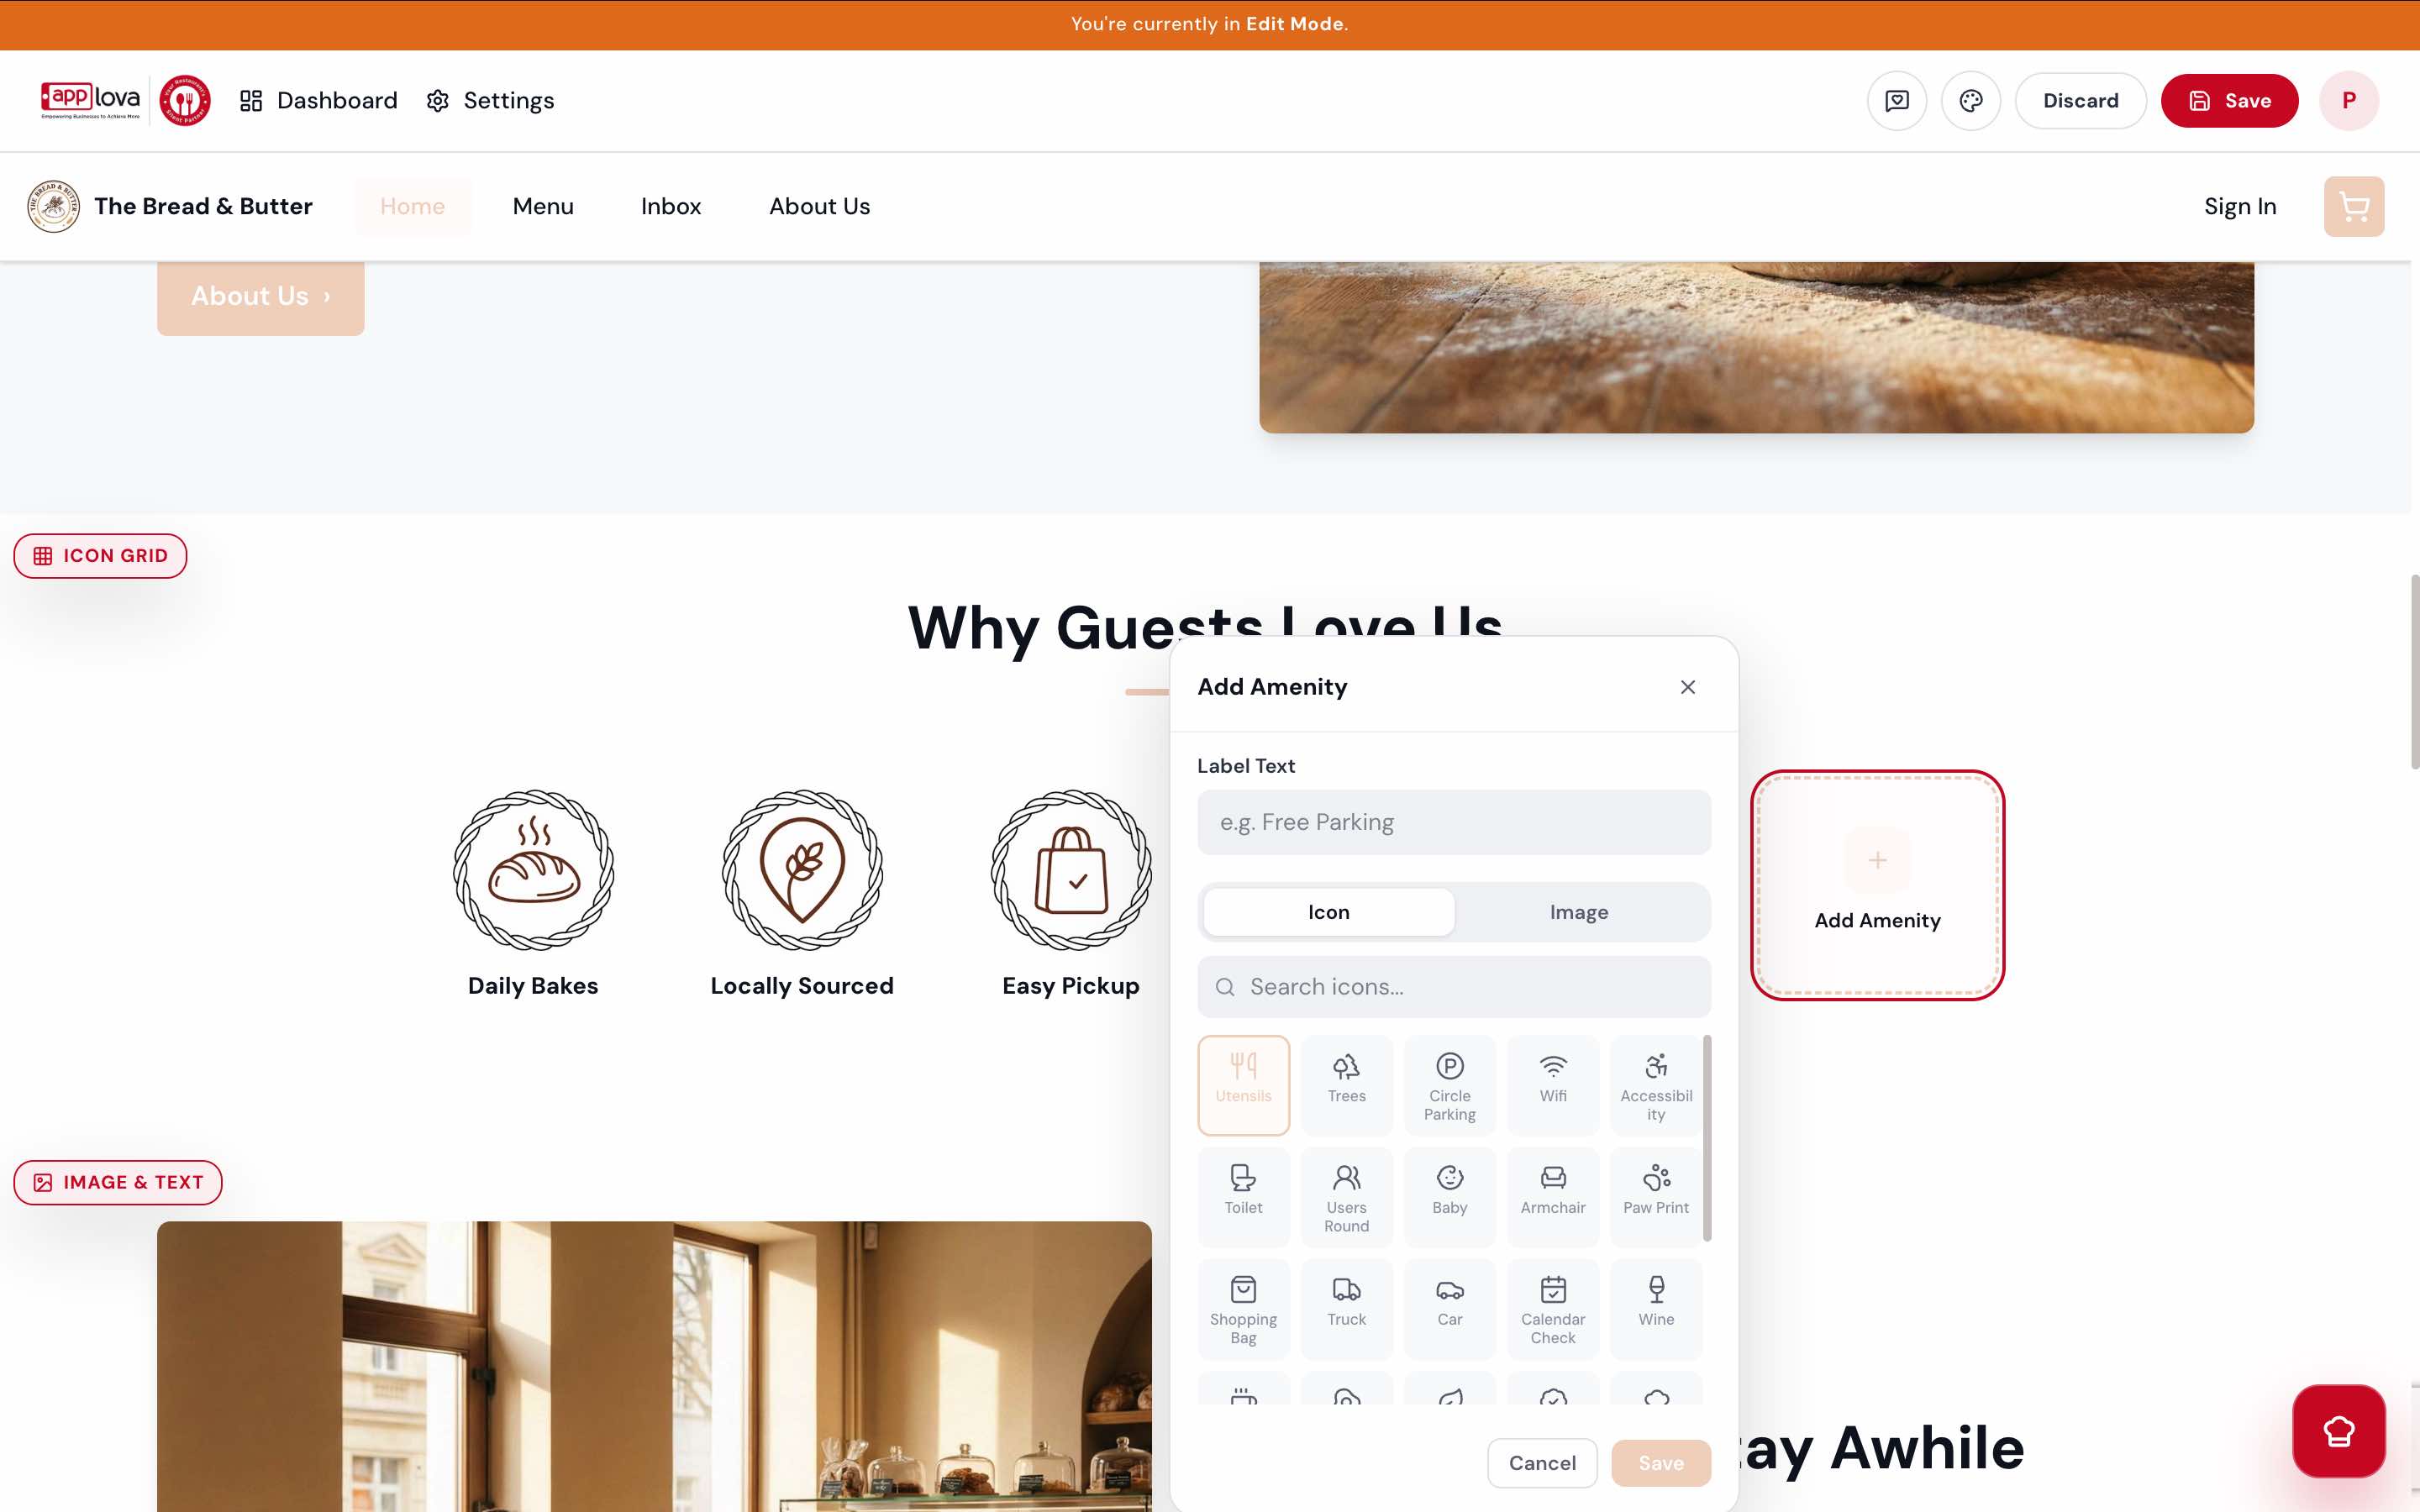
In this section, you can:
Add a new amenity – Click Add Amenity, enter a label, then choose an icon or upload an image before saving.
Reorder amenities – Hover over an amenity, then drag it to the preferred position using the drag handle.
Remove an amenity – Hover over the amenity, then click the Delete icon.
Edit the amenity label – Click the amenity, update the Label Text, then save your changes.
Change the icon or image – Click the amenity, then select a different Icon or switch to the Image tab to upload your own image.
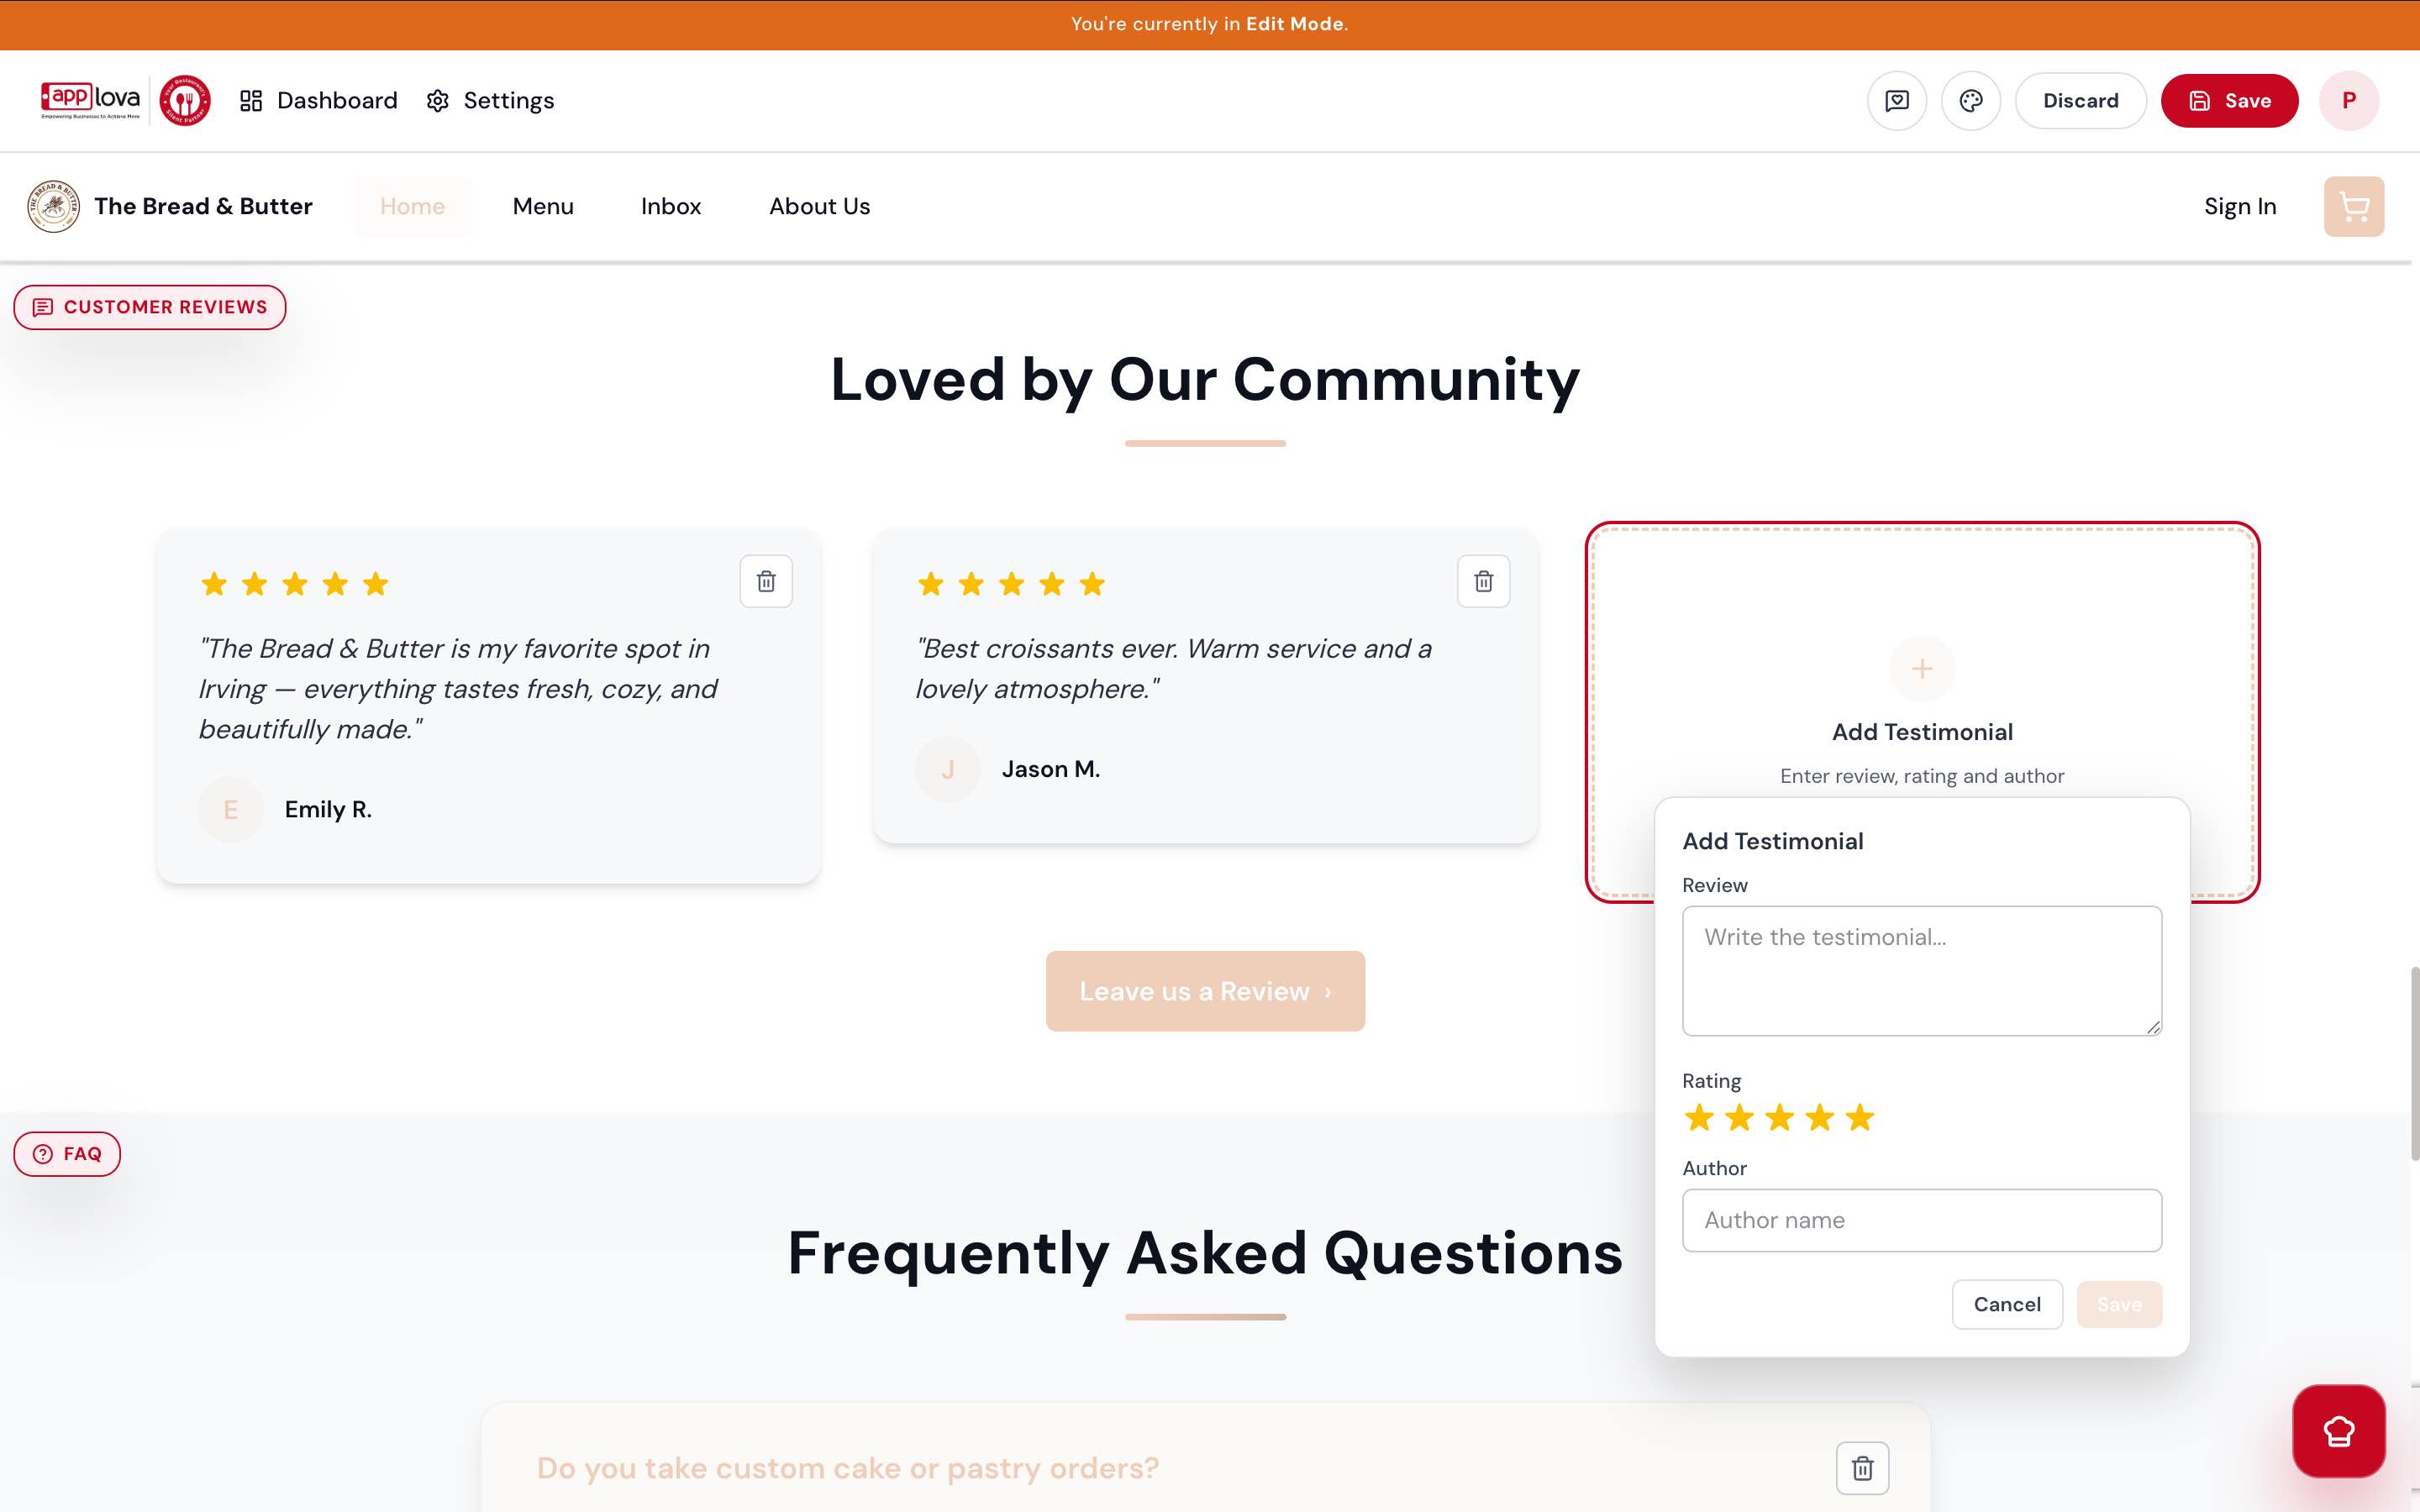
Merchants can keep their website information up to date by managing reviews, FAQs, contact details, and social links.
Manage customer reviews – Click the review text to edit it, or click Add Testimonial to add a new customer review.
Manage FAQs – Click the question or answer to edit it, or use the Delete icon to remove an FAQ.
Update the review button – Hover over the Leave us a Review button, click the Edit (pencil) icon, then update the button label, link, style, or how the link opens.
Update footer details – Click the footer section to edit your business information and contact details.
Manage social media links – Click the social media icons in the footer section to add, edit, or remove your social media links.
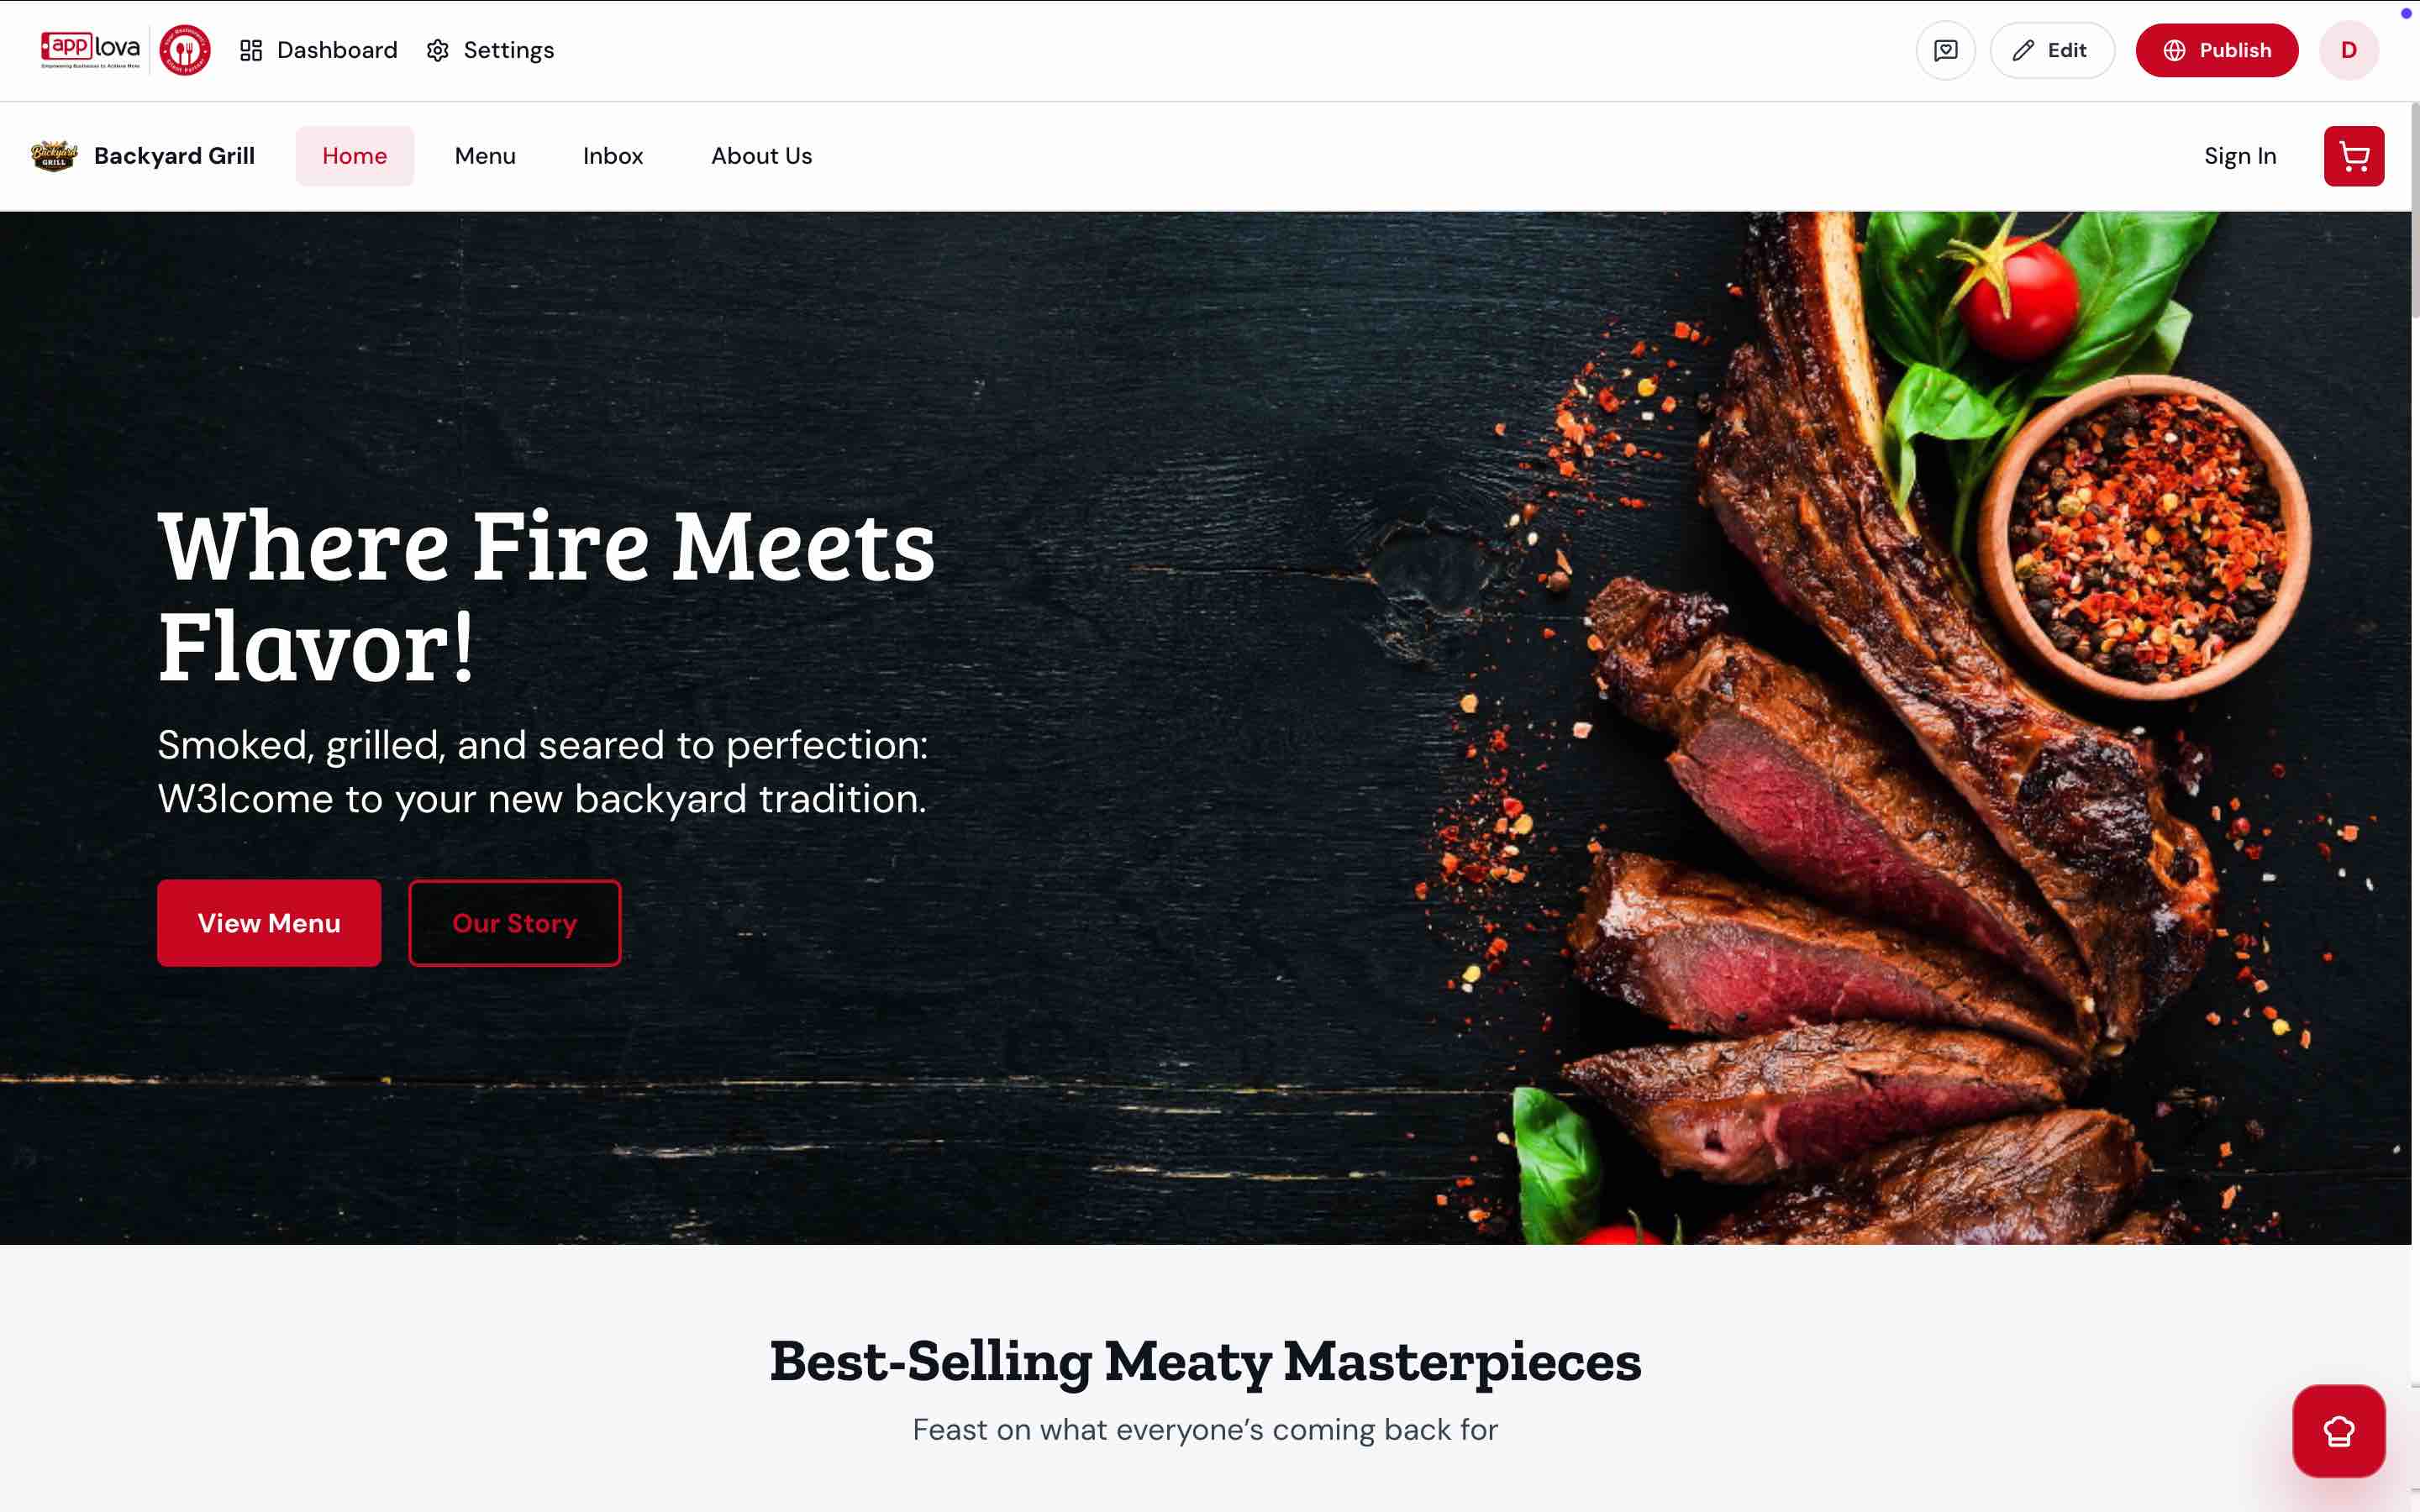
Merchants can:
- Preview website updates
- Save changes made in the builder by clicking on the save button.
- Publish updates to the live website by clicking "Publish" and going ahead with a pricing plan.
- Changes are not reflected on the live website until they are published.
- AI-generated content should be reviewed before publishing.
- Product images may need to be replaced if they do not accurately represent the menu item.
- Website content can be updated at any time after publishing.
Related Articles
How to Configure Announcement Popups Using Website Builder?
Supported Domains: Standalone, Clover, Square, RPower, GoDaddy Announcement Popups allow merchants to display promotions, important notices, seasonal offers, and other updates in the center of their website. Merchants can customize the popup content, ...How to Create Your Website Using the Website Builder?
Supported Domains: Standalone, Clover, Square, RPower, GoDaddy The Applova Website Builder makes it easy to create a professional website, whether you're opening a new restaurant, already have an existing business, or are an existing Applova ...Getting Started with the Website Builder
Supported Domains: Standalone, Clover, Square, RPower, GoDaddy Applova’s Website Builder allows merchants to create and publish a website with online ordering support using a guided setup experience. The builder uses business details, branding, ...How to Enable or Disable Website Pages in the Website Builder?
Supported Domains: Standalone, Clover, Square, RPower, GoDaddy The Website Builder allows merchants to choose which pages appear on their website. Pages can be enabled or disabled at any time based on the information and services the business wants ...How to add a button with an External Link to Your Website Page Content?
Supported Domains: Standalone, Clover, Square, RPower, GoDaddy The Website Builder allows merchants to add a button to an Image and Text section and direct customers to an external webpage or form. This can be used for actions such as submitting a ...