How to Configure Announcement Popups Using Website Builder?
 Supported Domains: Standalone, Clover, Square, RPower, GoDaddy
Announcement Popups allow merchants to display promotions, important notices, seasonal offers, and other updates in the center of their website.
Merchants can customize the popup content, upload an image, add an action button, and schedule when the popup should appear.

Use Case Scenario
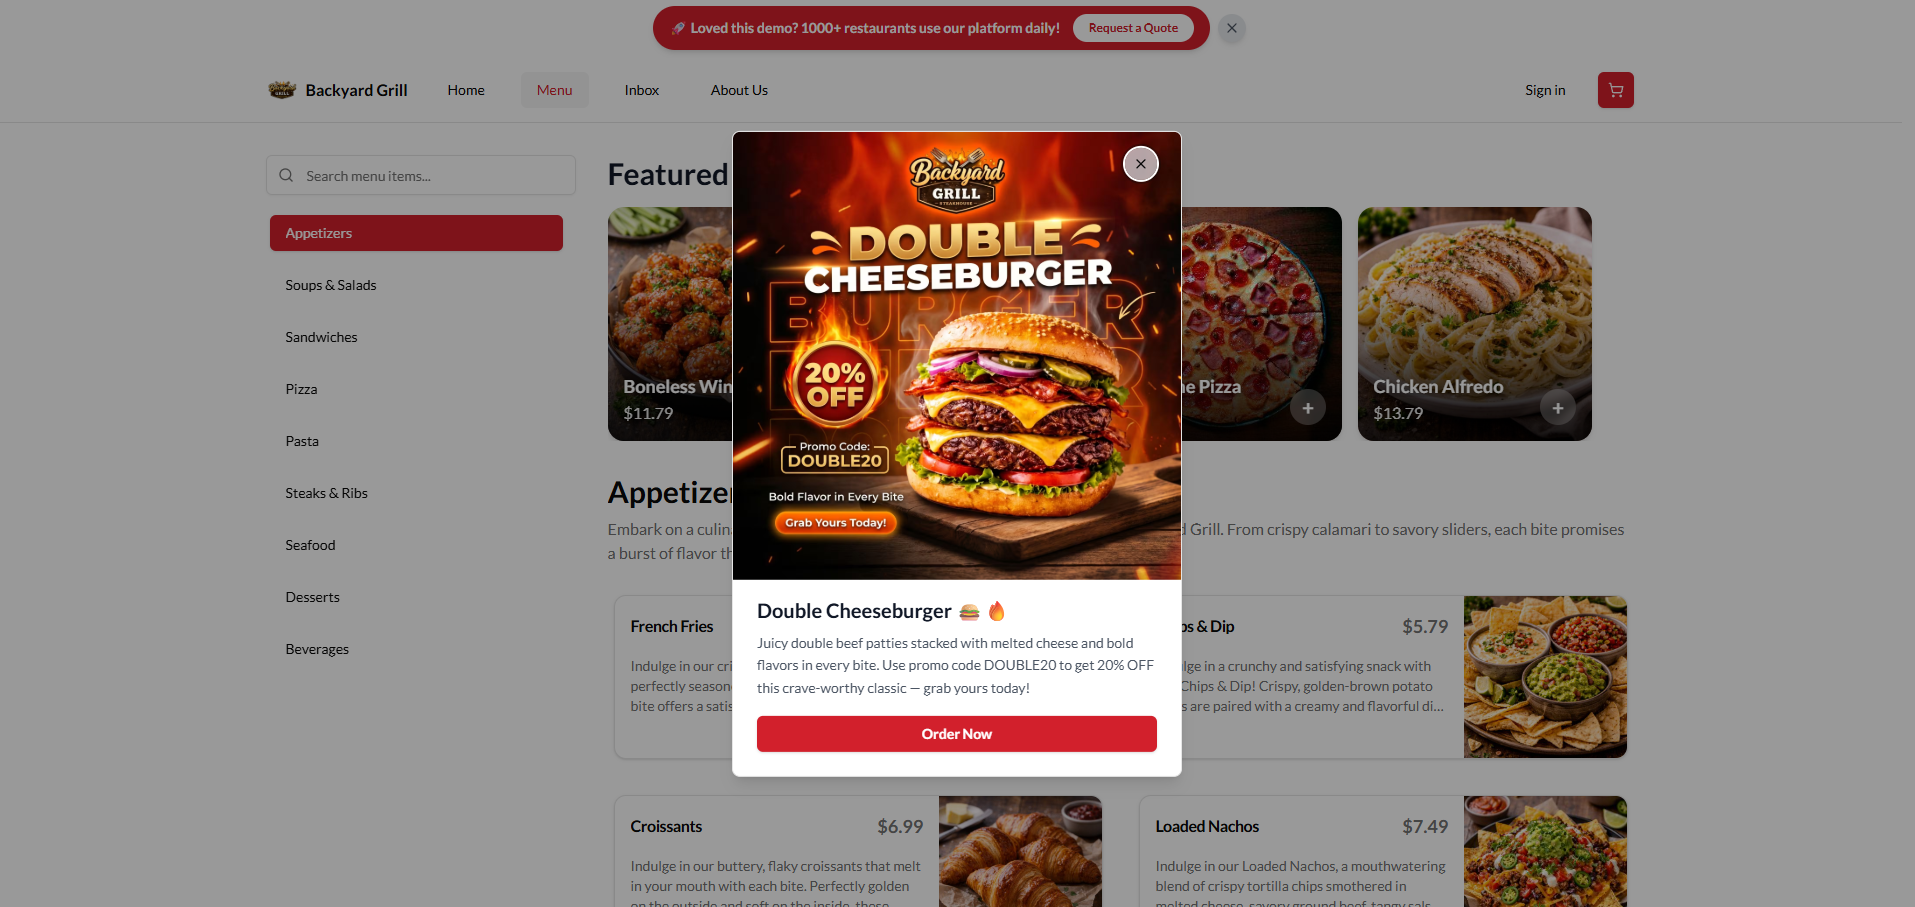
Backyard Grill wants to promote a limited-time Double Cheeseburger offer. The merchant creates an Announcement Popup with a promotional image, offer details, and an Order Now button linked to the menu item. The popup is scheduled to appear only during the promotion period.
Step 1
Open the Website Builder and click "Sign In".
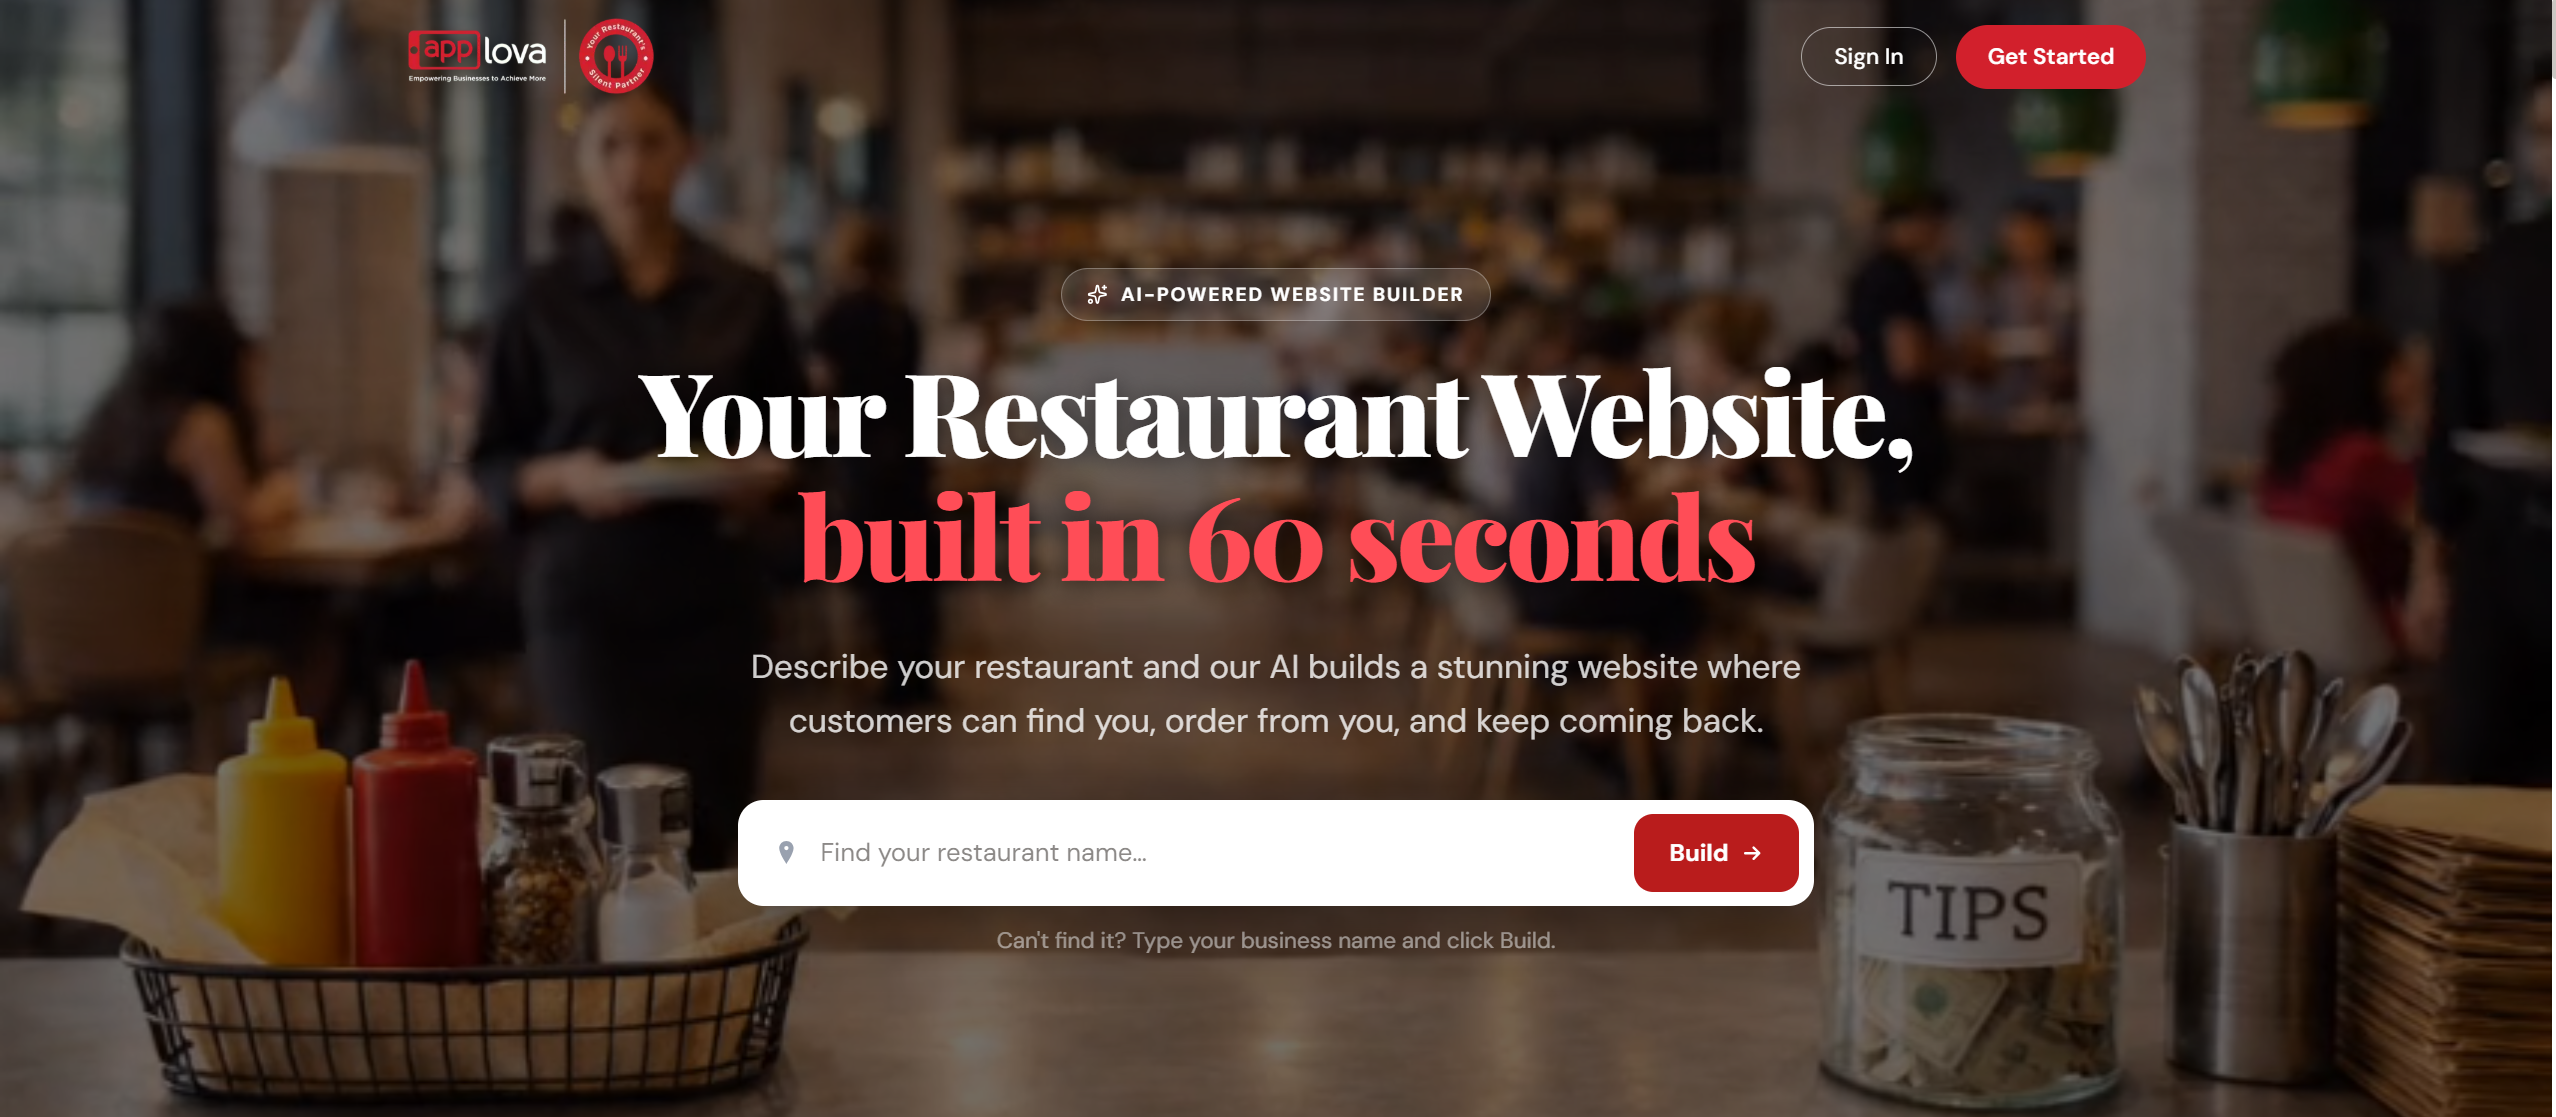
Image Link
Step 2
Enter your account credentials.
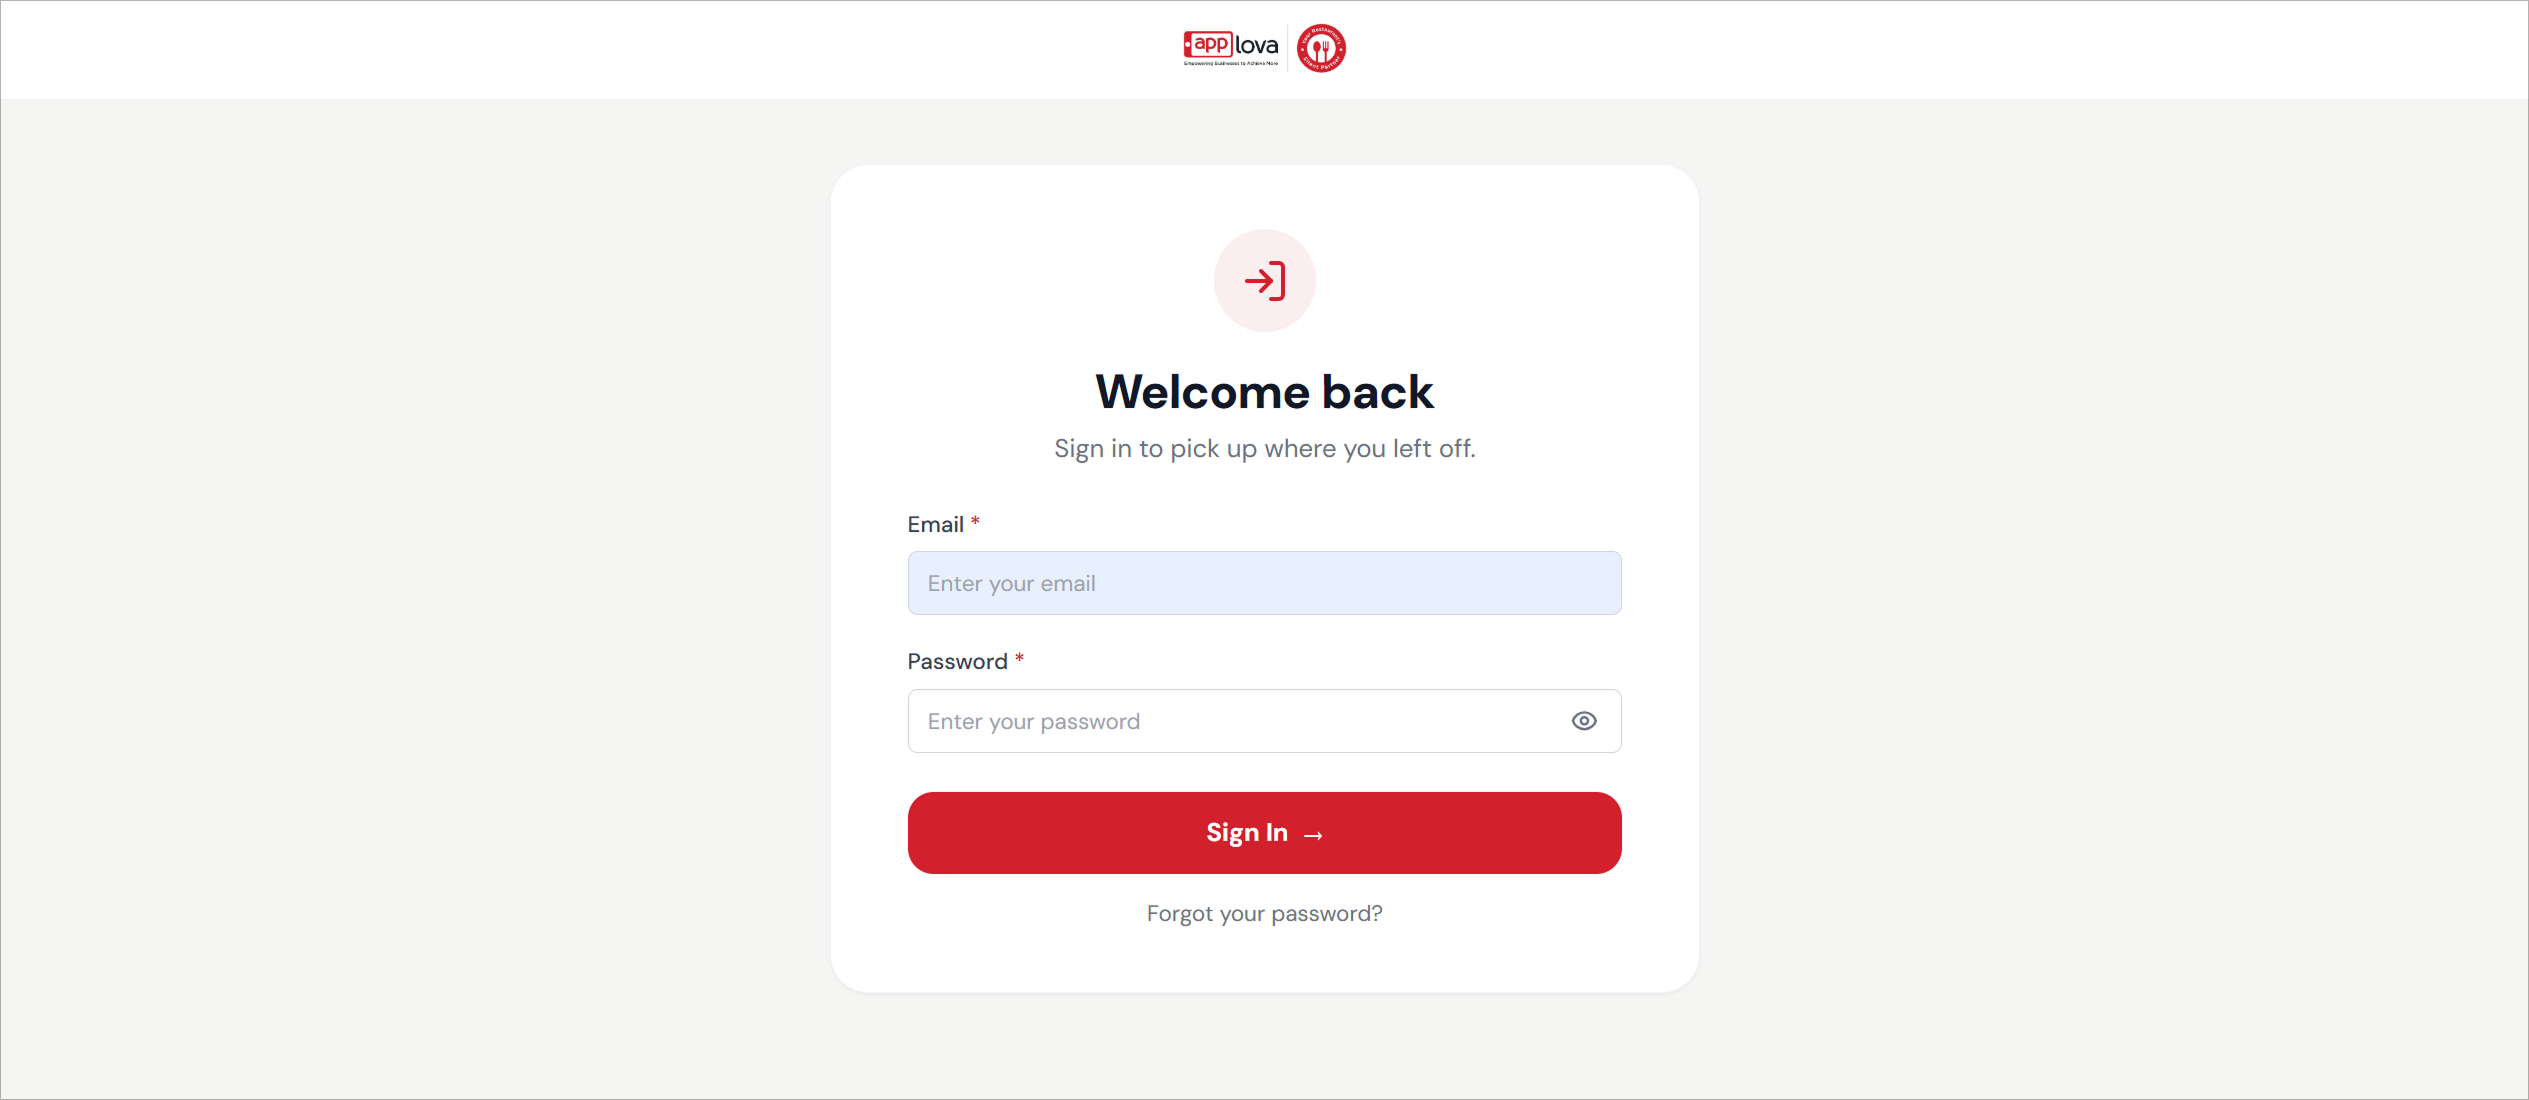
Image Link
Step 3
Choose the business location you want to manage.
Step 4
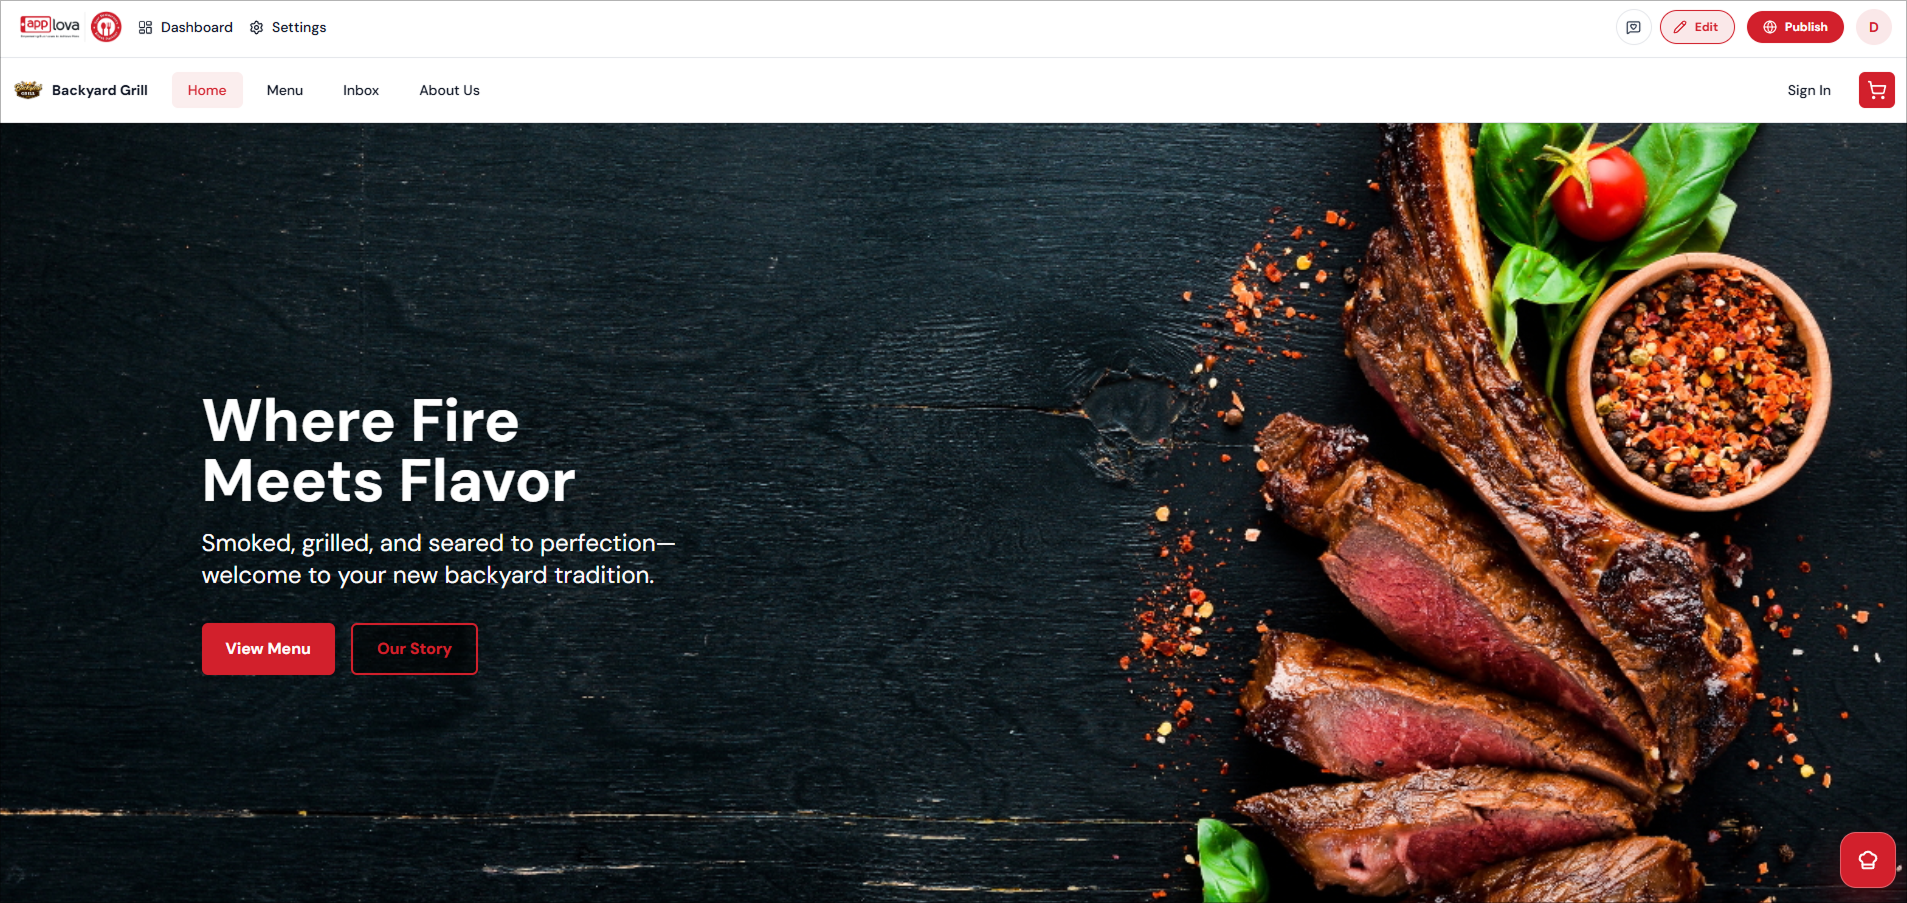
Click "Edit" to open your website in edit mode.
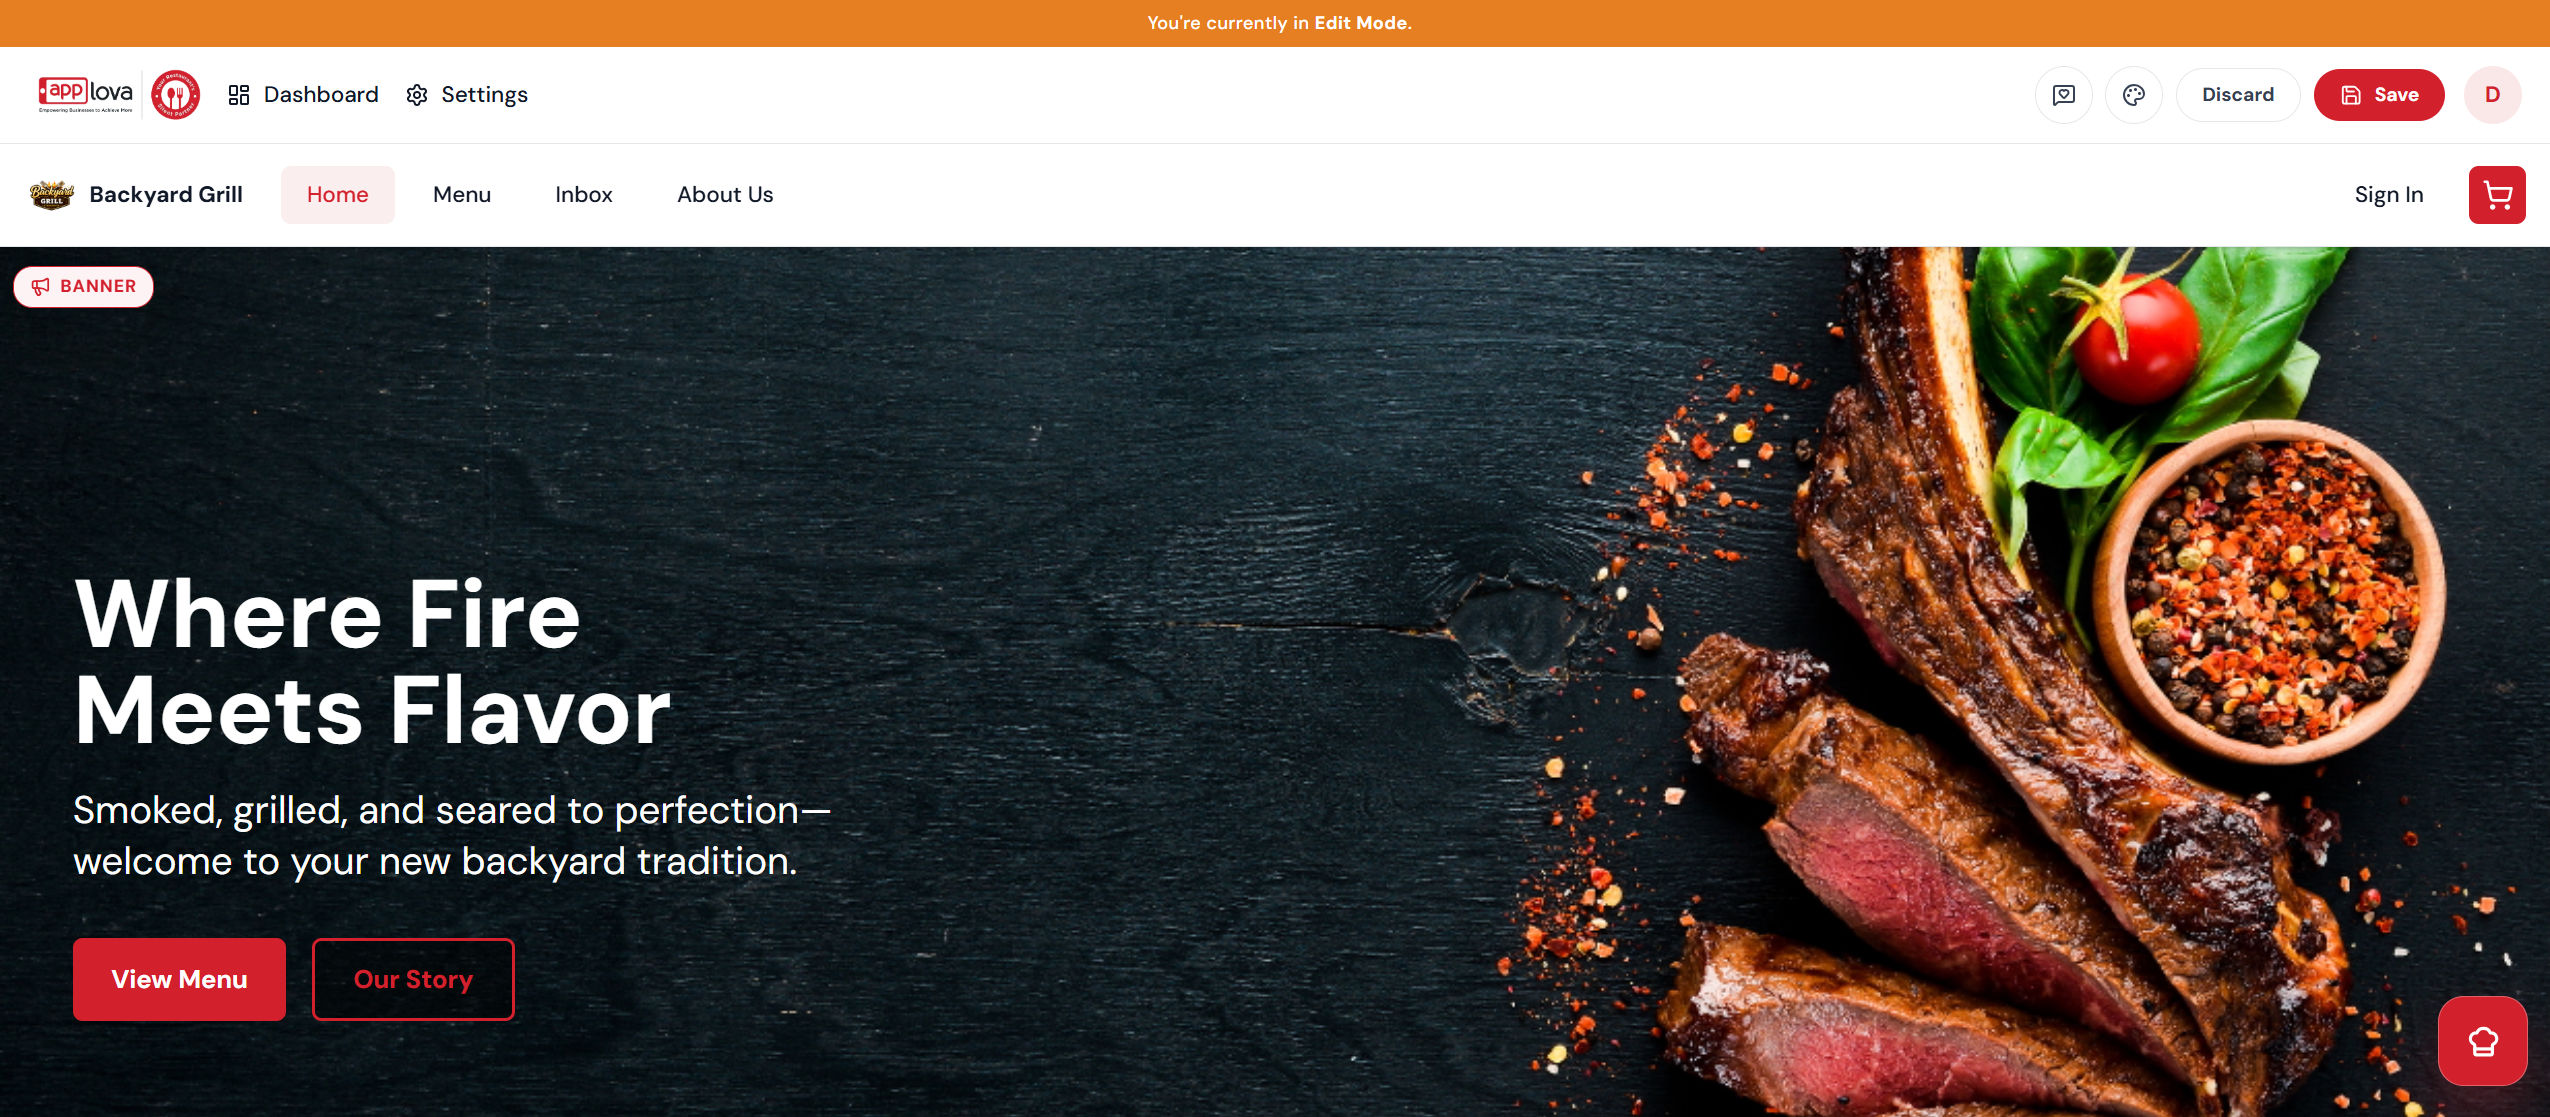
Step 6
Click on "Announcements" under Website Settings. 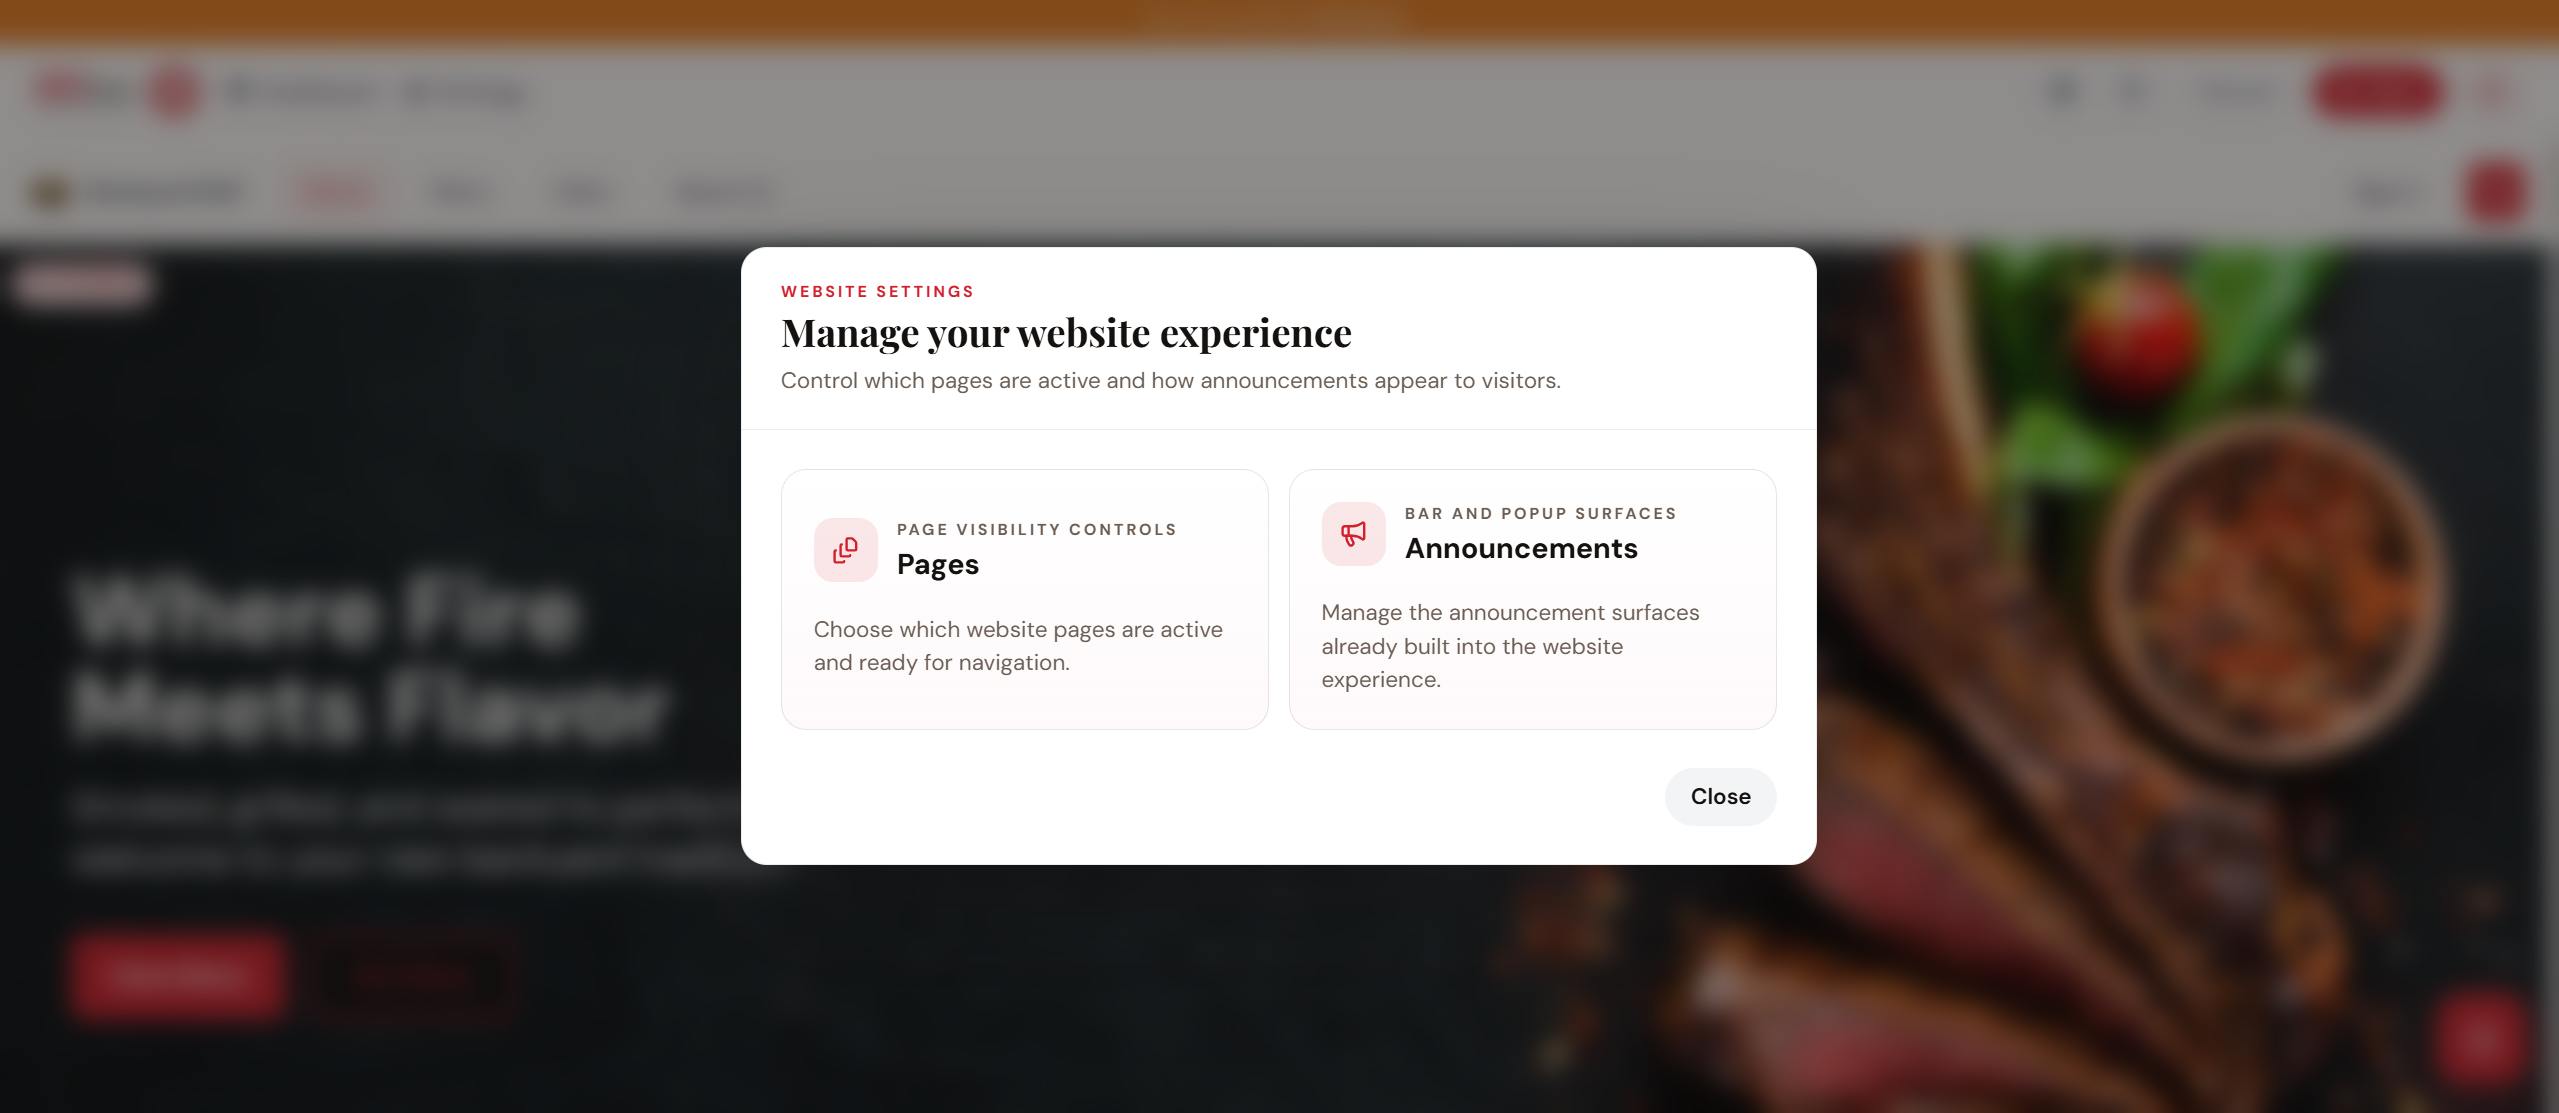
Image Link
Step 7
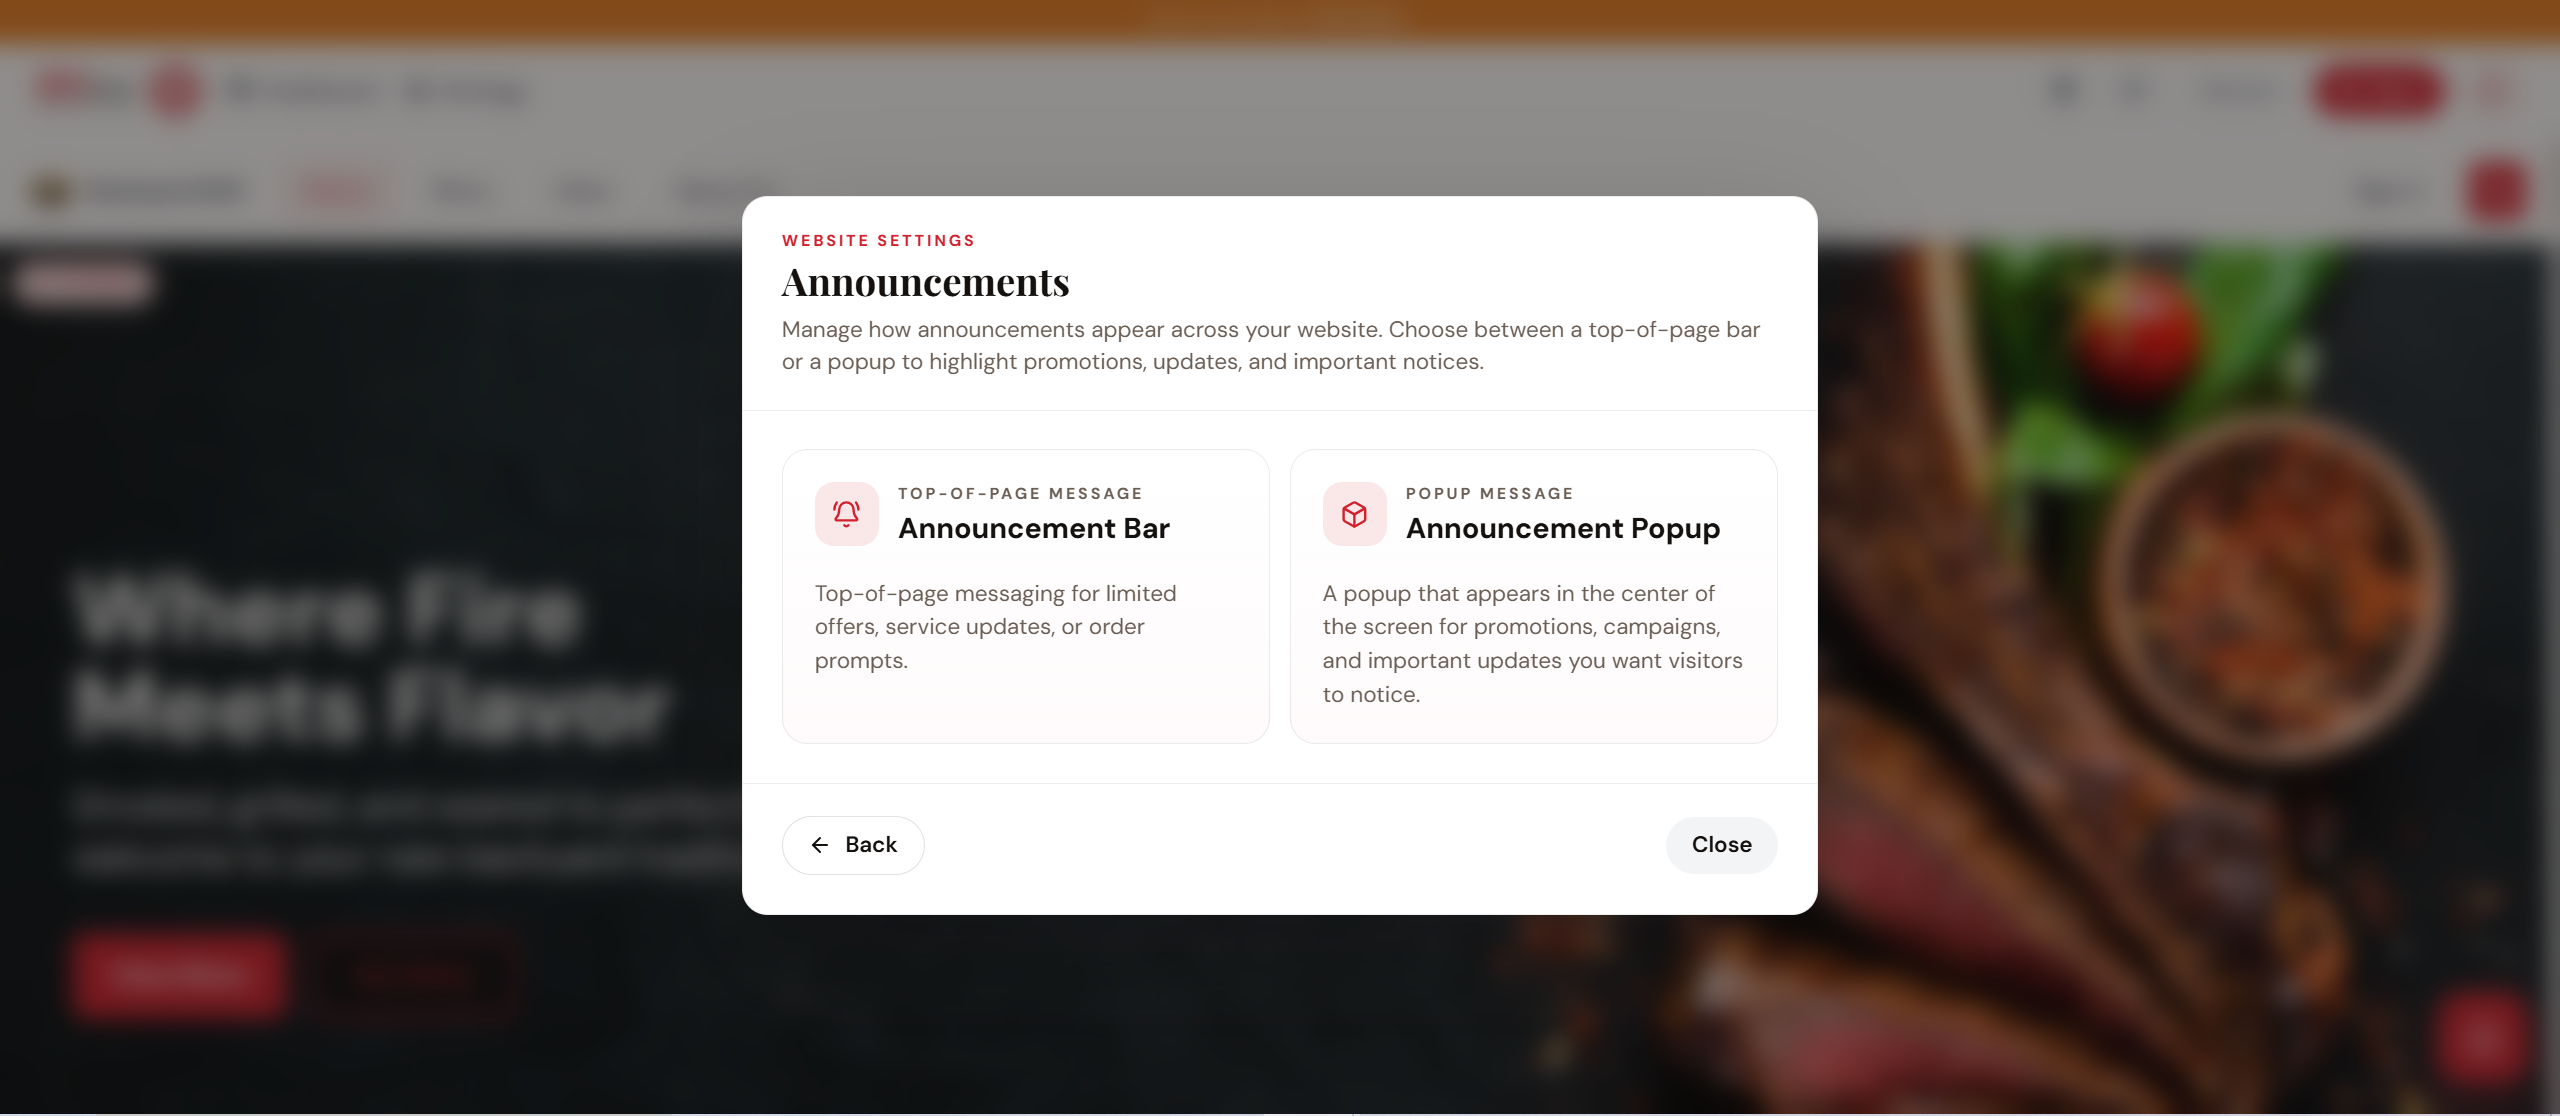
Then click on the "Announcement Popup".
Then click on the "Announcement Popup".
How to Enable Announcement Popups?
Click on the "Enable Now" button or use the "Disabled" toggle at the top of the popup to enable the feature.
Once enabled, the status changes to "Enabled" and the Content, Image, Action Button, and Schedule tabs become available for configuration.
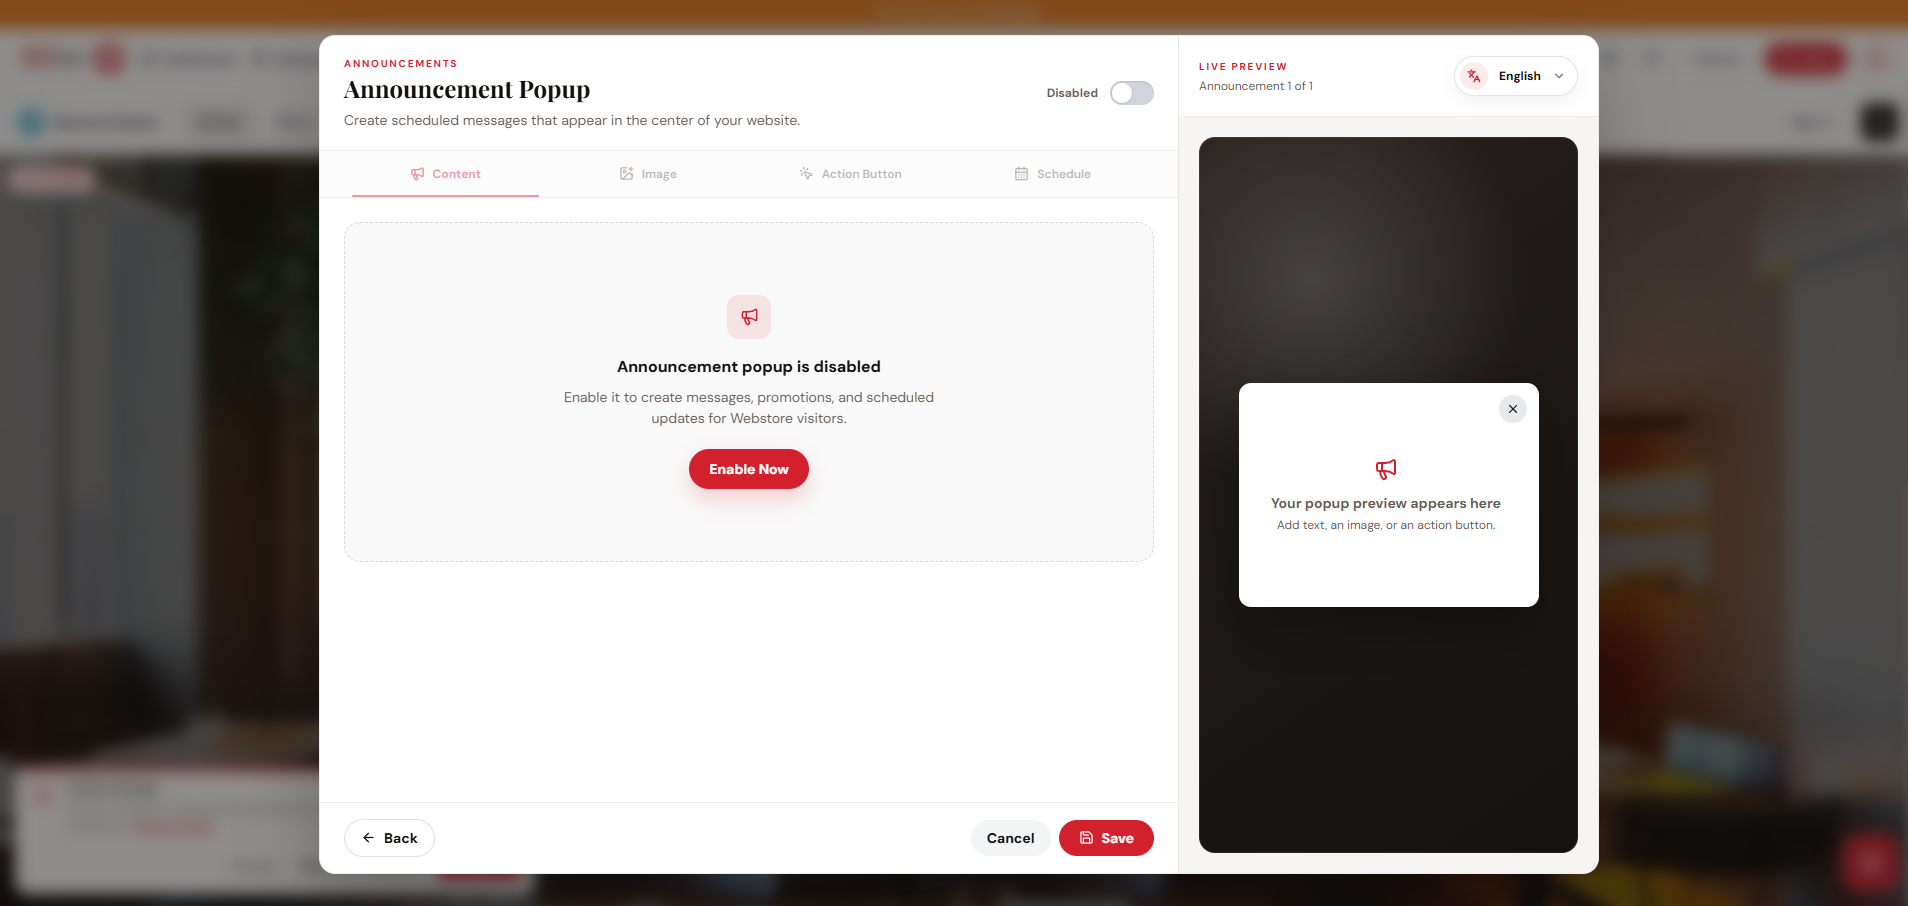
Image Link
Image Link
The "Live Preview" section on the right displays how the popup will appear to customers. Use the language dropdown to preview the announcement in an available language.
How to Add Multiple Announcements?
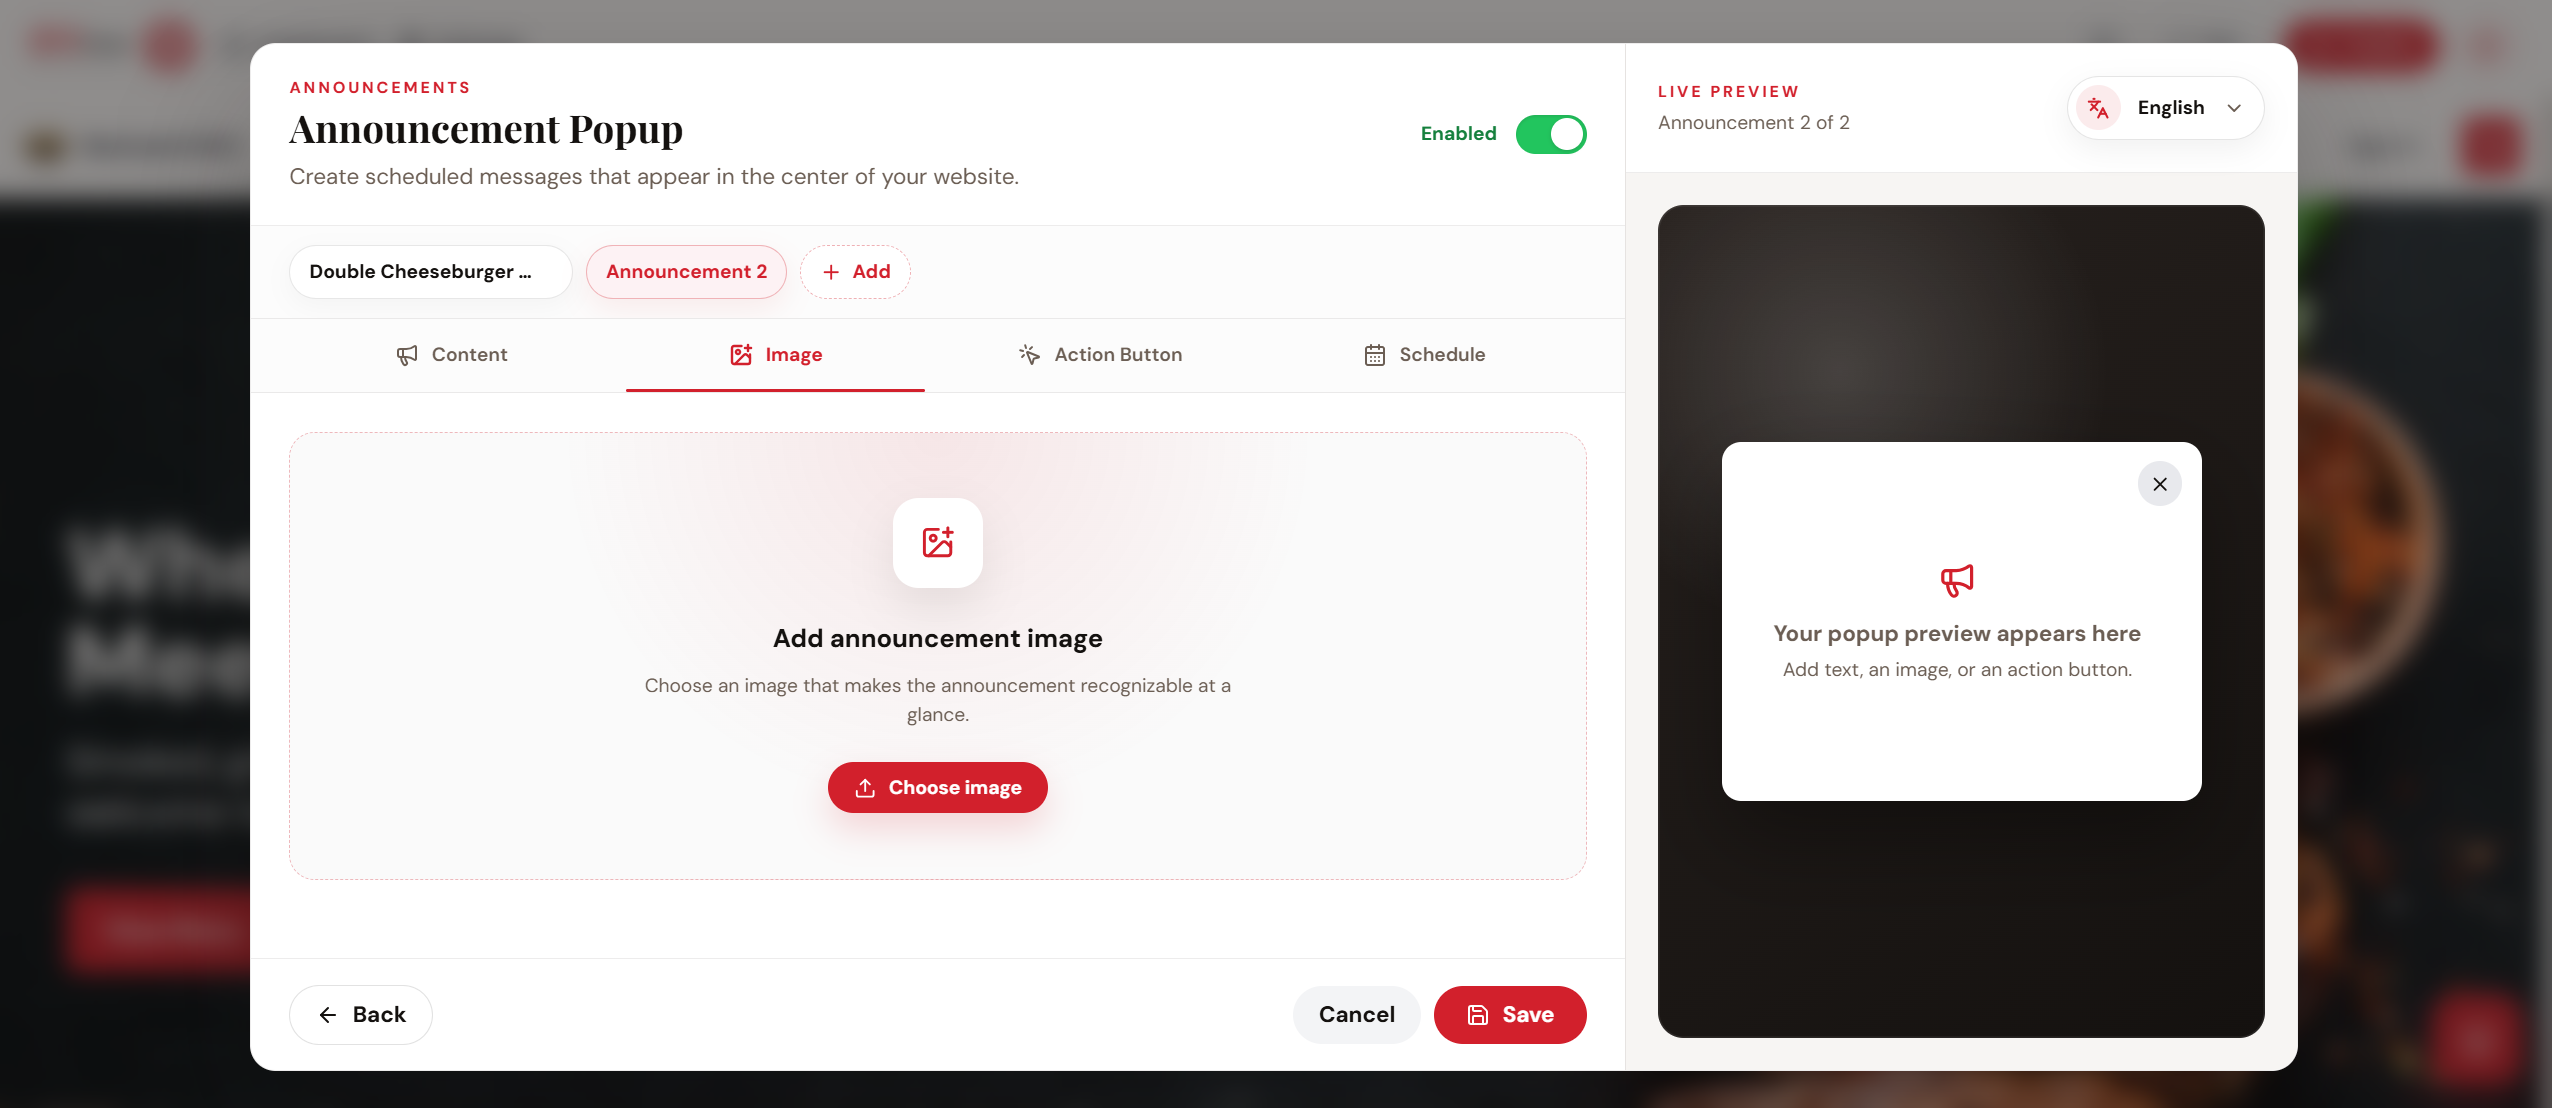
Click on the "+ Add" button to create another Announcement Popup.
How to Add Content to the Announcement?
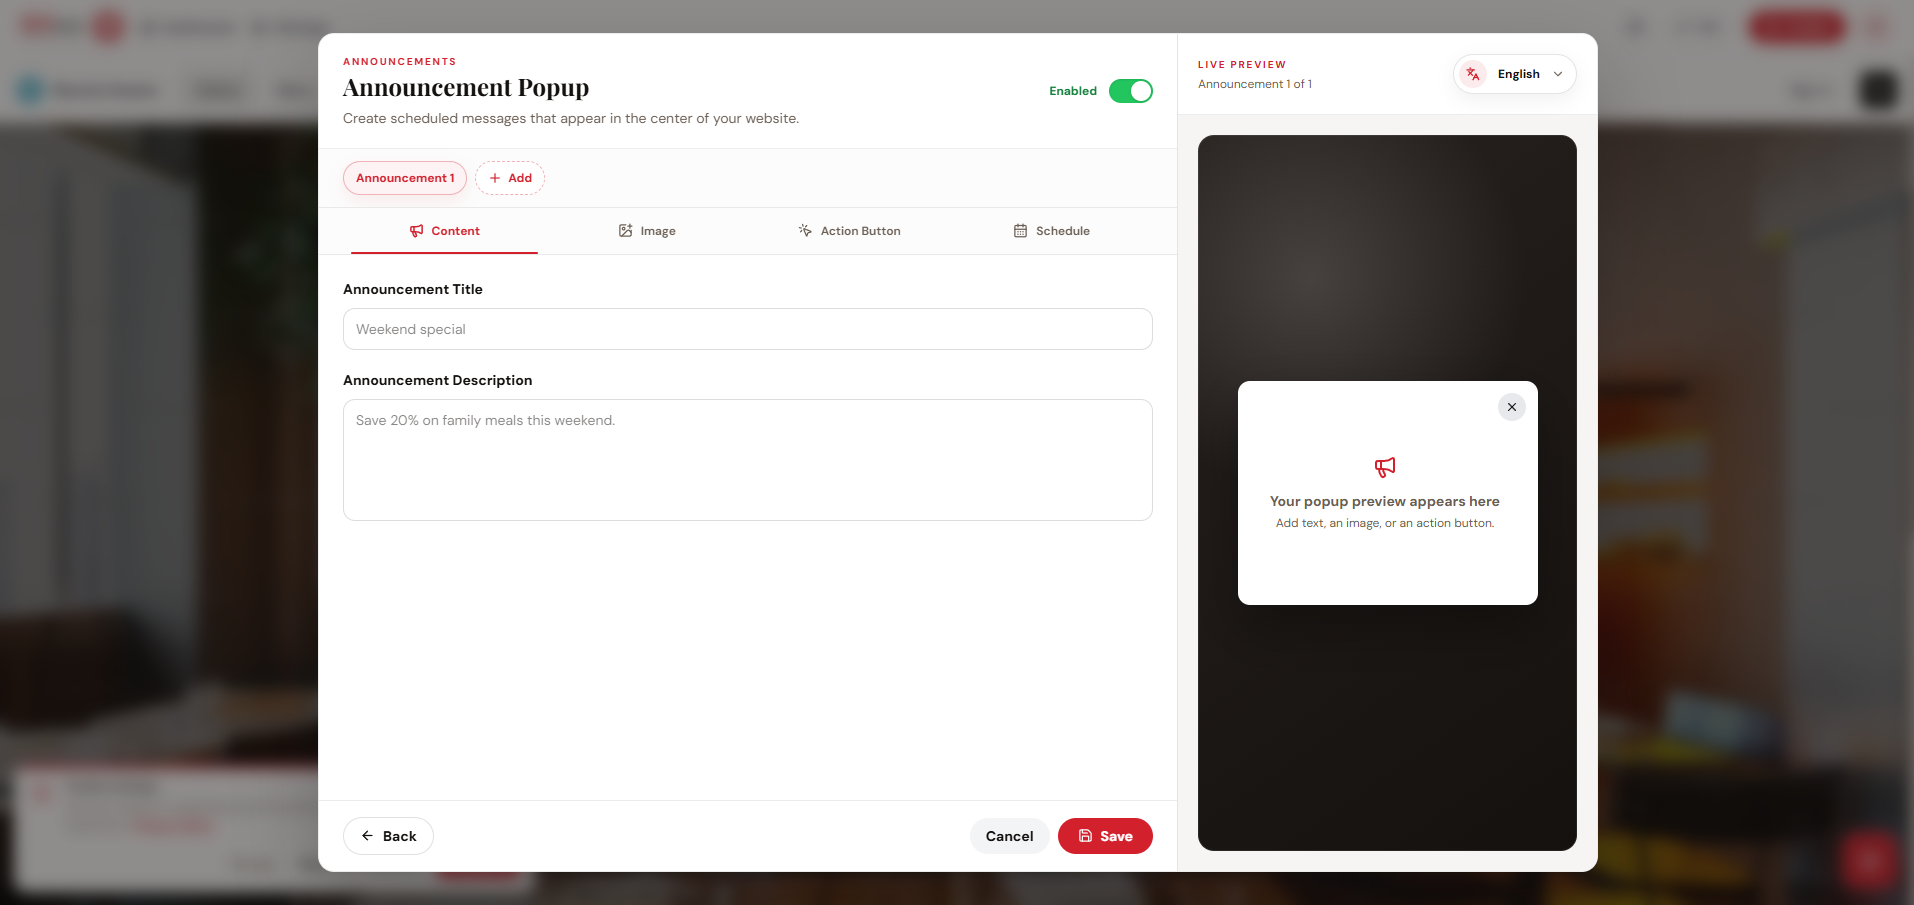
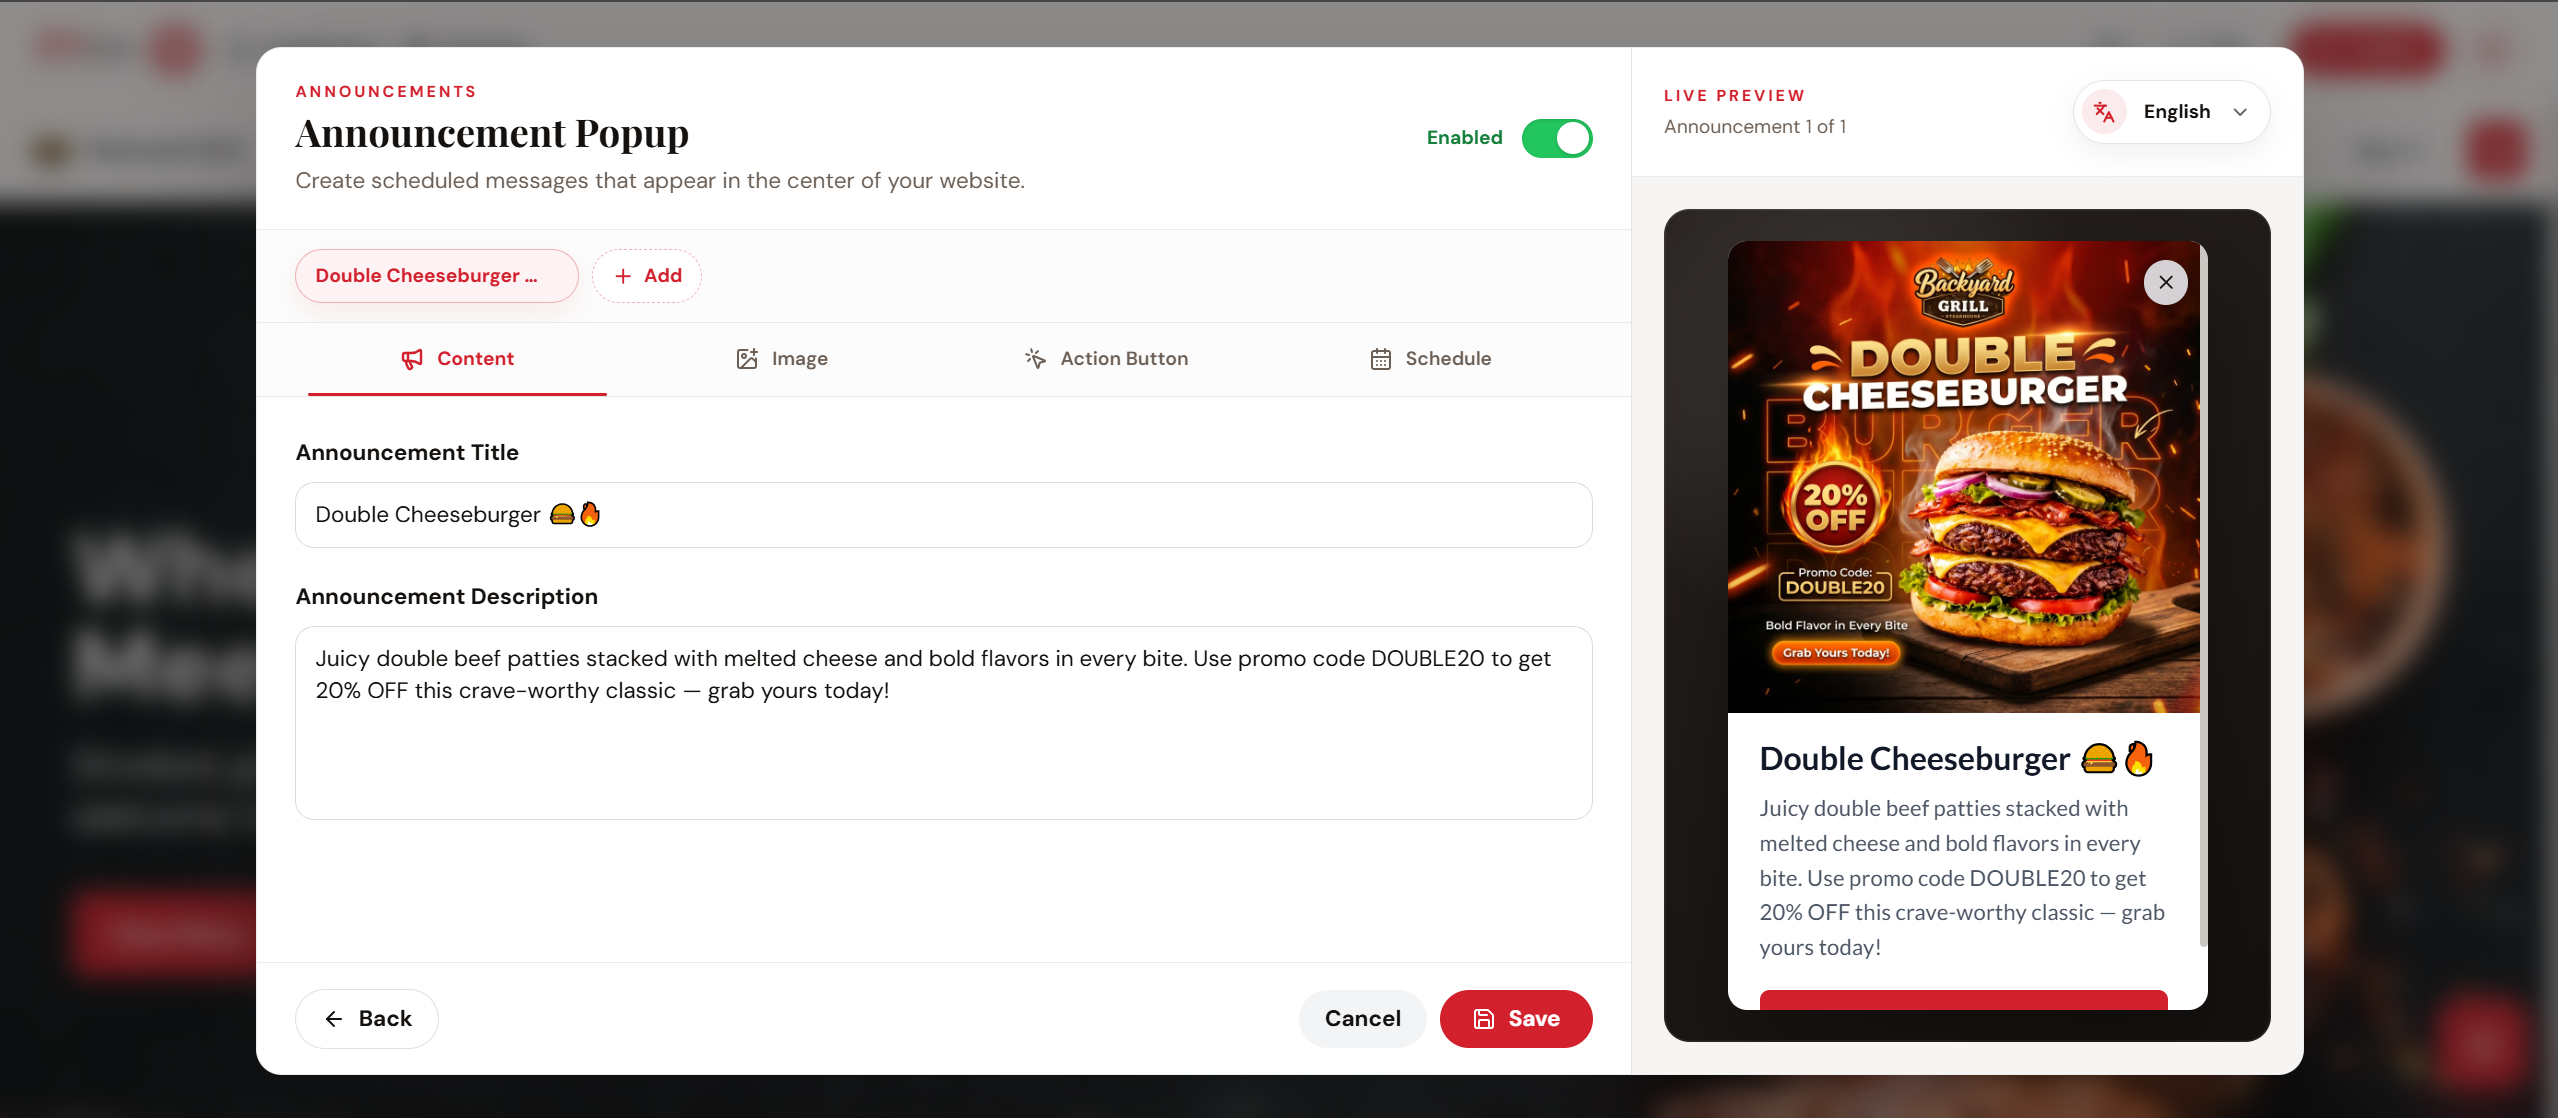
This section allows you to configure the title and description displayed in the announcement popup.
Step 1
On the "Content" tab and enter the required announcement information.
On the "Content" tab and enter the required announcement information.
- Announcement Title – Enter the main heading displayed in the popup.
- Announcement Description – Enter the promotional message, notice, or update displayed below the title.
How to Add Images to the Announcement?
This section allows you to upload an image and configure the link that opens when customers click the announcement image.
Step 1
Go to the "Image" tab and click on the "Choose Image" button to upload the image.
Go to the "Image" tab and click on the "Choose Image" button to upload the image.
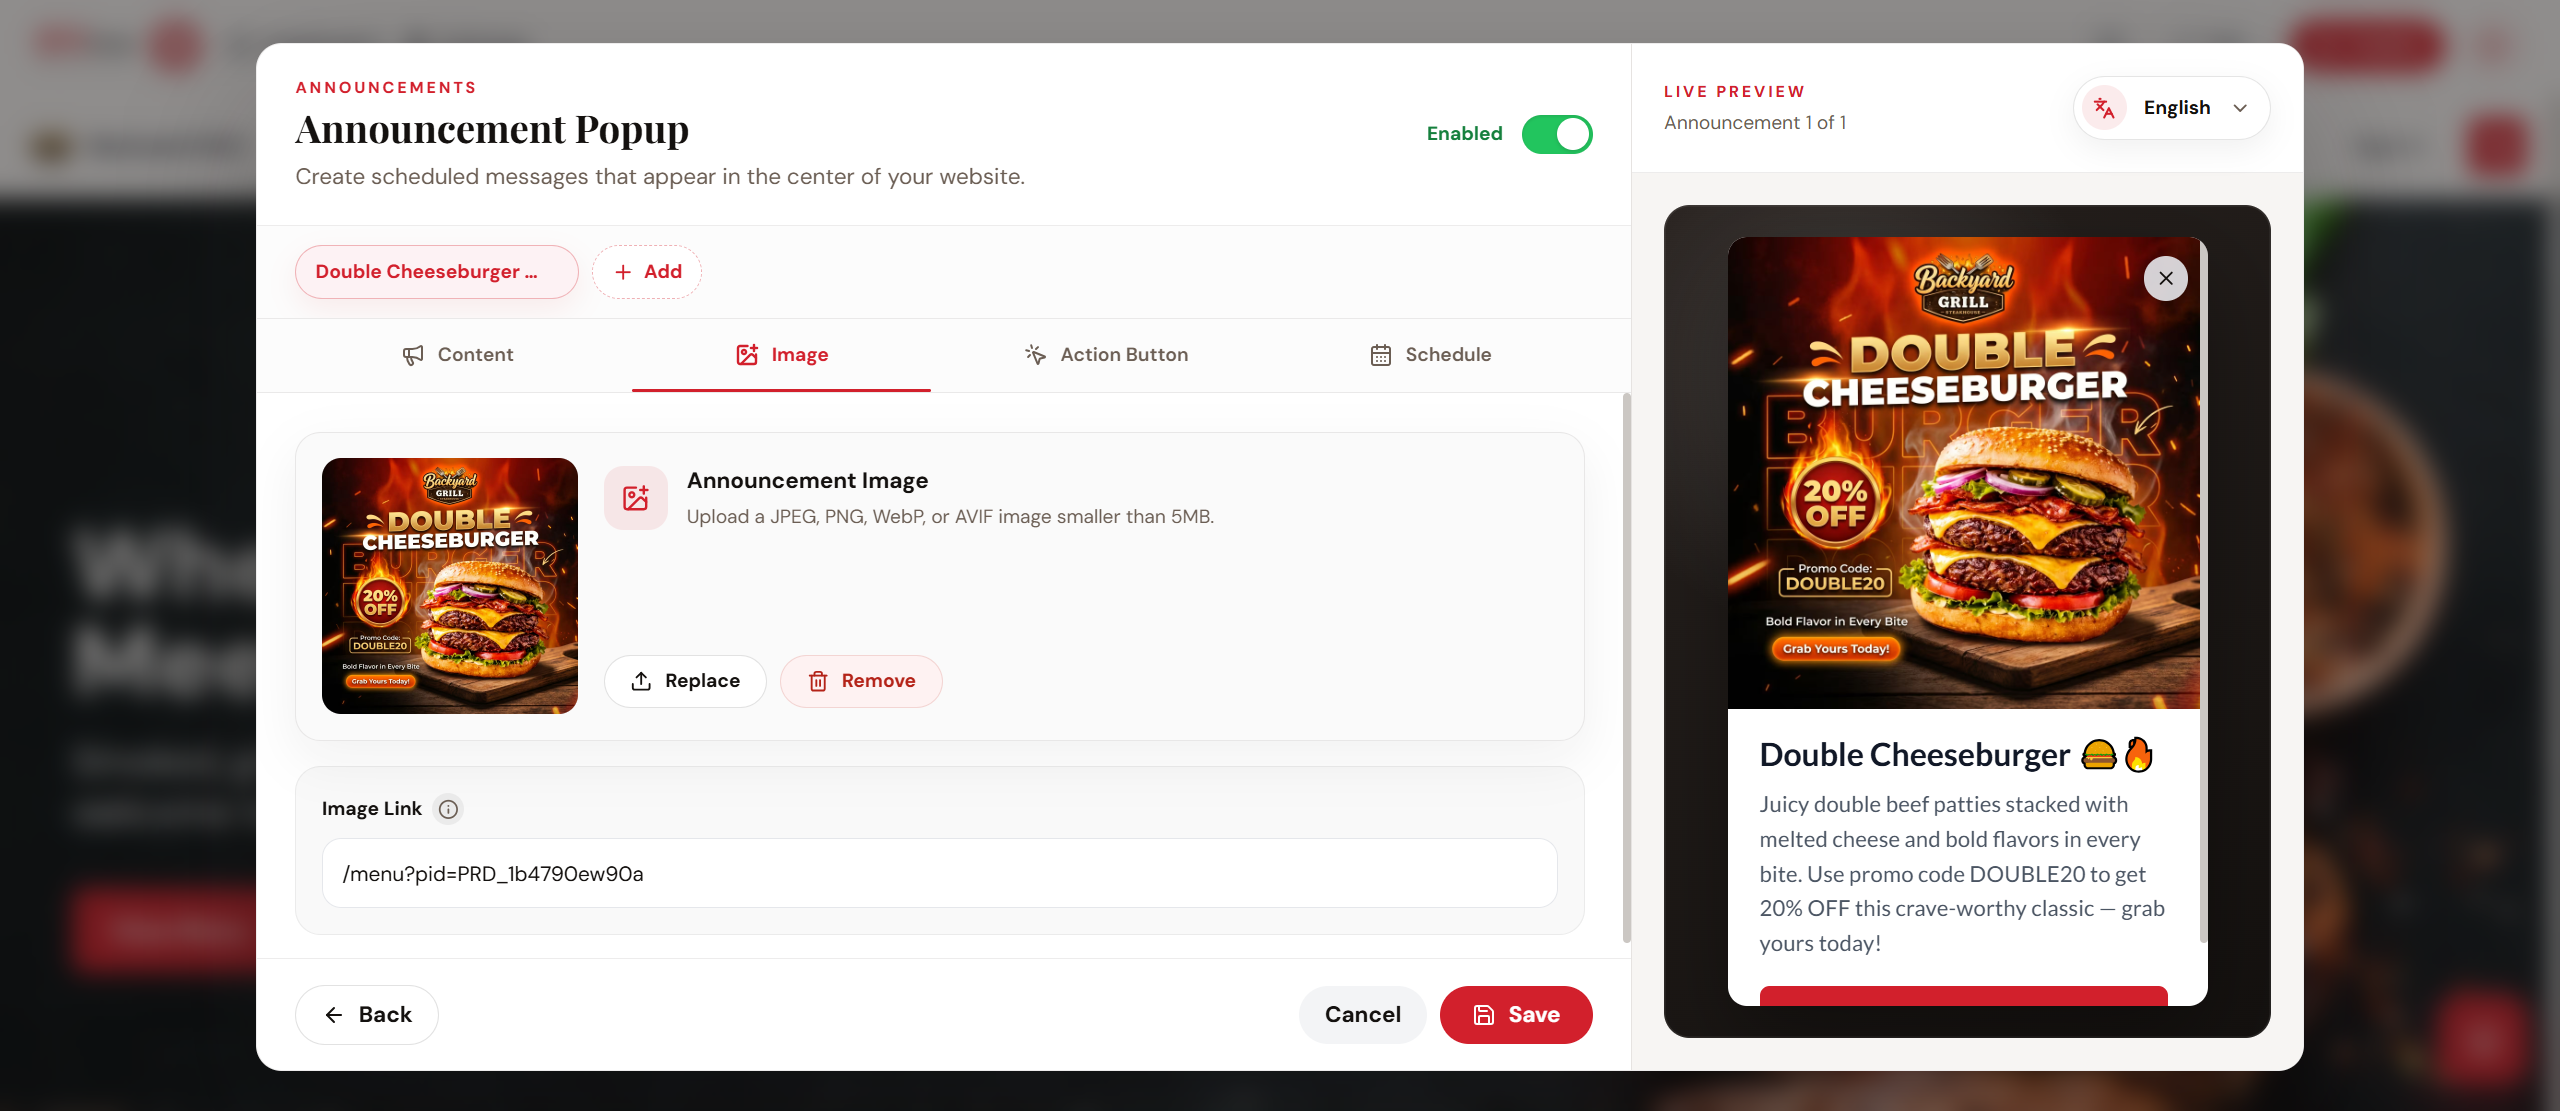
Once uploaded, the image will be displayed as shown below.
- Replace – Uploads a new image and replaces the existing image.
- Remove – Removes the current image from the popup.
- Image Link – Enter the page, product, category, menu, or external link that should open when a customer clicks the image.

Supported image formats are JPEG, PNG, WebP, and AVIF. The image must be smaller than 5 MB.
How to Add an Action Button to the Announcement?
This section allows you to add a call-to-action button, customize its appearance, and configure where it directs customers.
Step 1
Go to the "Action Button" tab.
Go to the "Action Button" tab.
Step 2
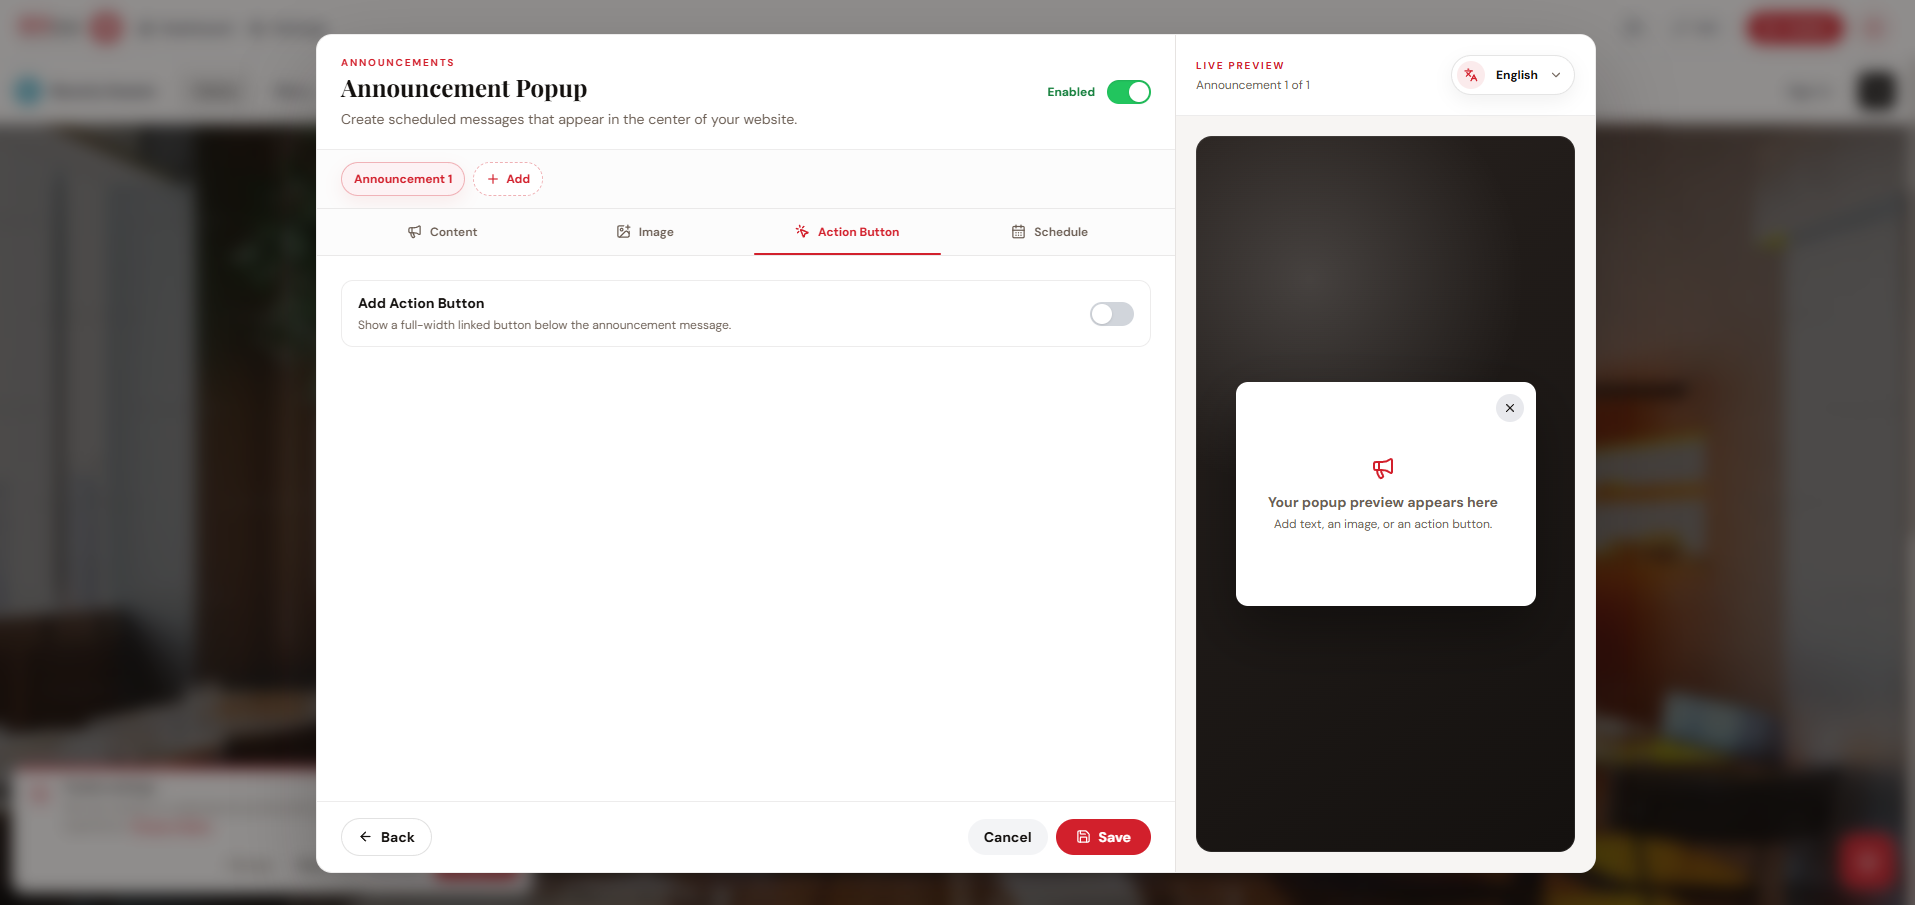
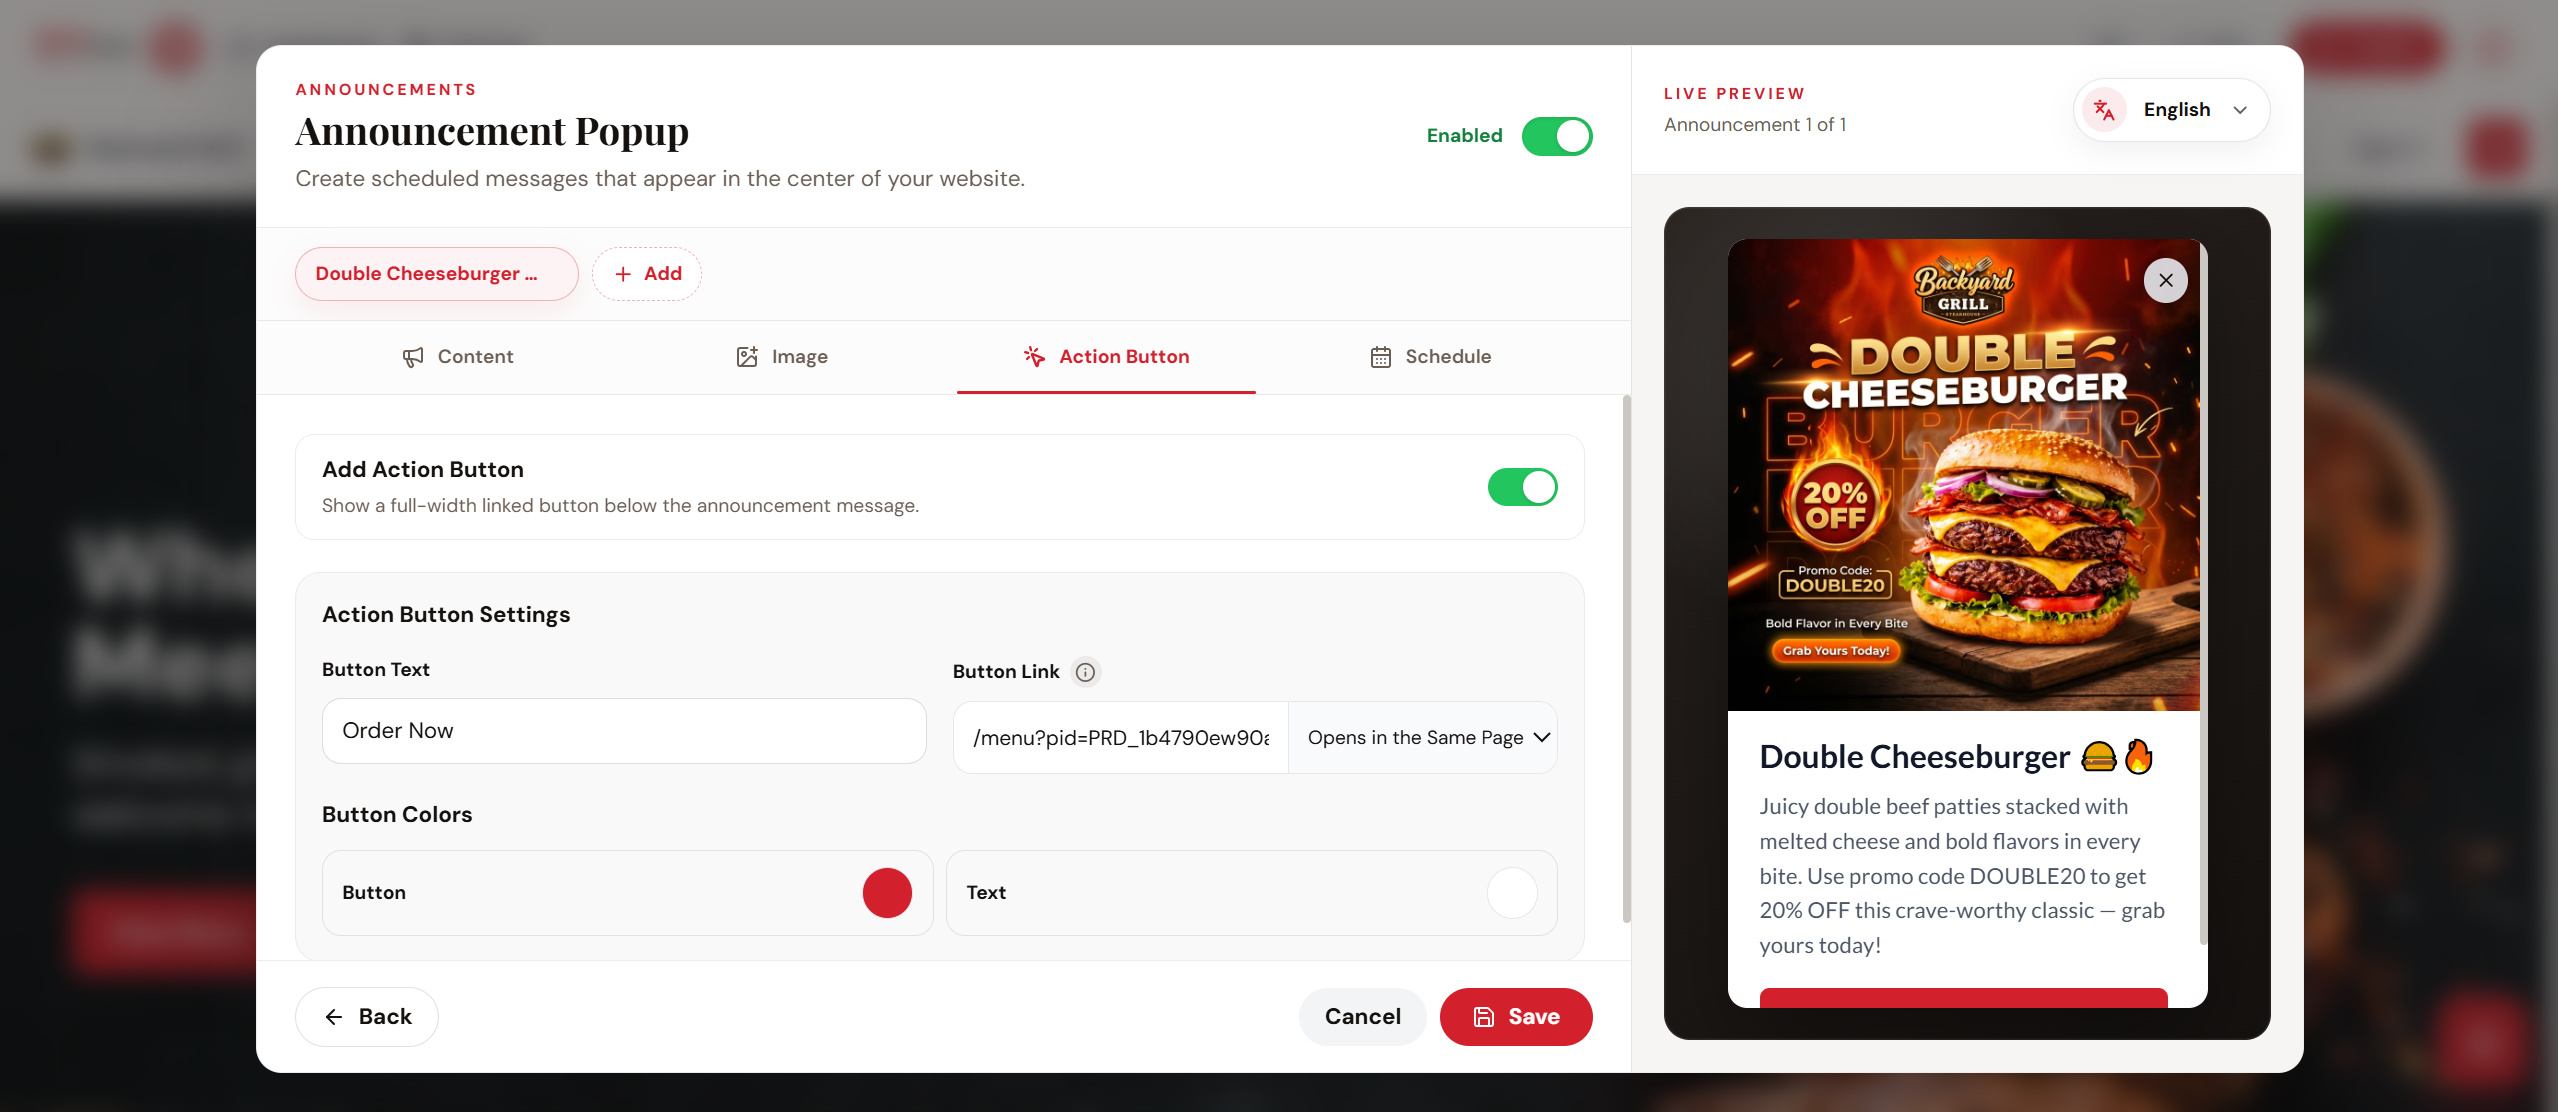
Enable the "Add Action Button" toggle and the options to configure the Action button will appear.
Configure the action button using the following options:
- Button Text – Enter the text customers will see, such as Order Now, View Menu, or Learn More.
- Button Link – Enter the page, product, menu, or external URL that opens when the customer clicks the button.
- Link Behavior – Select whether the link opens on the same page or in another tab.
- Button – Select the action button background color.
- Text – Select the action button text color.
How to Set the Display Period for an Announcement?
This section allows you to schedule when the announcement is displayed on your website.
Step 1
Go to the "Schedule" tab.
Go to the "Schedule" tab.
Step 2
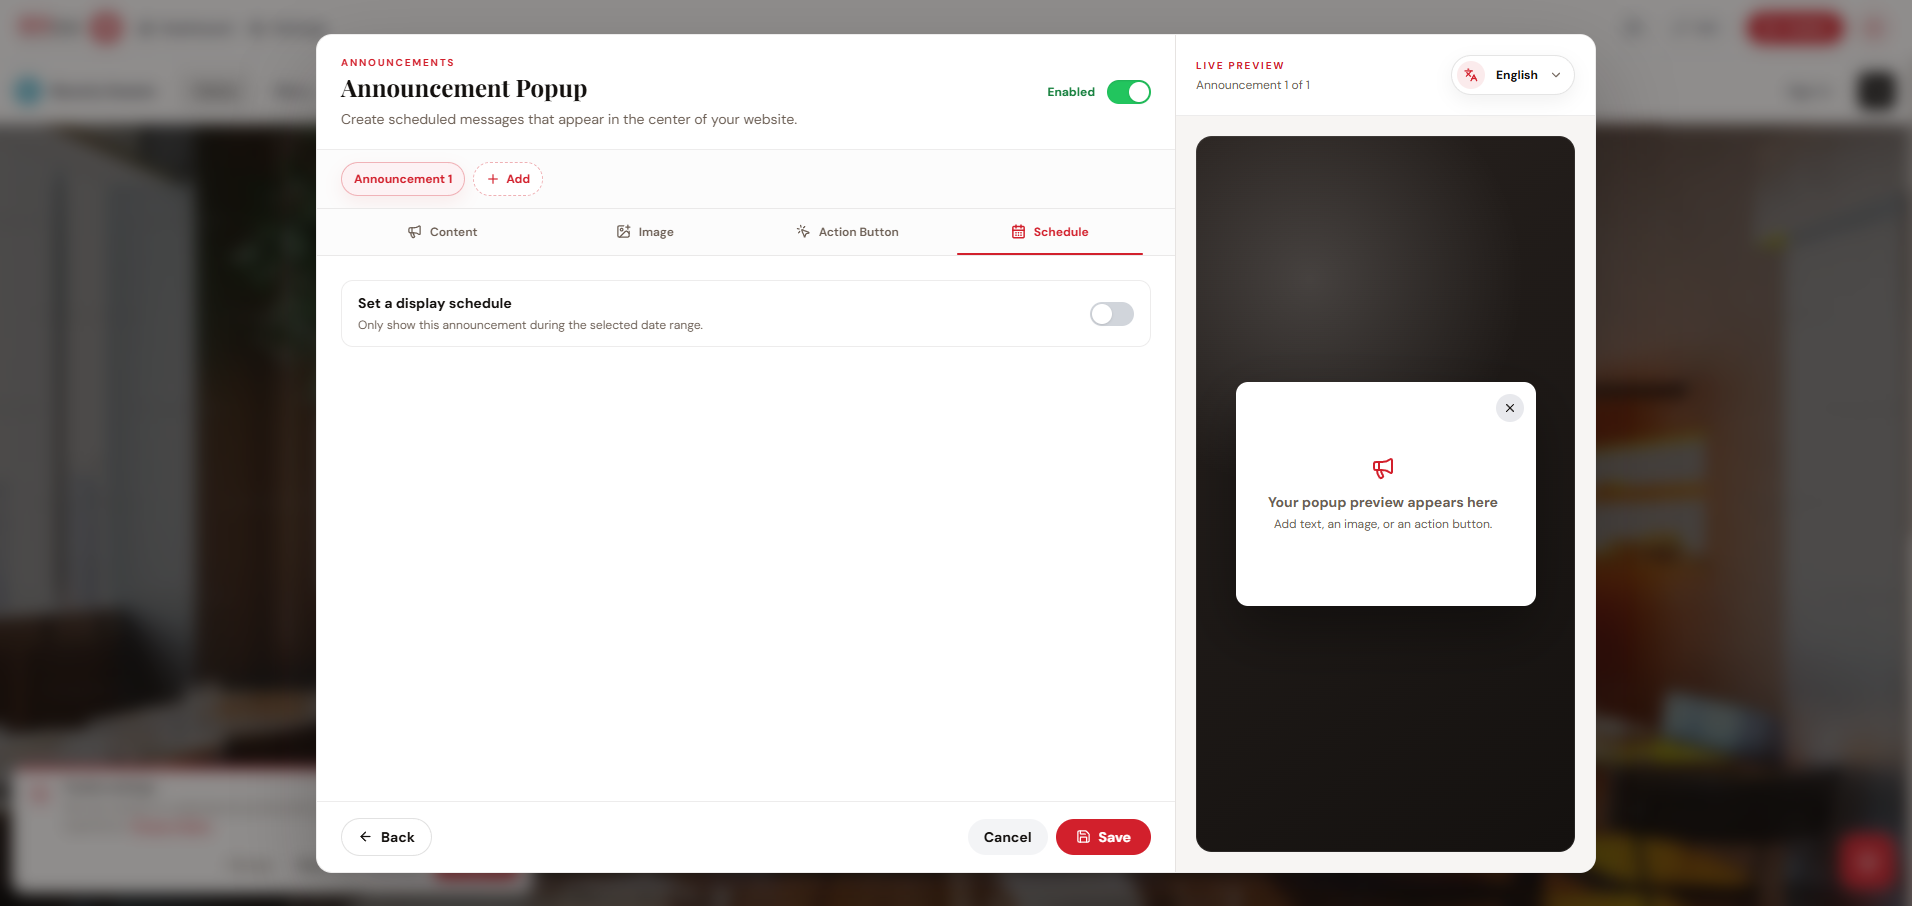
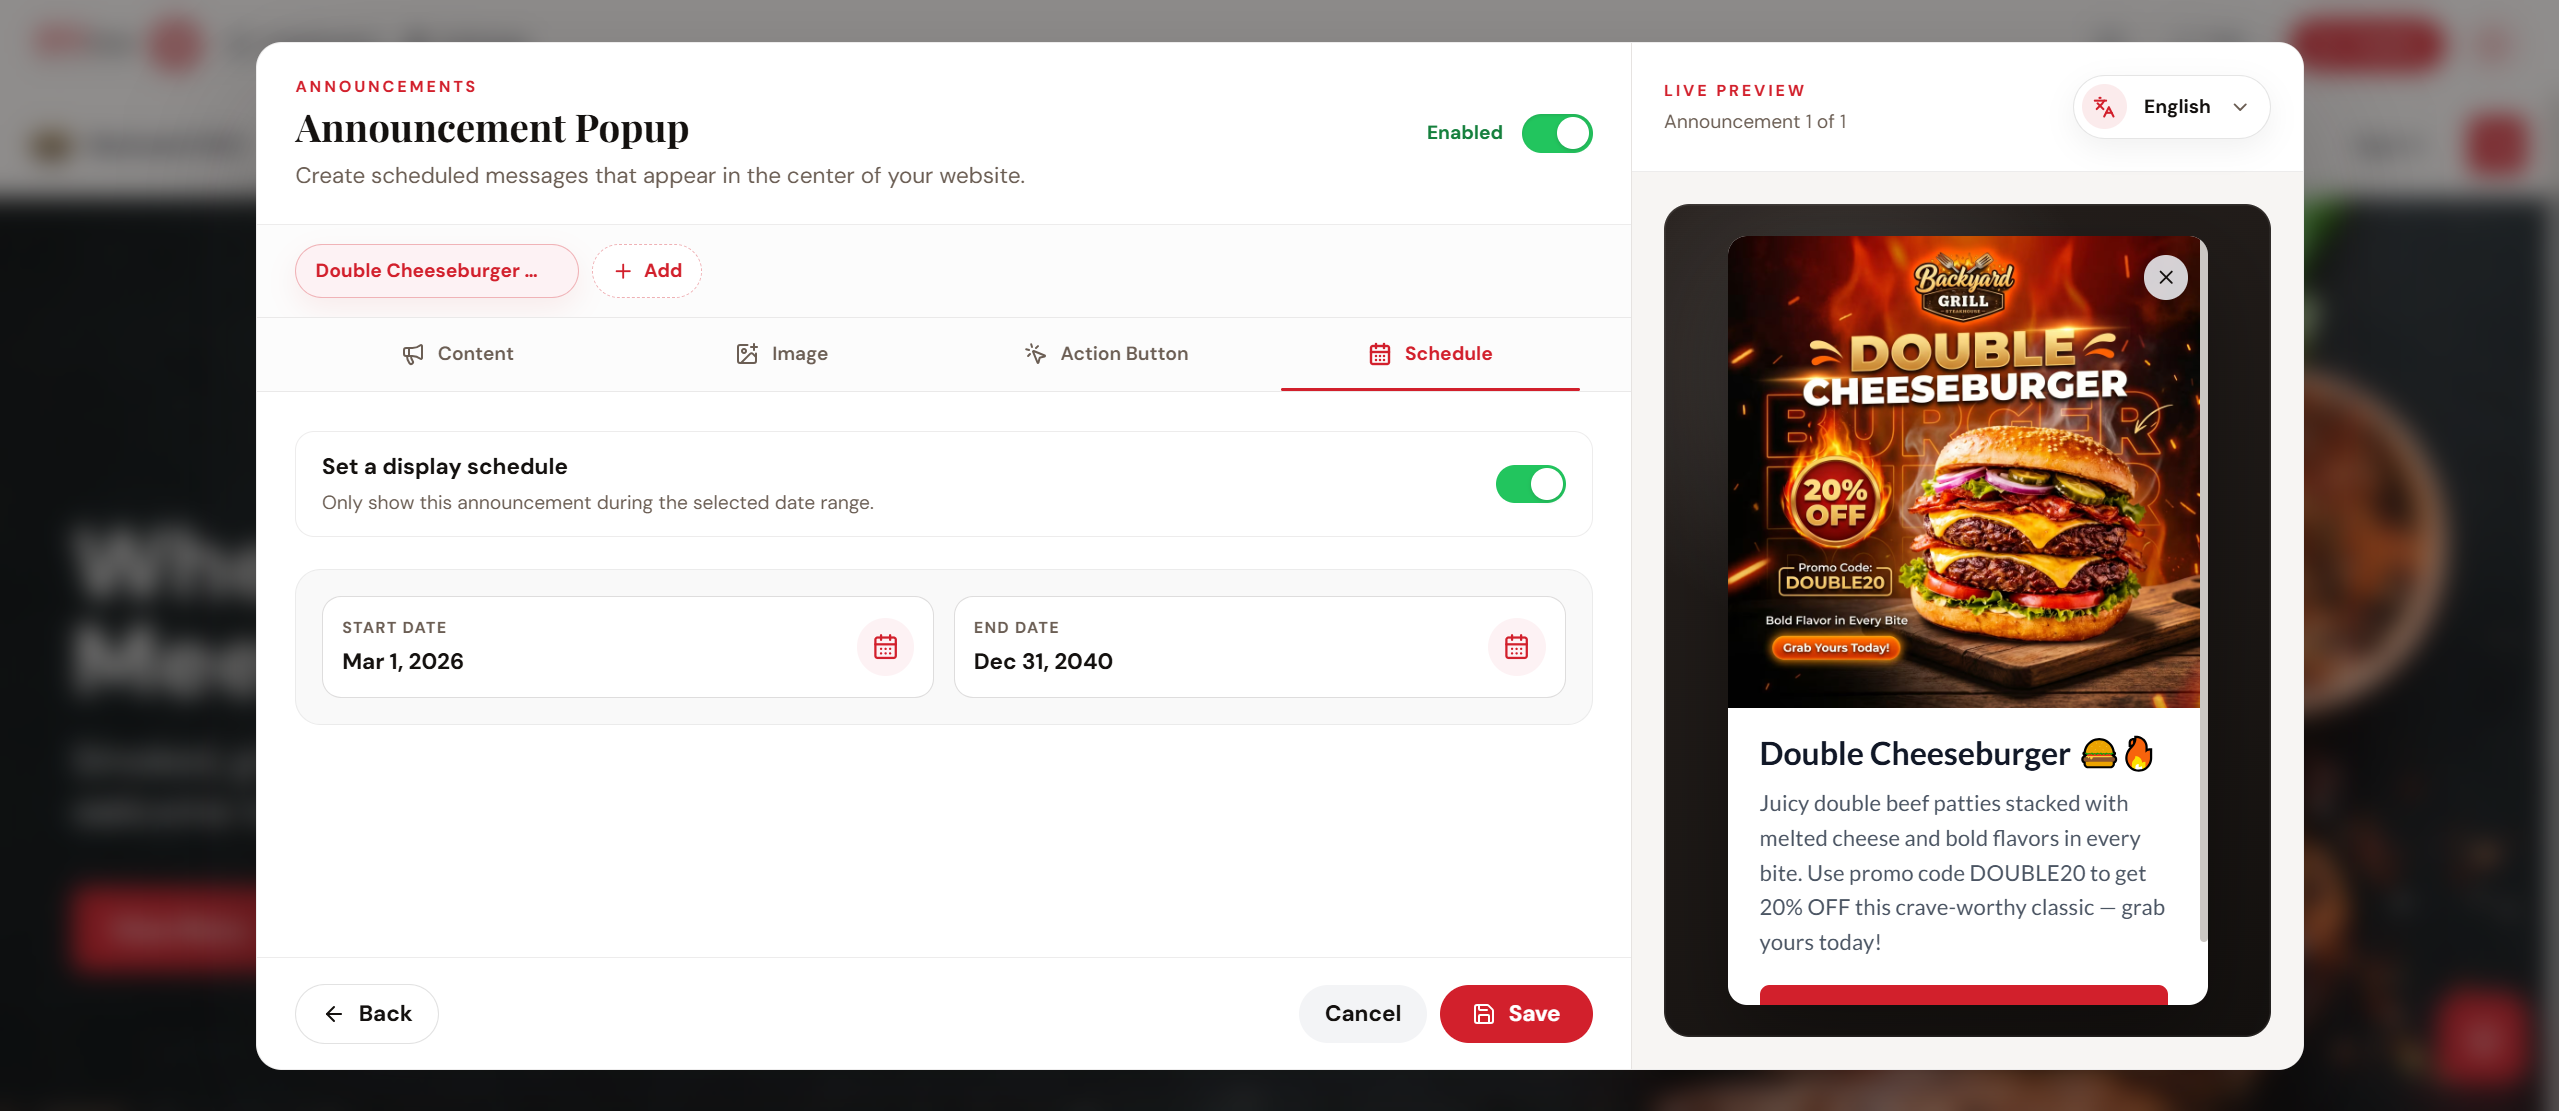
Enable the "Set a Display Schedule" toggle and the options to schedule will appear.
Enable the "Set a Display Schedule" toggle and the options to schedule will appear.
Configure the display period using the following options:
- Start Date – Select the date on which the popup should begin appearing.
- End Date – Select the date on which the popup should stop appearing.
Step 3
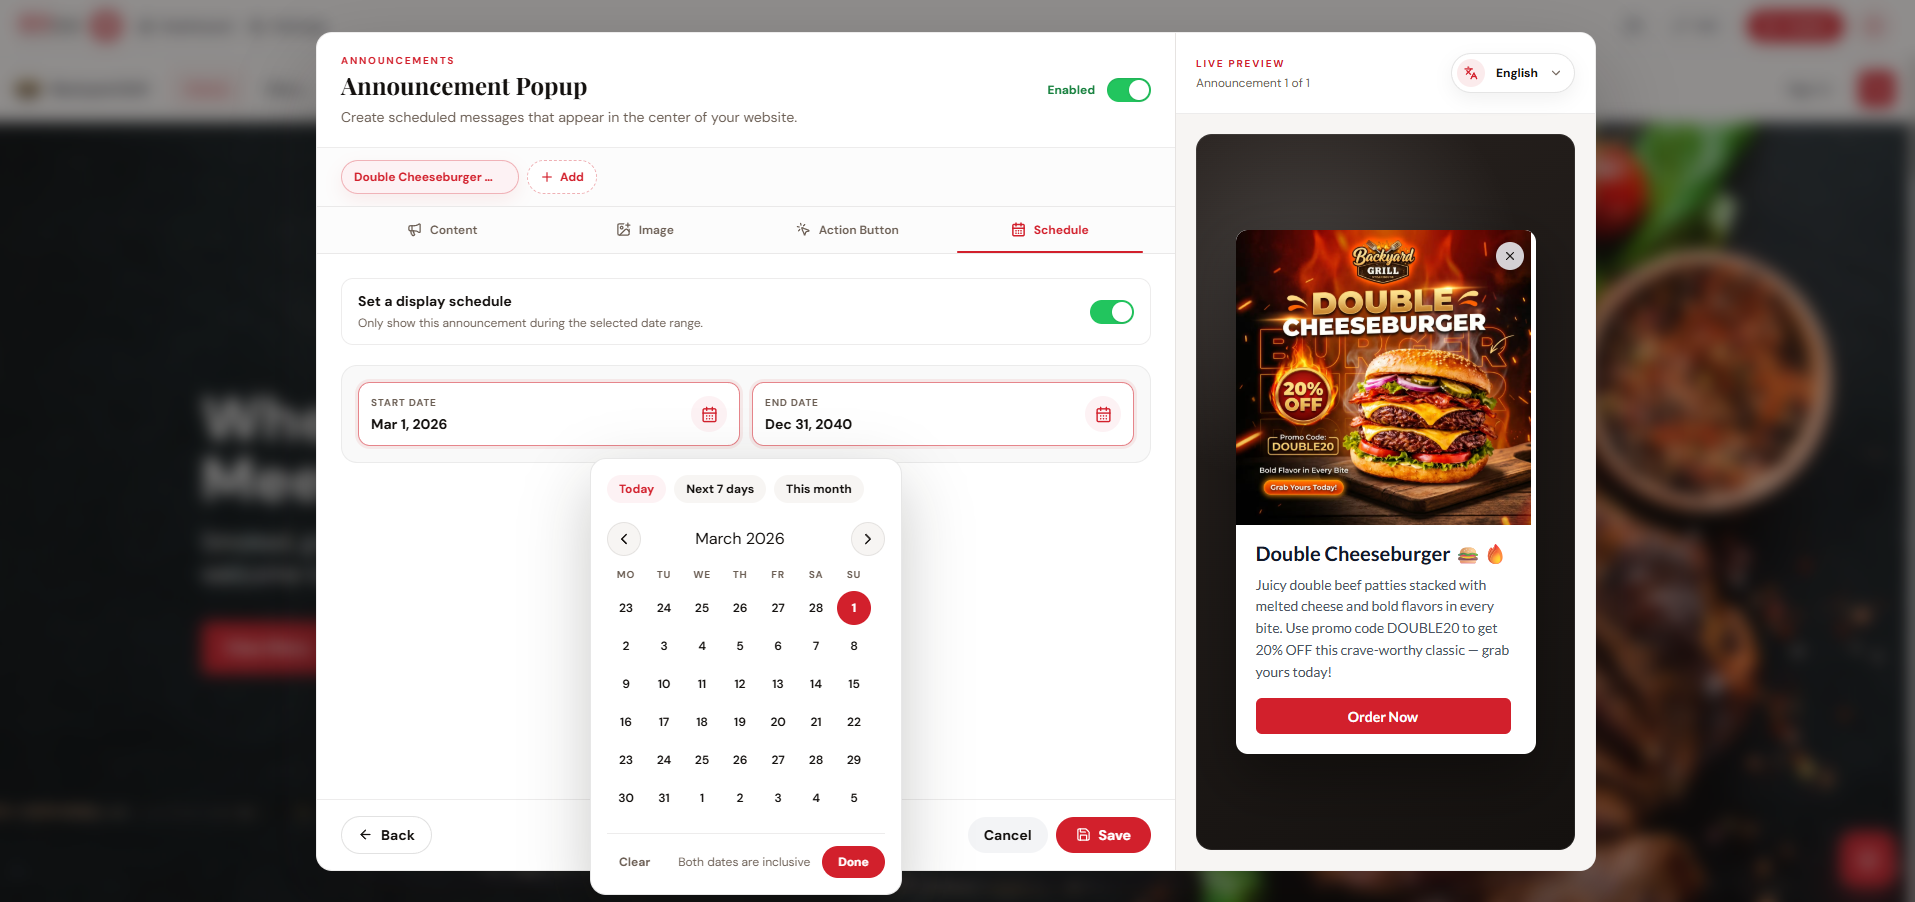
When you click the Calendar icon for the Start Date or End Date, the date picker opens.
The date picker includes the following options:
- Today – Selects today's date.
- Next 7 Days – Selects the upcoming seven-day period for faster date selection.
- This Month – Returns to the current month.
The announcement will be displayed on both the selected Start Date and End Date.
Step 4
Once all the changes are made and reviewed, click on "Save".
How it Appears on the Webstore?
Once enabled and saved, the Announcement Popup appears in the center of the website during the configured display period.
Related Articles
How to Create Your Website Using the Website Builder?
Supported Domains: Standalone, Clover, Square, RPower, GoDaddy The Applova Website Builder makes it easy to create a professional website, whether you're opening a new restaurant, already have an existing business, or are an existing Applova ...How to Customize a Website Using the Website Builder?
Supported Domains: Standalone, Clover, Square, RPower, GoDaddy The Applova Website Builder allows merchants to personalize their generated website using simple editing tools. Merchants can update the website content, images, colors, menu showcase, ...Getting Started with the Website Builder
Supported Domains: Standalone, Clover, Square, RPower, GoDaddy Applova’s Website Builder allows merchants to create and publish a website with online ordering support using a guided setup experience. The builder uses business details, branding, ...How to Enable or Disable Website Pages in the Website Builder?
Supported Domains: Standalone, Clover, Square, RPower, GoDaddy The Website Builder allows merchants to choose which pages appear on their website. Pages can be enabled or disabled at any time based on the information and services the business wants ...How to Disable the Promo List View on Webstore V3
Do not share this guide with merchants Supported On: Webstore V3 This feature allows support to disable the "View Available Promotions" option on the webstore v3 checkout page when a merchant does not want customers to view available promotions. How ...