Onboarding to Stripe Payments

Please request the Applova Support team to enable the Stripe Payments feature for your business.
What is Stripe?
Stripe Payments is a secure payment processing platform that enables businesses to accept and manage a wide variety of payment methods, including cards, digital wallets, and bank transfers. With Applova, Stripe allows merchants to seamlessly accept customer payments through their Webstore, Kiosk, or Mobile App.
When a restaurant connects Stripe through the Applova Merchant Portal, Stripe manages the verification of the business, ensures payments are processed securely, and provides a dashboard where merchants can review transactions, payouts, and related financial activity.
When a restaurant connects Stripe through the Applova Merchant Portal, Stripe manages the verification of the business, ensures payments are processed securely, and provides a dashboard where merchants can review transactions, payouts, and related financial activity.
Why Stripe?
- Faster Onboarding
Restaurants go from signup to accepting online payments in minutes, a drastic improvement over the days or weeks required by other payment providers.
- Real-Time Validation
Stripe instantly checks fields like card number, CVC, and postal code for accuracy — reducing failed payments
How to Onboard to Stripe Payments via Merchant Web?
Step 1
Step 2Click "Settings" and under the "General" tab, go to "Payments".
Step 3Under "In-App Payments" click on the "Enable Payments" button. It will direct to the payment onboarding flow on Stripe.
At any stage during the process of entering the details below, it is possible to navigate back to the Merchant Web. All data entered up to that point will be saved, and upon return, the system will resume from the step where the process was previously left off.
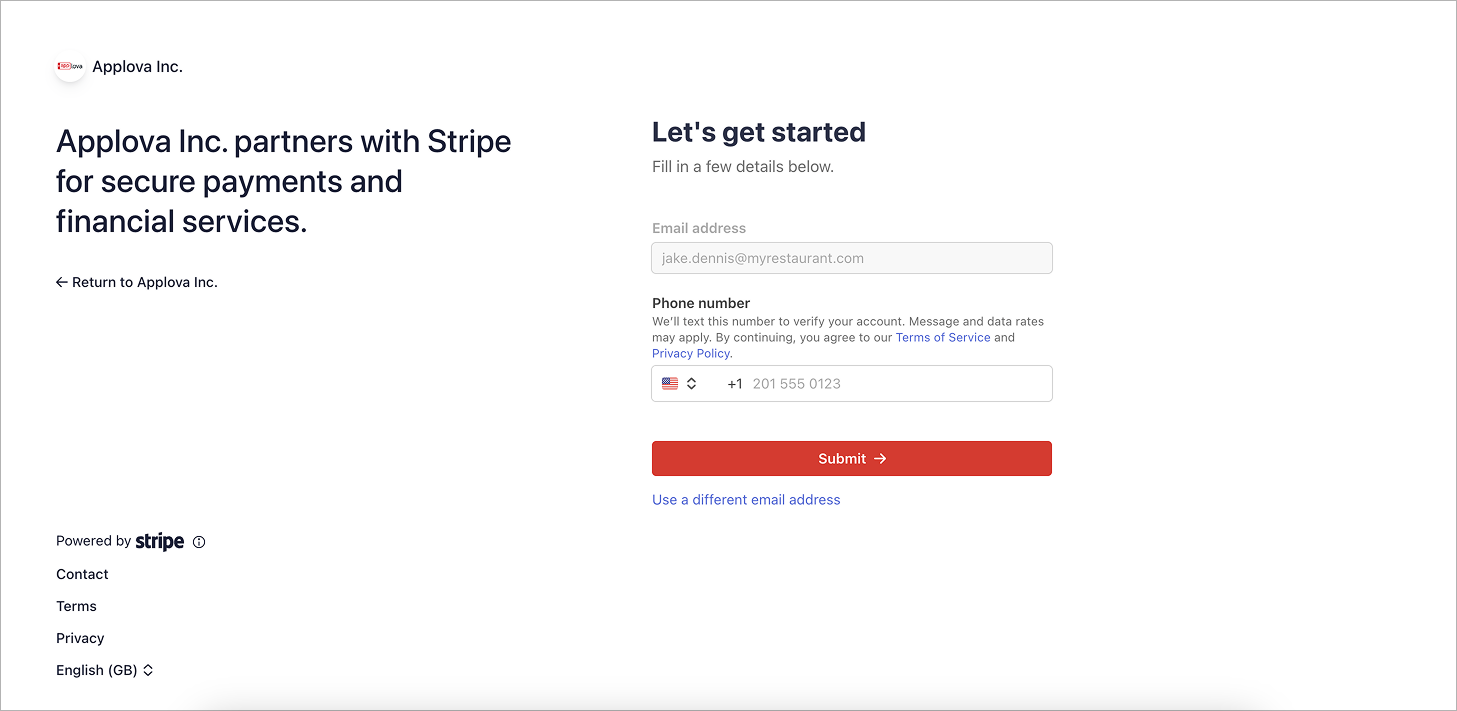
Step 4To get started, enter the email address and click on "Submit". 
Step 5Enter the phone number, click "Submit". Then enter the verification code sent to the entered phone number.
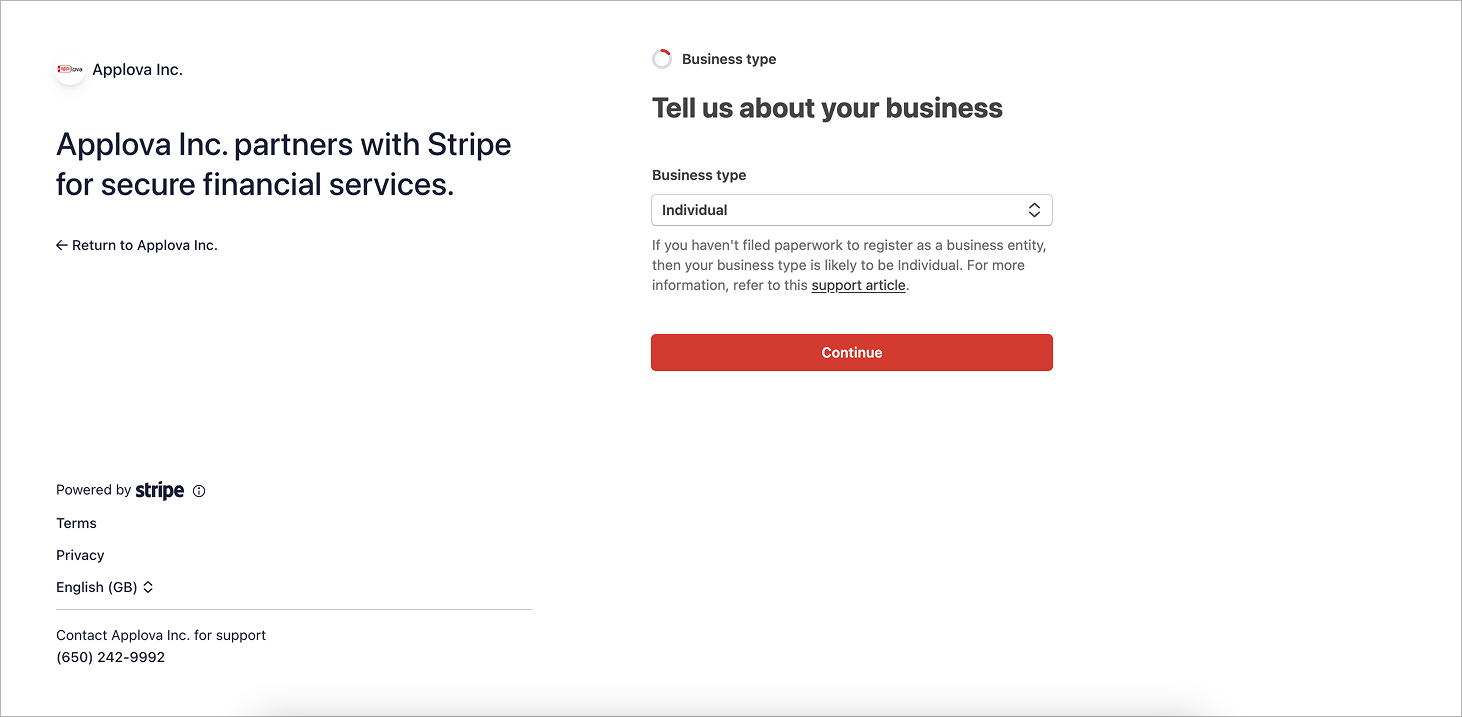
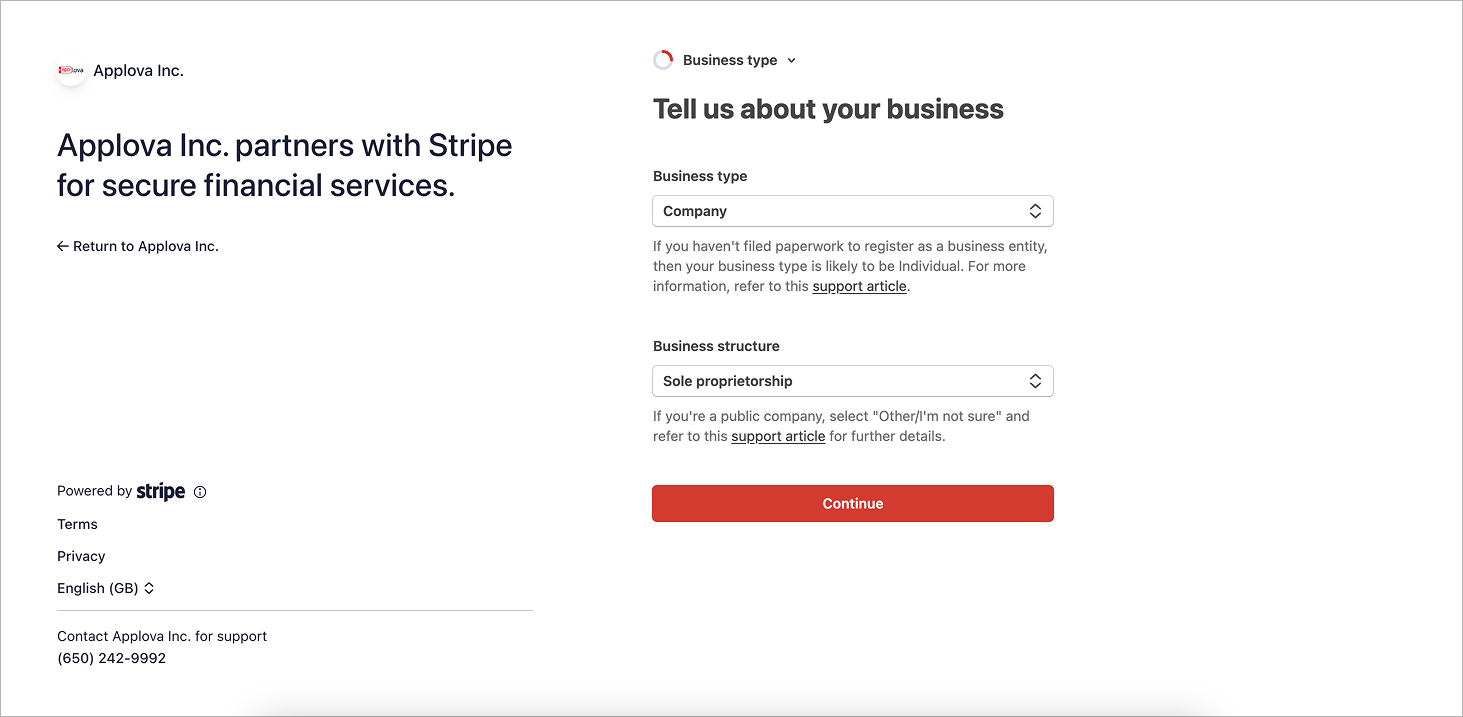
Step 6Select the business type from the given dropdown and click on "Continue".
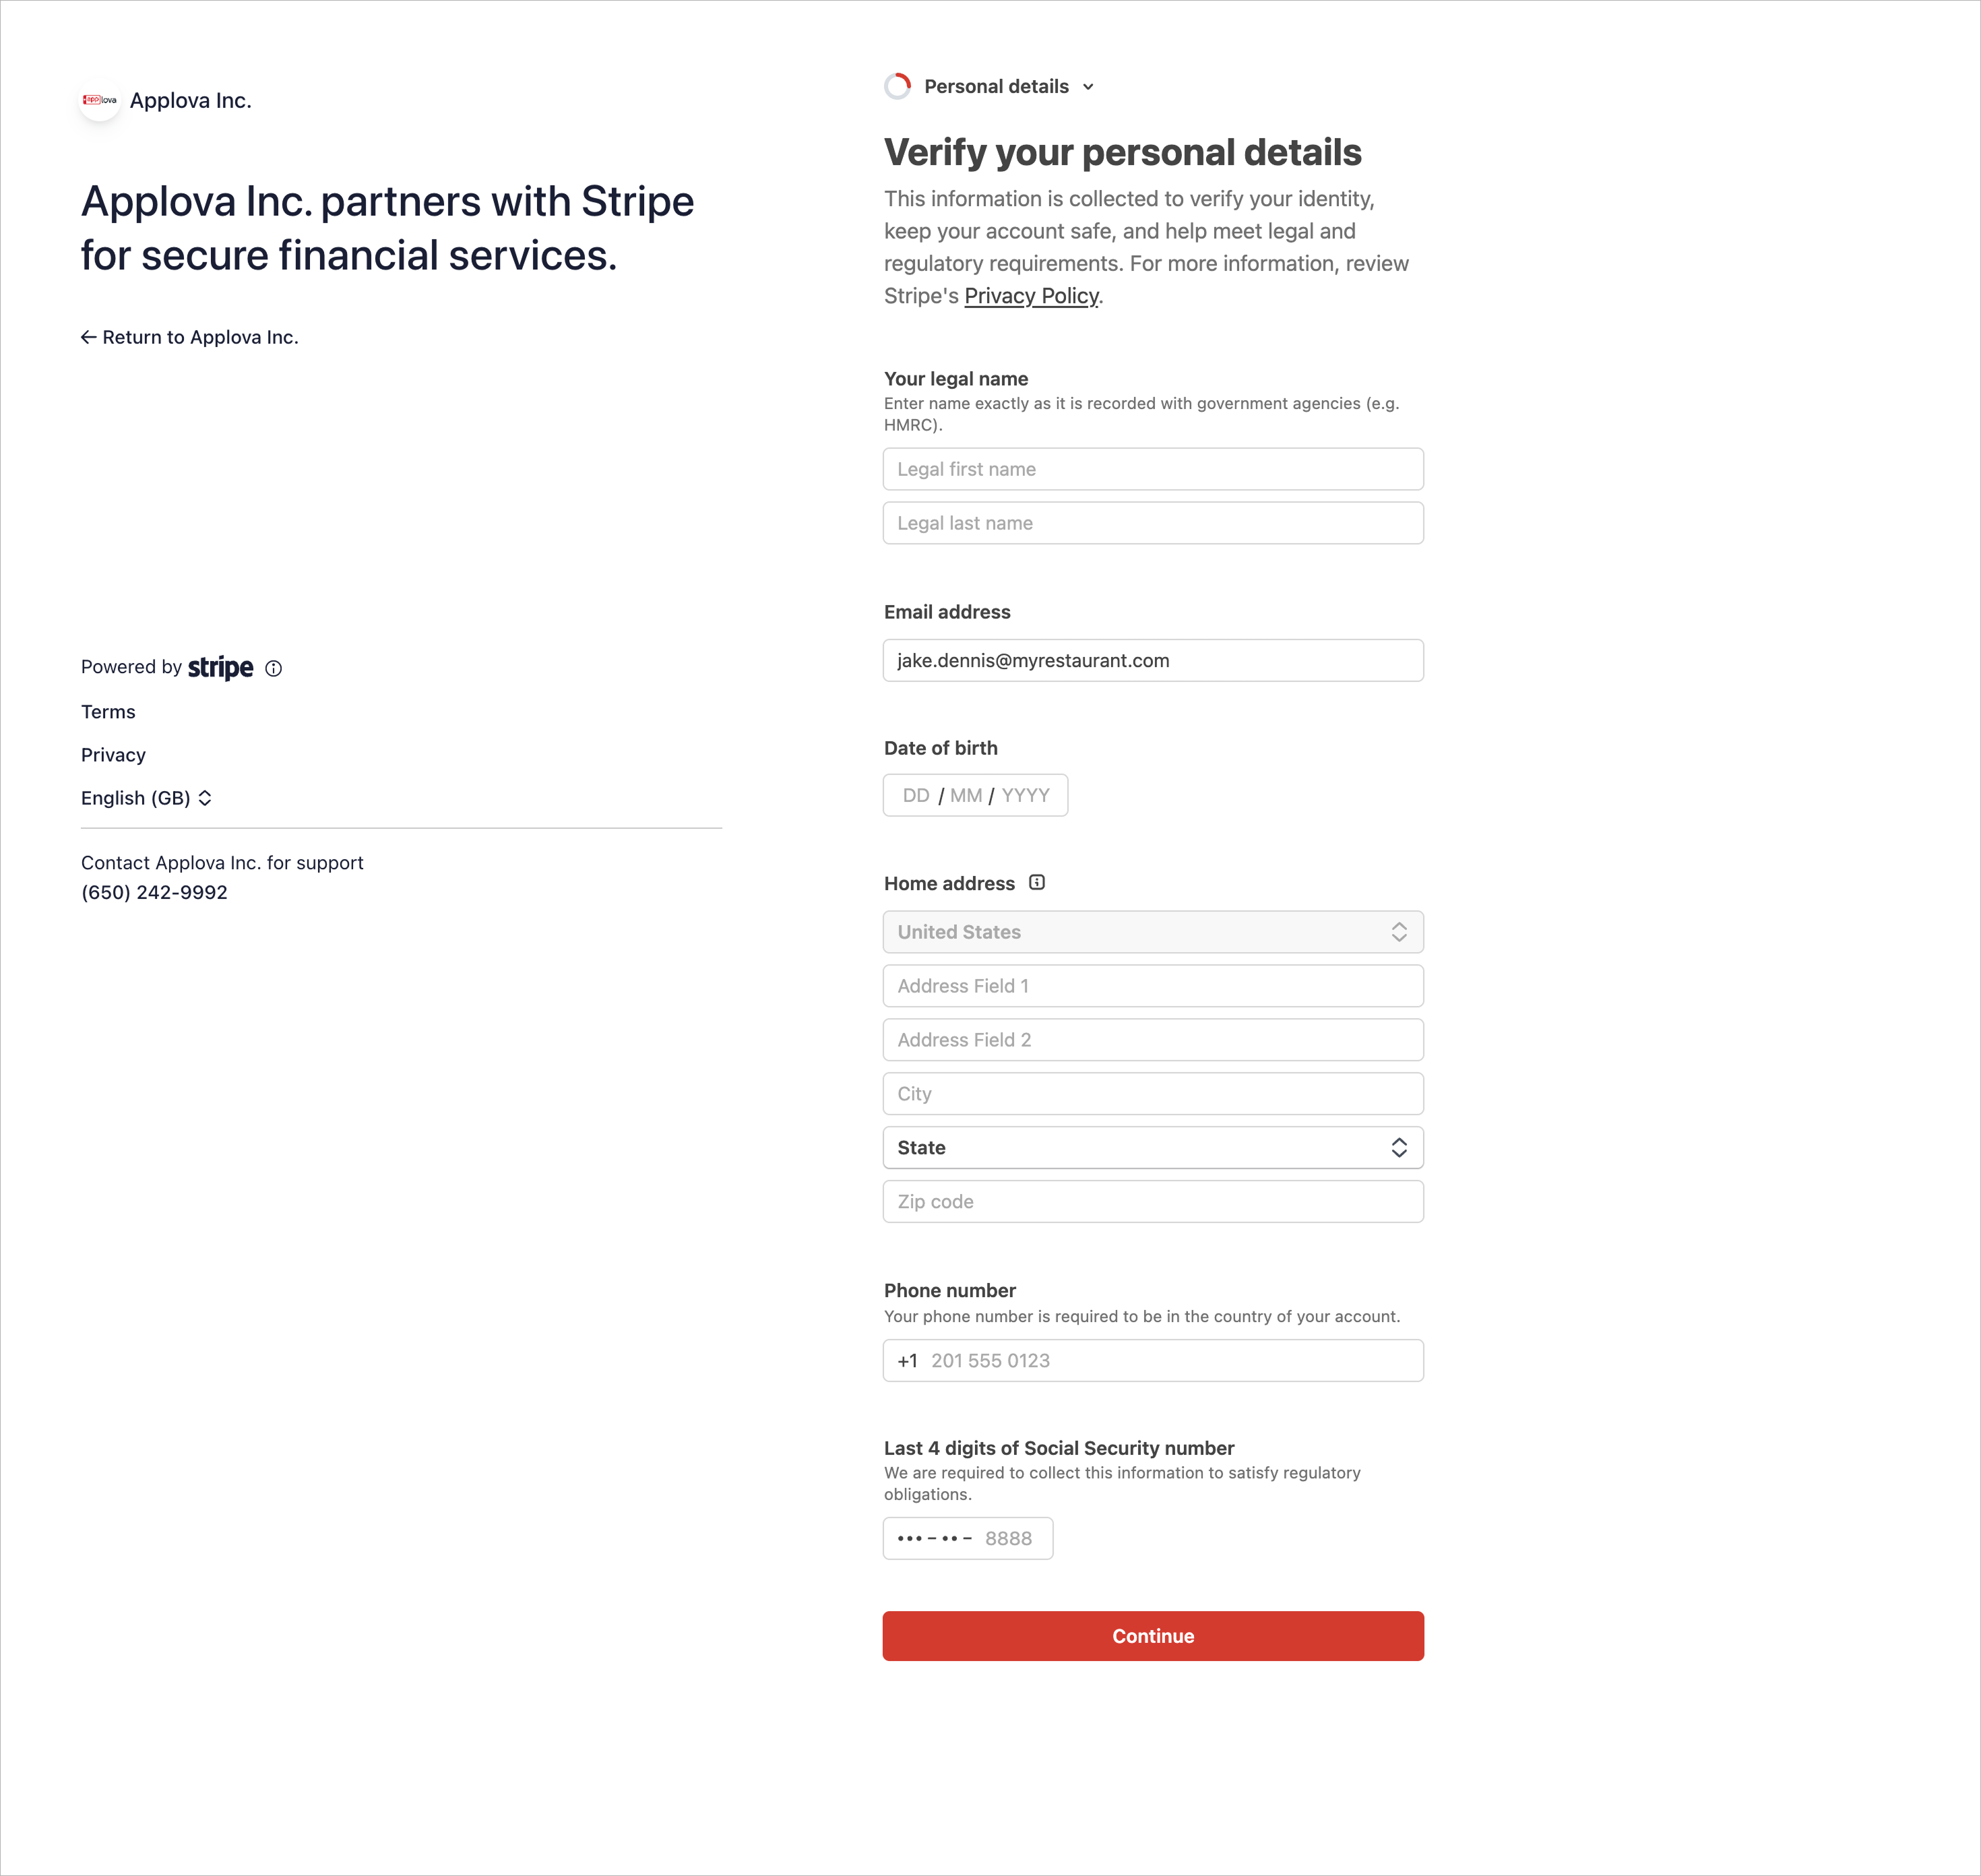
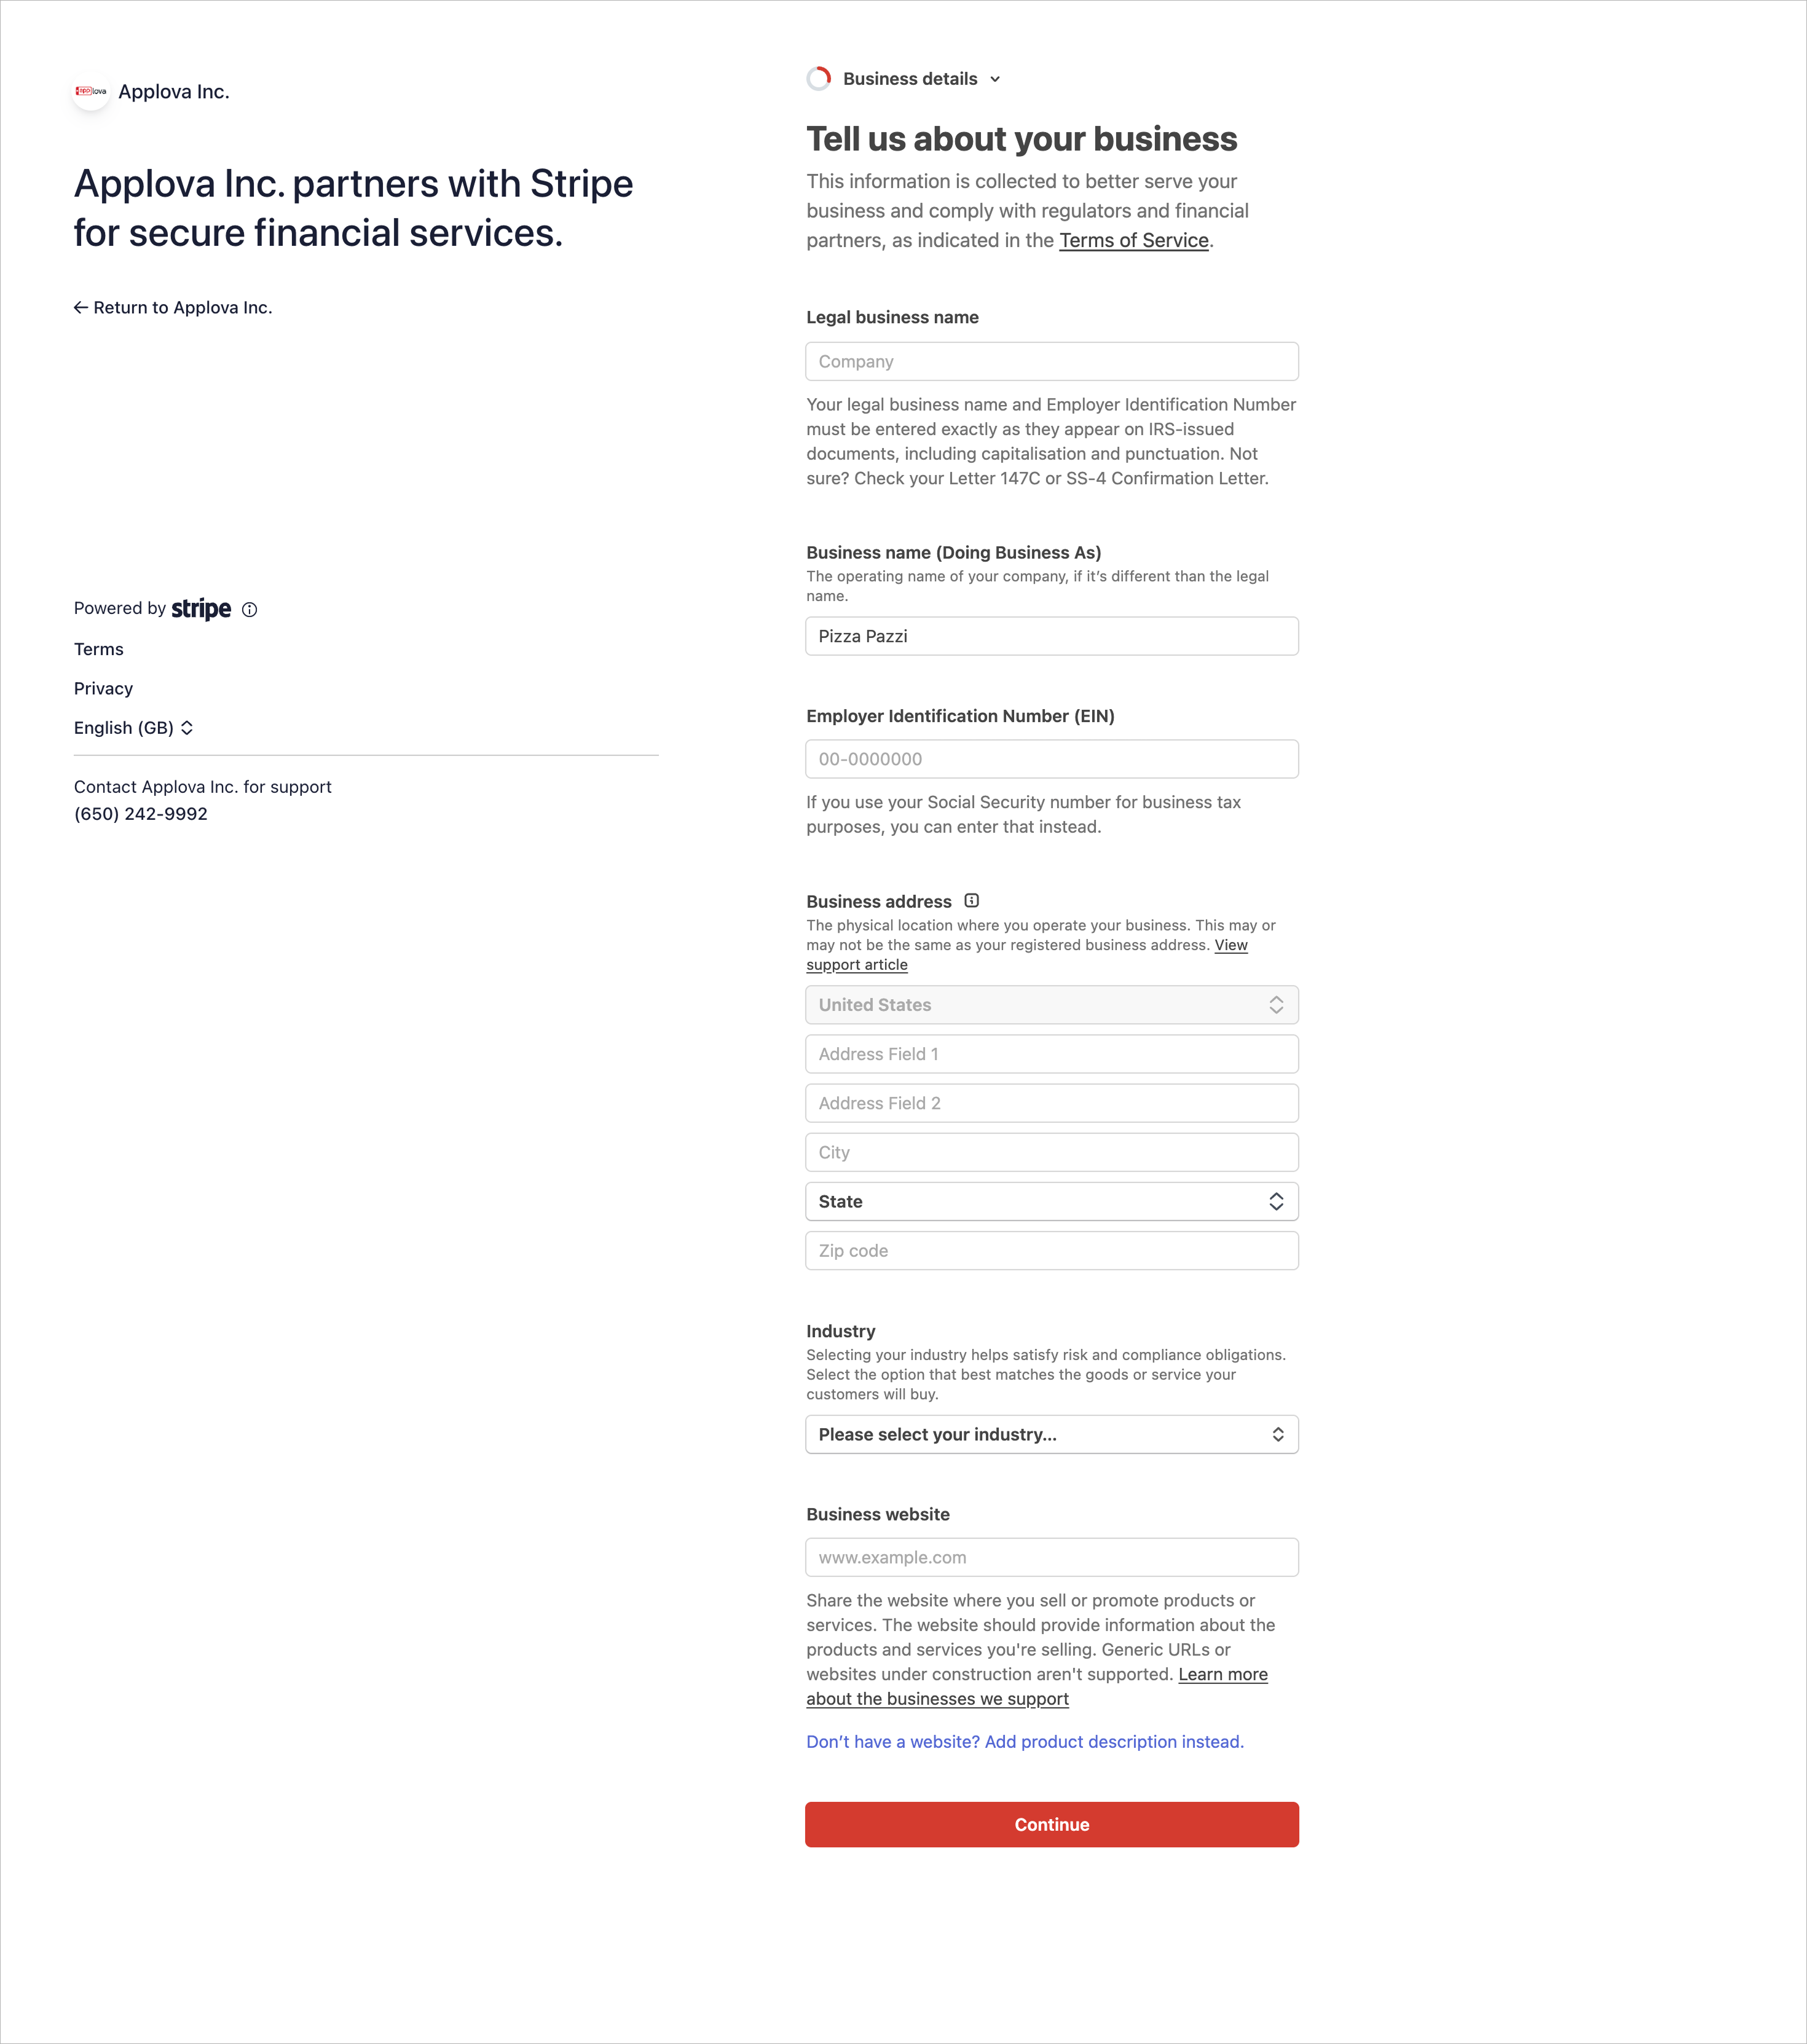
Step 7There will be a series of questions related to your business that Stripe will ask in order for the business verification process.
Step 8
Once all the requested details are entered, you will be directed to the "Review and Submit" page.
Step 9
Certain details that needs verification will be labelled as "Incomplete". Provide the requested details to complete the onboarding process and click "Continue".
 If the "Agree and Submit" button is selected while the "Incomplete" label is still present, the system will redirect to the Merchant Web, where an error message will be displayed.
When clicked on "Complete Onboarding" button on the Merchant Web, you will be redirected to the data that needs to be verified on Stripe.
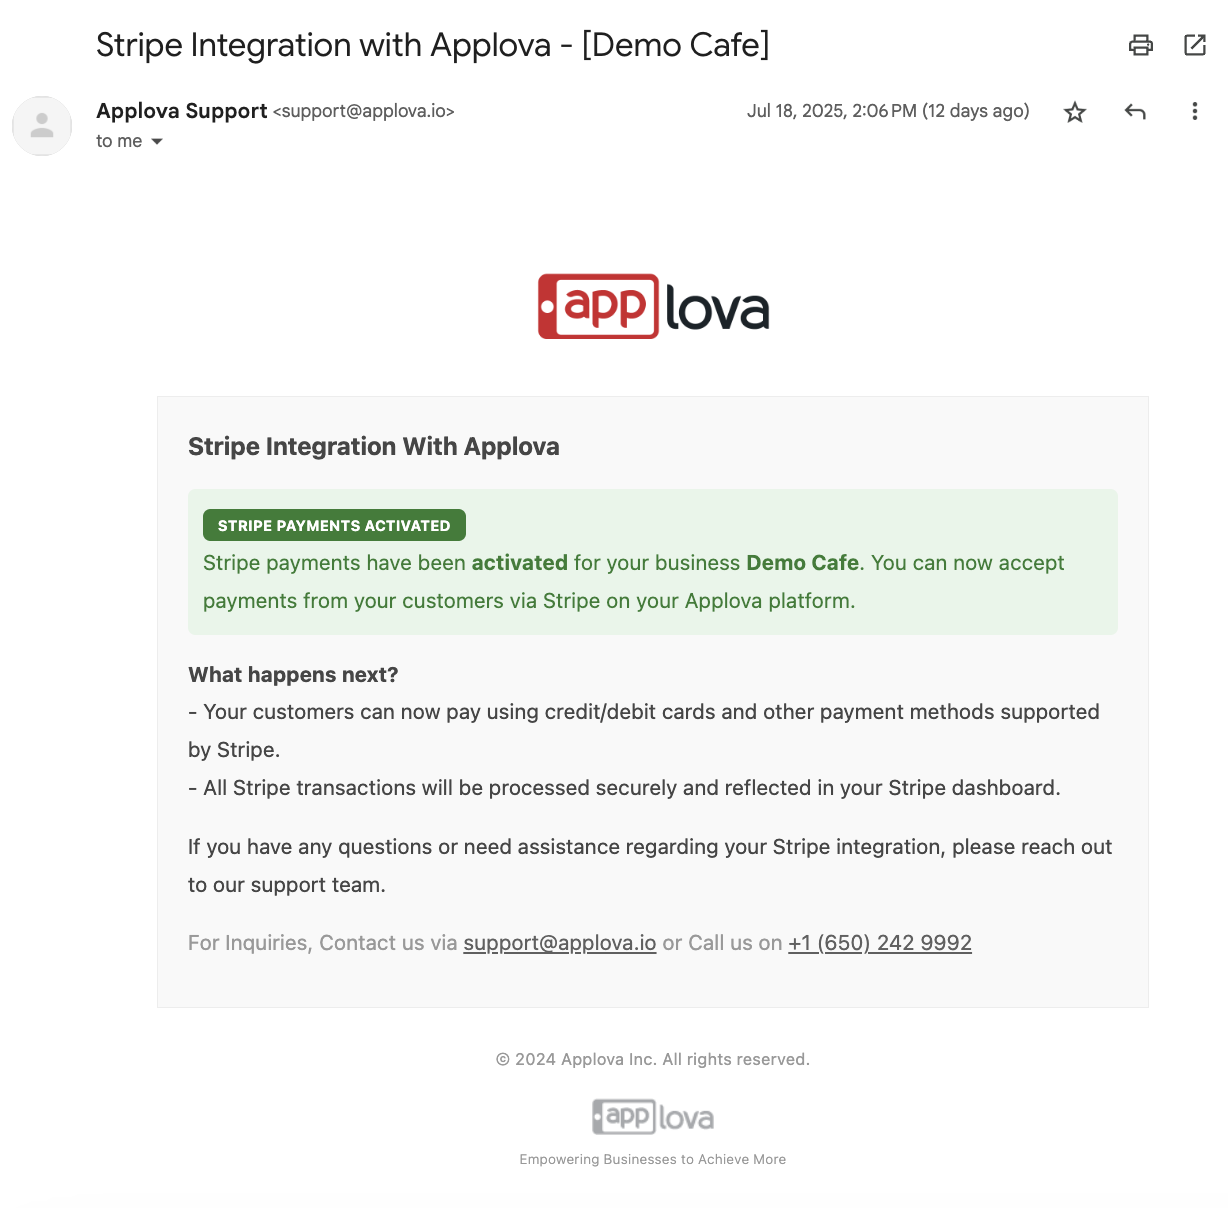
Once your Stripe Account is Verified and Completed, you will receive the below email from Applova, confirming that you can now accept payments from your customers via Stripe on your Applova platform.
Step 1
Step 2
Click "Settings" and under the "General" tab, go to "Payments".
Step 3
Under "In-App Payments" click on the "Enable Payments" button. It will direct to the payment onboarding flow on Stripe.
At any stage during the process of entering the details below, it is possible to navigate back to the Merchant Web. All data entered up to that point will be saved, and upon return, the system will resume from the step where the process was previously left off.
Step 4
To get started, enter the email address and click on "Submit".
Step 5
Enter the phone number, click "Submit". Then enter the verification code sent to the entered phone number.
Step 6
Select the business type from the given dropdown and click on "Continue".
Step 7
There will be a series of questions related to your business that Stripe will ask in order for the business verification process.
Step 8
Once all the requested details are entered, you will be directed to the "Review and Submit" page.
Step 9
Certain details that needs verification will be labelled as "Incomplete". Provide the requested details to complete the onboarding process and click "Continue".
If the "Agree and Submit" button is selected while the "Incomplete" label is still present, the system will redirect to the Merchant Web, where an error message will be displayed.
When clicked on "Complete Onboarding" button on the Merchant Web, you will be redirected to the data that needs to be verified on Stripe.
When clicked on "Complete Onboarding" button on the Merchant Web, you will be redirected to the data that needs to be verified on Stripe.
Once your Stripe Account is Verified and Completed, you will receive the below email from Applova, confirming that you can now accept payments from your customers via Stripe on your Applova platform.
How to View Payments Done Through Stripe?
Merchants can view all the transactions and handle the stripe account without login into Stripe via Merchant Web.
 Once the onboarding is complete, the "Complete Onboarding" button on Merchant Web will change to "View Payout Dashboard".
Click on "View Payout Dashboard". It will be directed to the Home page in Stripe. All the recent transactions will be displayed here.

Related Articles
Encrypted Device service not available Error for NMI API Key
Please follow the below steps if the NMI API Key that was generated gives an error as "Encrypted Device service not available". You can enable this via your NMI Partner Portal. You need to take the below actions while being in the Partner/Reseller ...How to Find NMI API Private Key?
This article is essential for both Online Payments & Terminal Payments as the NMI API Private Key is required for both. Step 1: Log on to your NMI portal Below is an example URL format of how your NMI Reseller Portal login would look like. ...How to Activate NMI Pinpad
Step 1: Log on to your NMI portal Below is an example URL format of how your NMI Reseller Portal login would look like. https://yourcompany.transactiongateway.com/resellers Step 2: Log on to the Specific Merchant Account Once you're in the NMI ...How to Find NMI Webhook Signing Key?
Step 1: Log on to your NMI portal Below is an example URL format of how your NMI Reseller Portal login would look like. https://yourcompany.transactiongateway.com/resellers Step 2: Log on to the Specific Merchant Account Once you're in the NMI ...