Applova Special Announcements
The Applova Announcements feature helps merchants capture customer attention by showcasing important updates directly within the ordering experience. Merchants can use it to promote active offers, announce news or events, and introduce new products or categories in a highly visible way. This helps customers discover timely information while browsing, encourages them to engage with promotions, and can drive more orders by highlighting items or updates that may otherwise be missed.

Please request the Applova Support team to enable Applova Announcements feature for your business.
How to Create Announcements via Merchant Portal?
Step 1
Sign in to the Merchant Web Portal with the business's credentials.
Step 2
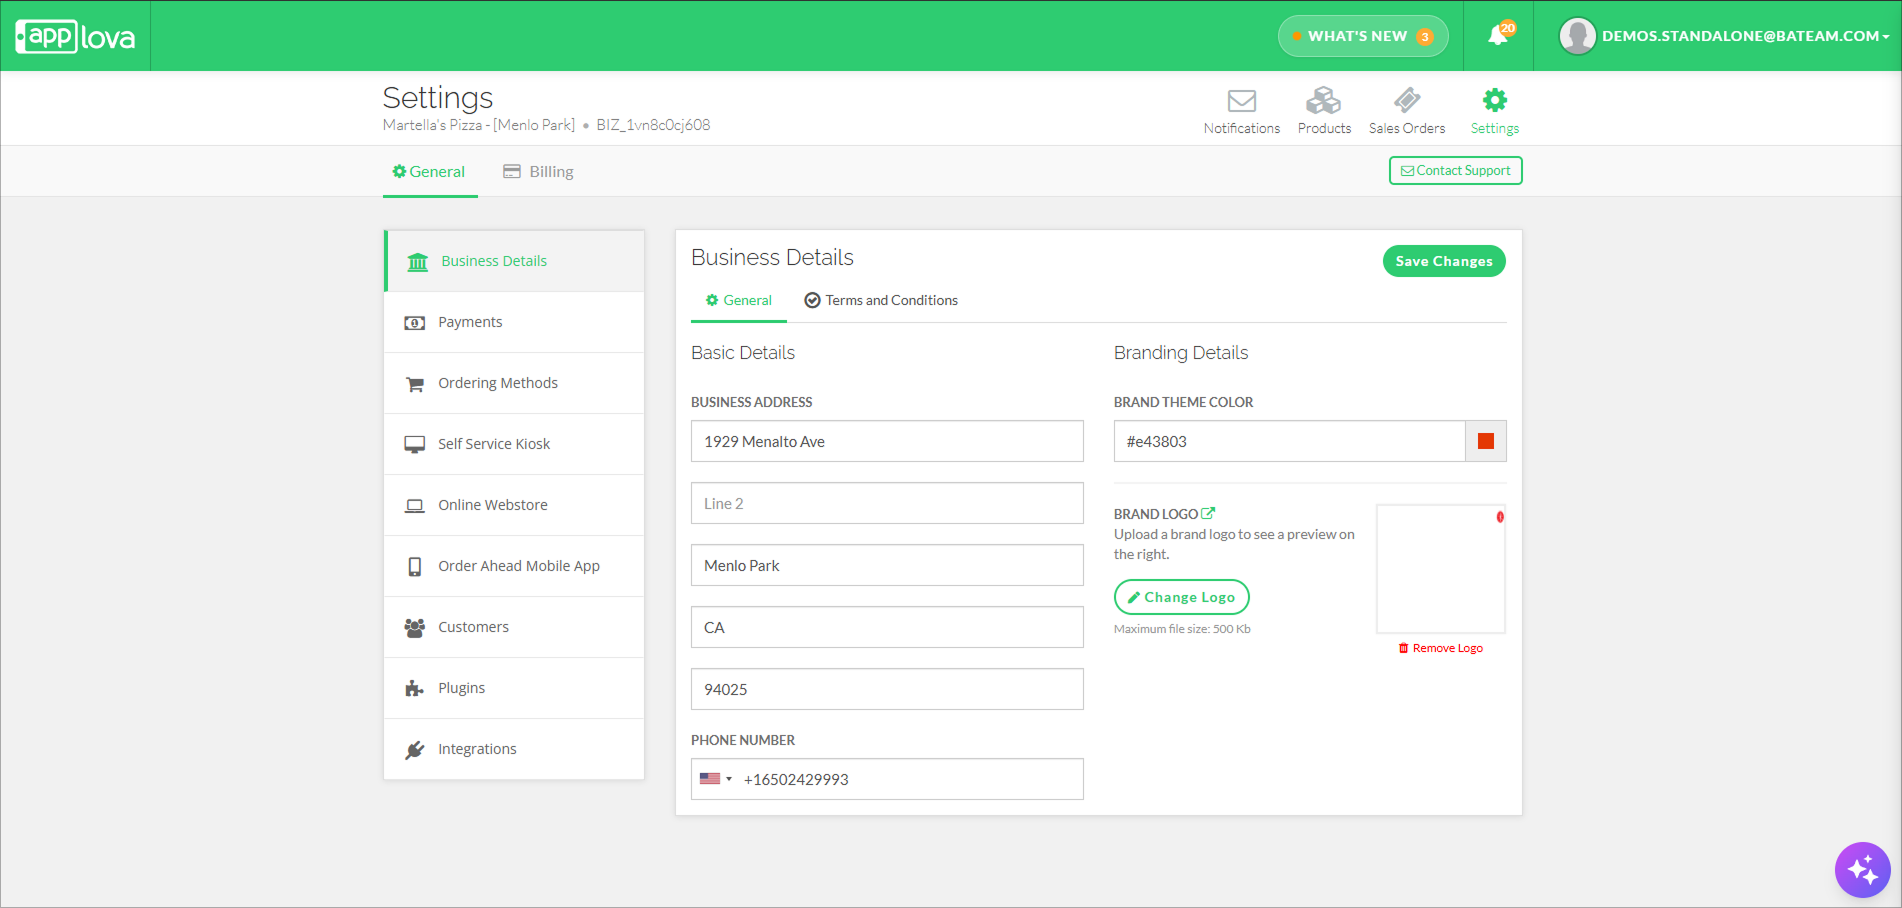
Go to "Settings" and click "Plugins".
Step 3
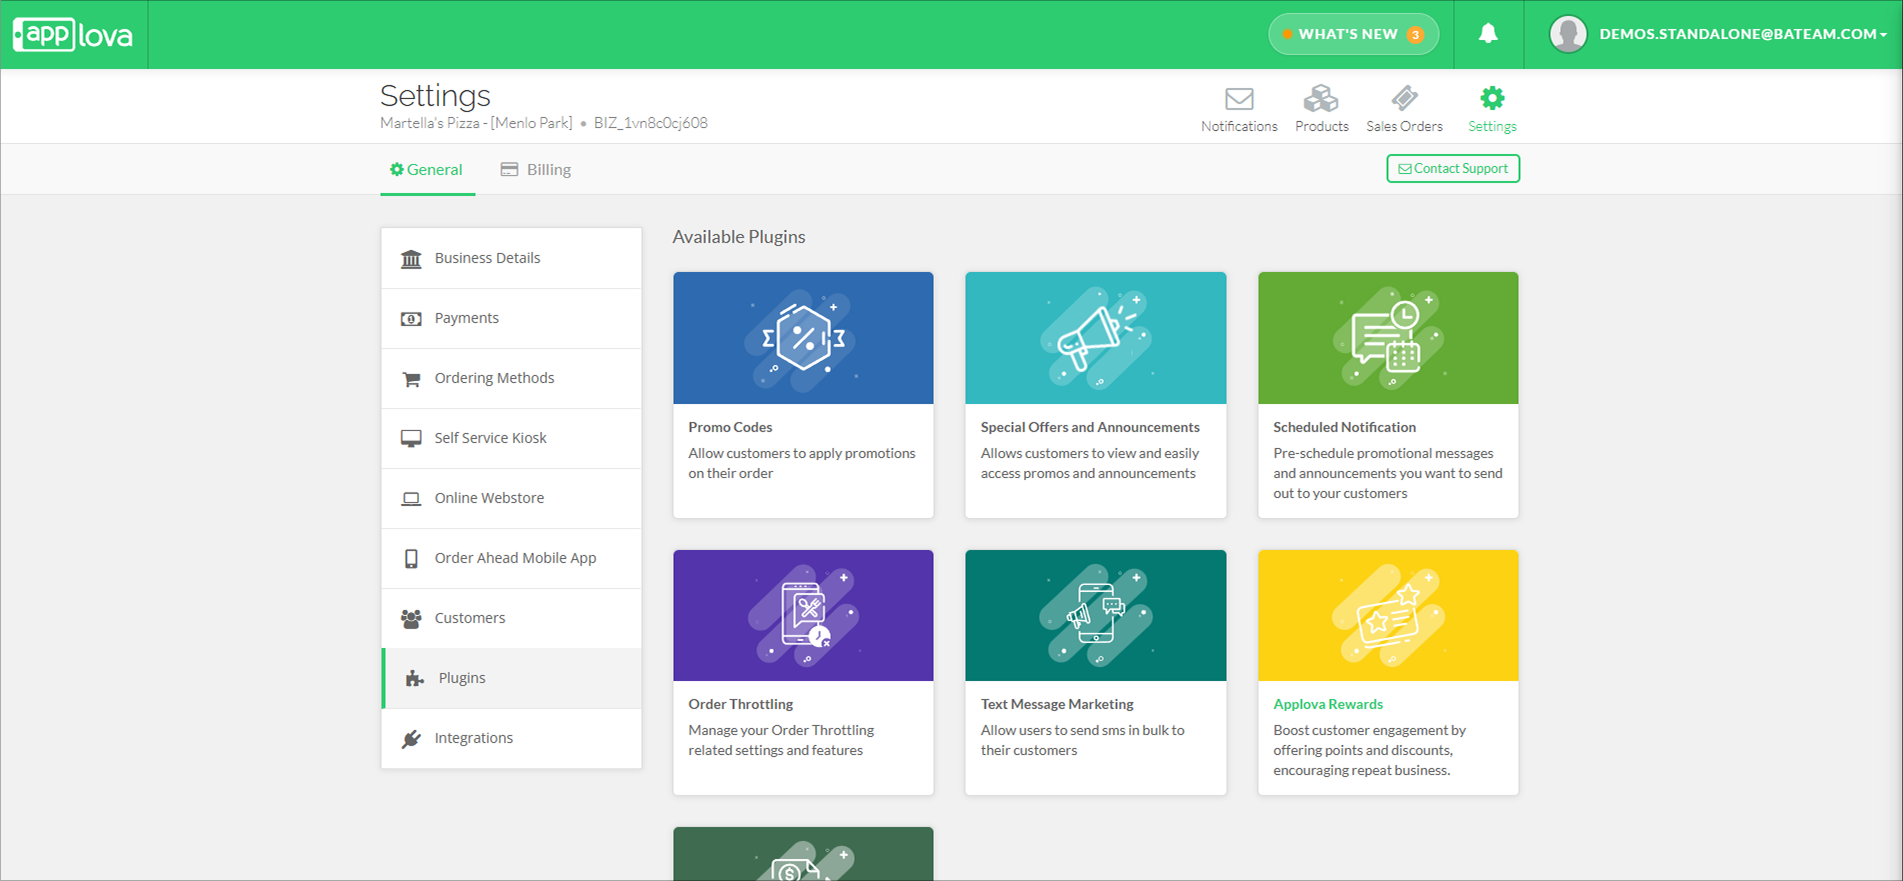
Select the "Special Offers and Announcements" option.
Step 4
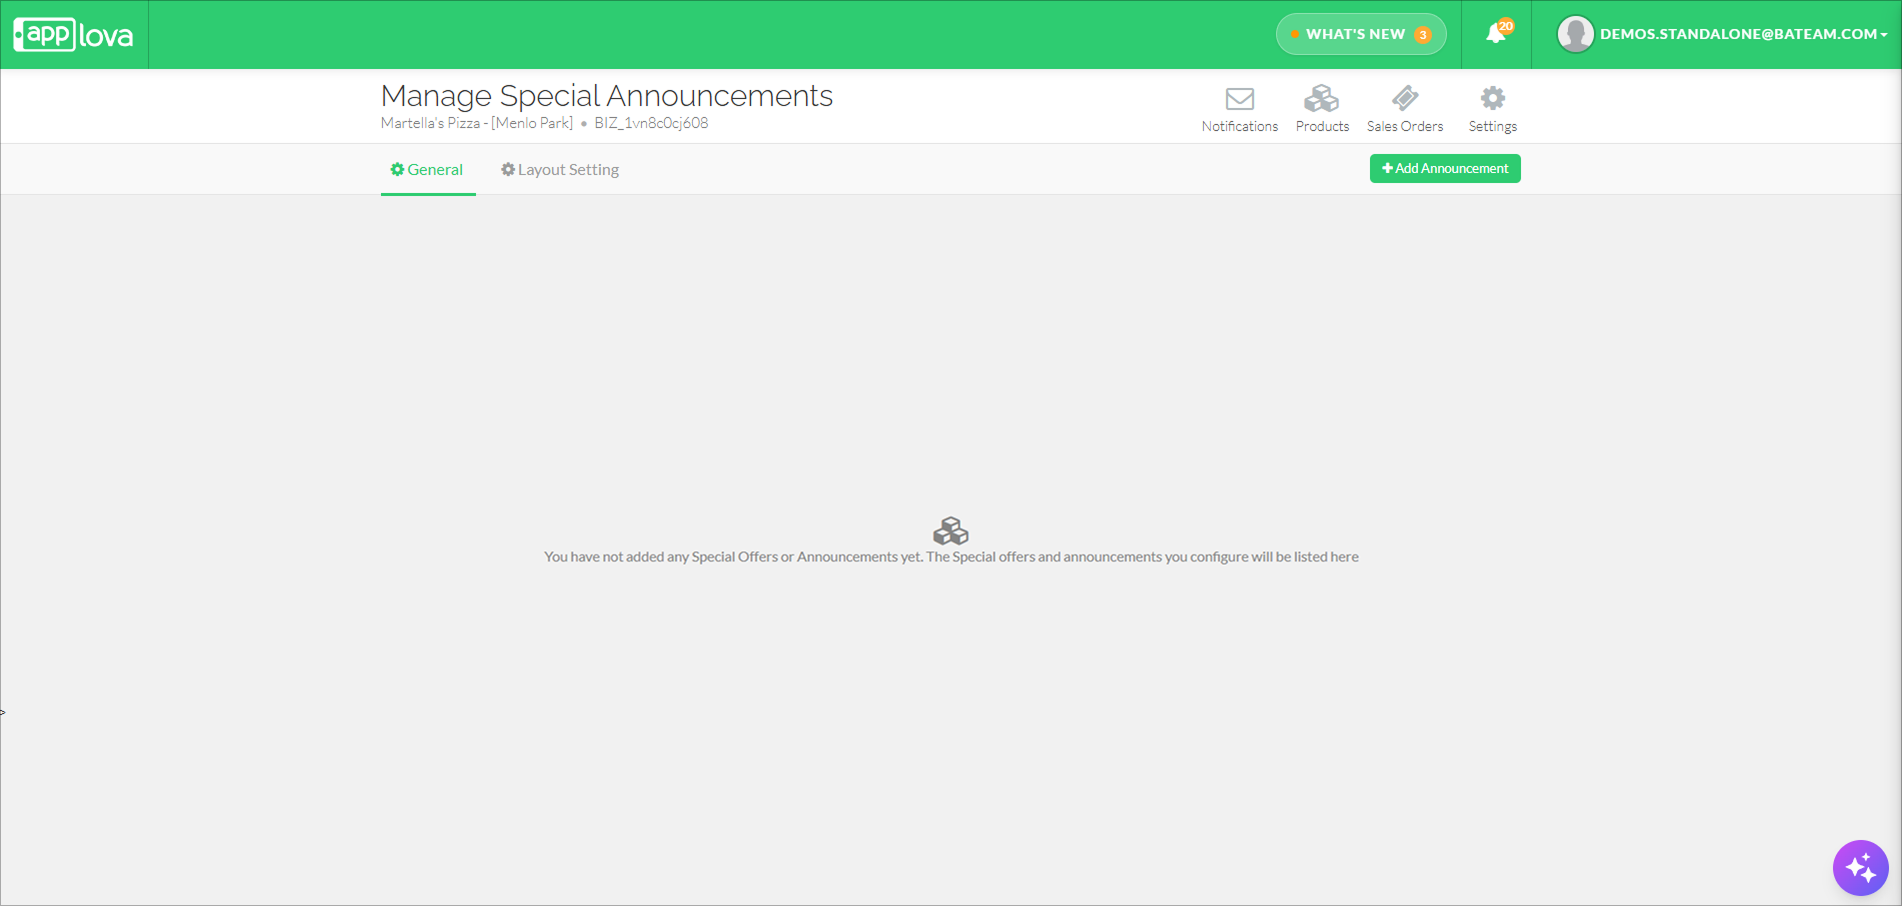
Click the "Add Announcement" button.
Step 5
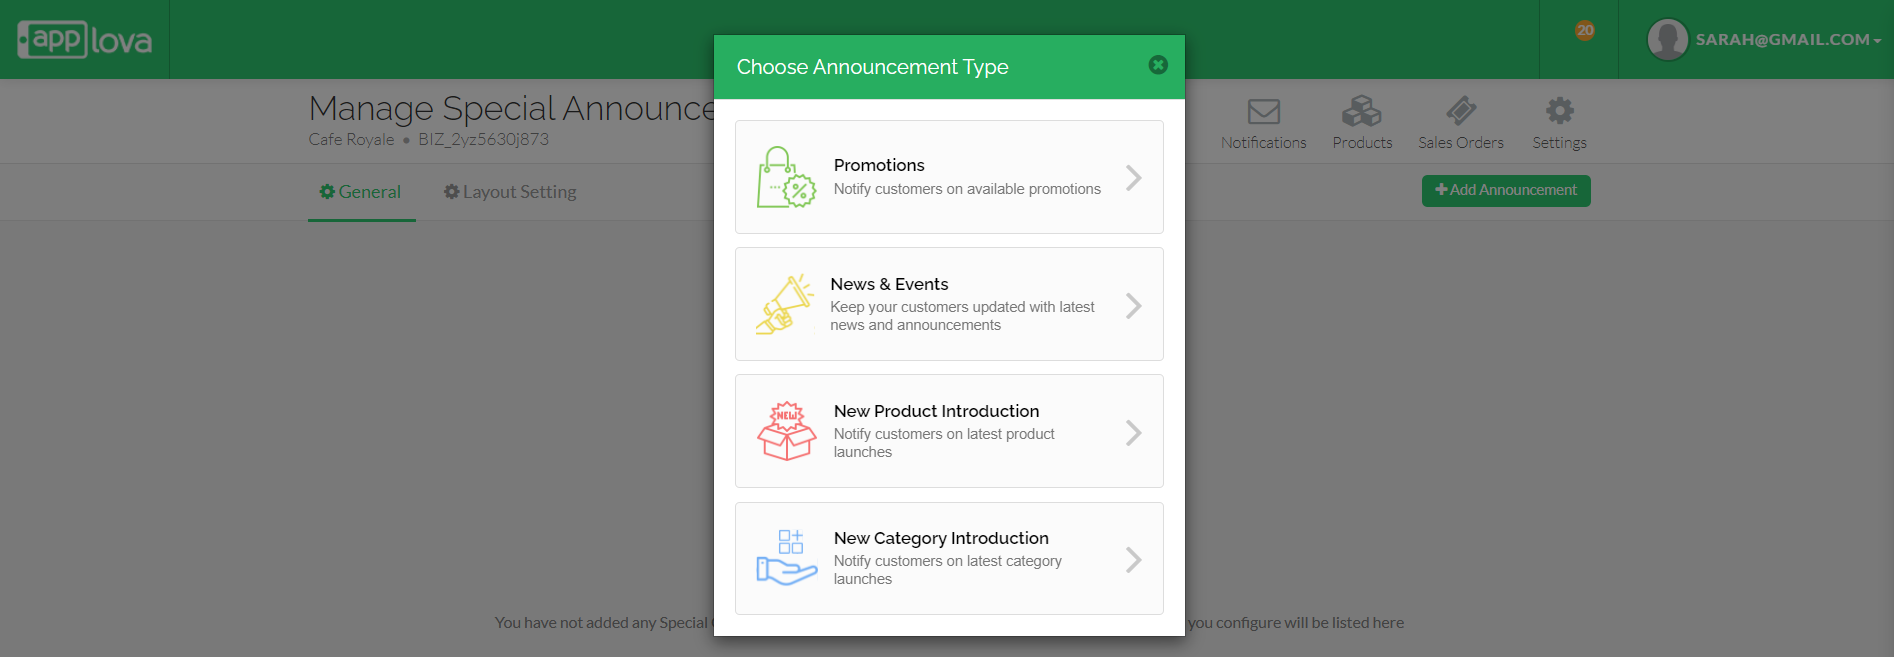
Select the preferred announcement type.
Step 6
Follow the steps below based on the selected announcement type.
Promotions
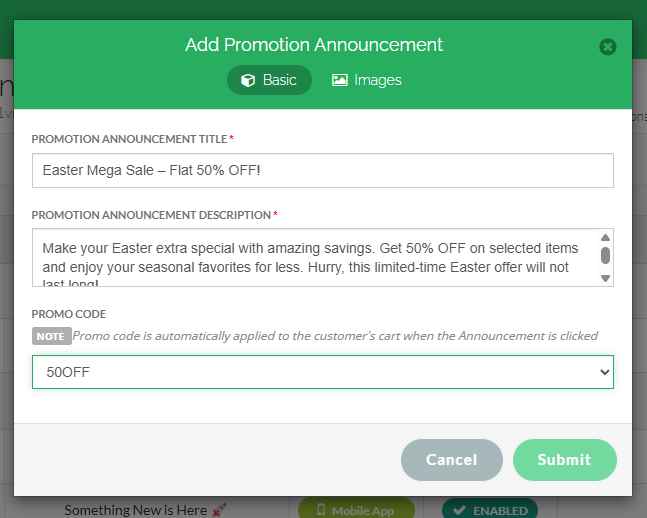
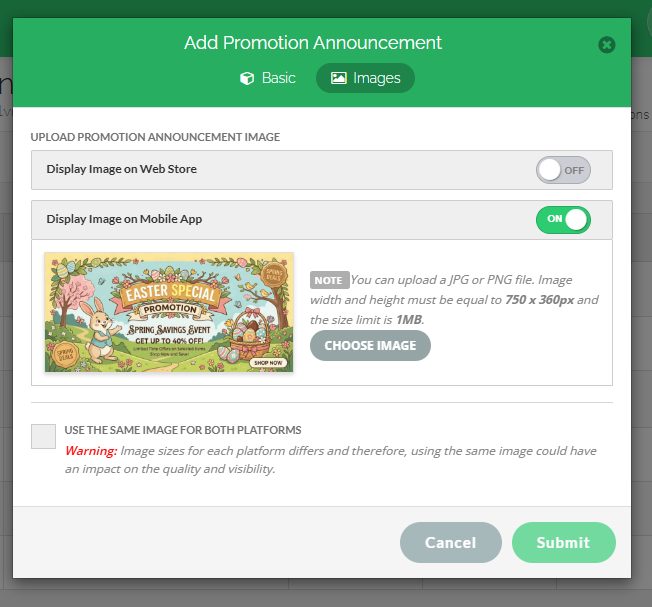
The Promotions announcement type allows you to notify your customers about any existing promotions. On the prompt displayed, you can add a title, description, banner image for the promotion related announcement and select an existing promo code and click "Submit" option.
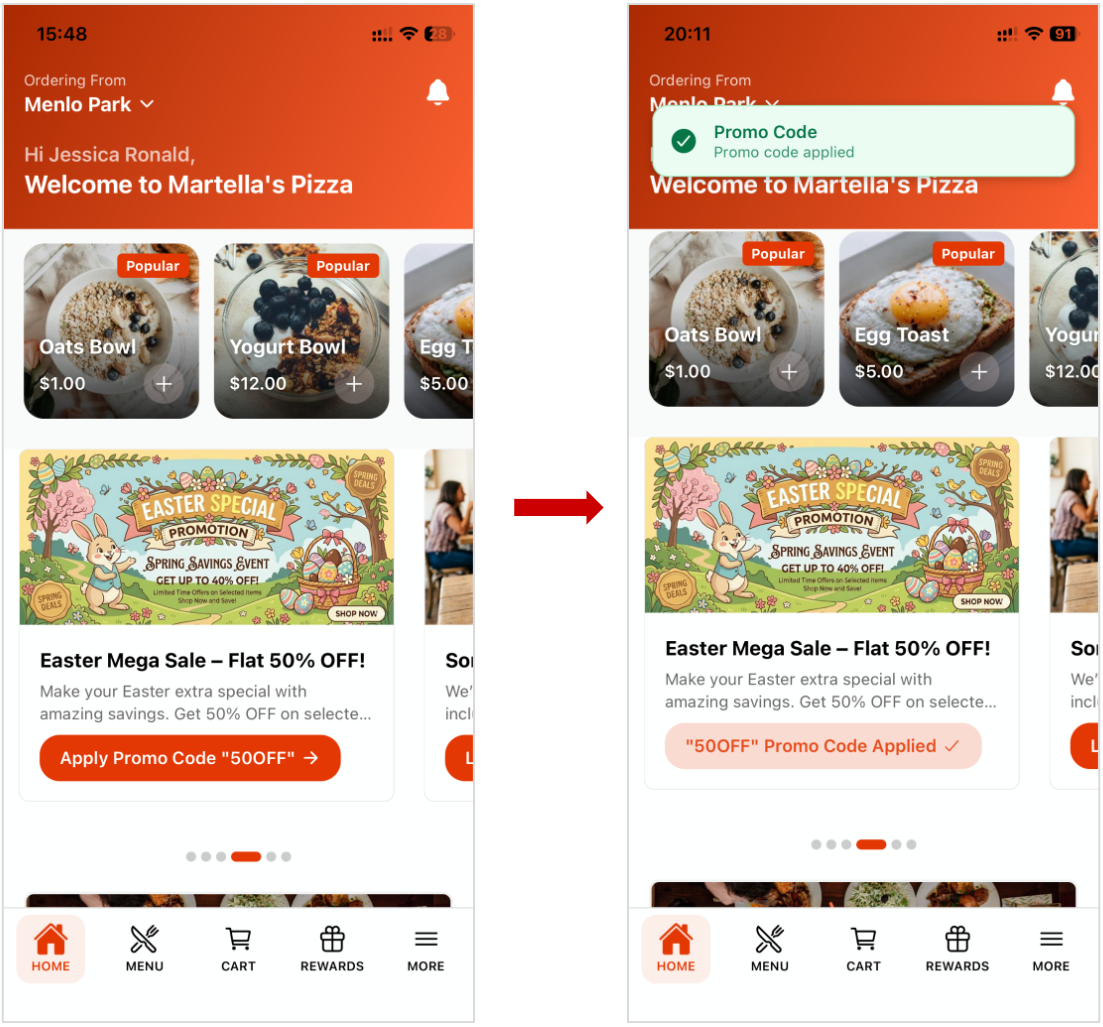
How it Reflects on the Order Ahead
When the "Apply Promo Code" button is tapped, the promo code will be applied to the order.
News & Events
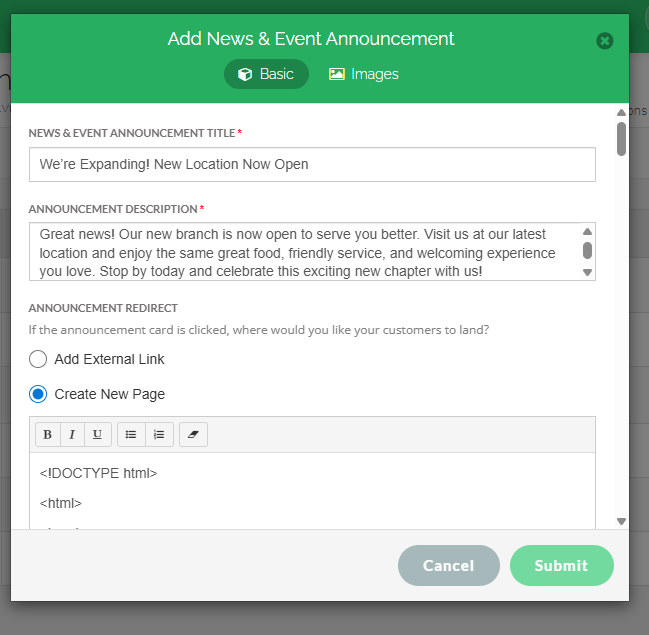
The News/Events announcement type allows you to keep your customers updated on interesting and ongoing events and announcements. You can add a title, description, banner image and select the announcement redirect type and click "Submit" option.
The customers can be redirected to;
- an external page by pasting a link under "Add External Link".
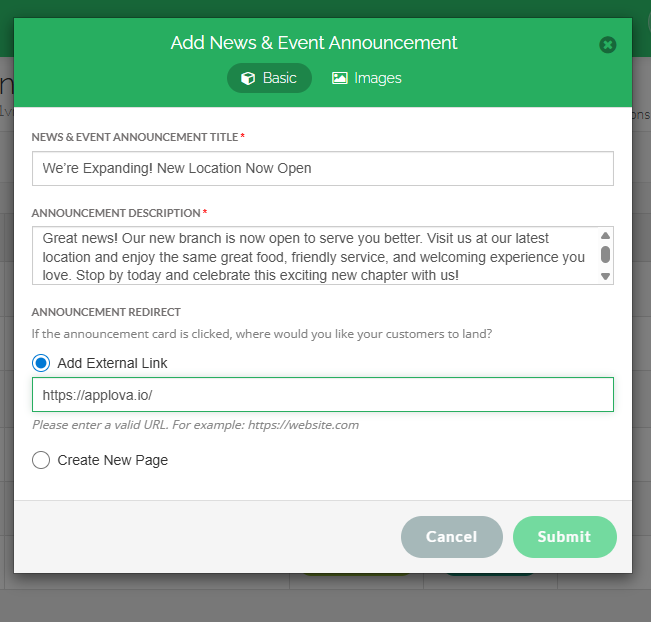 Image Link
- a new page on the mobile app by adding an HTML under "Create New Page".
Product Introduction
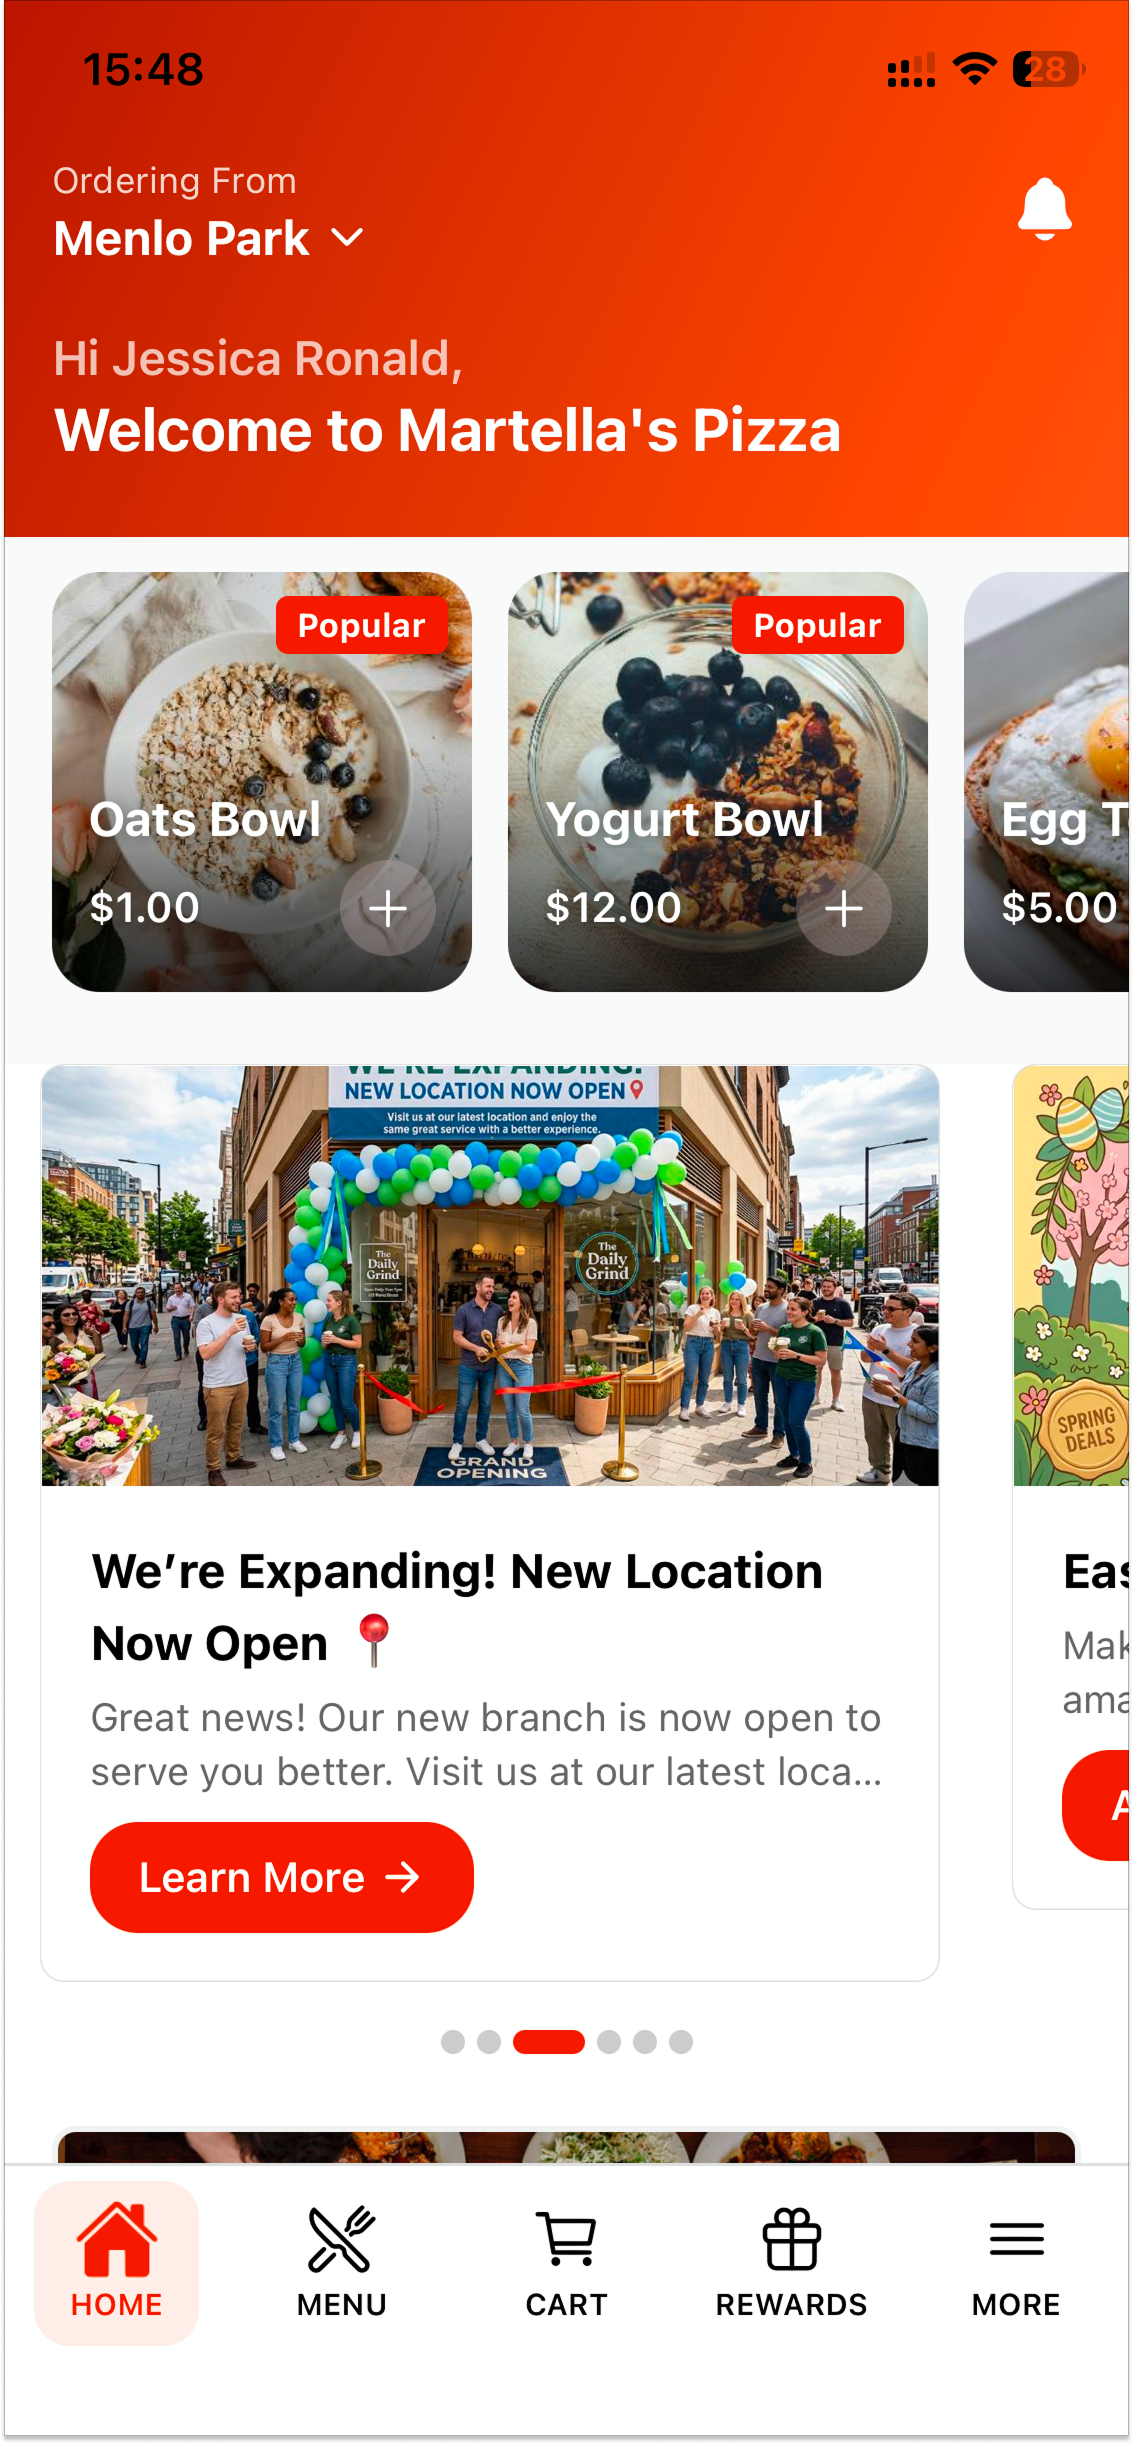
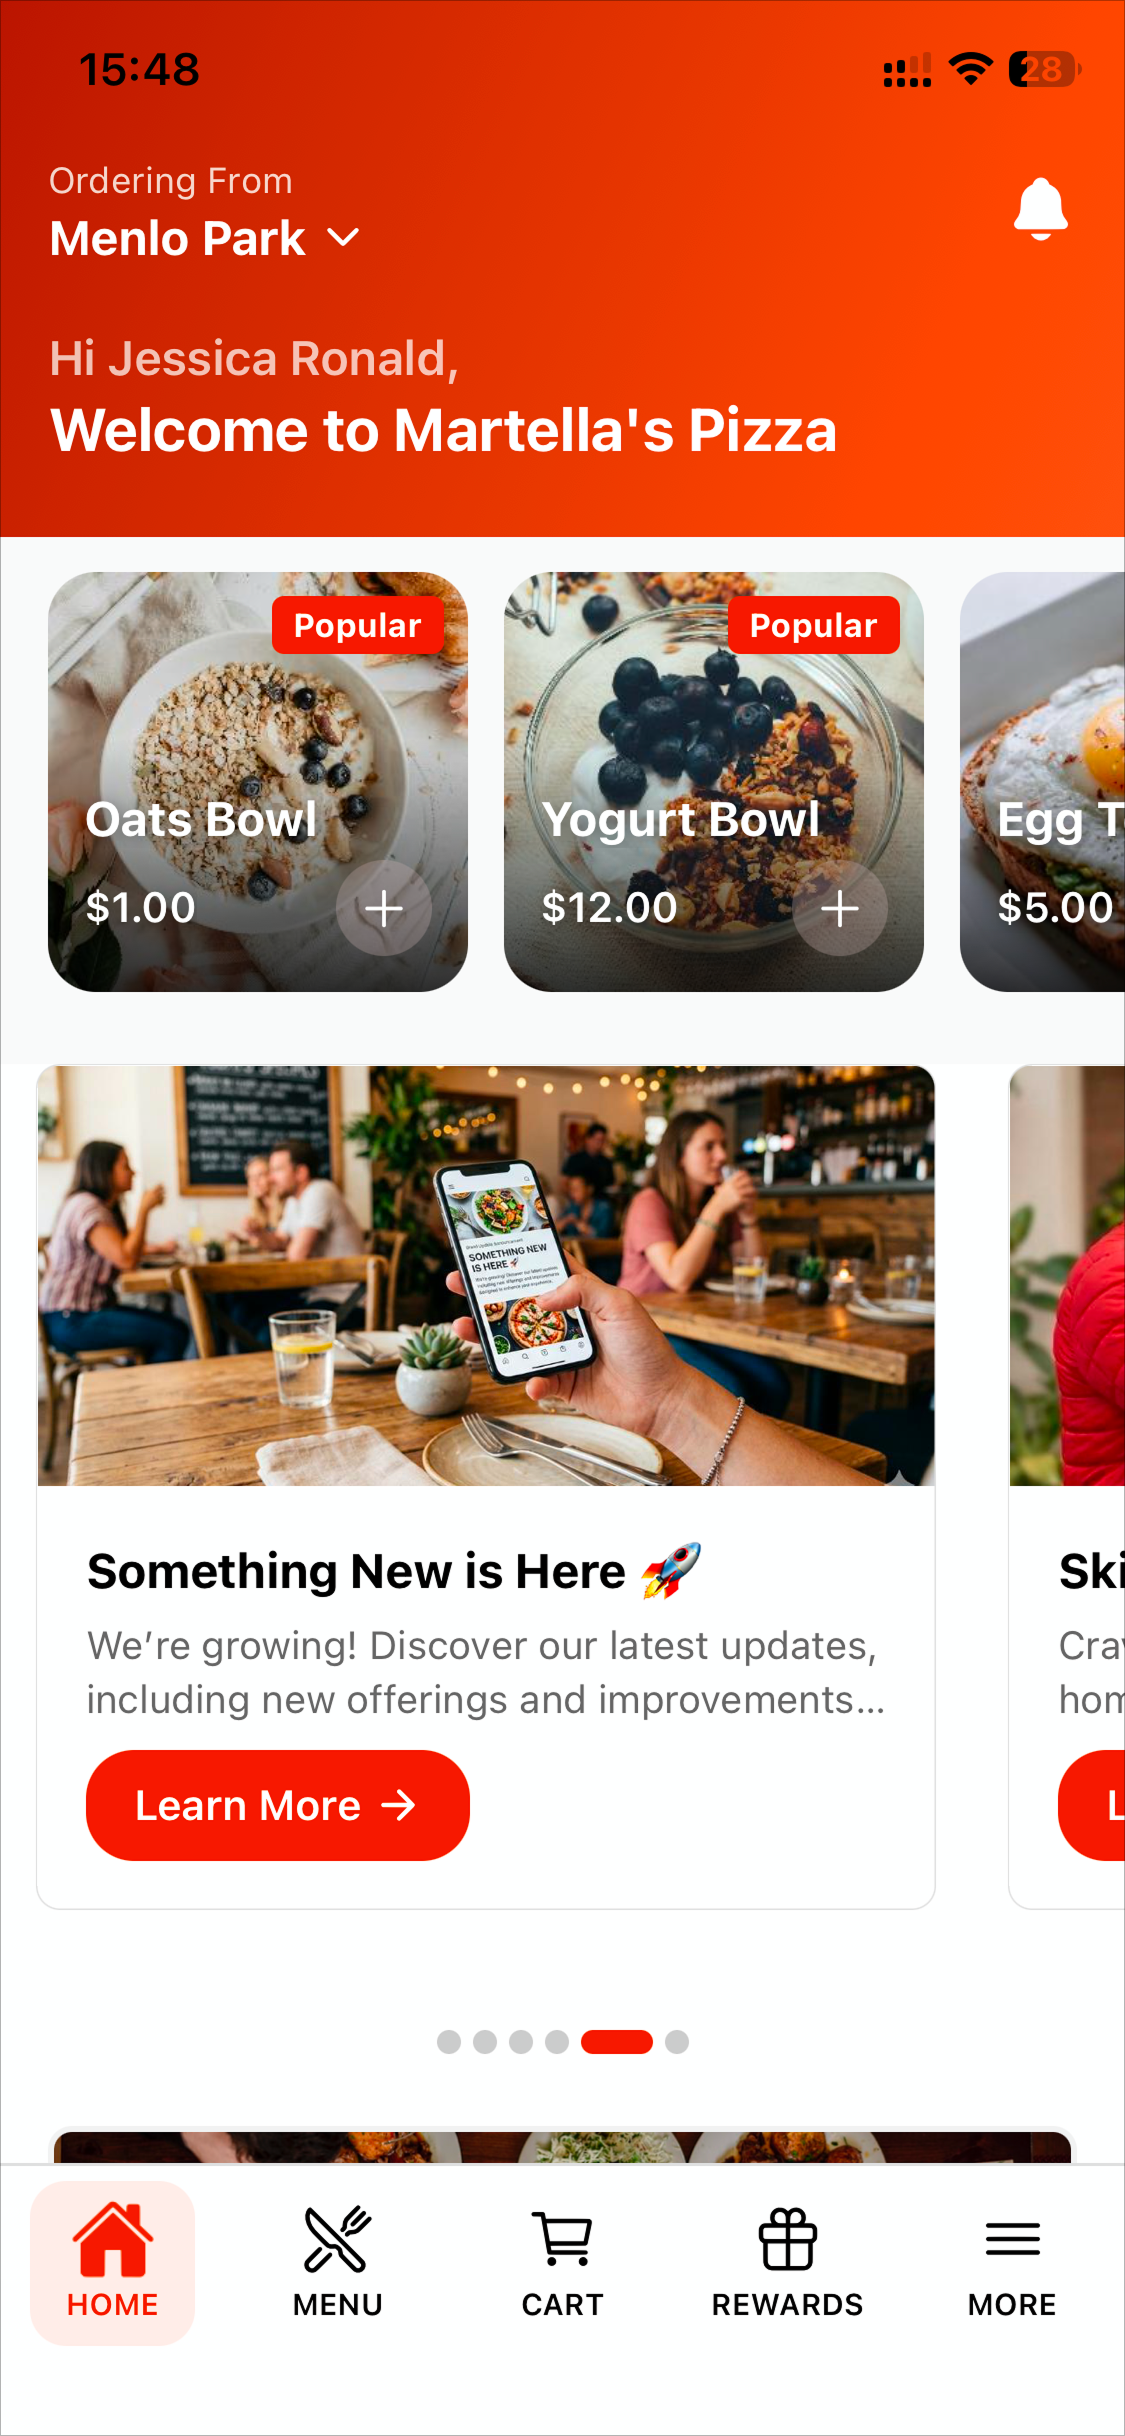
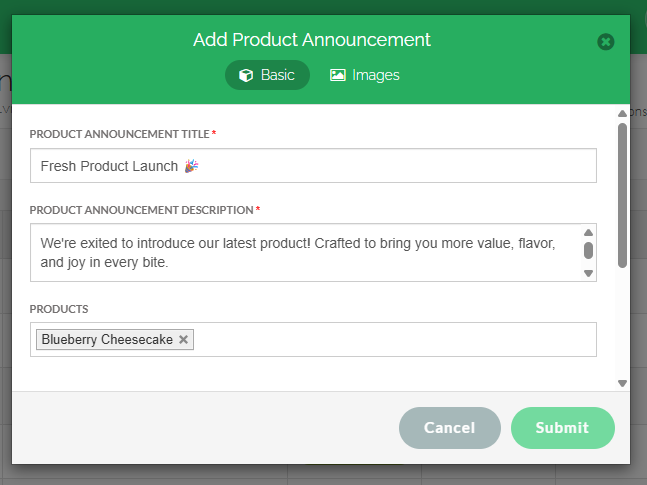
The Product Introduction announcement type allows you to notify customers about newly launched or featured products. You can add a title, description, and banner image, then select the relevant product(s) that should be promoted through the announcement. Once the required details are added, click "Submit" to publish the announcement.
How it Reflects on the Order Ahead
When the customer taps the “Learn More” button, they will be directed to the configured product or product list.
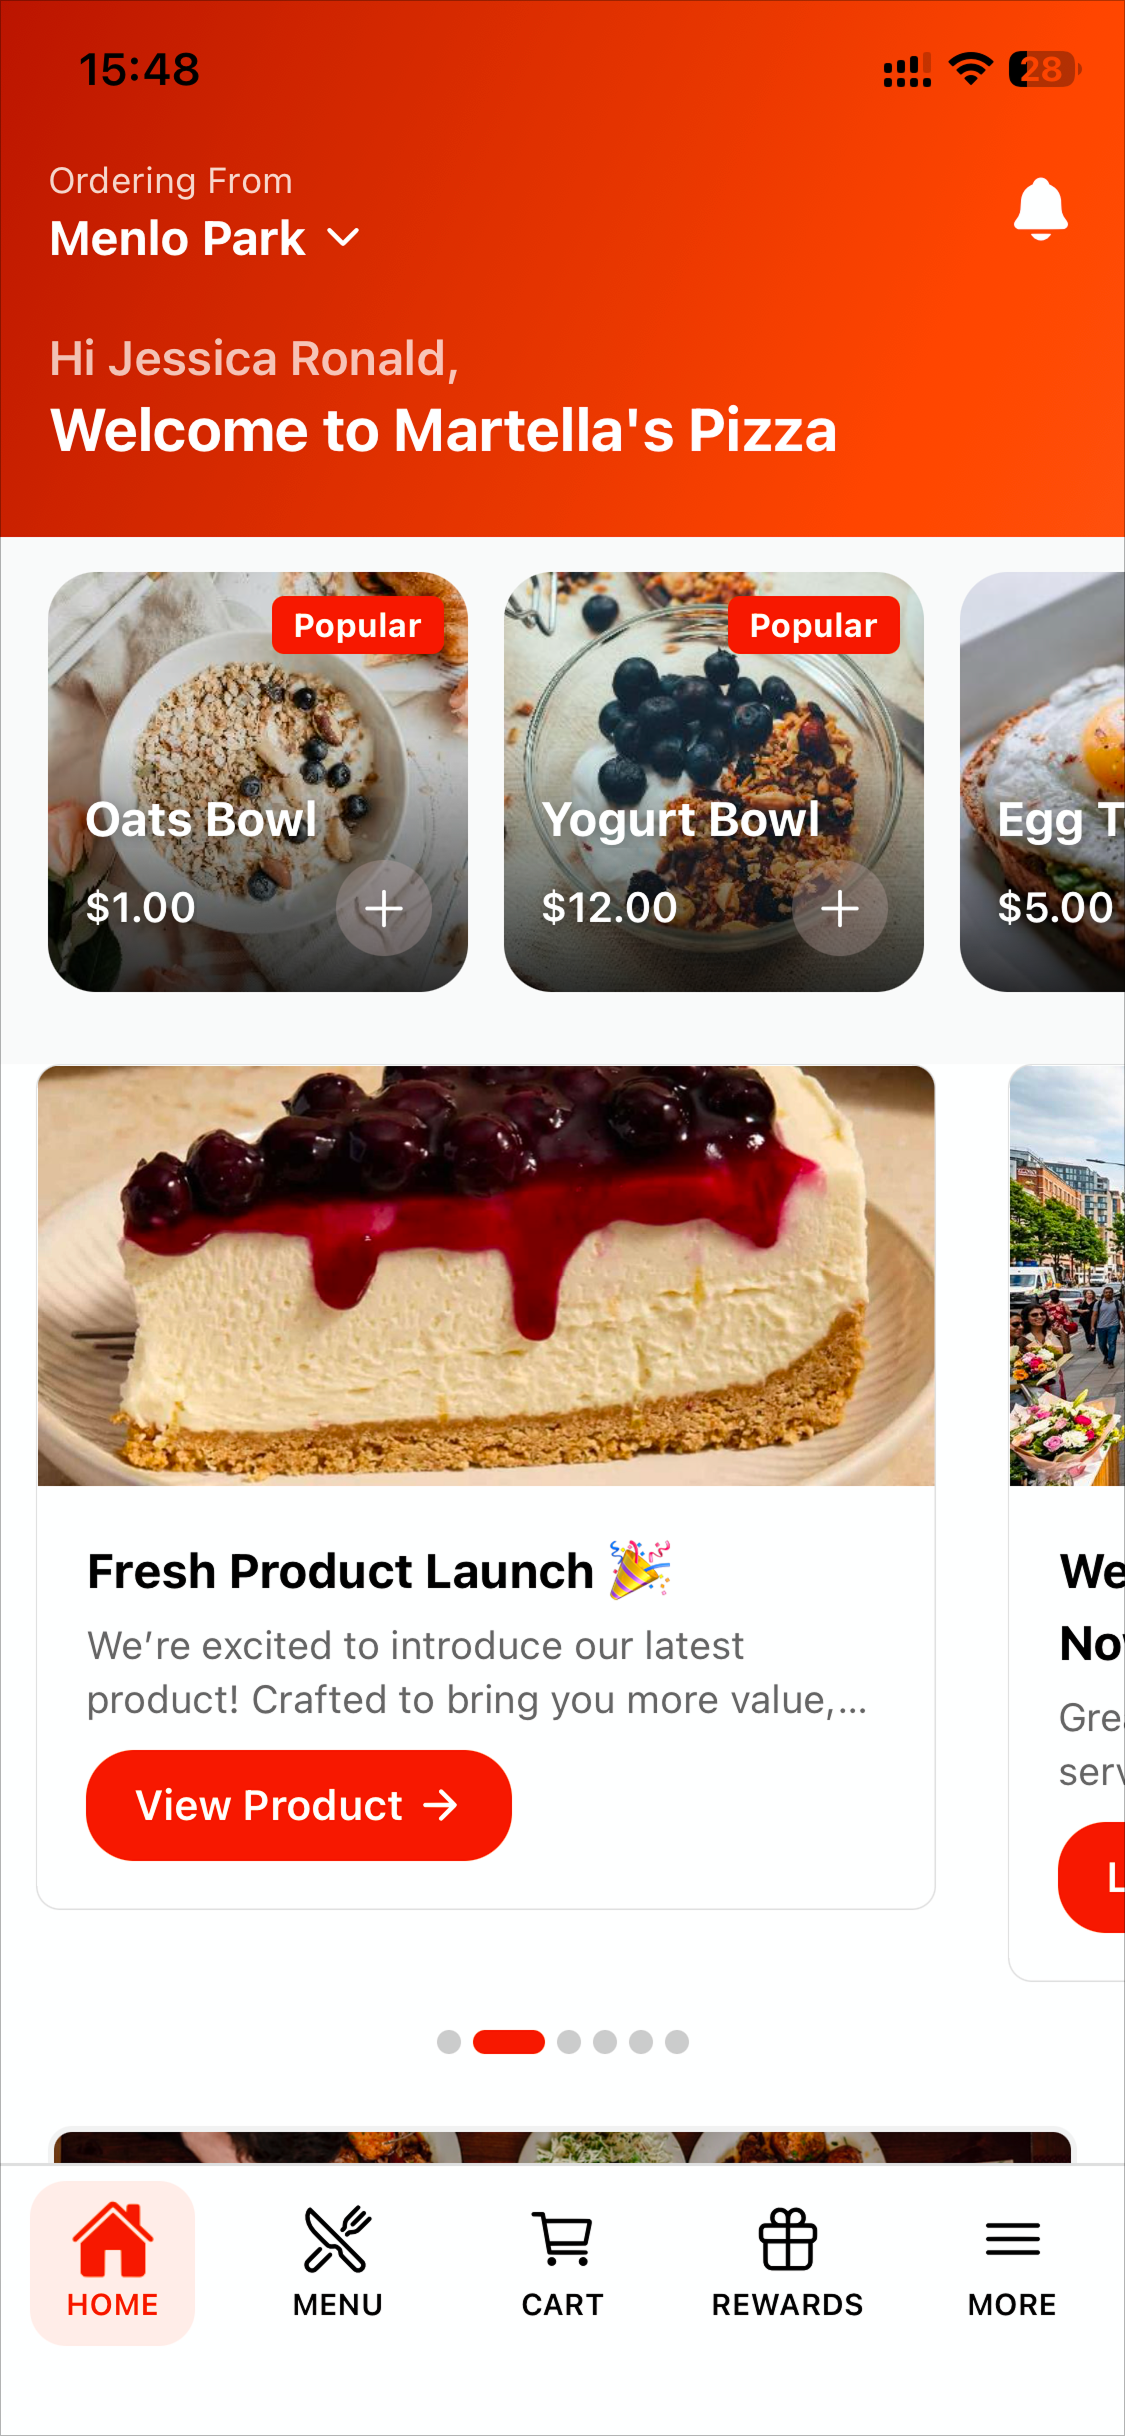
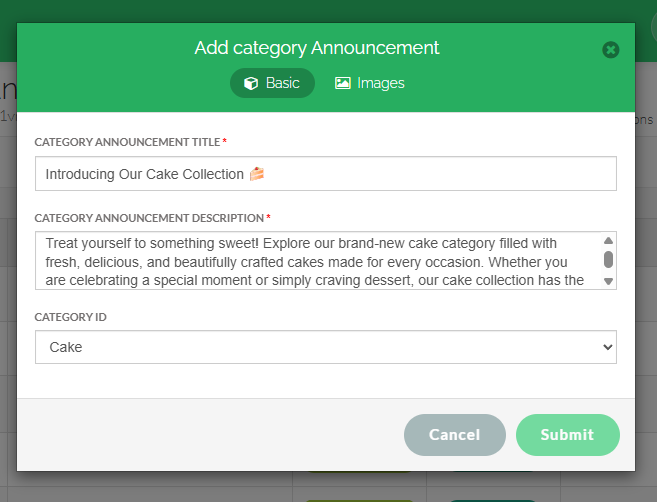
Category Introduction
The Category Introduction announcement type allows you to highlight newly added or important menu categories to customers. You can add a title, description, and banner image, then select the relevant category that should be promoted through the announcement. Once the required details are added, click "Submit" to publish the announcement.
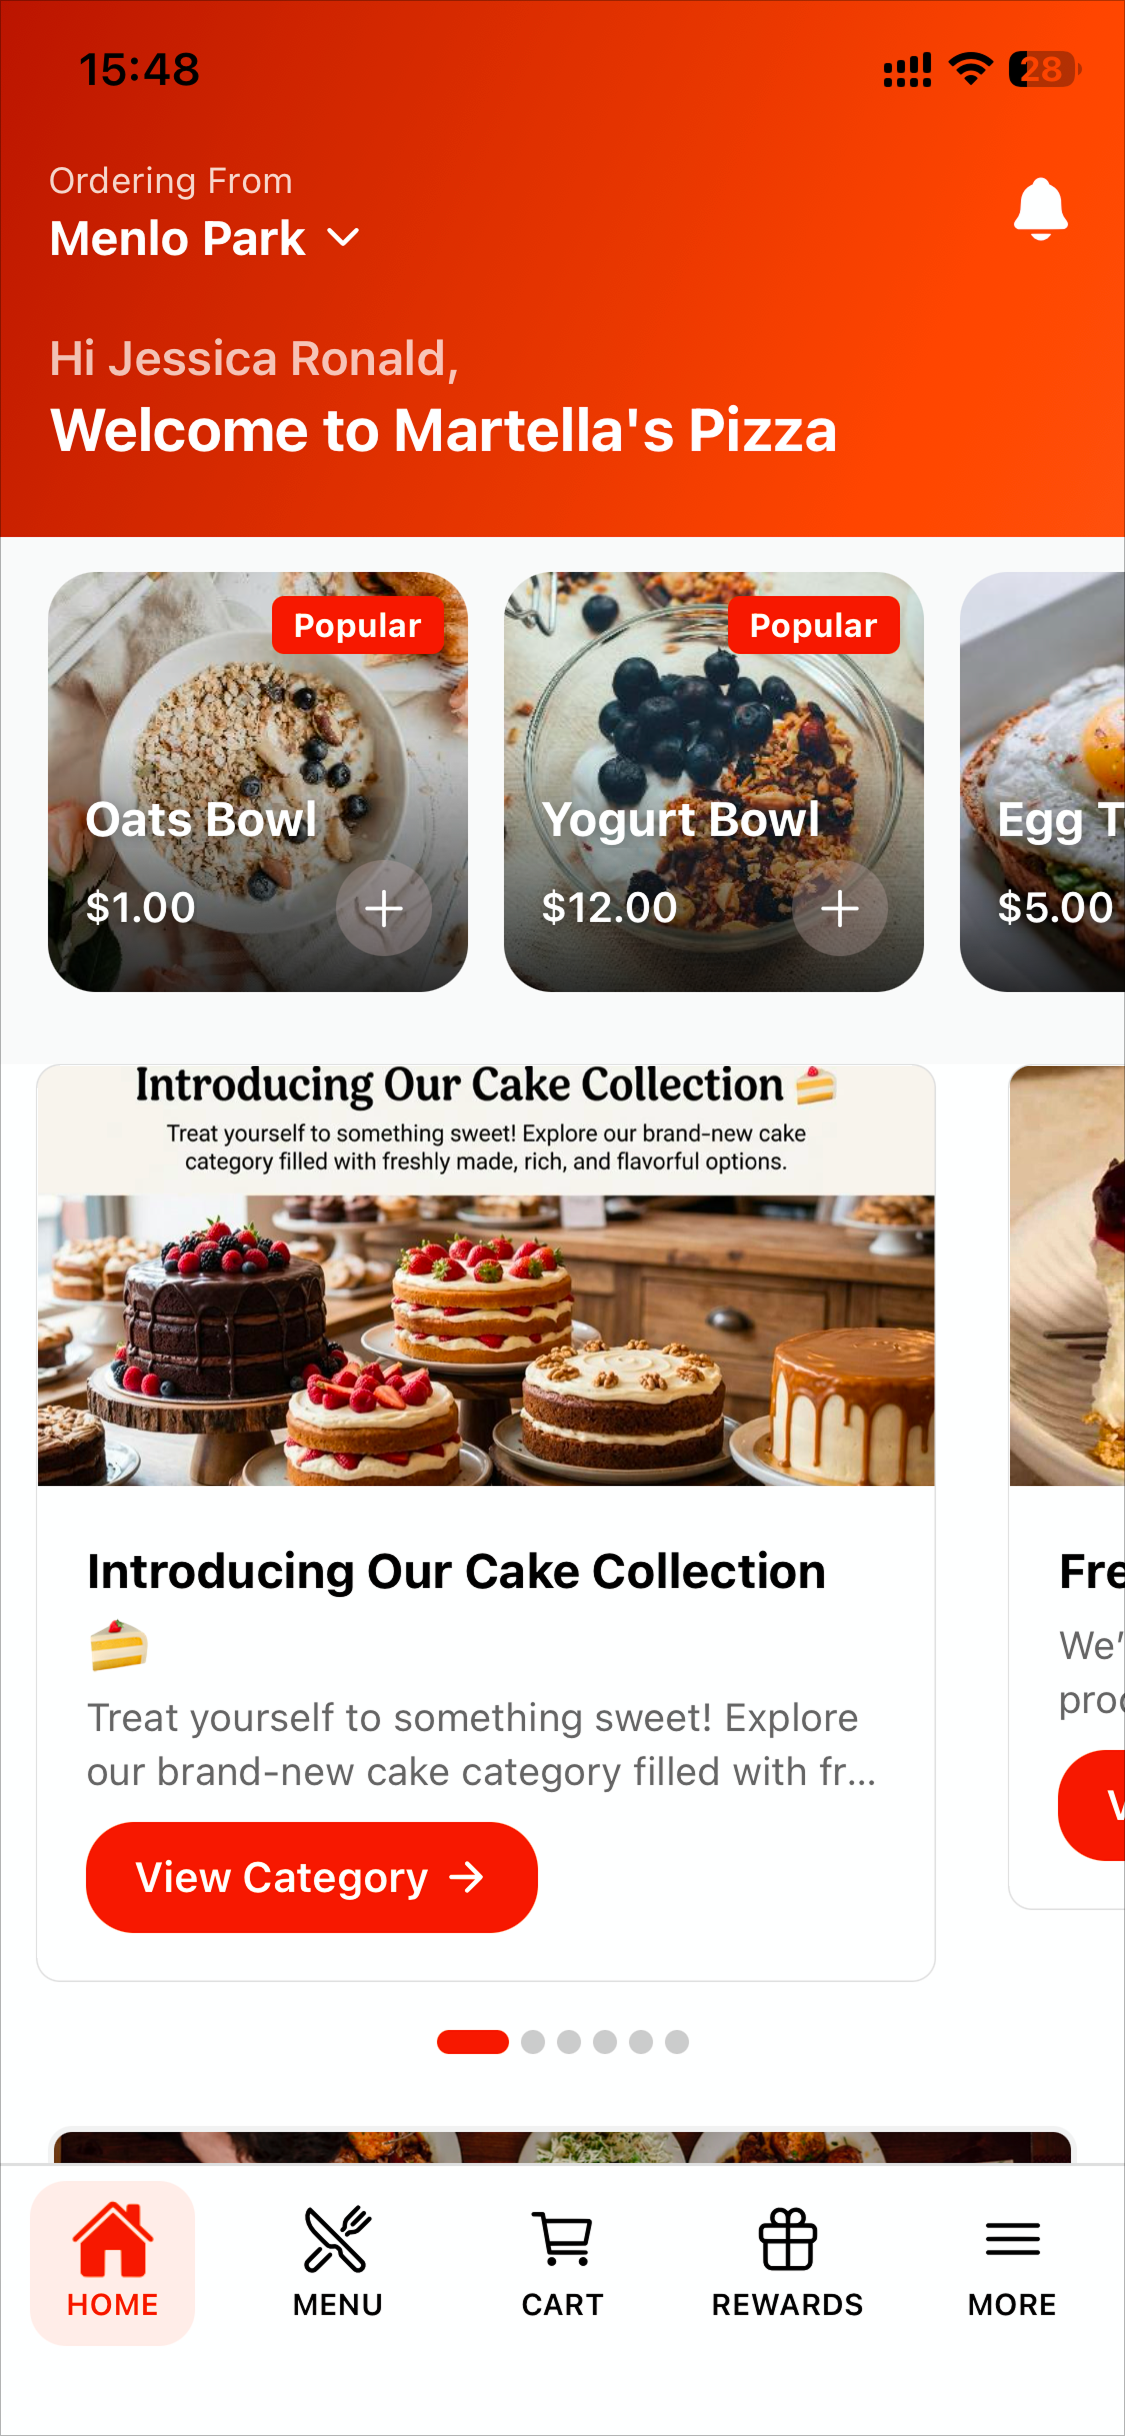
How it Reflects on the Order Ahead
When the customer taps the “Learn More” button, they will be directed to the configured category.

Only one category can be configured.
How to Change the Display Layout?
This section allows the merchant to choose how special announcements will be displayed to customers on the ordering platform. The selected layout will apply to all configured special announcements, so merchants can control the overall presentation style from one place.
- Stacked Cards displays each announcement as a separate image card, one below another. This layout is useful when merchants want customers to clearly view multiple announcements while scrolling through the category list page.

Image link - Image Carousel displays announcements in a rotating carousel format. This layout is useful when merchants want to save space while still showcasing multiple promotions, news updates, events, or product/category introductions in a visually engaging way.
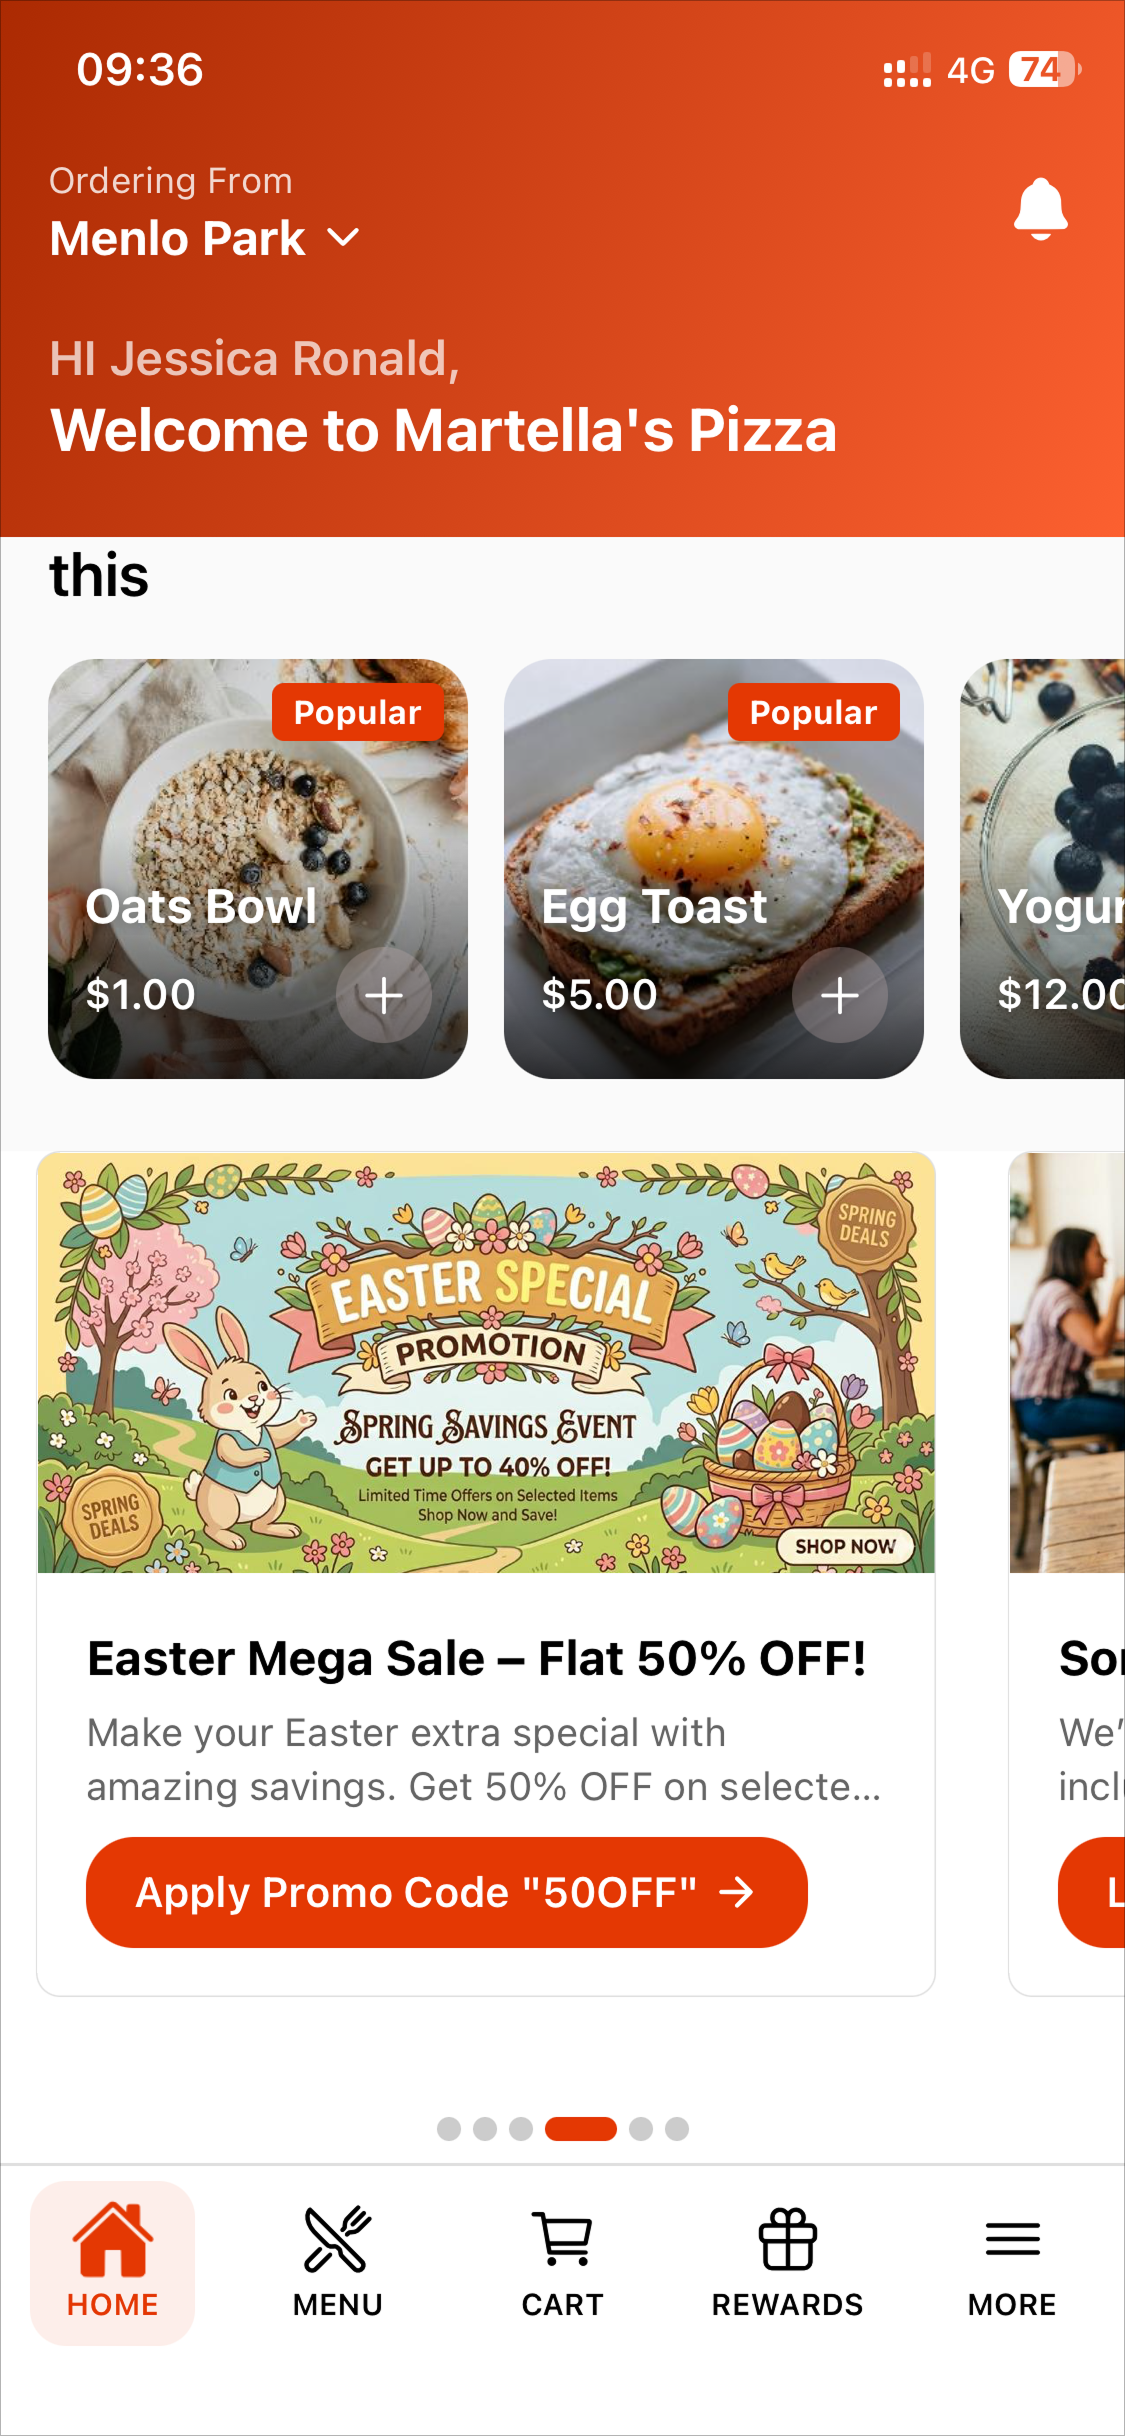
Image Link
Step 1
Sign in to the Merchant web portal with the business's credentials.
Step 2
Click the "Plugins" option in the "Settings" section.
Step 3
Select the "Special Offers and Announcements" option.
Step 4
Go to the "Layout Settings" tab.
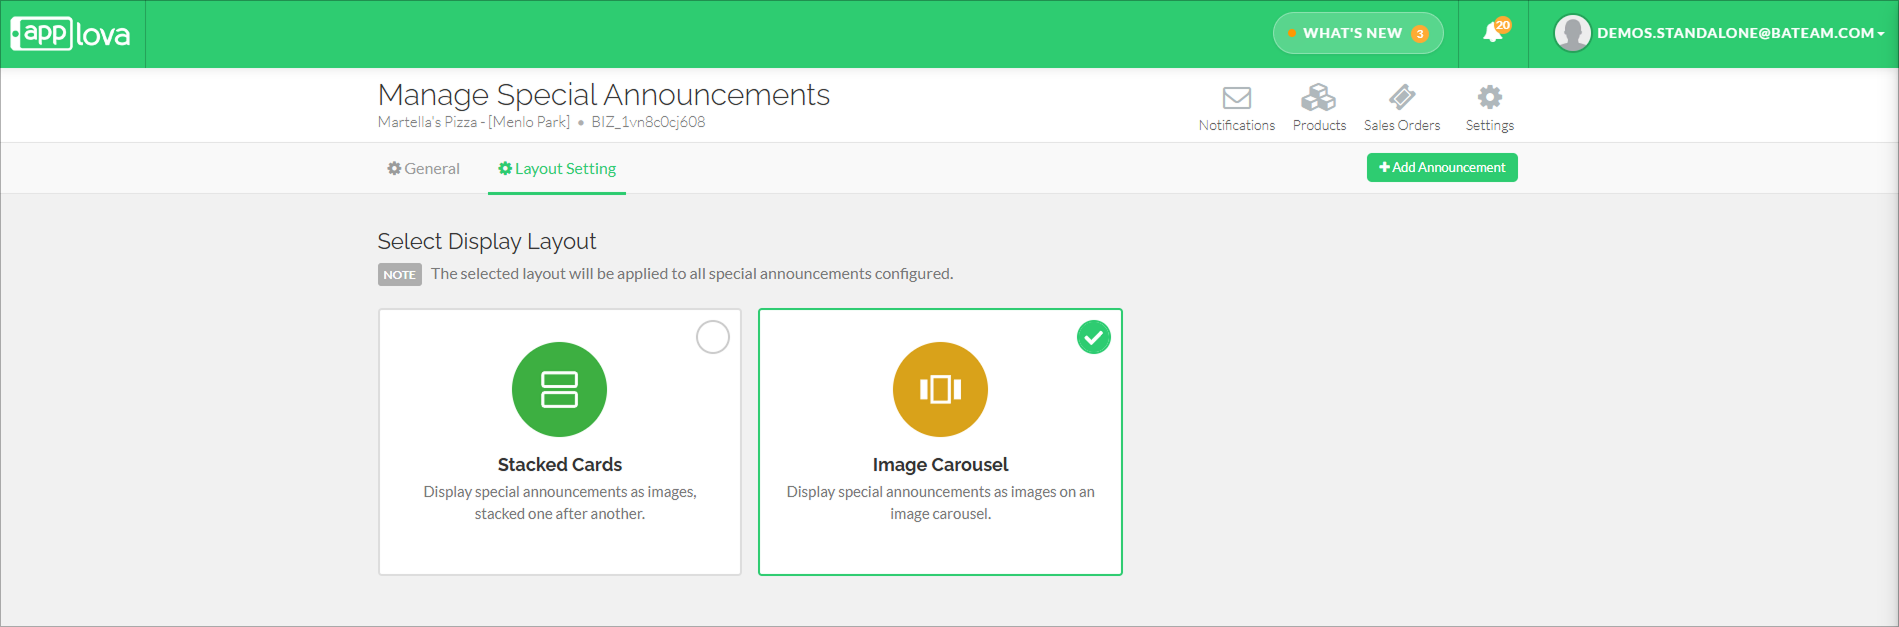
Step 5
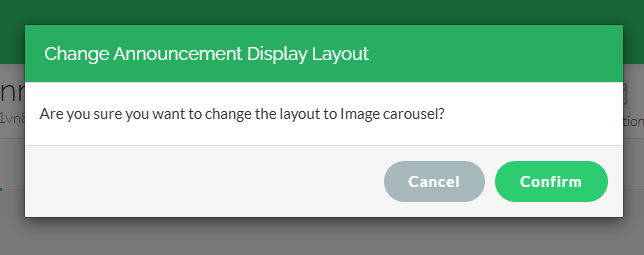
Select the required layout and click "Confirm".
Related Articles
Managing Product Level Promo Codes
This feature allows the merchant to add promo discount for a selected product. Promo code feature is enabled by default Note: Promo Codes can also be activated through the Applova Marketplace aswell. Once activated, Promo Codes will be enabled as a ...How to Manage Applova Rewards on Merchant Web Portal?
This feature is available by default Applova Rewards helps you build customer loyalty by encouraging repeat visits and higher spend. By offering points-based rewards, such as free items or discounts, you can give customers a reason to keep coming ...Managing Promo Codes for Guest Users of a Business
You can use this plugin to let your guest users apply promo codes for their orders. Please check with Applova Support team to ensure that the promo code and guest checkout features are enabled for your business. Step 1 Login to "Applova Merchant ...Managing Food Truck Settings for a Business
If you own a food truck, you can enable the food truck feature for your business. You can use this feature to specify when your food truck will be open for business and when it will be closed, as well as where your food truck will be parked, so that ...Order Throttling on the Merchant Portal?
Order throttling allows merchants to manage online order volume by setting limits on the maximum number of online orders accepted during specific days, hours, or recurring peak times. Usecase Scenario Bella Bistro receives a large volume of online ...