AI Text Generation in Applova Merchant Portal

SunnyCrust Bakery runs seasonal campaigns throughout the year (Christmas, Easter, and Fall) and regularly updates both their catalog and marketing content. During these periods, the team updates product and category listings with seasonal names and images (e.g., Christmas Cake, Pumpkin Spice Loaf), and they also launch limited-time promotions using promo codes and customer-facing push and scheduled notifications.
Instead of manually rewriting descriptions and campaign messages every time, the manager uses the AI Text Generation feature in the Merchant Portal to generate and refine text with the preferred tone and length. With a few clicks, SunnyCrust can keep product pages and categories fresh, publish clear promo code descriptions, and send engaging notification messages—saving time while maintaining consistent messaging across their storefront and promotions.
Login to "Applova Merchant Portal".
Step 3
Click on "Add New Product".

Step 4

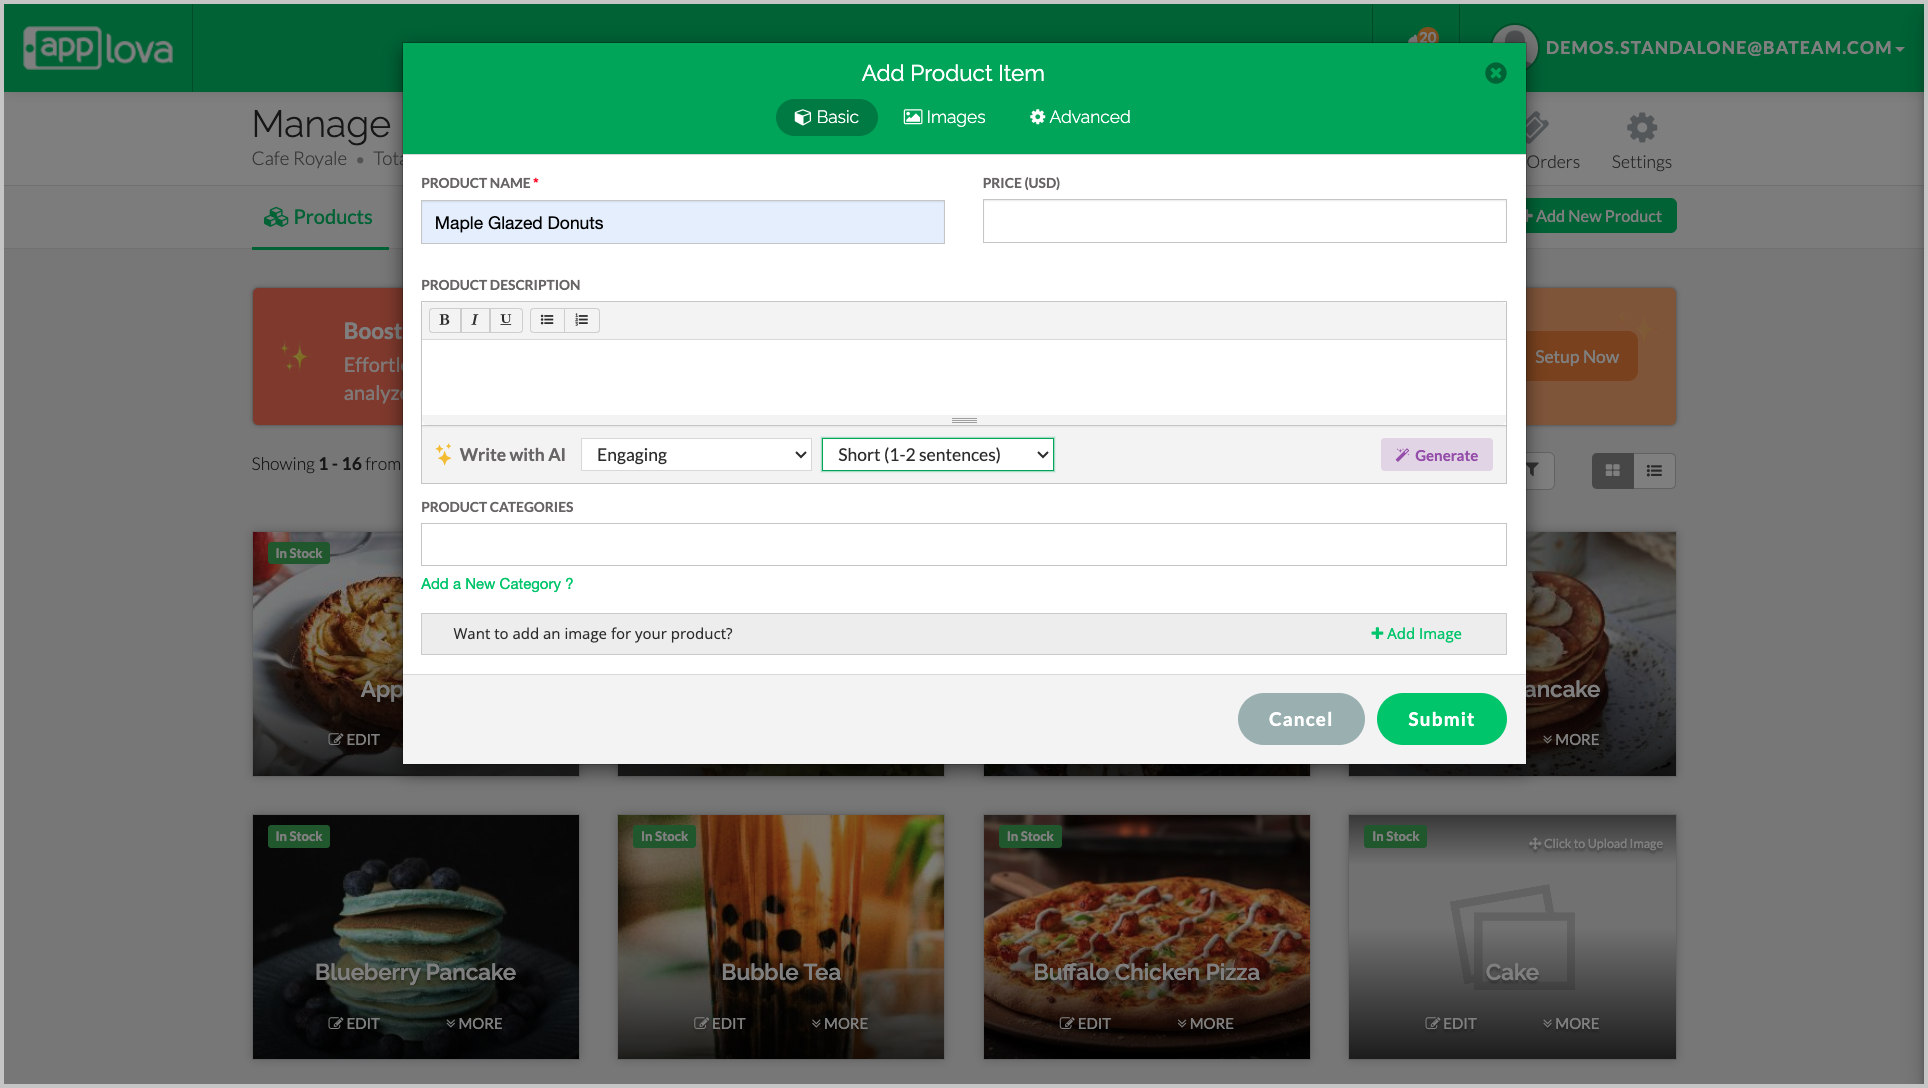
Image Link
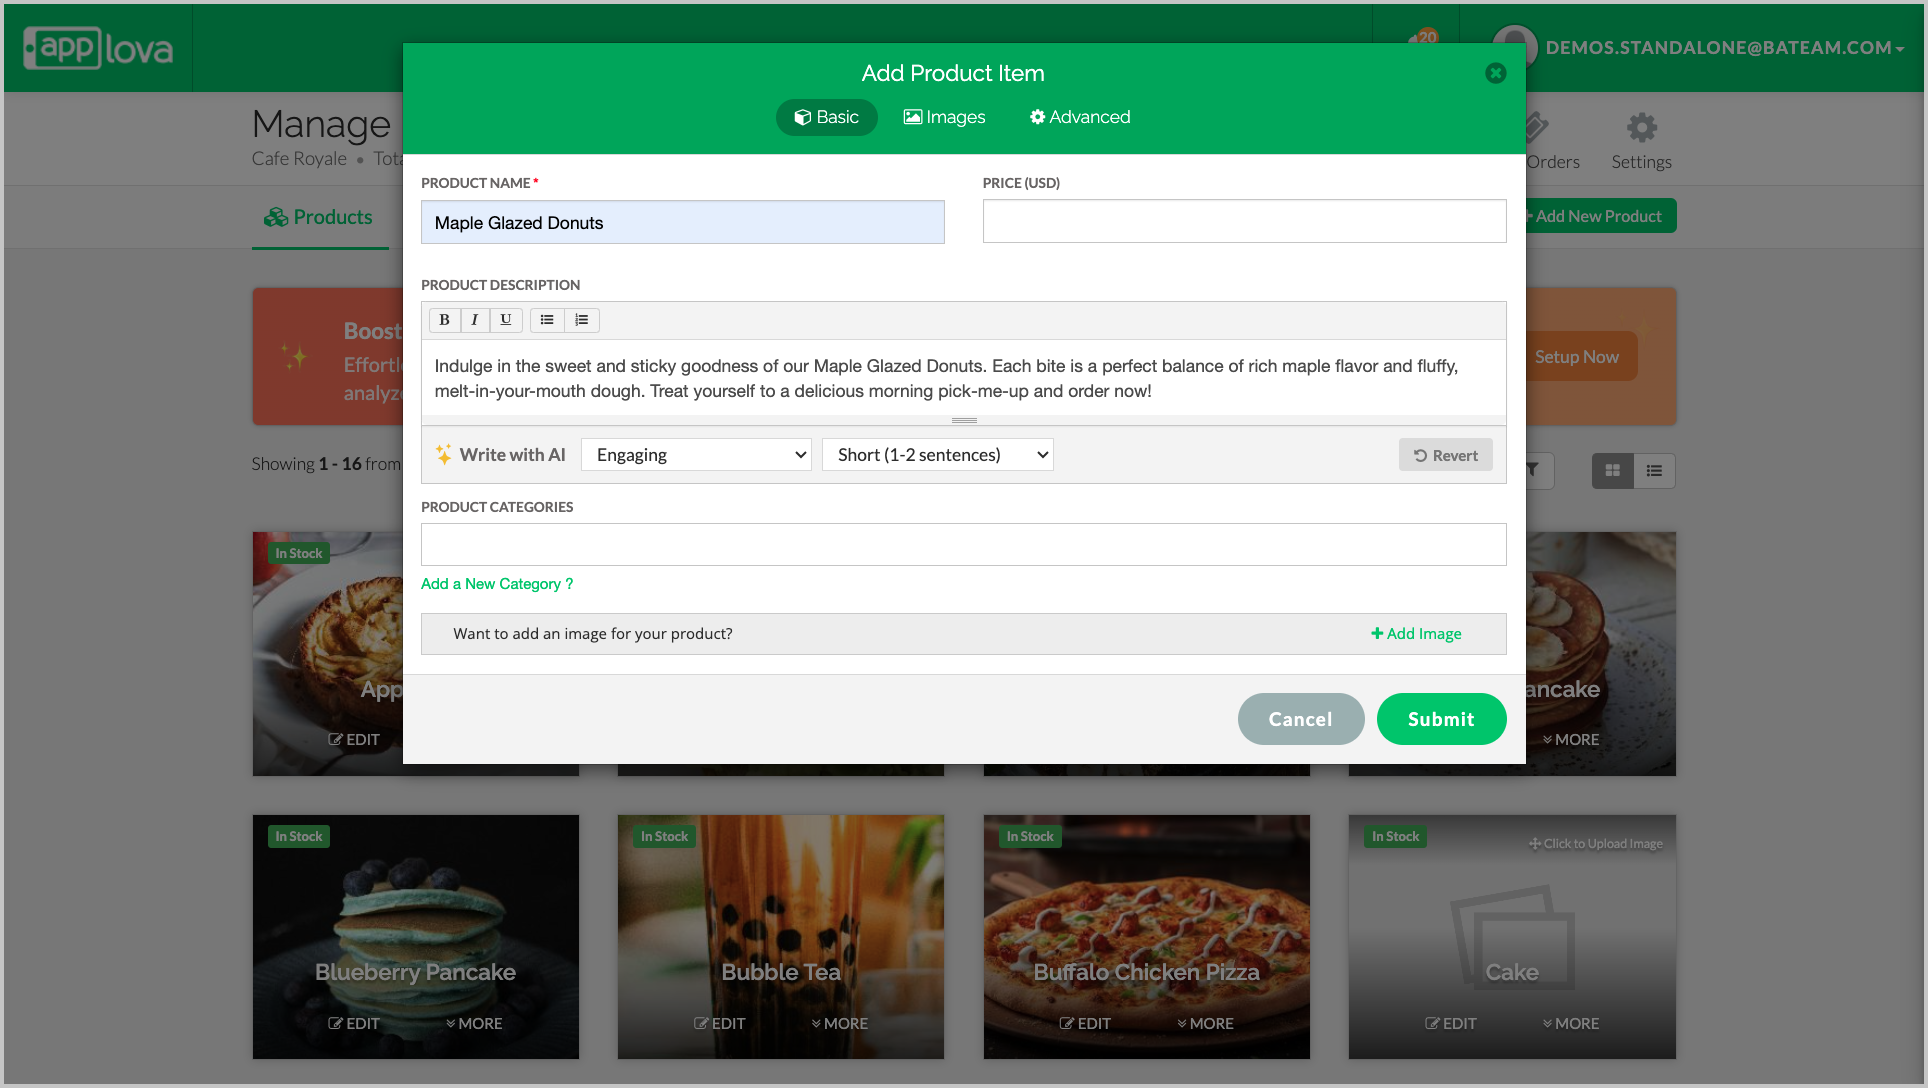

Image Link
Feature in Action:
Step 3
Click on "Advance", then "More".
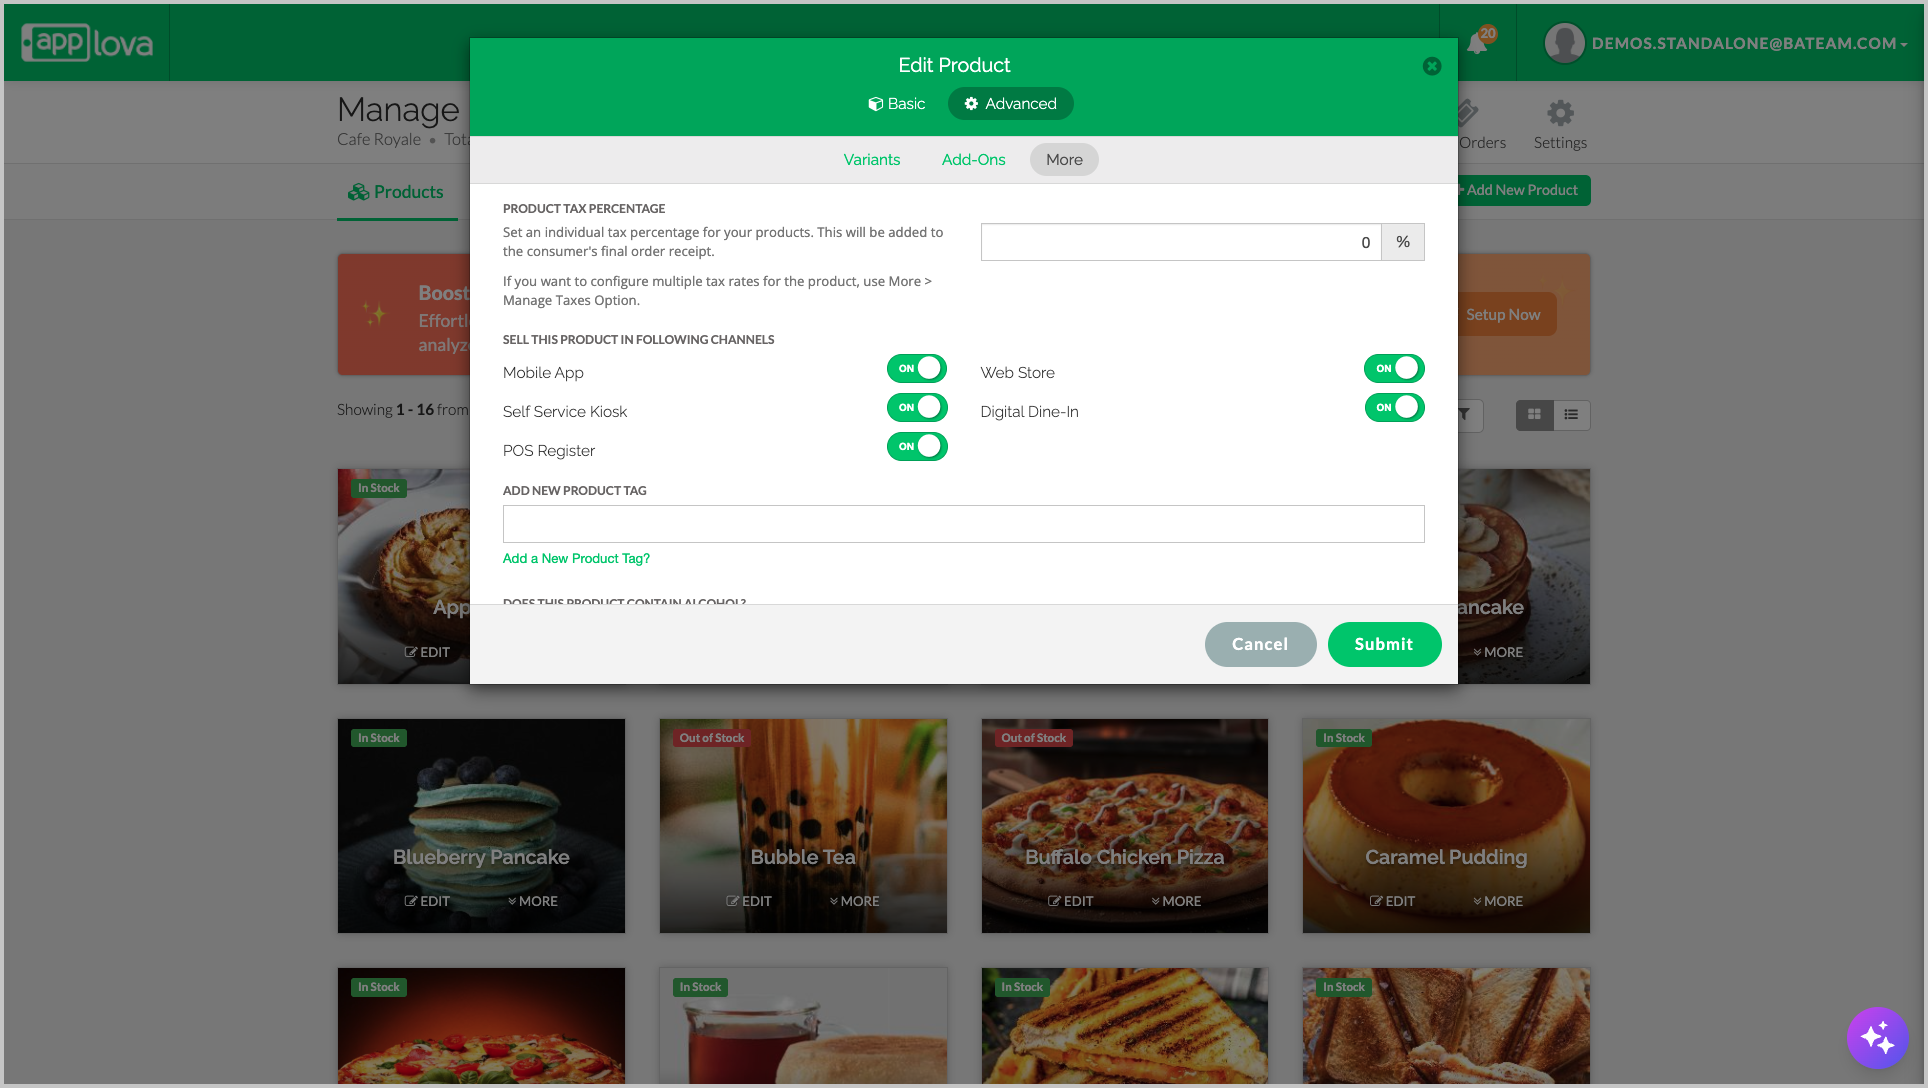
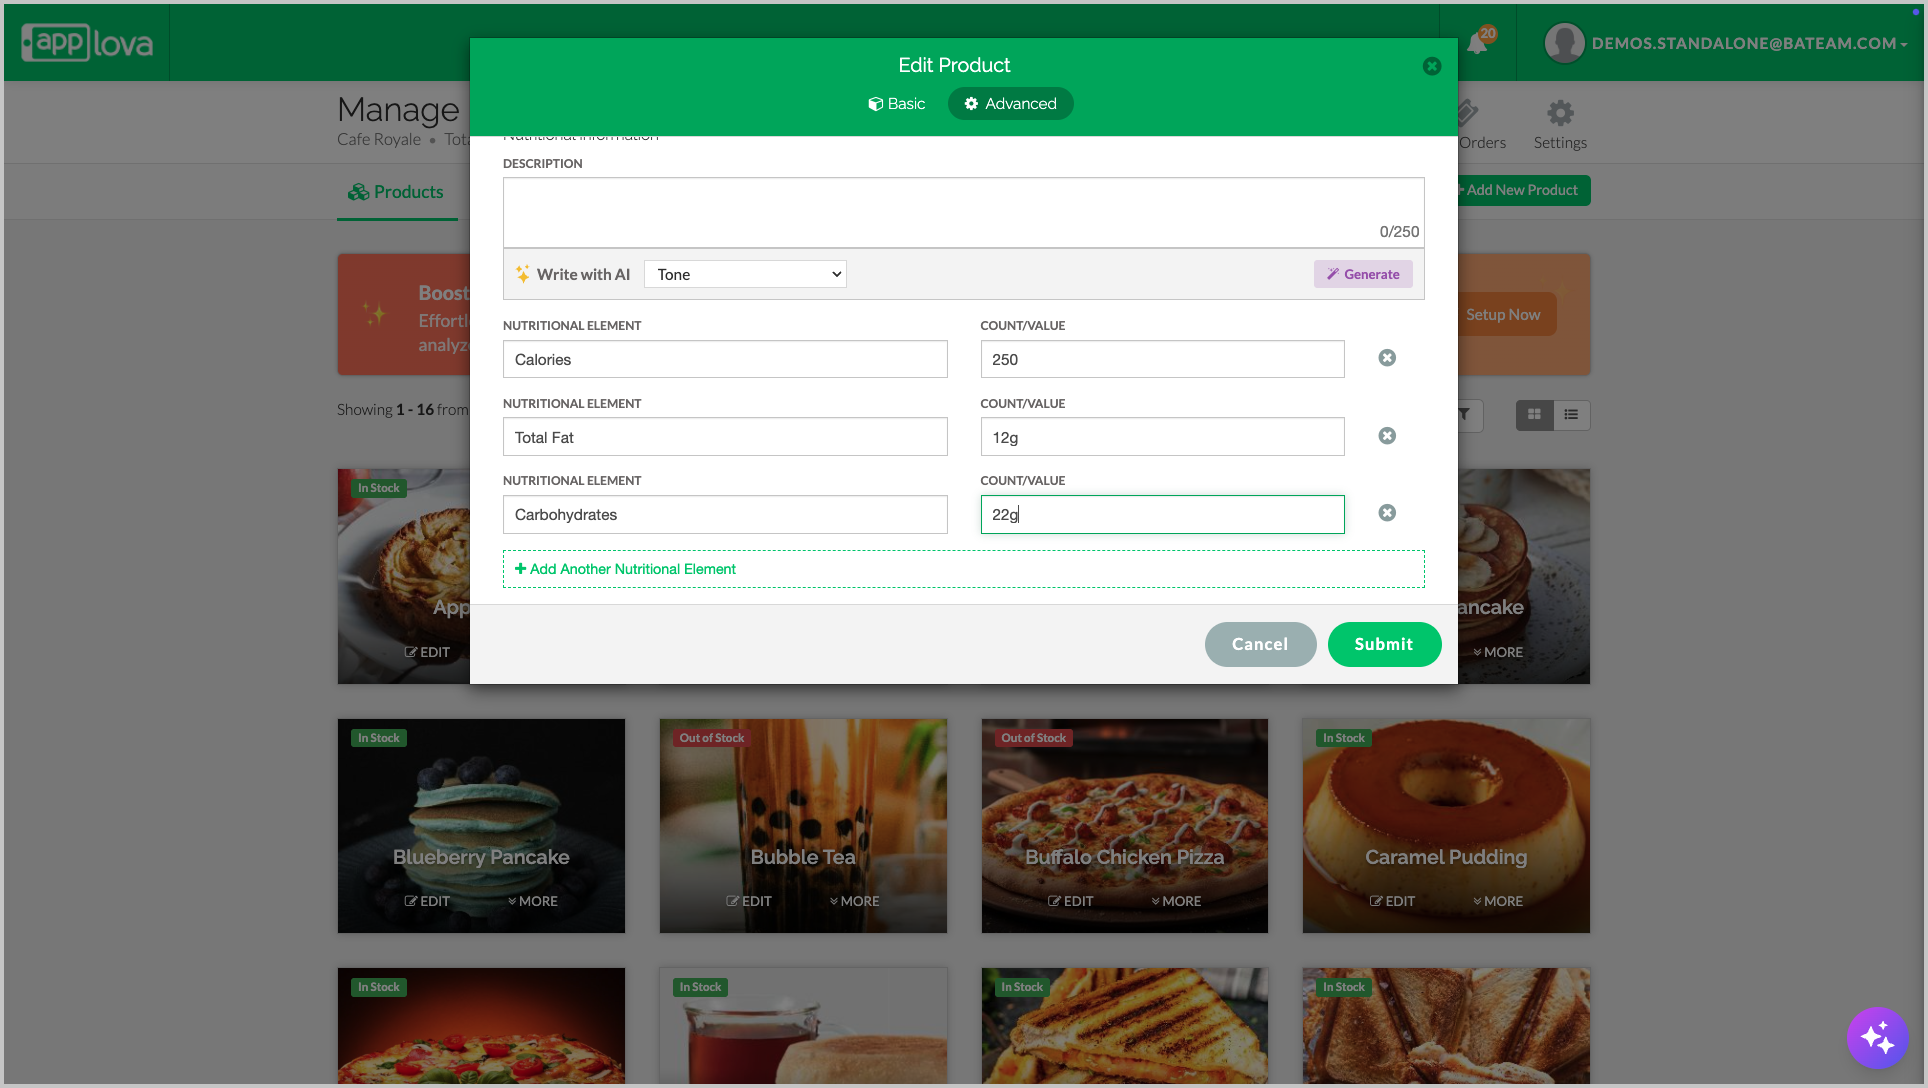
Image Link
Step 5
Select a Tone and click on "Generate".
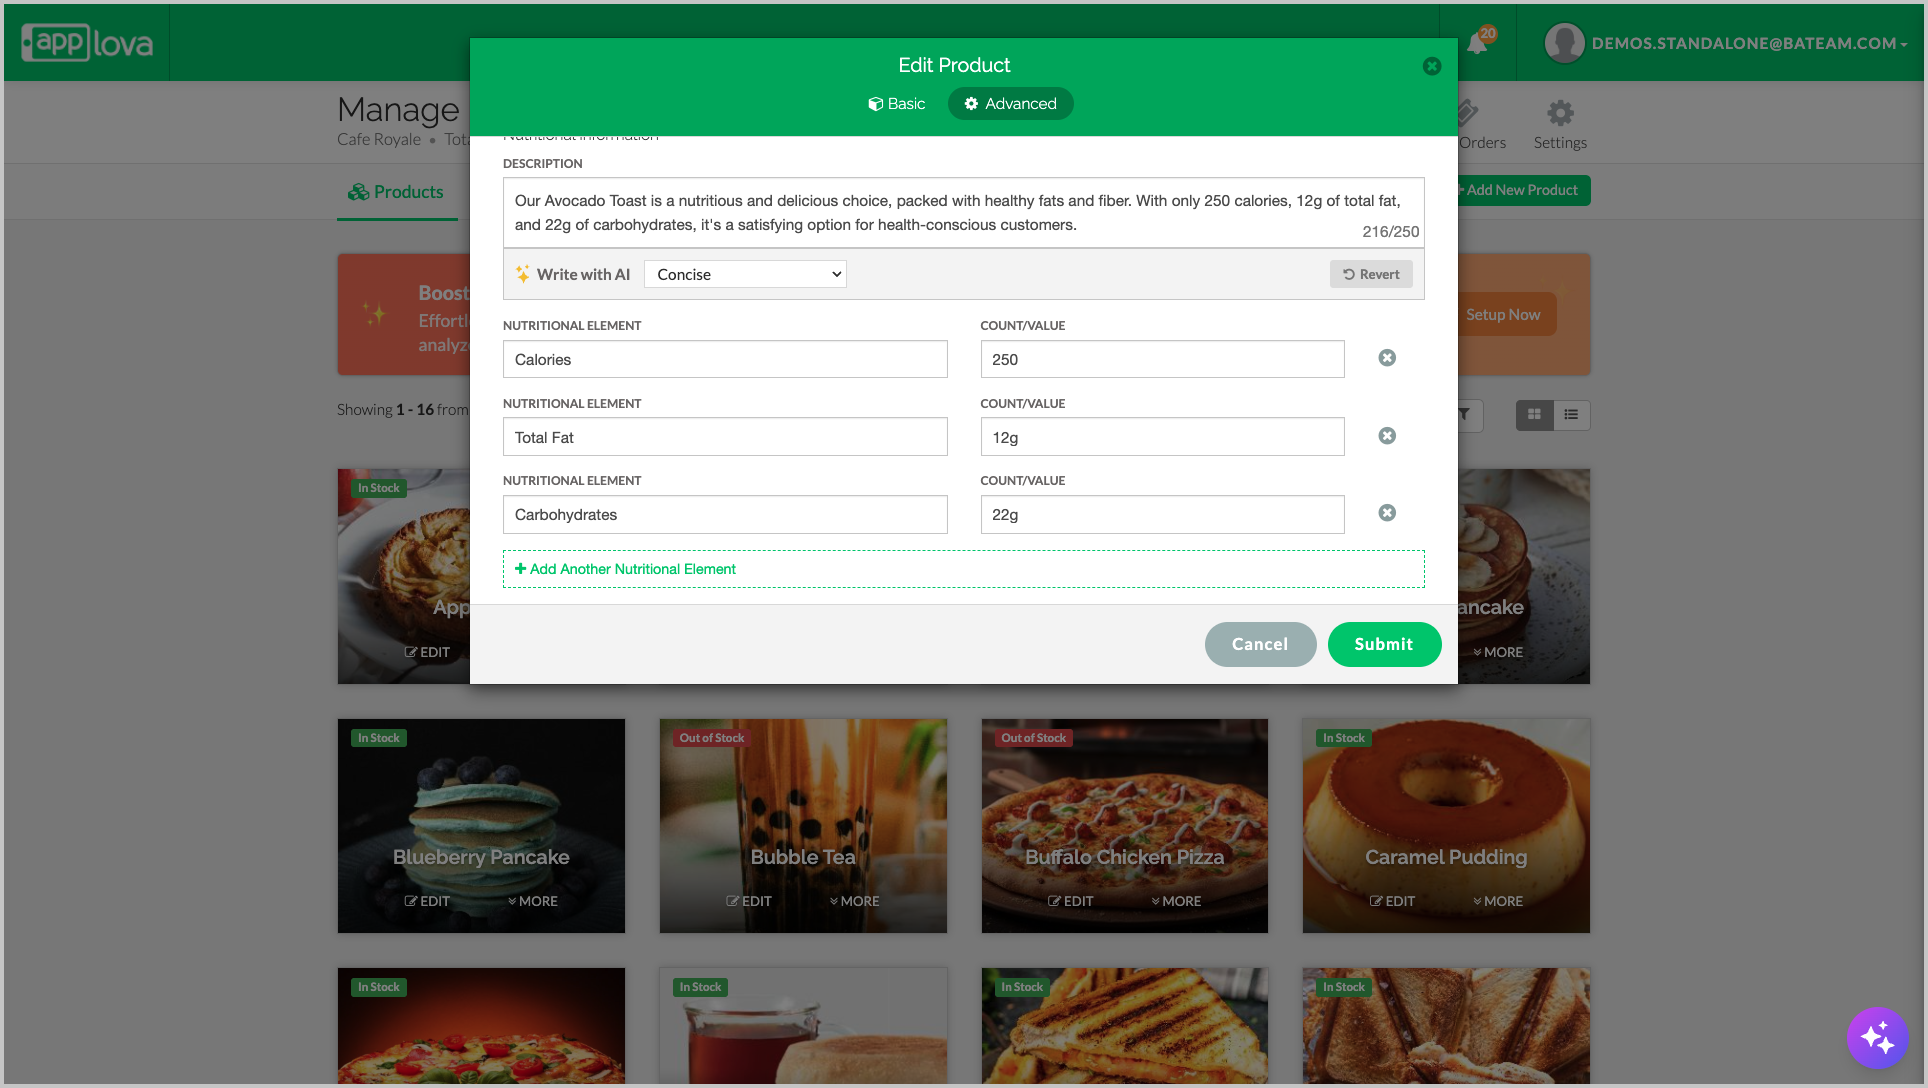
Image Link
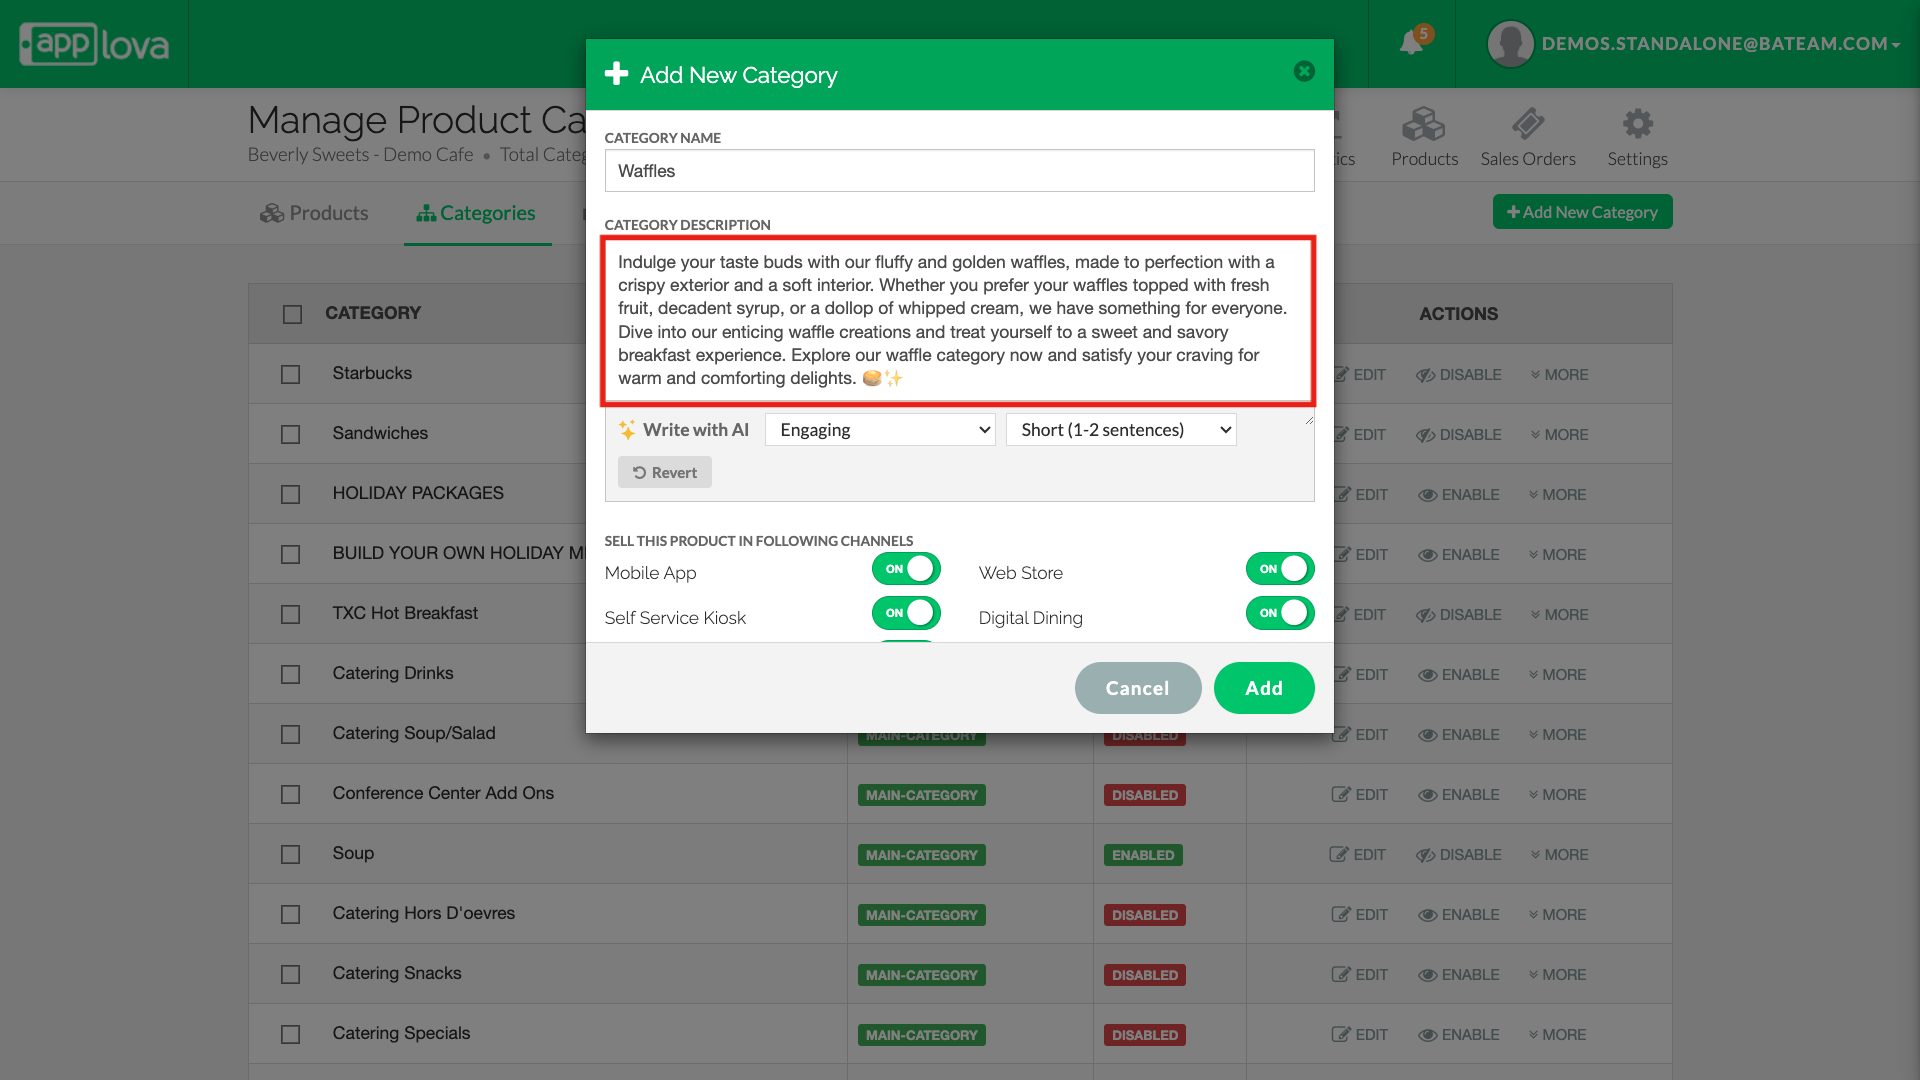
Step 3
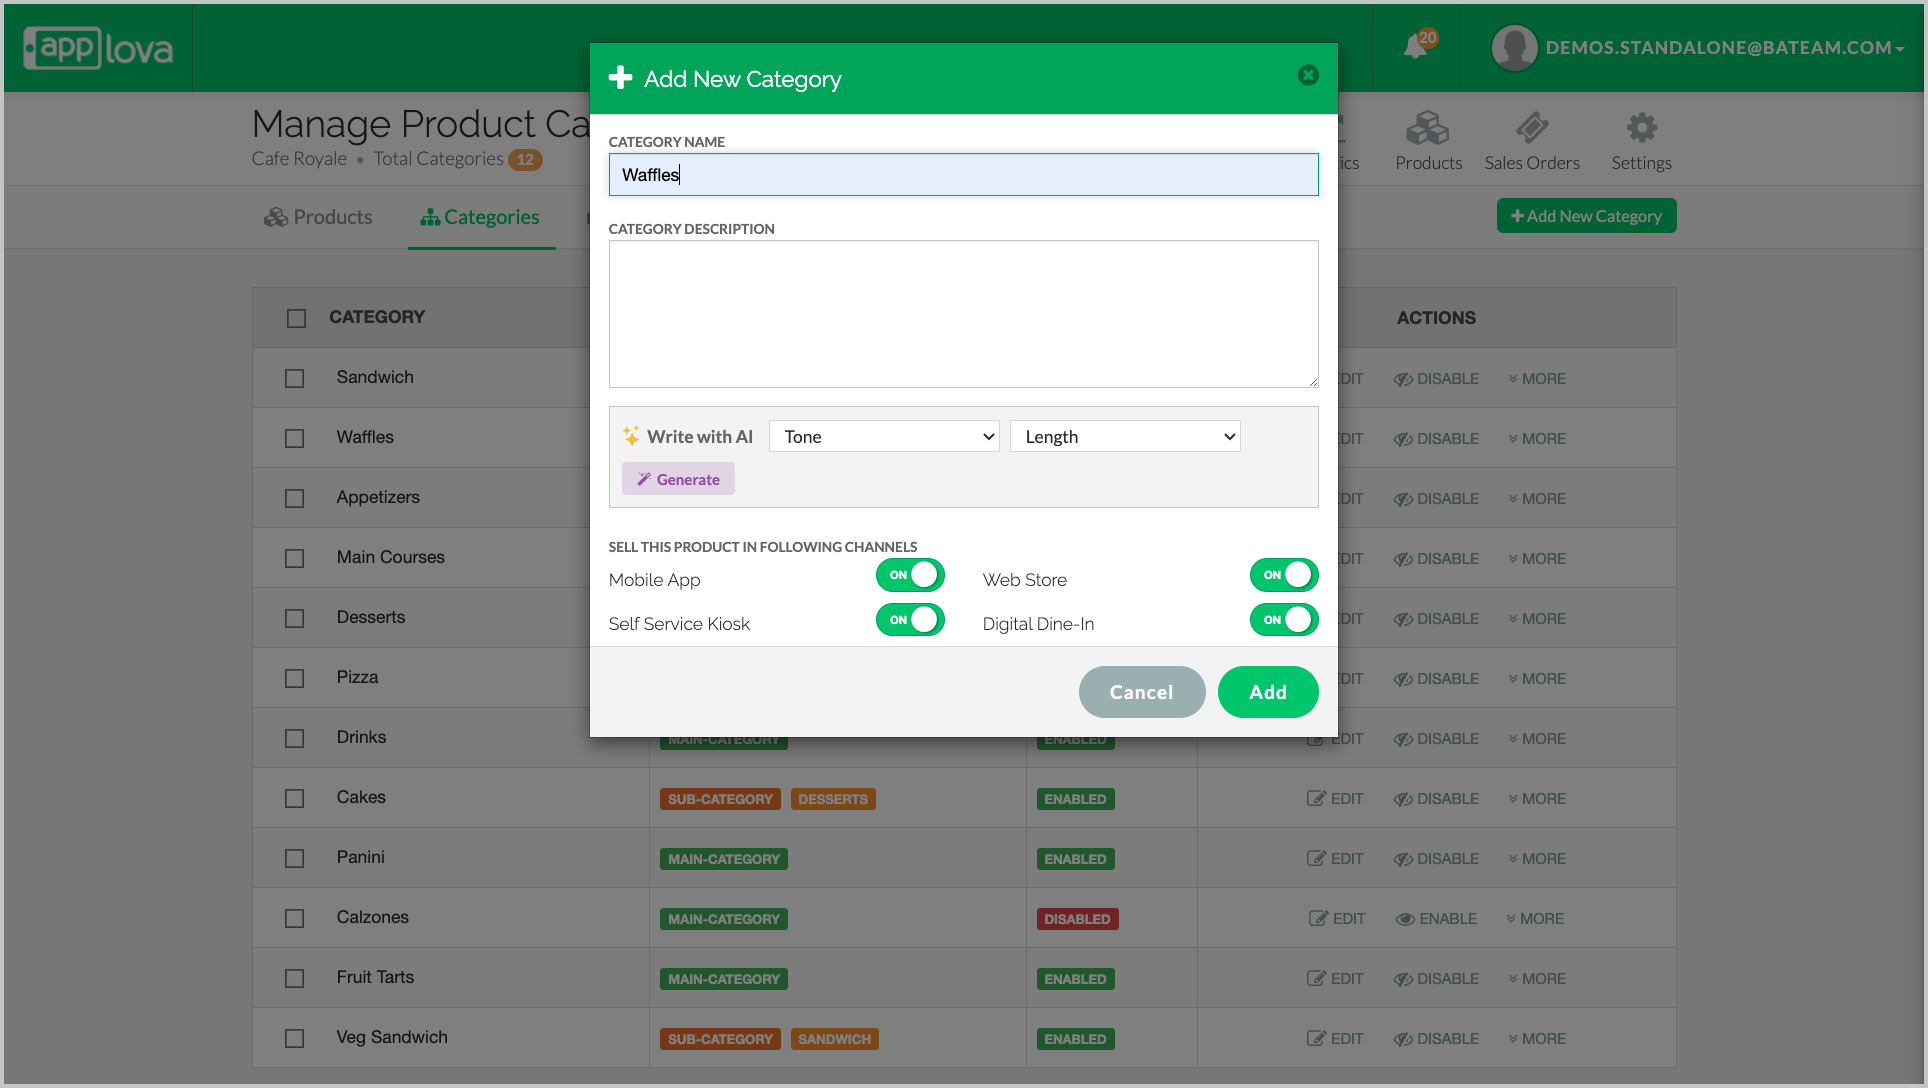
Image Link
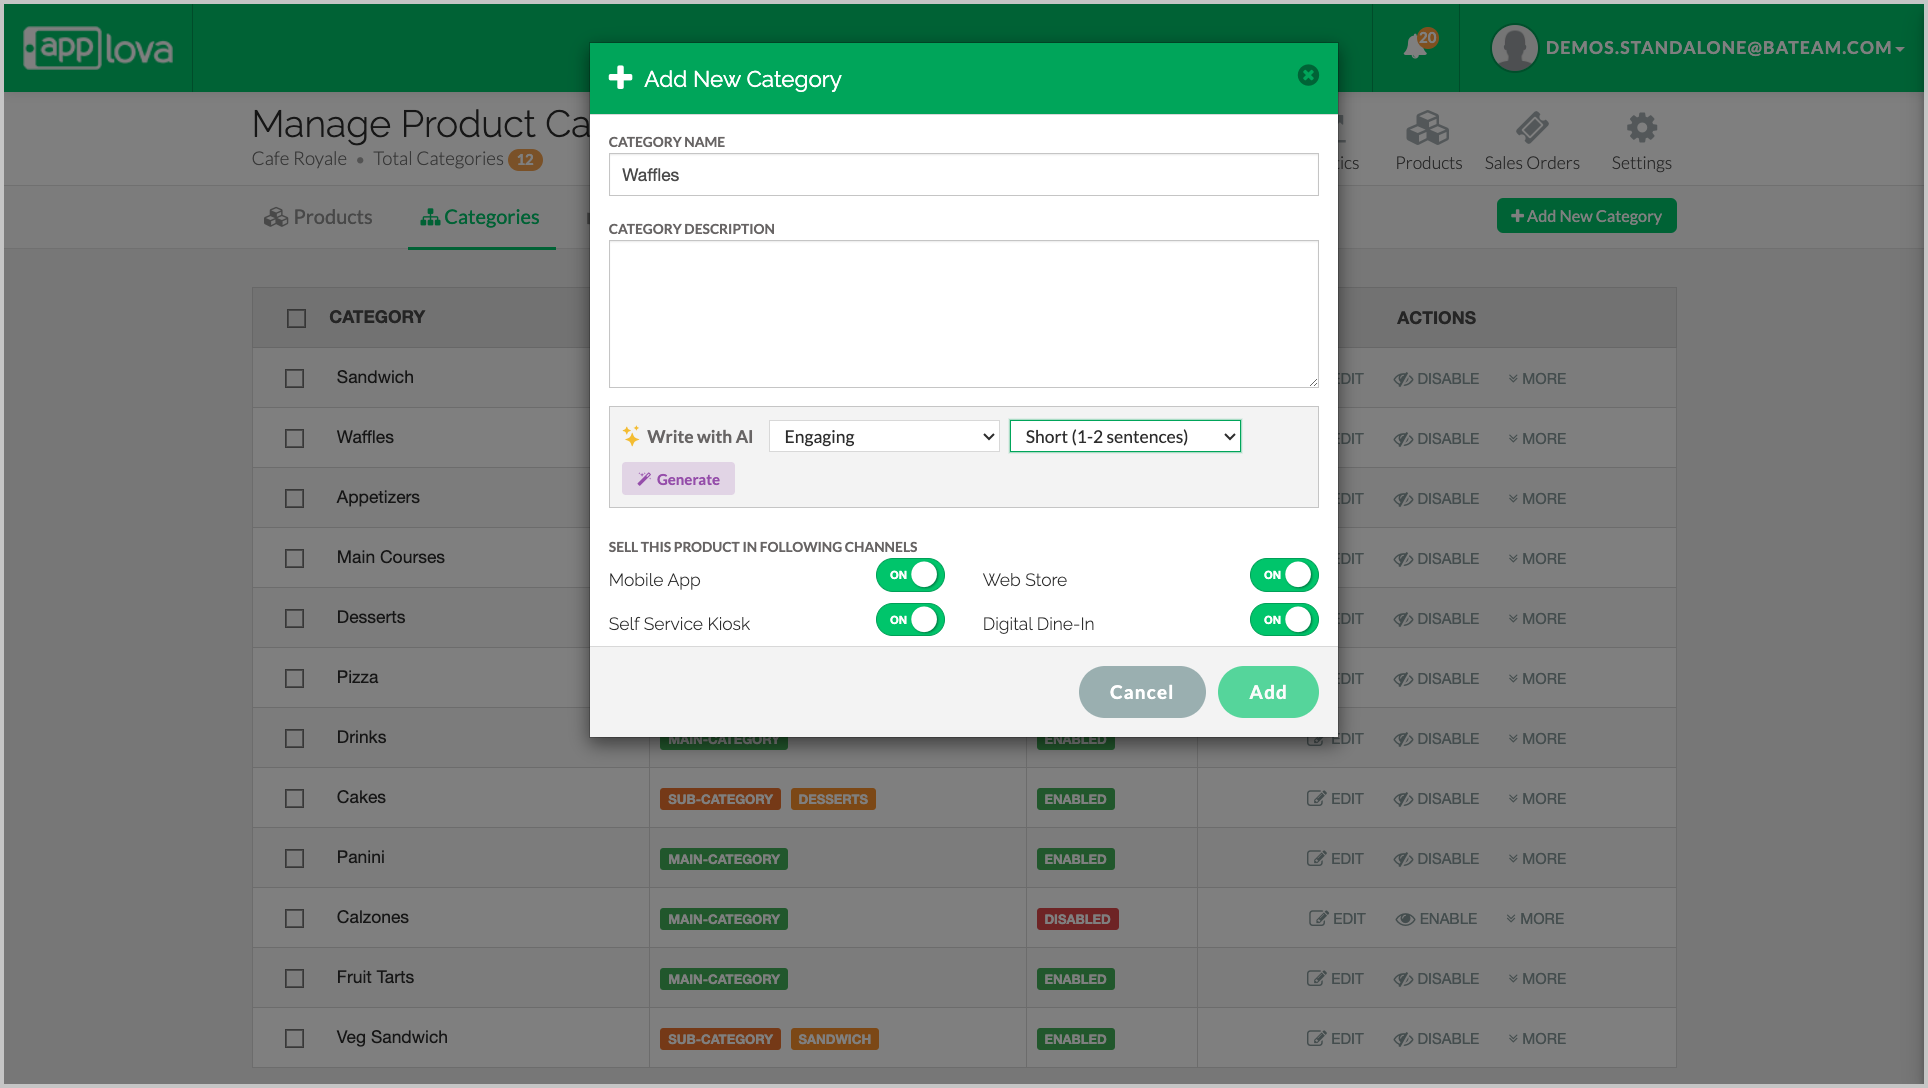
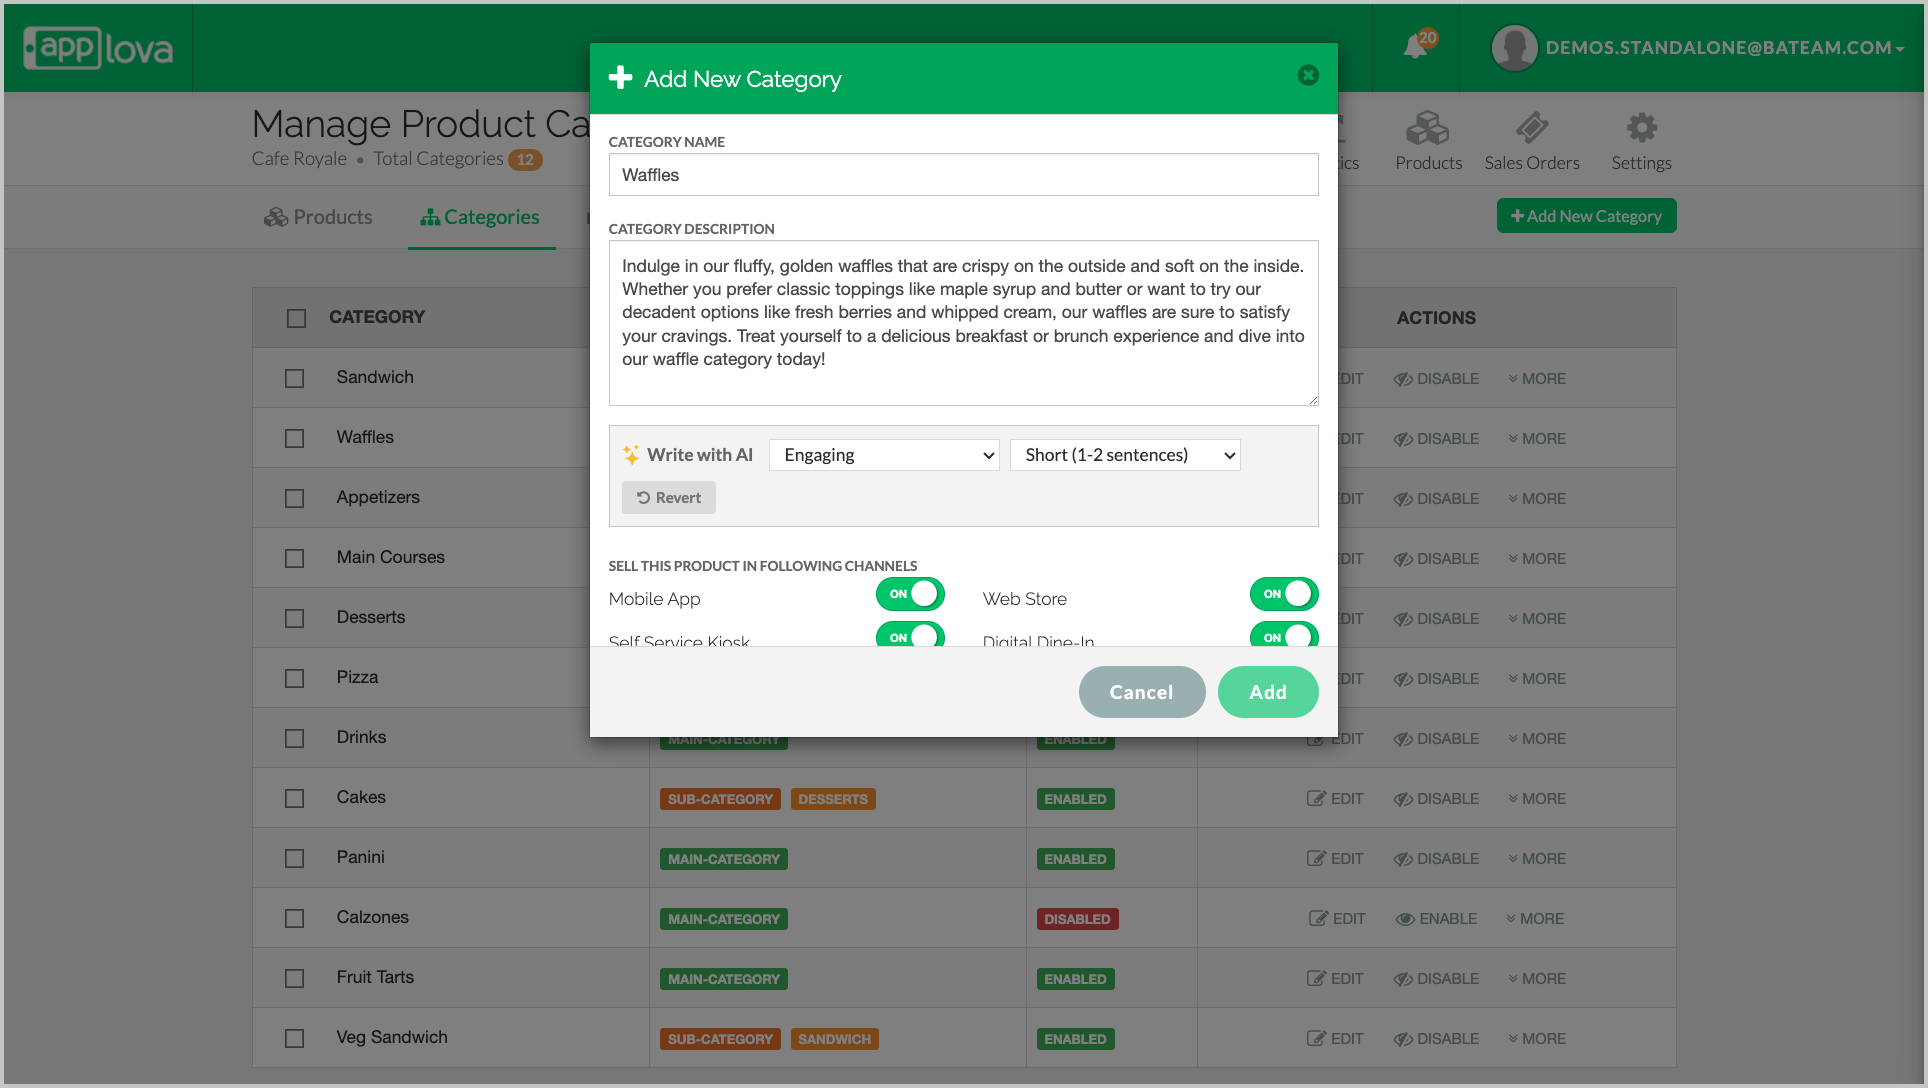
Step 5
The generated description can be edited to suit individual preferences.
Navigate to "settings", select "Plugins" and click on "Promo Codes".
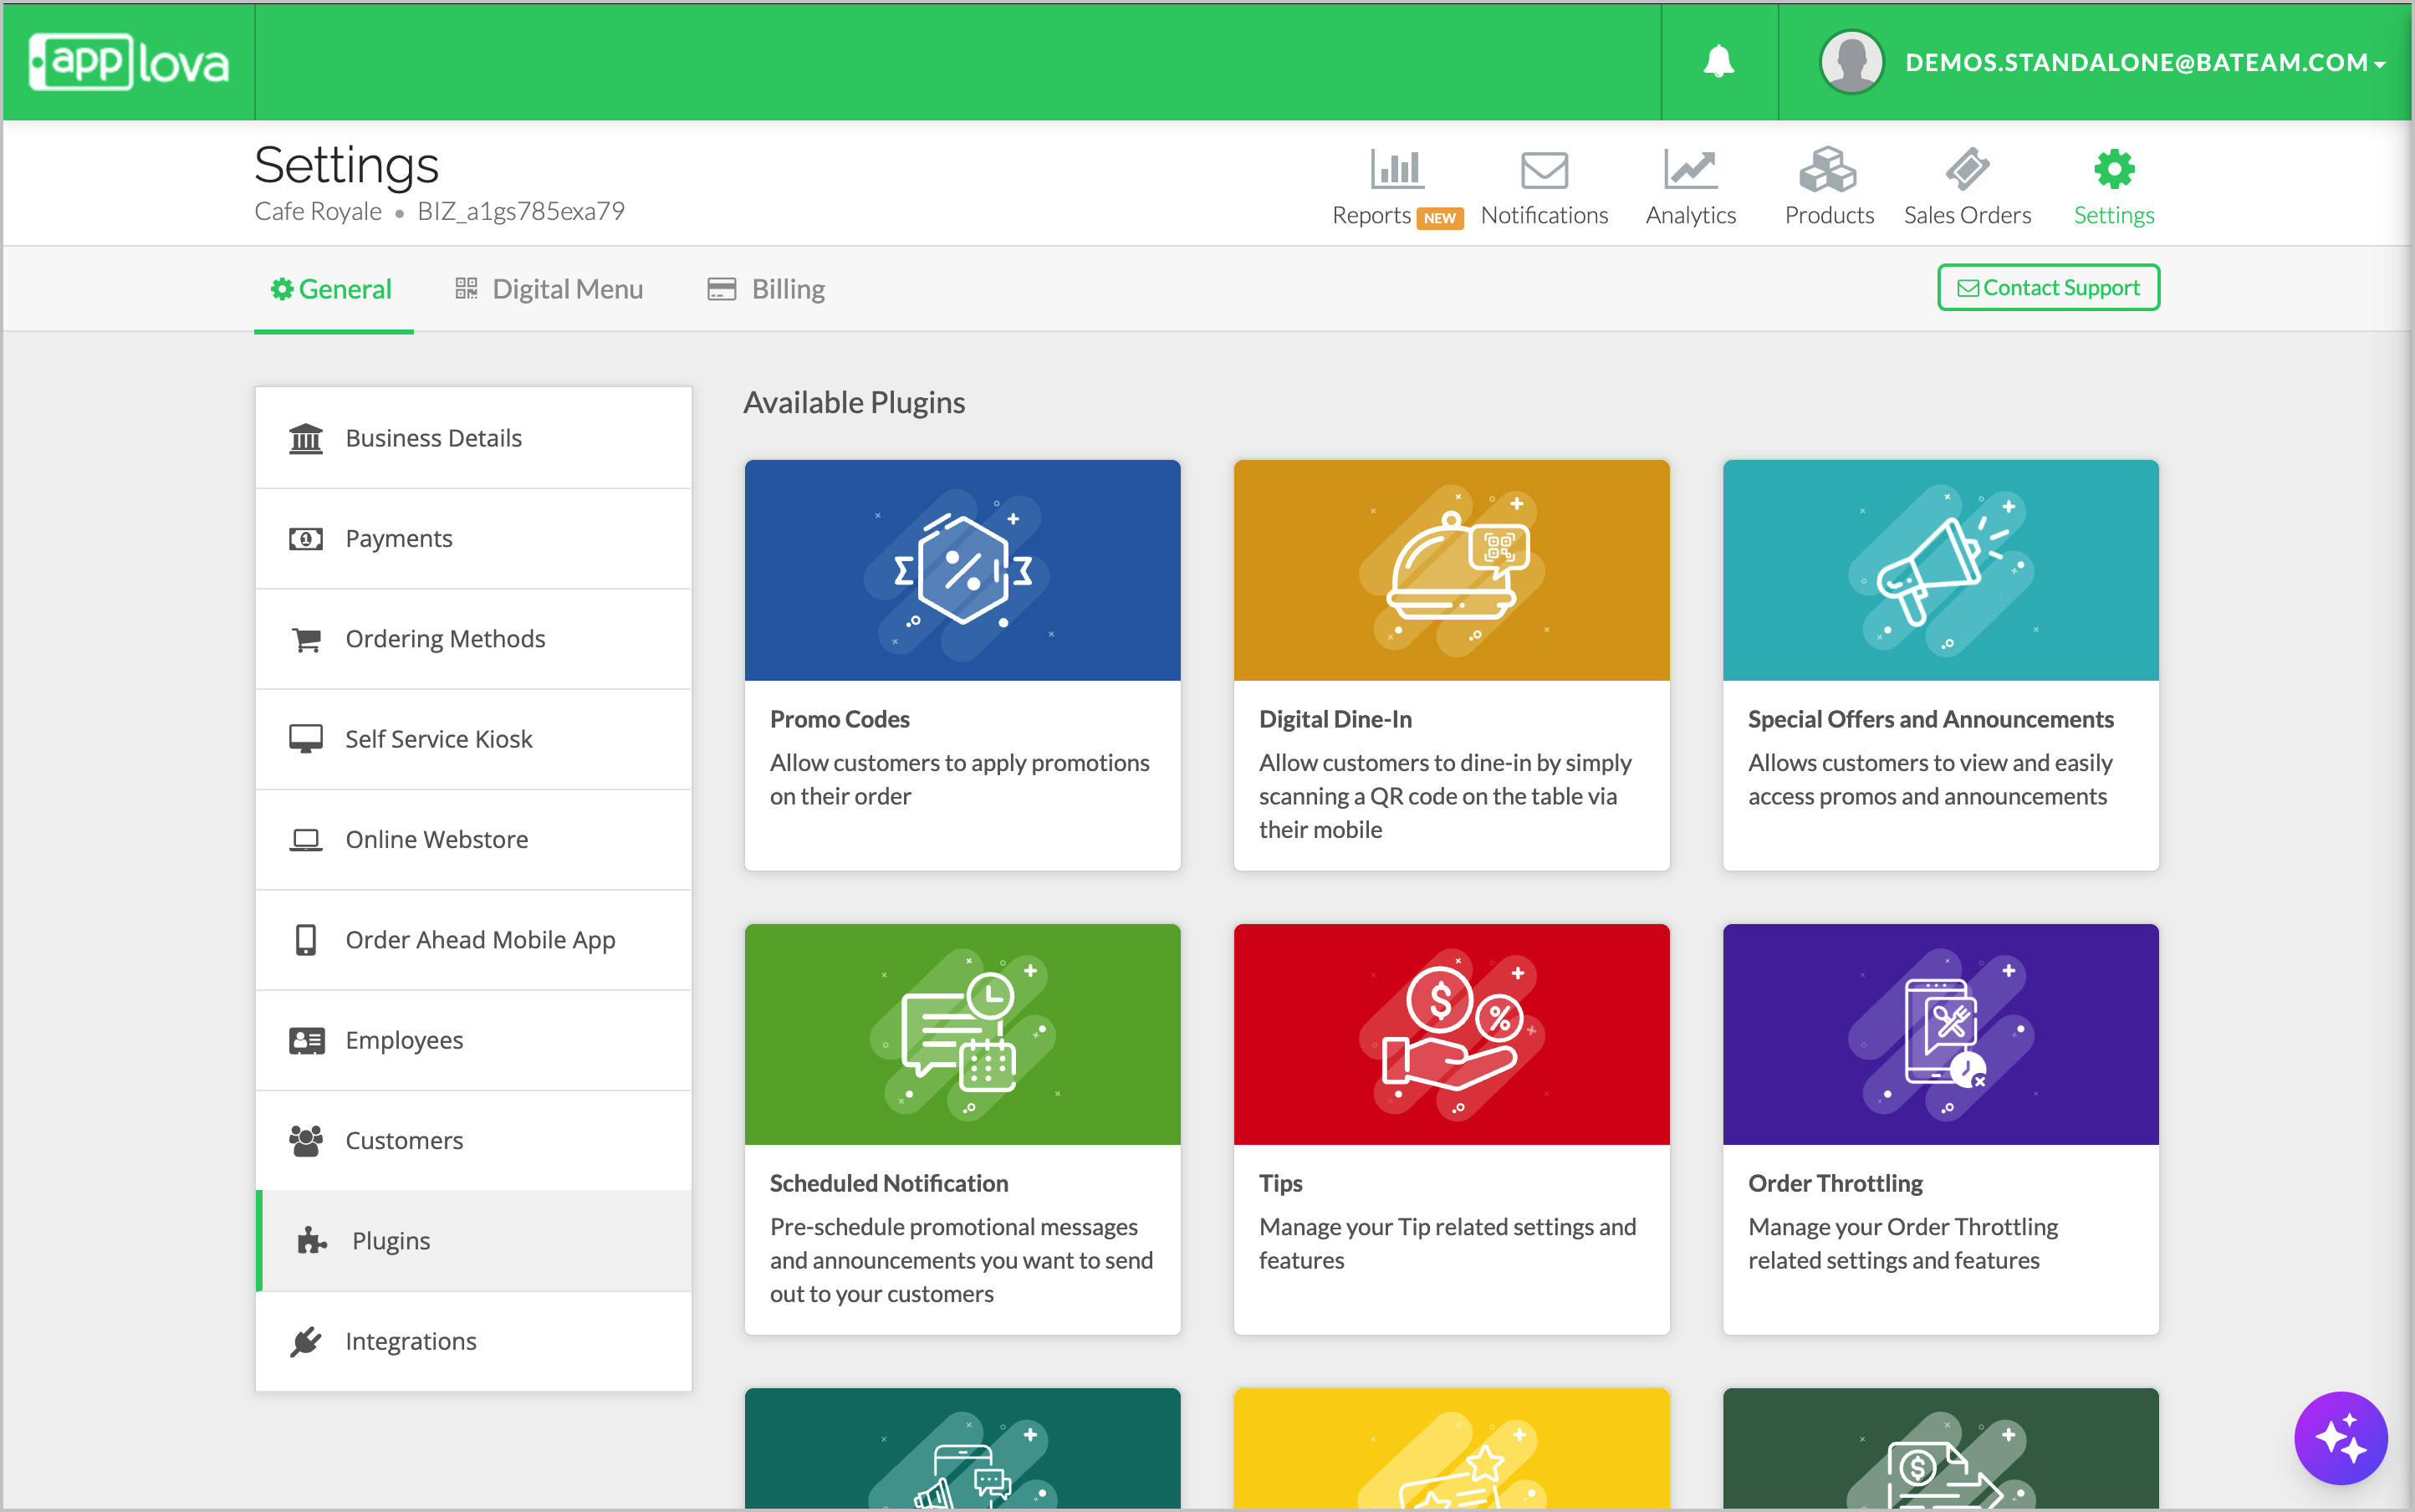
Image Link
Step 2
Click on "Add Promo Code".

Image Link
Select either Order Level or Product Level Promo Codes
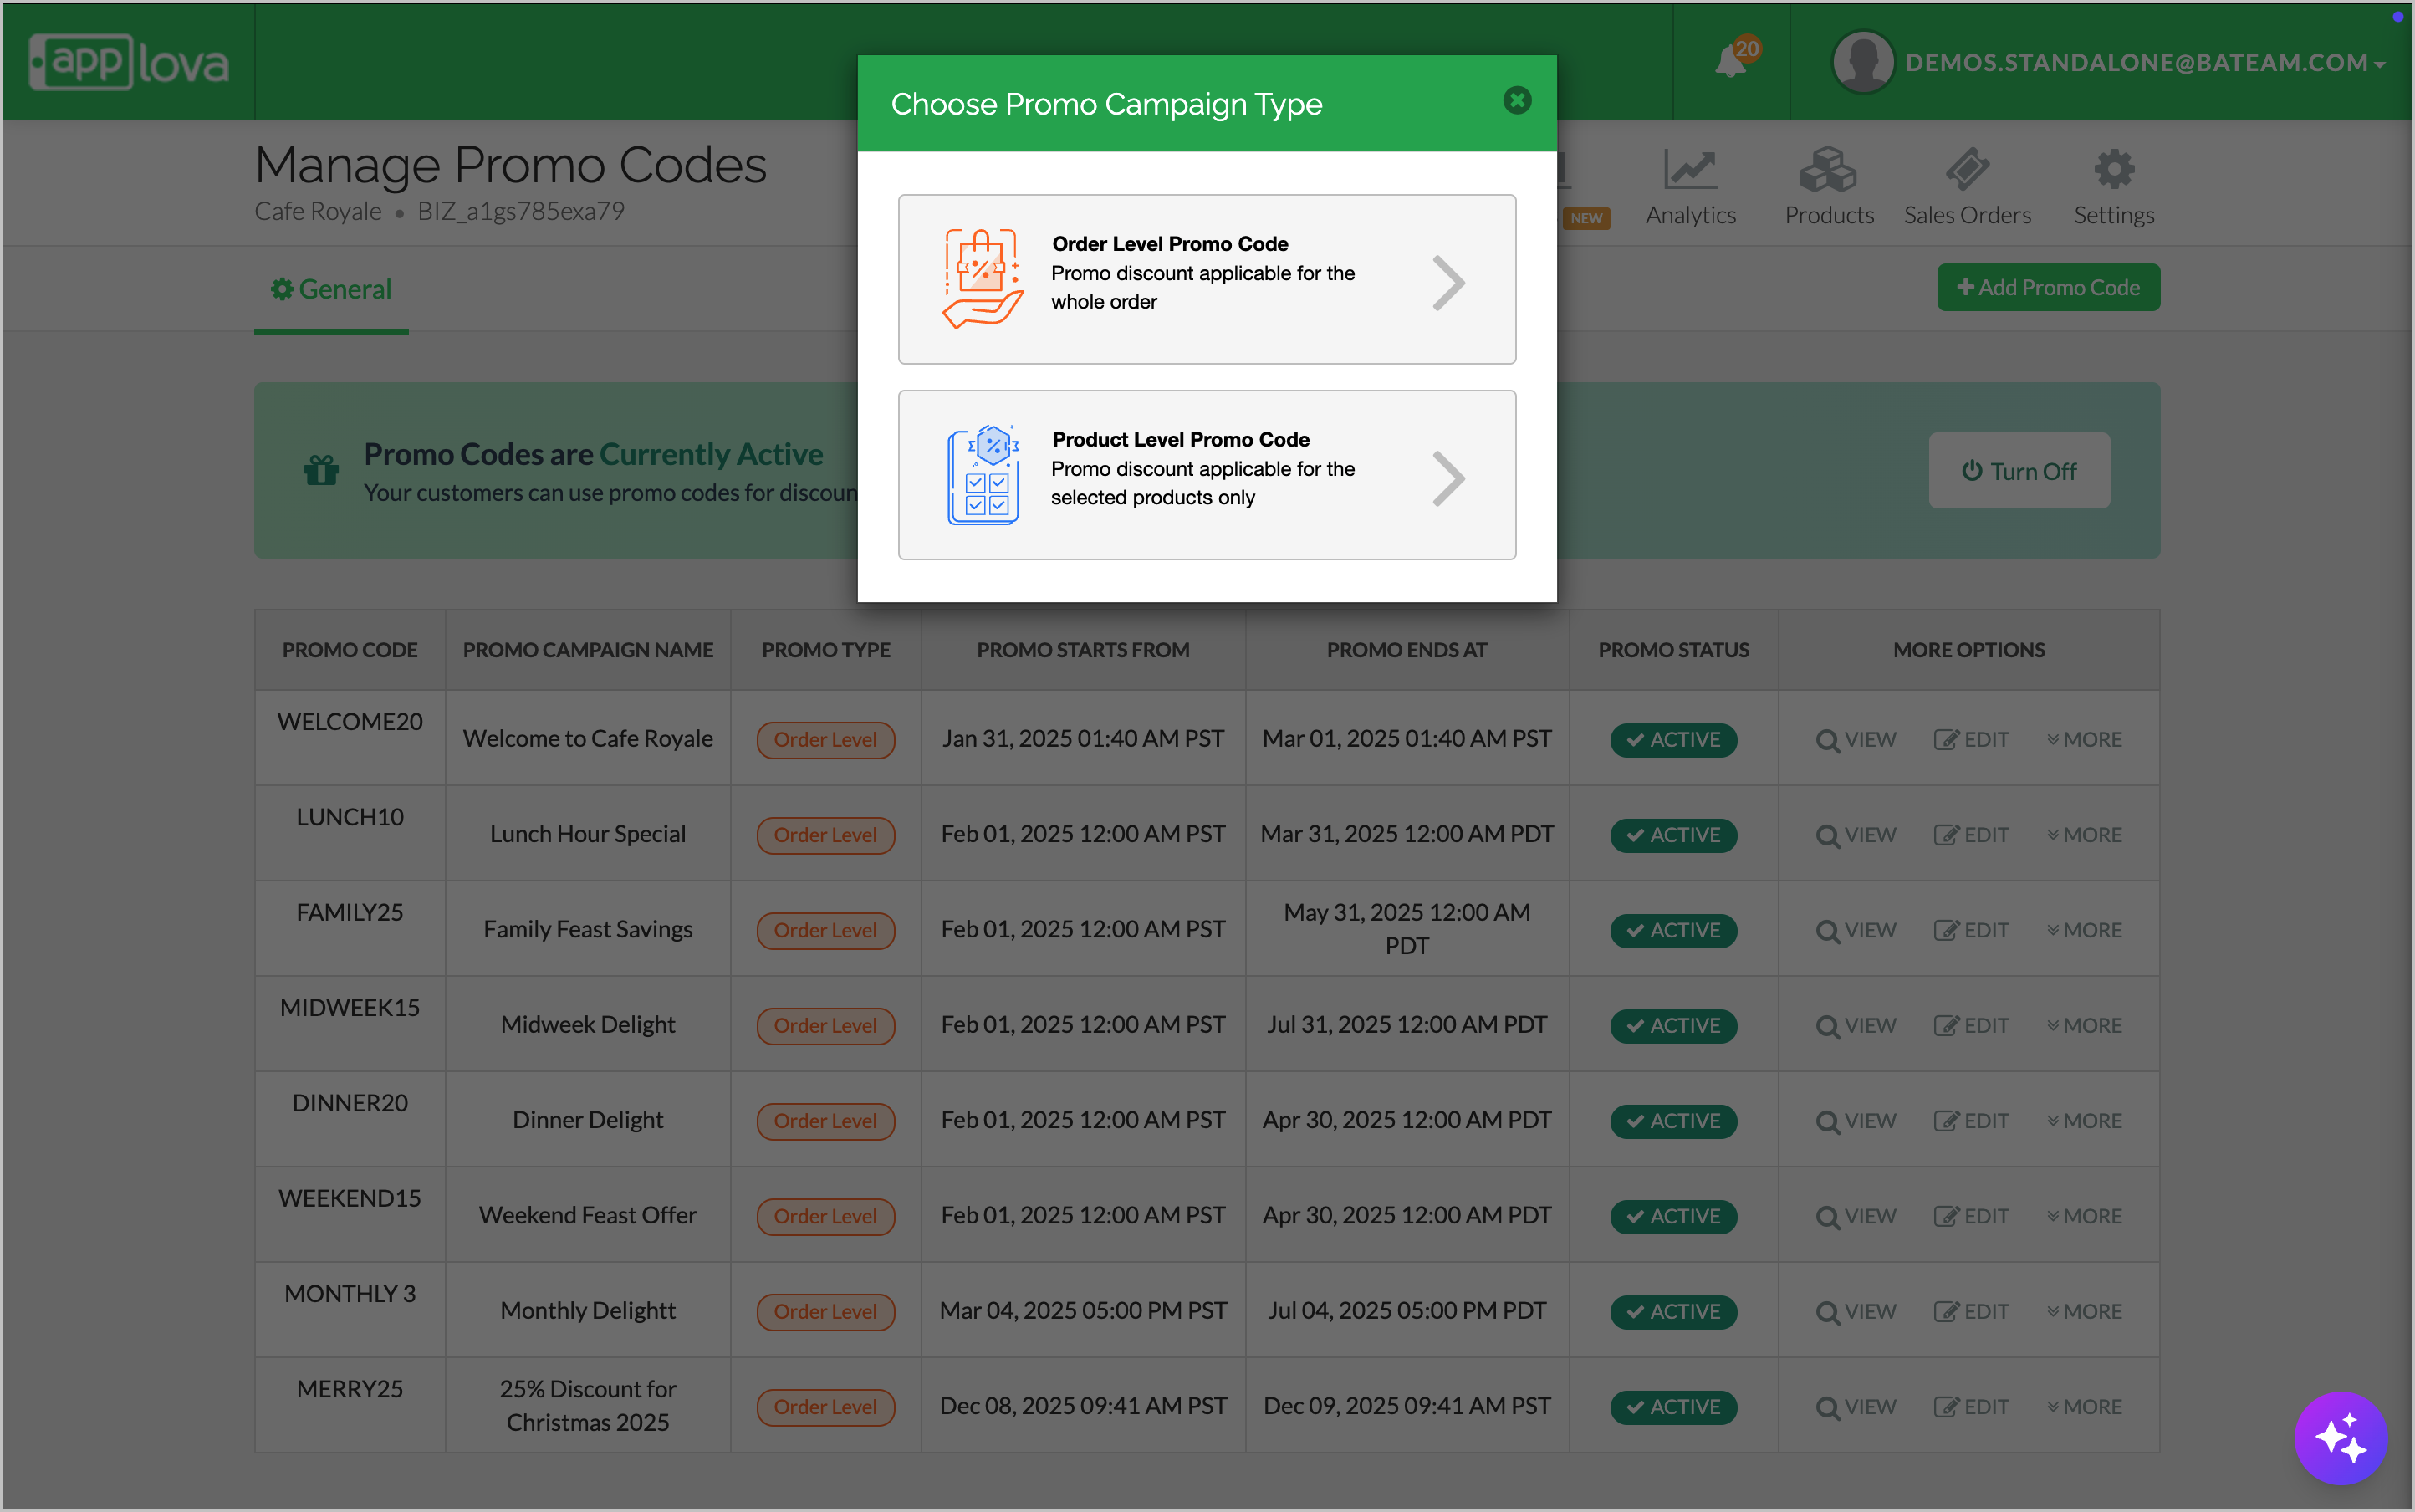
Image Link
Fill in the Promo Campaign name, Promo Code and Promo Discount.
Select the preferred "Tone" and "Length" from the drop downs.
Click on "Generate" to let AI create the Promo Campaign Description.
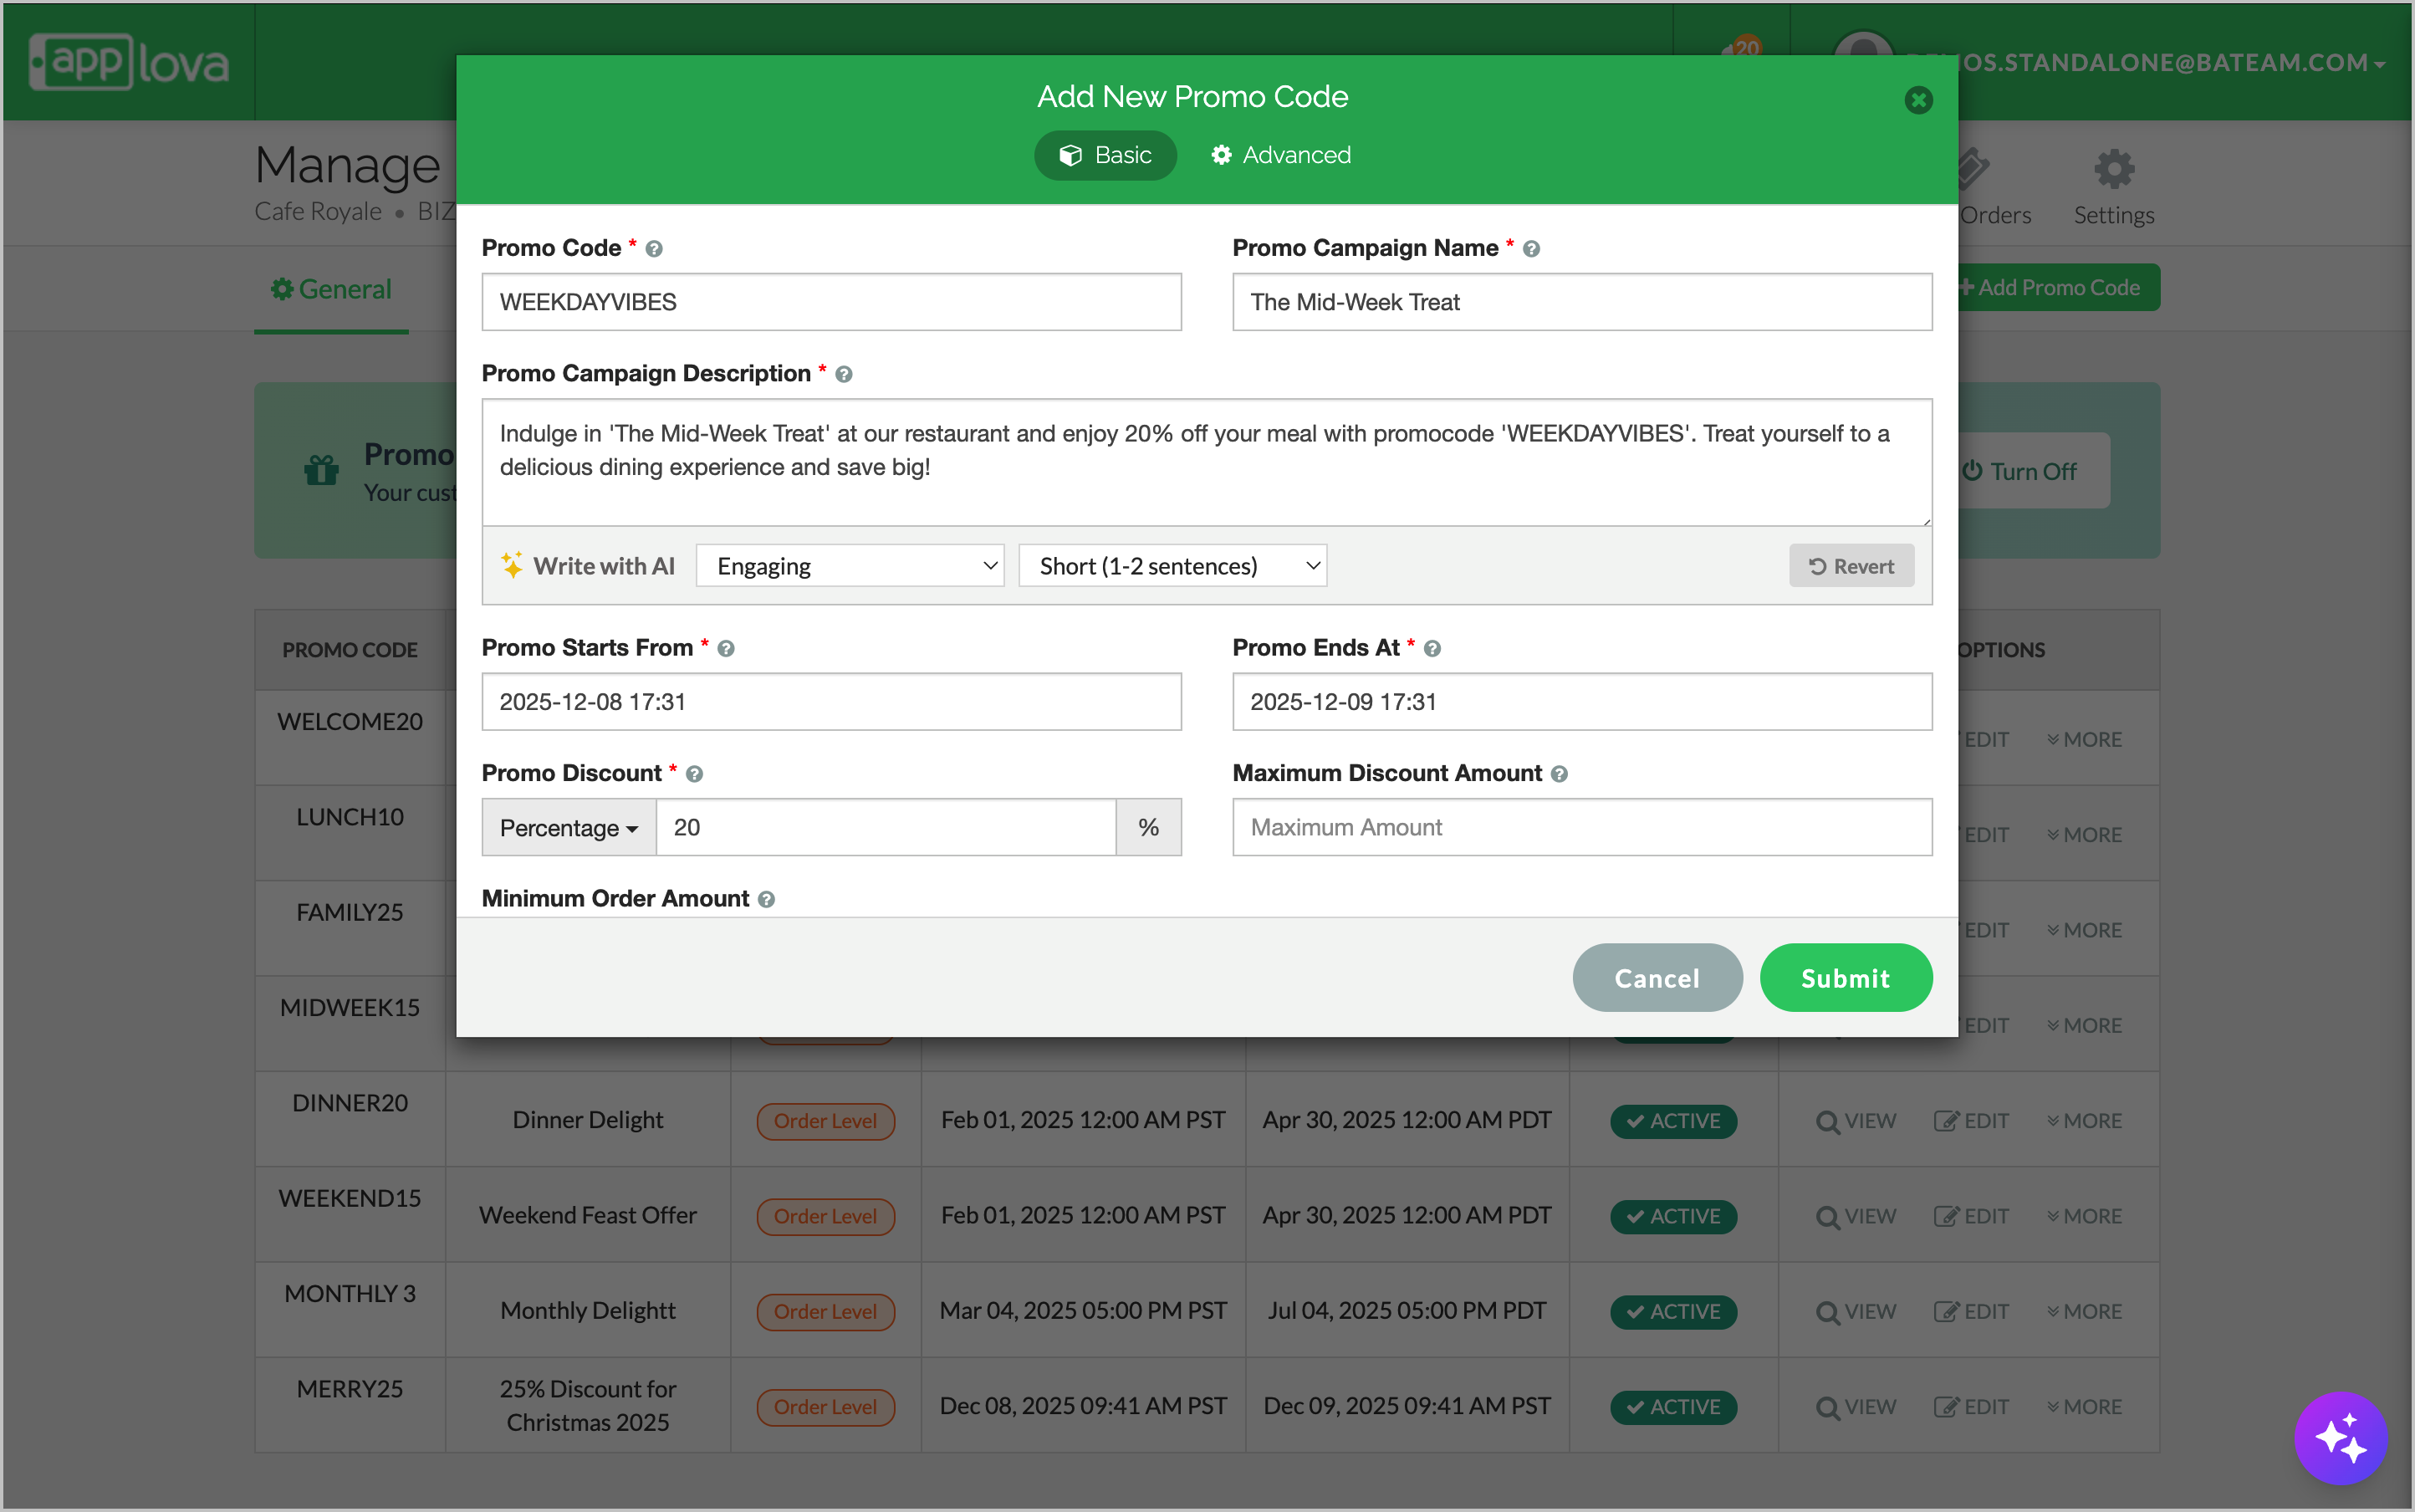
Image Link
Navigate to settings, then click on "Notifications".
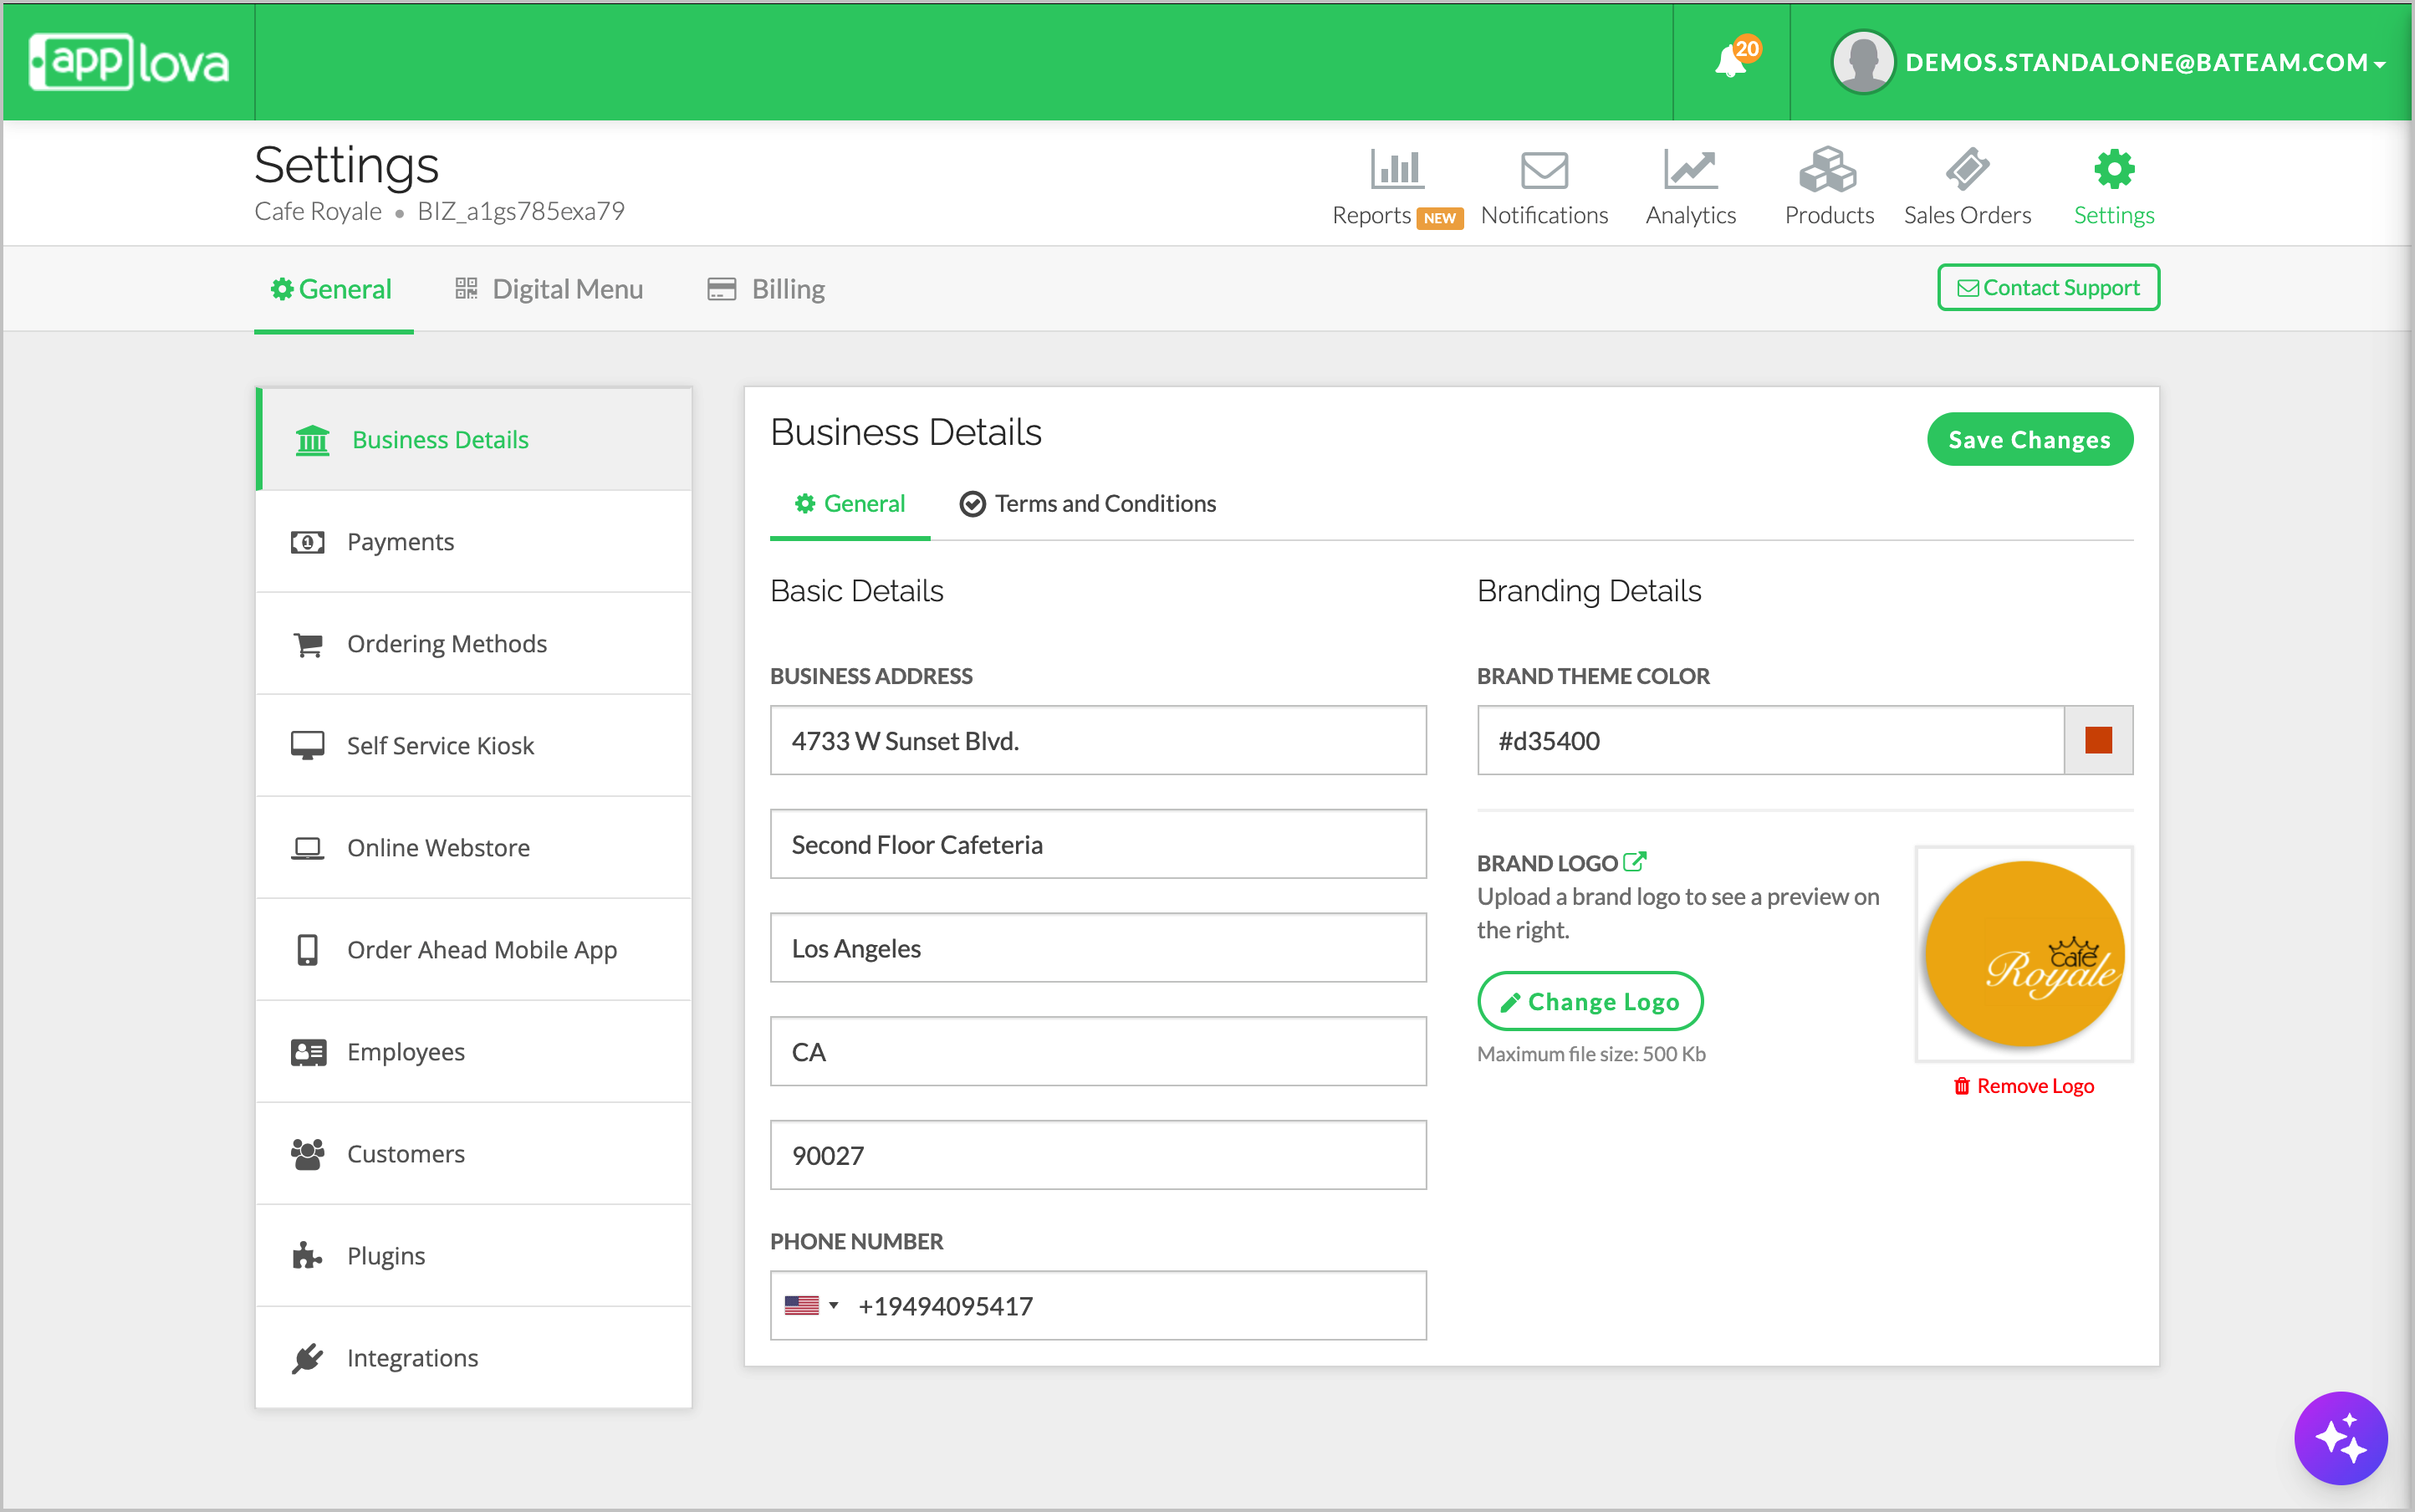
Image Link
Step 2
Select the Notification Type and Preferred Customer Base.
Step 3
Type in the preferred message in the message box.

Image Link
Select the preferred "Tone" and "Length" from the drop downs.
Click on "Enhance" to let AI refine your message.
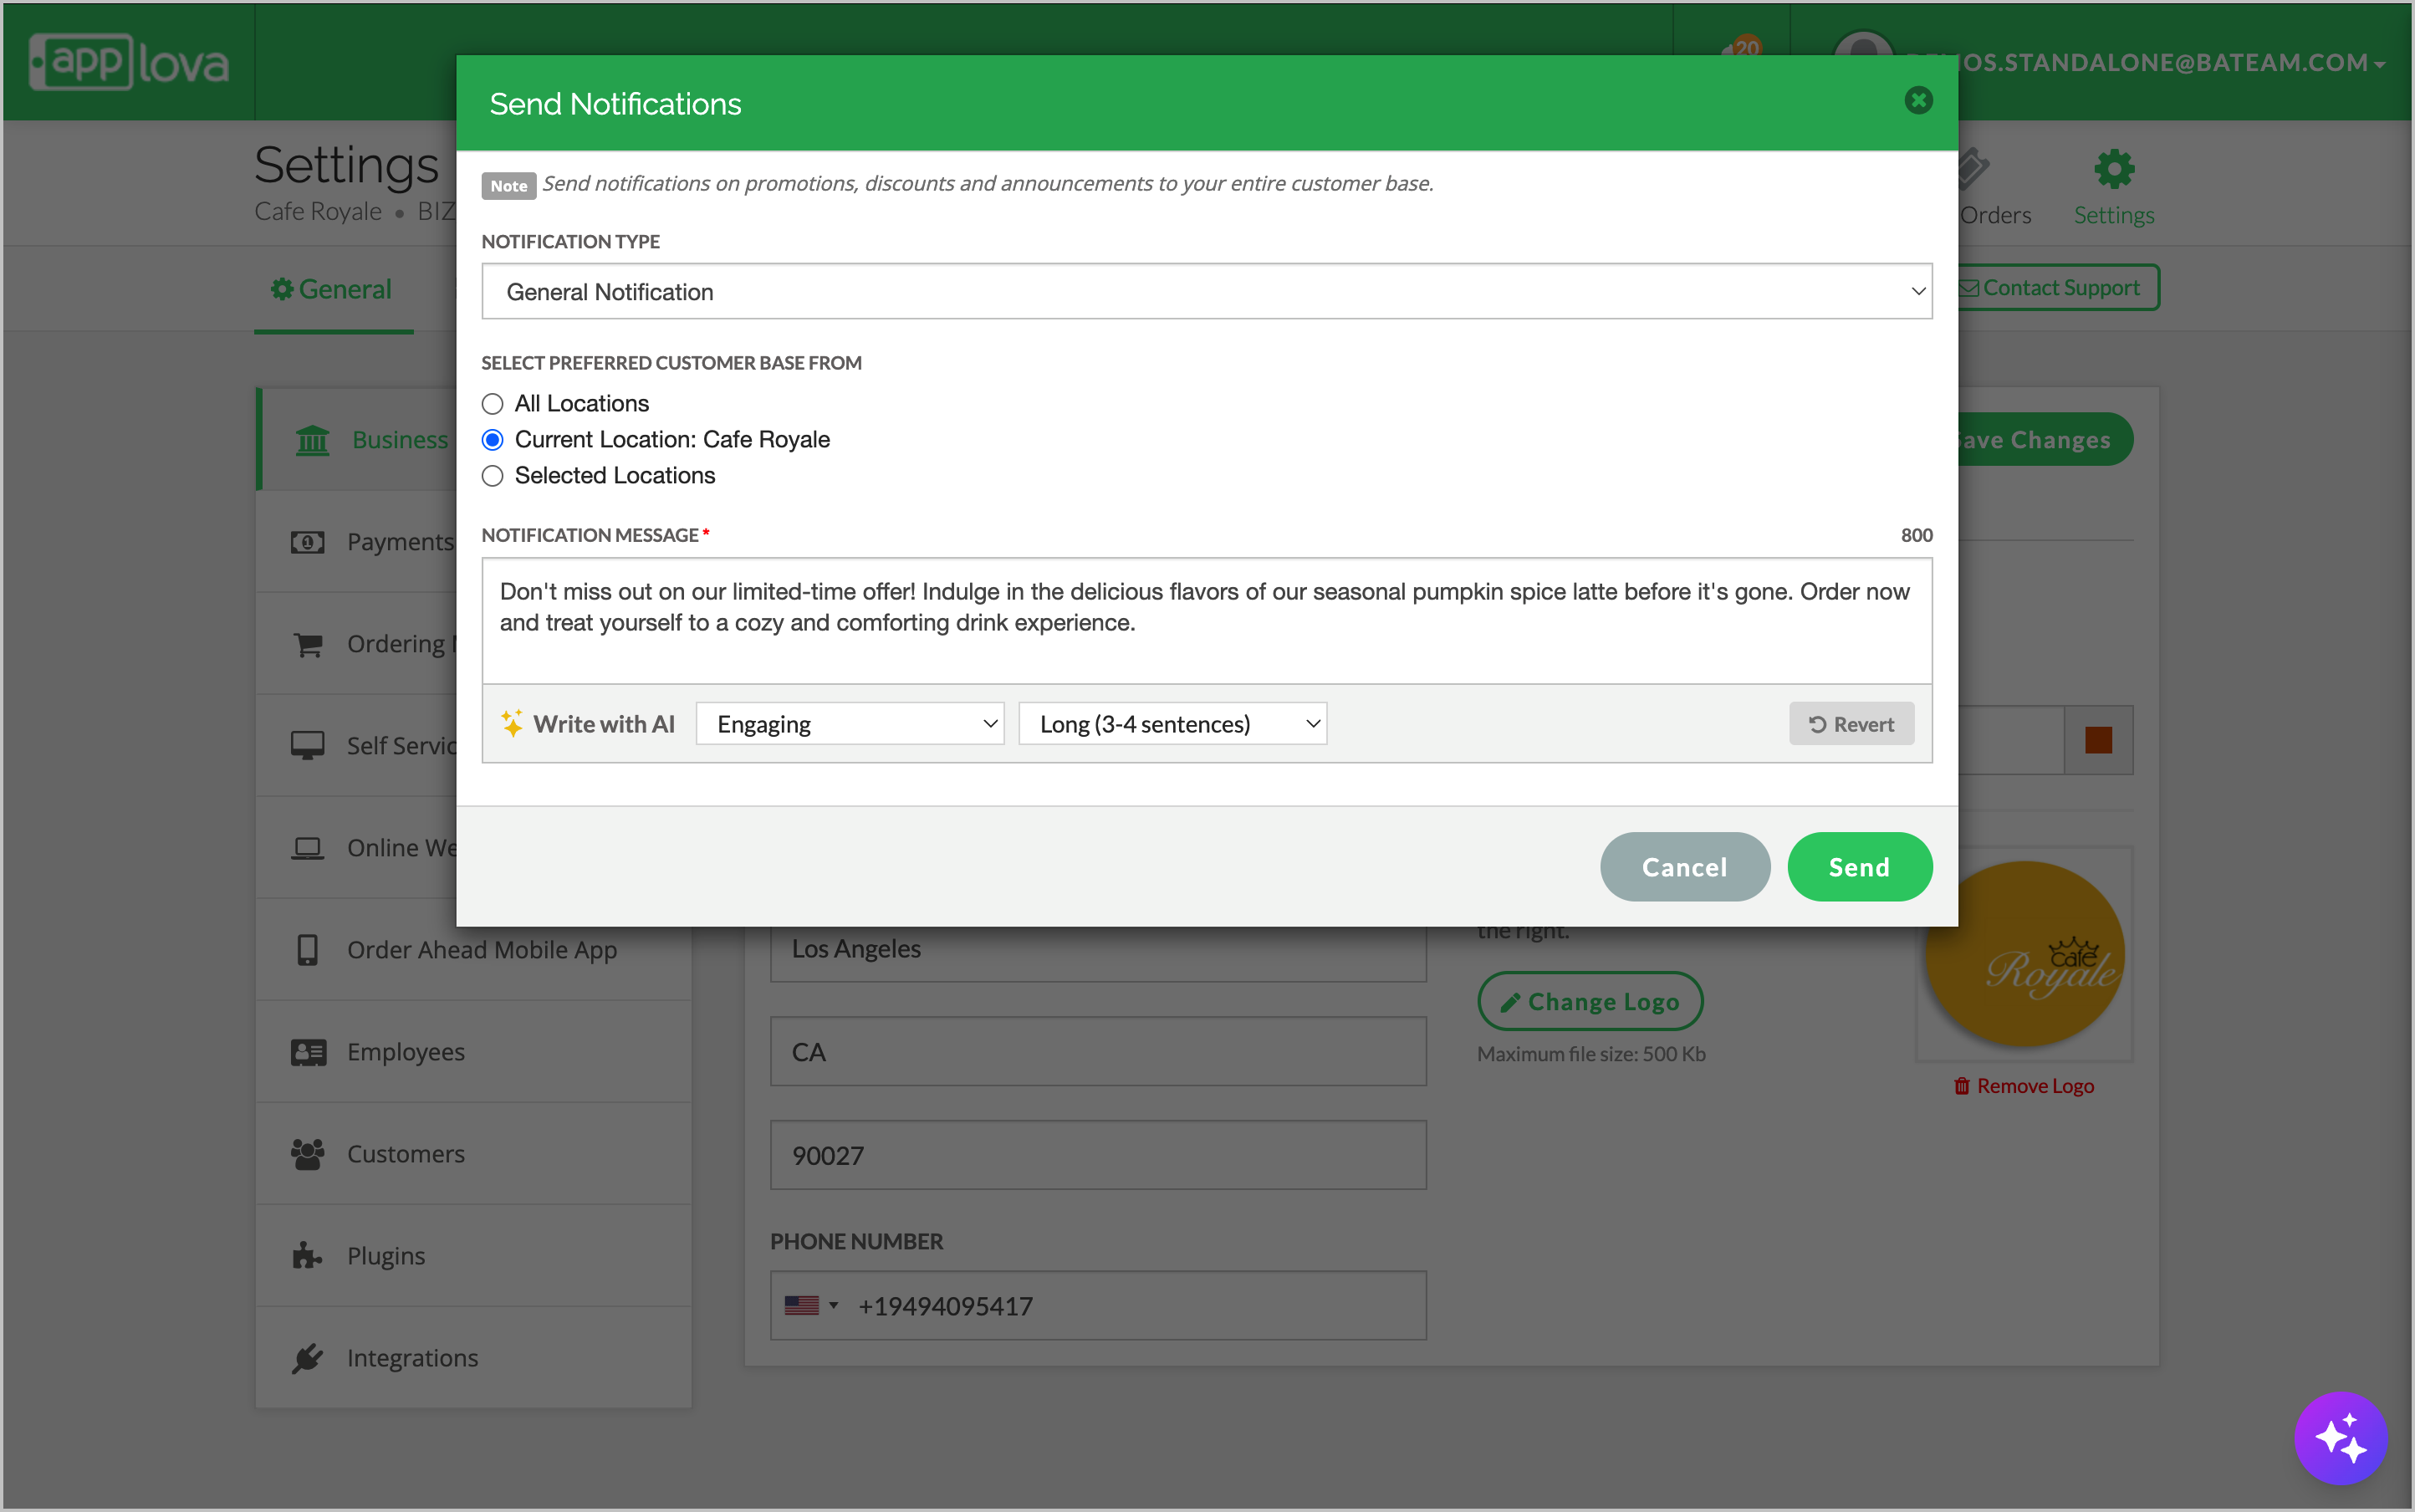
Image Link
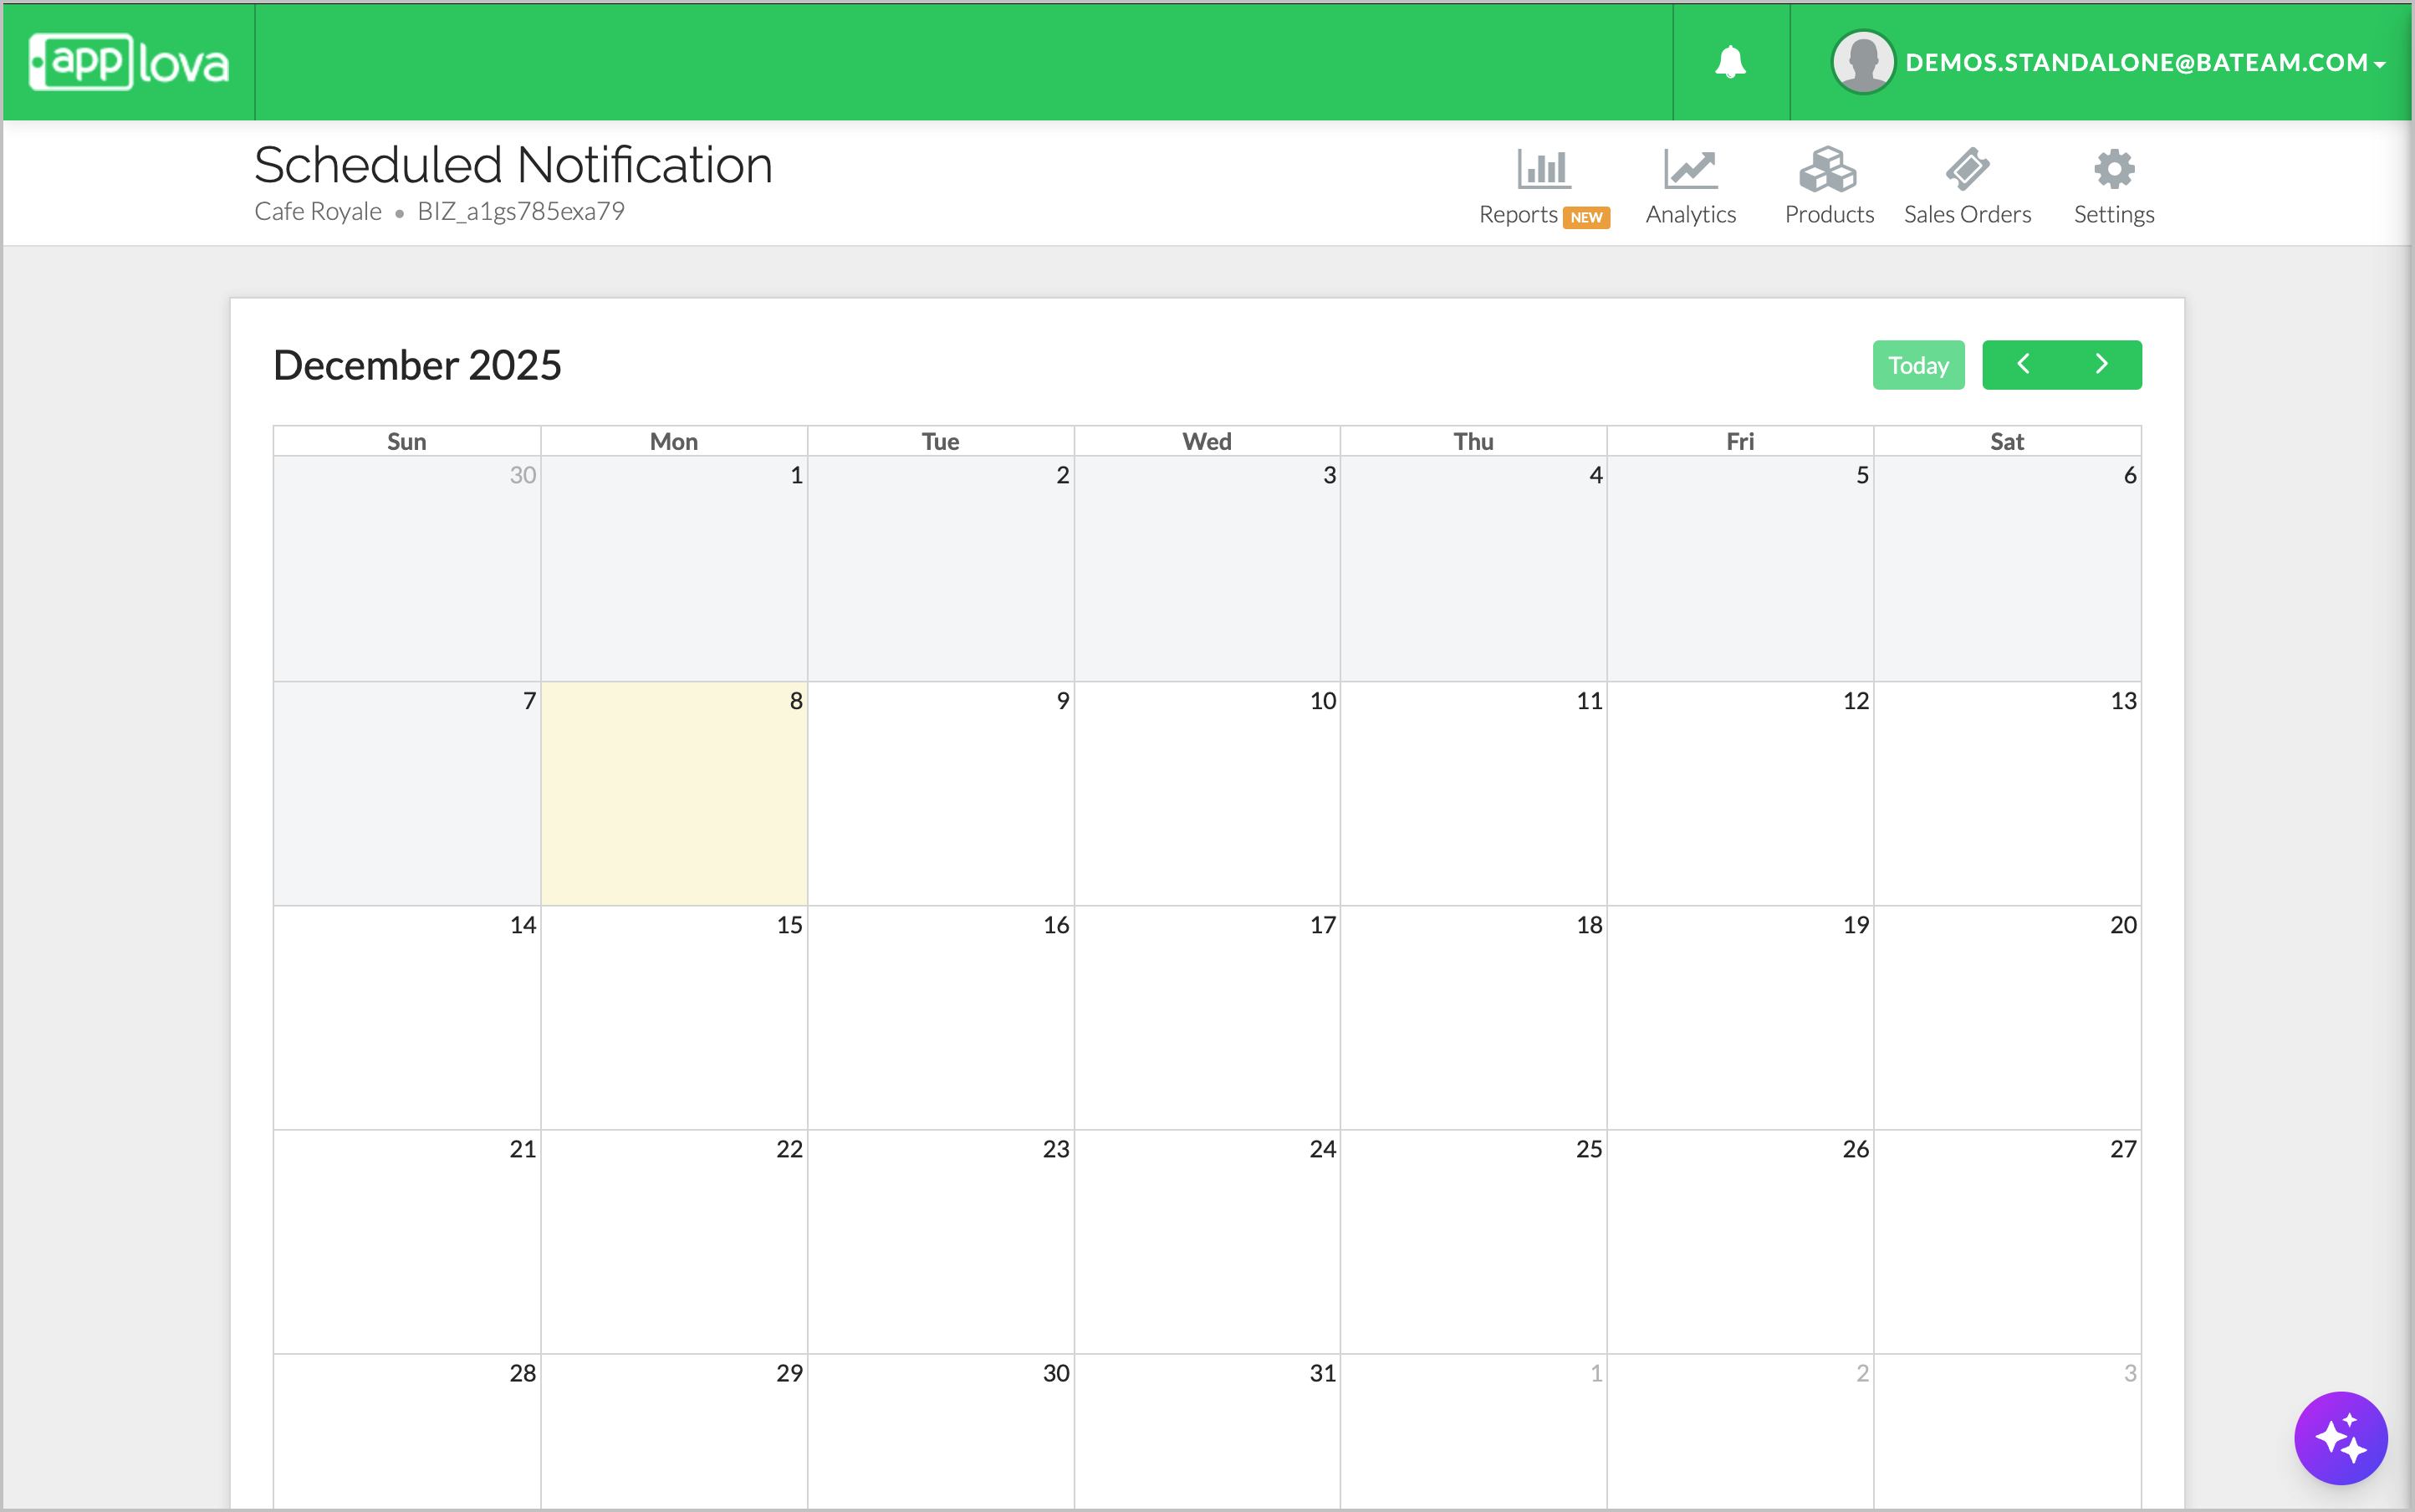
Navigate to "settings", select "Plugins" and click on "Scheduled Notification".

Image Link
Step 2
Select a day to schedule the notification/
Select the preferred Notification Time and the business location
Type in a draft message in the message box.
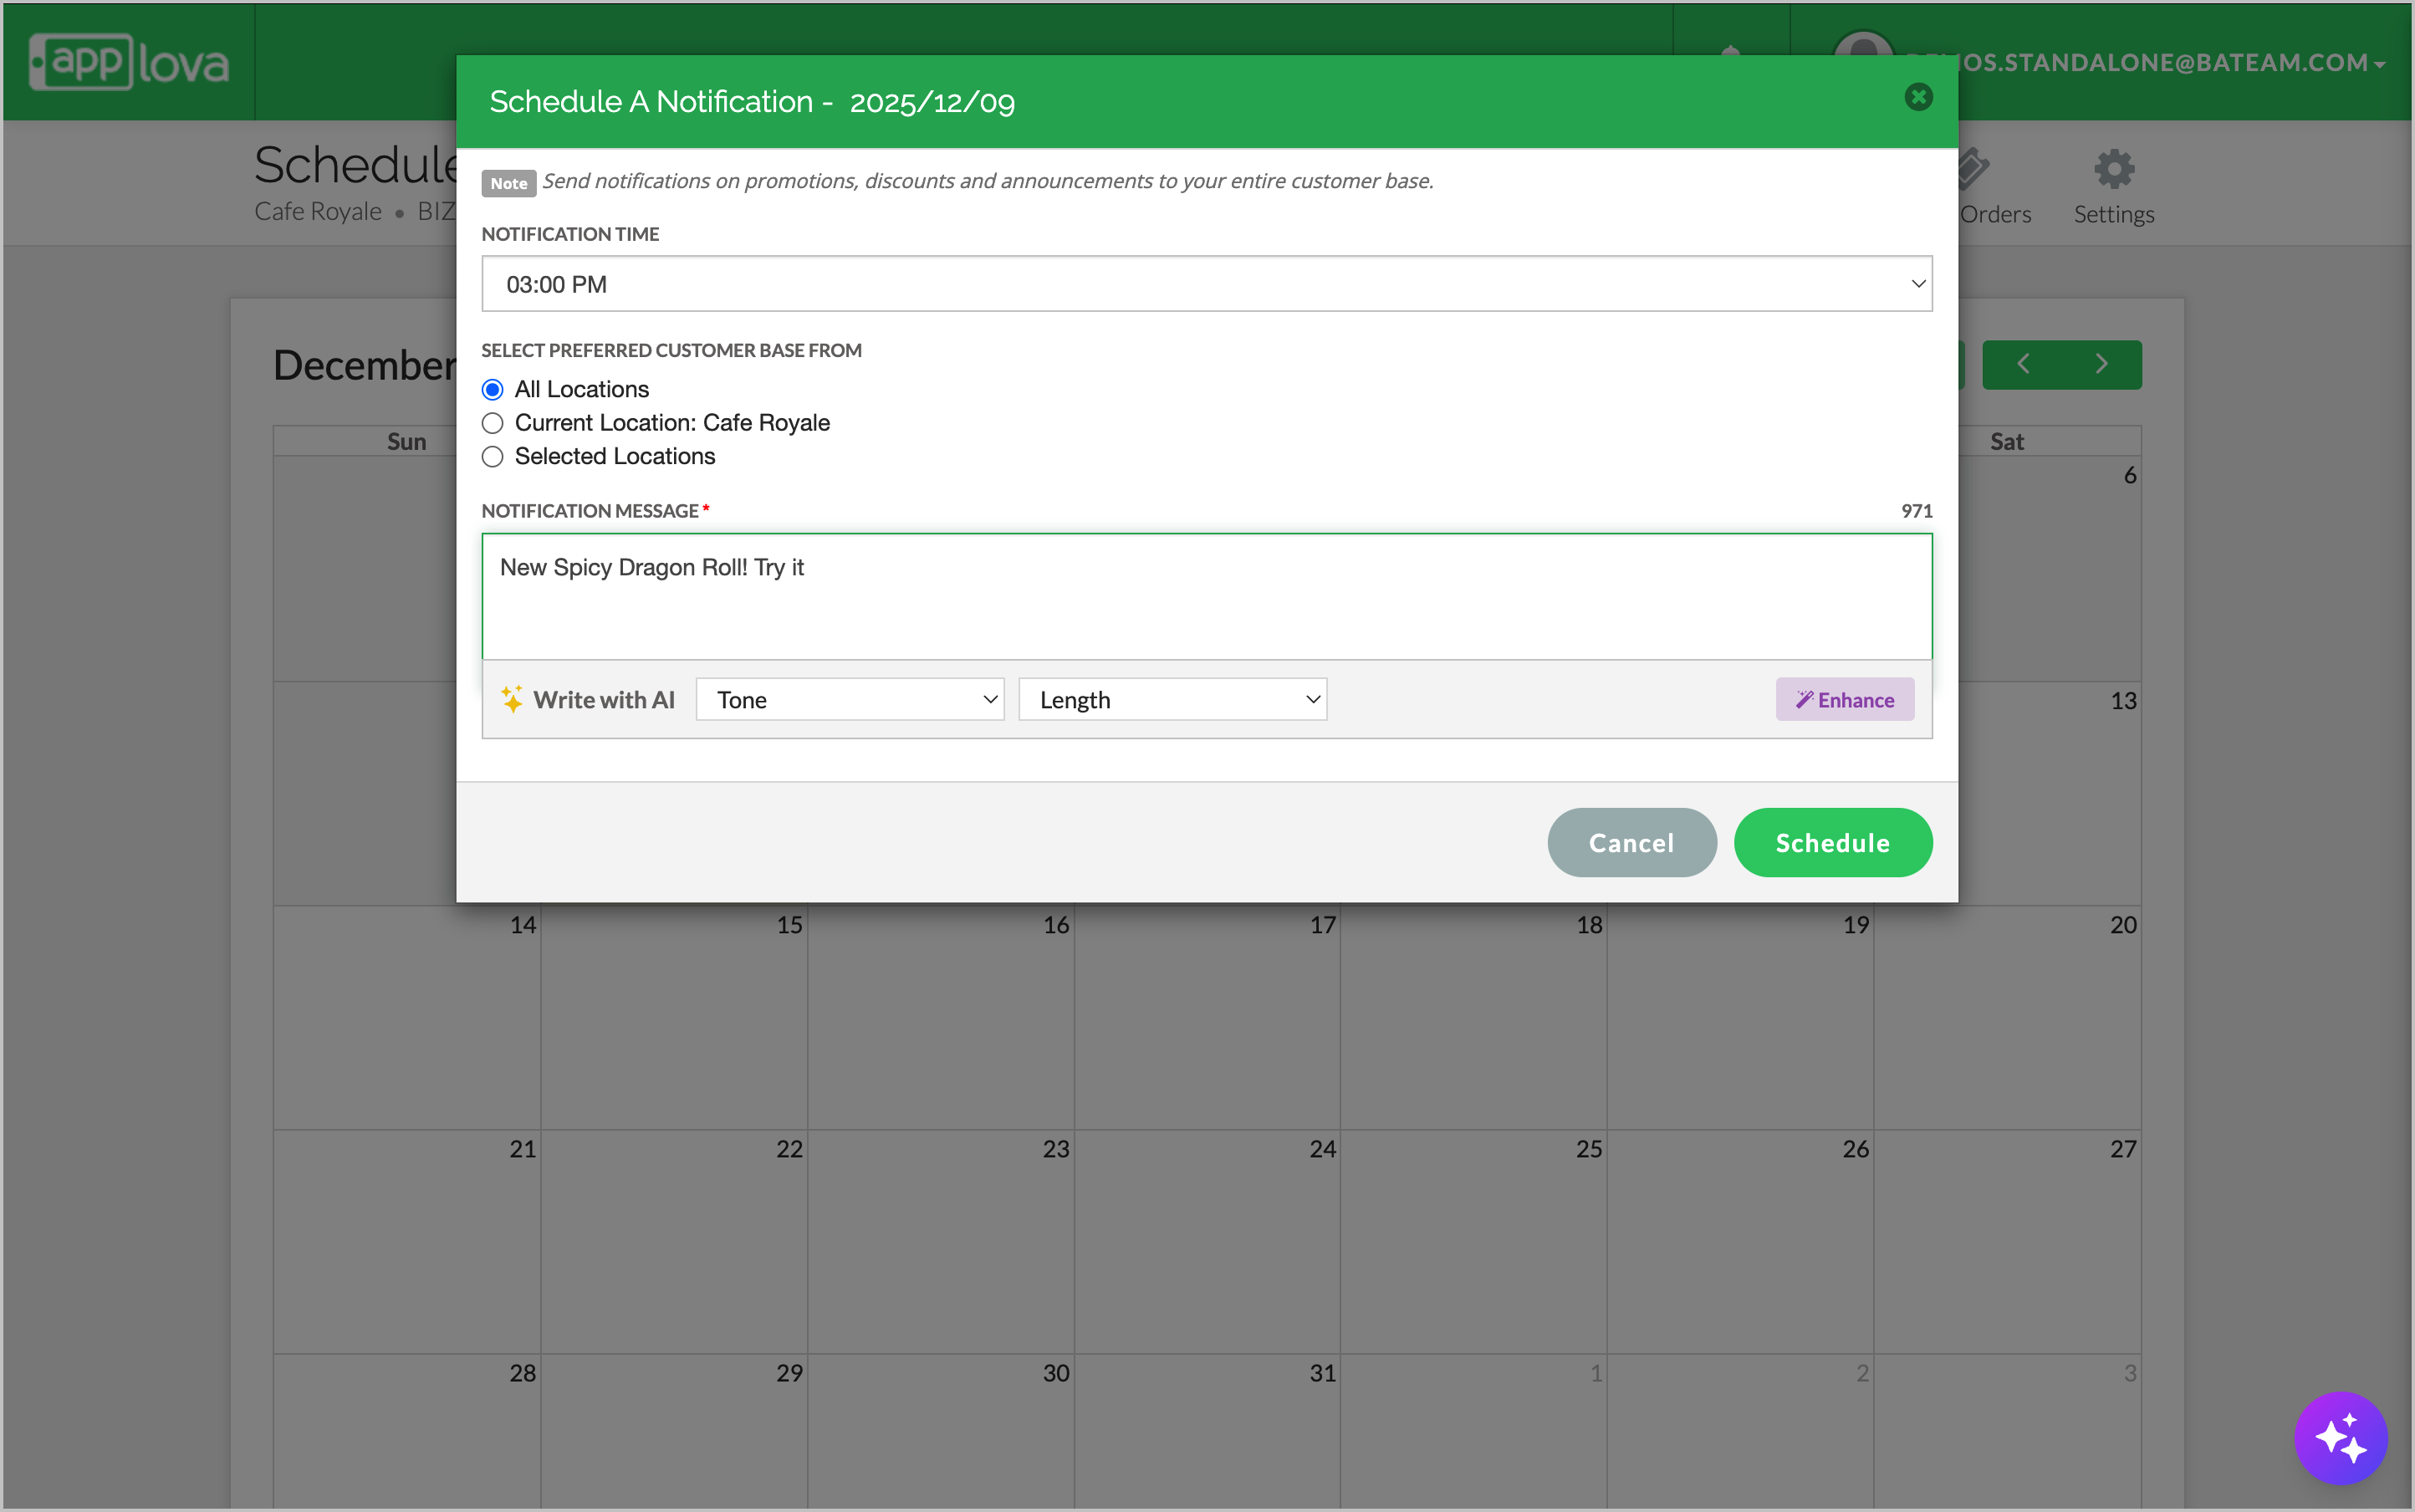
Image Link
Select the preferred "Tone" and "Length" from the drop downs.
Click on "Enhance".

Image Link
Related Articles
How to Manage Products via Merchant Web?
This article explains how merchants can add, edit, duplicate, and delete products by following the steps provided. How to Add a Product? Step 1 Login to "Applova Merchant Web". Step 2 Go to "Products" and click on "Add New Product". Step 3 Fill in ...How to Manage Time Based Product and Category Visibility?
Supported Domains: Standalone, Clover & Square businesses What is Time-Based Product and Category Visibility? Time-Based Product and Category Visibility allows merchants to control when specific products or categories are visible to customers across ...How to Mark Products as Featured on Merchant Web?
This feature allows merchants to select a set of products to be prominently displayed on the Webstore or Kiosk, helping highlight key offerings, promote special products, or draw attention to popular and seasonal items. Please note that alcohol ...How to Configure Alcohol Warning Message via Merchant Portal?
Supported on: Clover & Standalone Kiosks This capability enables the display of an alcohol warning message on the cart screen when alcoholic products are added to the cart. You can customize both the message's content and the text on the associated ...How to Manage Product Image via Merchant Web?
This feature allows merchants to manage product images through the Merchant Portal. Merchants can use this feature to add, update, or remove product images, helping keep their online menu visually accurate and appealing to customers. How to Add ...